• Welcome to the Contour Enthusiasts Group, the best resource for the Ford Contour and Mercury Mystique.

    You can register to join the community.

Seat Heaters

Status
Not open for further replies.
Does anyone have a wire diagram then? Not sure if my service manual has that.

It may be easier but I don't want to have problems. So if it's better to hook up some relays and do it that way then I think I would rather spend some extra time and do it so I don't have to worry about it later.
 
I dont have a diagram, but if you are hooking up a relay you can do the following without a diagram.

You can use any wire that measures +12V ONLY when key is on (such as purple wire mentioned before) and ground to power the relay's coil. (The heater current will not flow thru the coil, this is just to turn the relay on). Then connect the battery + and heated seat power wire to opposite switch contacts on relay.

NOTE: The relay should be rated at least to handle the battery voltage and the current drawn by heater, but it doesnt hurt to go higher --- such as 20V and 10A.

If you'd like, PM me with your email and I can do a quick diagram to send to you. Also, if you have a particular relay in mind, send me the mfr and part #.

yes, please... I would be interested in looking at this diagram. I will send you a PM with my email.

Thanks
 
Sorry, haven't been following the thread anymore...

I put both seat heaters on the same purple wire and both are working just fine! :D

Chris


so you spliced both seat heaters into the purple/black wire and it's been running fine? Even with both heaters running on high at the same time?

I just want to make sure I don't have any problems.

I finished installing the seat heaters yesterday and today, had things hold me up during the week so I finally got back to them yesterday evening. I'm not ready to run the wires in the car and that.
 
So far so good. :shrug:
Both my wife and I can sit happily with our heaters on High for the duration of regular length trips.

Chris

so you spliced both seat heaters into the purple/black wire and it's been running fine? Even with both heaters running on high at the same time?

I just want to make sure I don't have any problems.

I finished installing the seat heaters yesterday and today, had things hold me up during the week so I finally got back to them yesterday evening. I'm not ready to run the wires in the car and that.
 
So I just encountered a major problem with mine... that little black box on the wiring near where the heater multiplugs are... yeah, it melted and smoked I guess, the circuit board inside cooked itself pretty good. Now my heaters don't work. Hopefully it was a one-time thing. Glad it didn't set the car on fire.
 
ouch... have you gotten a chance to contact the company yet? If so, what did they say?

I have mine zip tied to the bottom of my seats.

I have the materials I need to install a relay to power my seat heaters. Found a couple possible locations for bringing the wire from the battery into the car, just need to locate those possibles inside the car now. I have been working on finishing and installing my oil separator which should be done and installed today then I can start getting the seat heater wiring run and the relay wired up.

After looking at the lower console and the placement of that blue control box behind it I've decided to try and install both switches in the center console inside the arm rest. There are two tubes at the back of the compartment under the arm rest. I will try to fit the switches in there and then run the wires down and under the center console. The switches will be hidden and easily accessible. Just didn't want to have a problem with the switch wiring hitting the blue control box behind the lower console.
 
0322080030.jpg


The whole module is all distorted and melted. I used that purple wire as the power source, and a good solid ground. They charge $4.60 shipping unless you mail them the part back first. And you have to send it to Canada. But I can't use my seat heater for now.
 
Ouch...Was the seat heater on the high setting when that happened? Also, was the company easy to deal with when requesting a replacement?
 
The heater wasn't coming on like it should, so I just left it on for a long drive, and started smelling the burned plastic. I think it was on high.

Their RMA stuff is pretty straight forward. They'll send me the new part (they have pictures and descriptions to be sure you get the right part) in the mail. But they charge $4.60 shipping on the new part, unless you show that you already mailed the damaged part back to them, with a tracking number. The RMA address is in Canada, so I'll have to actually get down to the post office Monday to mail it, and take a picture or something... USPS doesn't offer tracking numbers on international packages.
 
did they give any possible reason as to what could have caused that? Or do you have a theory?

I finished running my wires yesterday and modifying the center console to fit the switches. I decided to mount my switches inside the console under the arm rest and I also decided to run a wire off the battery to a relay using the purple/black wire as my switching power. It looks good, clean install. Will post picture later in case anyone is interested in seeing.
 
Let's hope this meltdown was a random failure and not a sign of sub standard design and/or components. If other failures like this happen, at least we can track them here.
 
One of the suggested things was using too high amperage for the fuse. I told them, stock fuse, stock set-up, installed just like it should be, and using the same power/ground as everyone else on contour.org. I can't imagine why this would heat up so bad and not blow a fuse. I might have to add my own fuse closer to this thing when I get the new one.
 
did they just say to high of a fuse or did they also give a suggested fuse rating? Are they suggesting 7.5A or something since they come with 10A fuses already?
 
ok, so here are some pictures from my install.

Materials:
-30A SPST Relay
-Female Quick Connects
-Ring Terminals for Ground and Power
-Quick Splice
-Wire Loom
-Zip Ties

Tools:
-Drill
-Dremel
-Various Dremel Bits
-Hole Cutters
-Wire Cutters
-Wire Strippers
-Pliers

So I decided to go with a relay instead of just going off the purple/black wire. Not saying the purple/black wire is bad, I just decided to make sure and not have to worry about it.

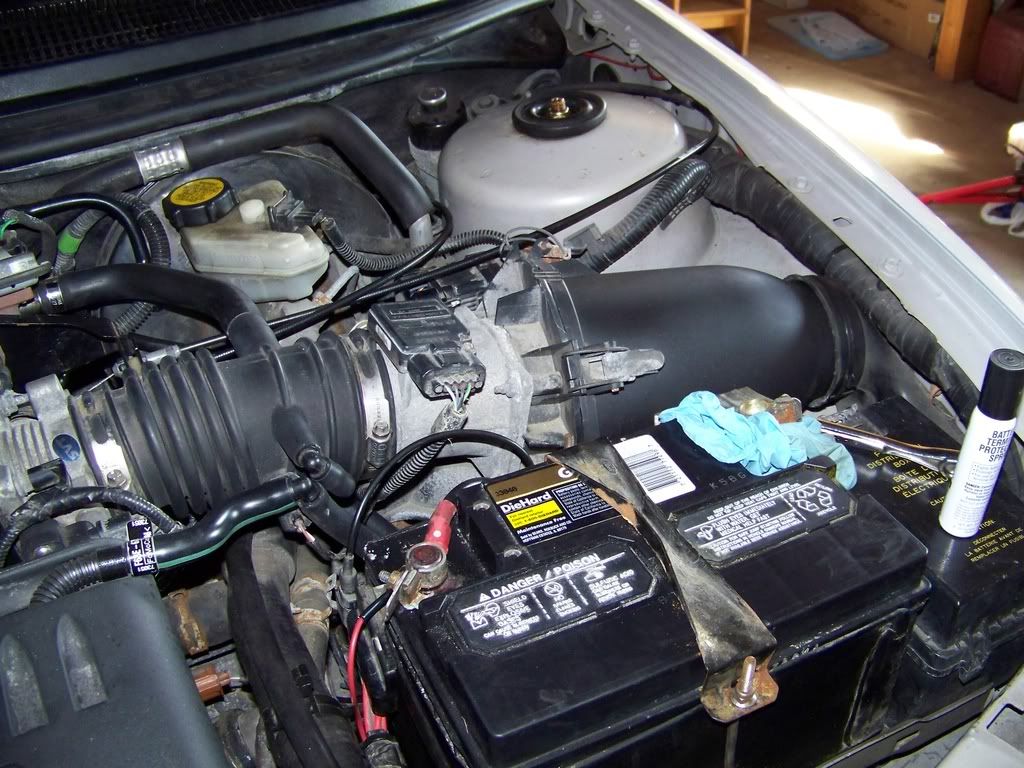
I ran a wire off the positive terminal on the battery.


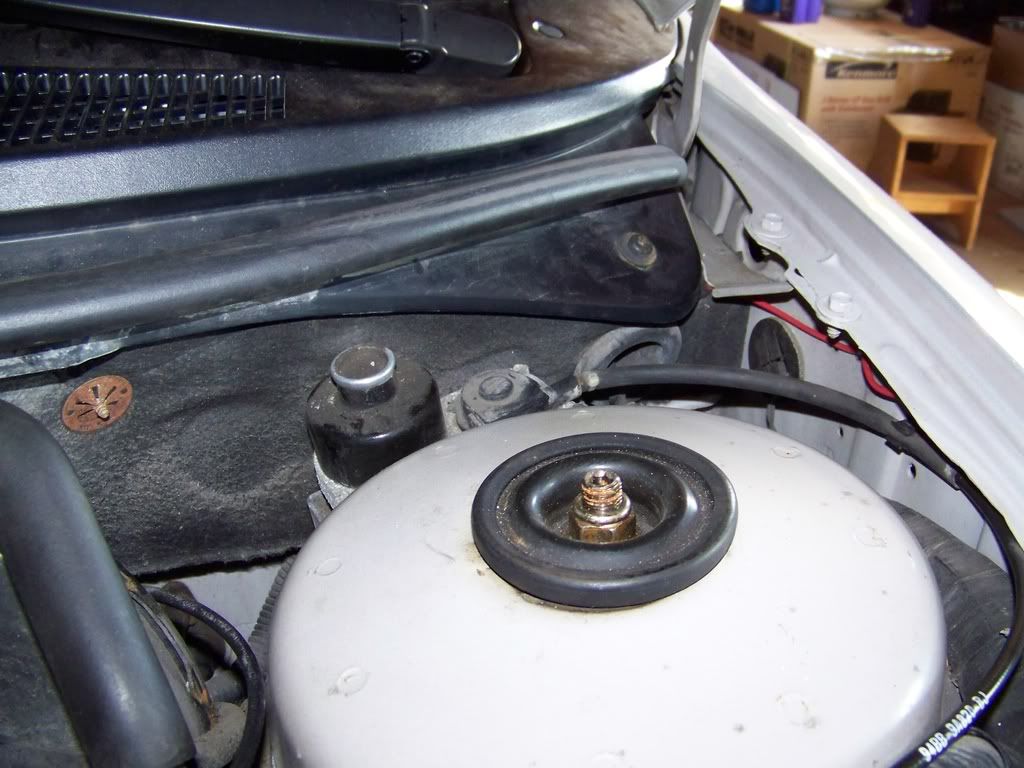
Ran it under the battery following the other wiring. Under the fuse box, up under the intake port, under the wiring on the driver side fender, to the carpet along the firewall, through a grommet in the firewall.

(if you look on the firewall, look for the round indent in the carpet, thats about where the grommet is. close to the nut/washer that holds the carpet up.)

Overall, the wire isn't very noticeable and doesn't look bad.


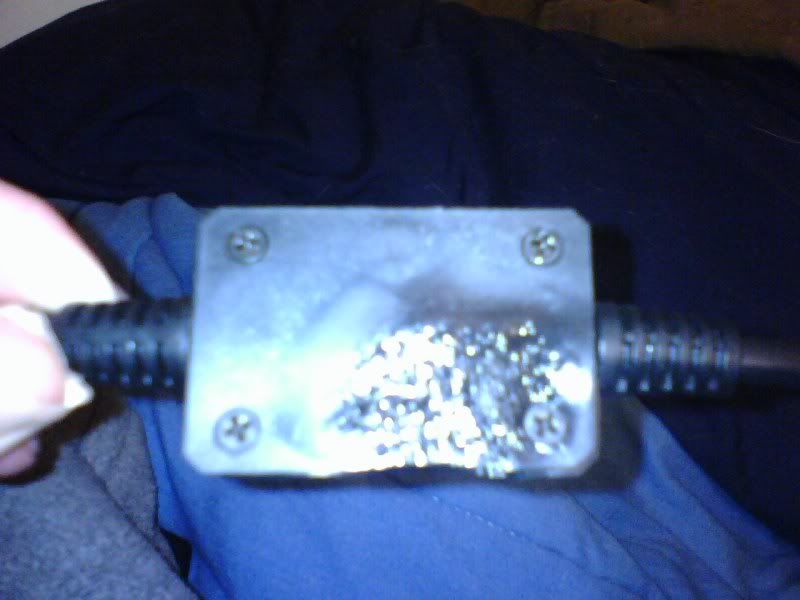
From there I ran the wire through the black rectangle of material found in the cowl. This lead the wire into the under-dash area near the clutch pedal. (sorry, no pictures as I already had the cowl back on)

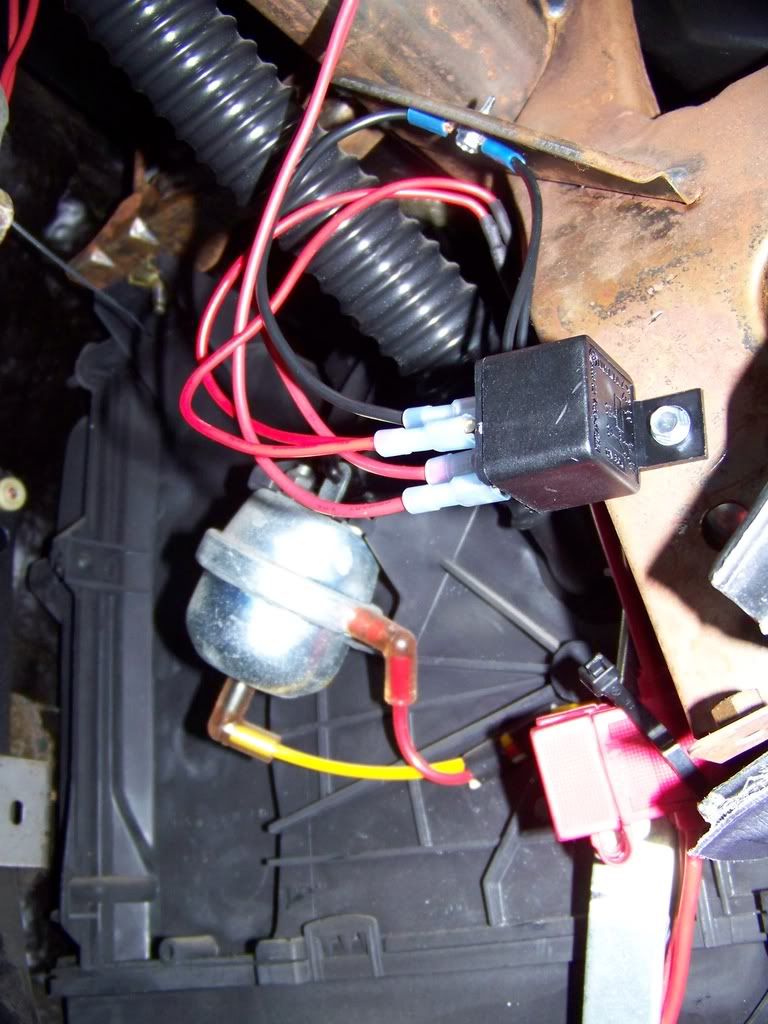
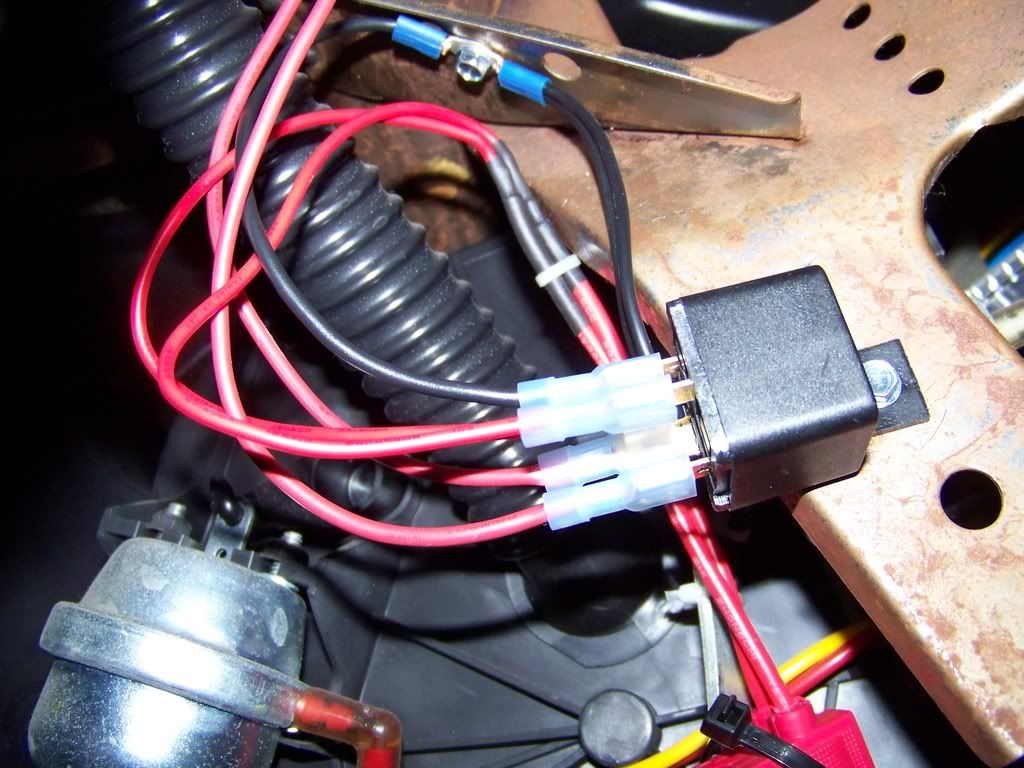
I routed the wire out of the way and over to the right side where I mounted the relay.

a closer look

you'll notice the fuse holders for the seat heaters zip-tied out of the way but still accessible if need be.
This is all located right behind the driver side lower knee panel so it's all easy to access.

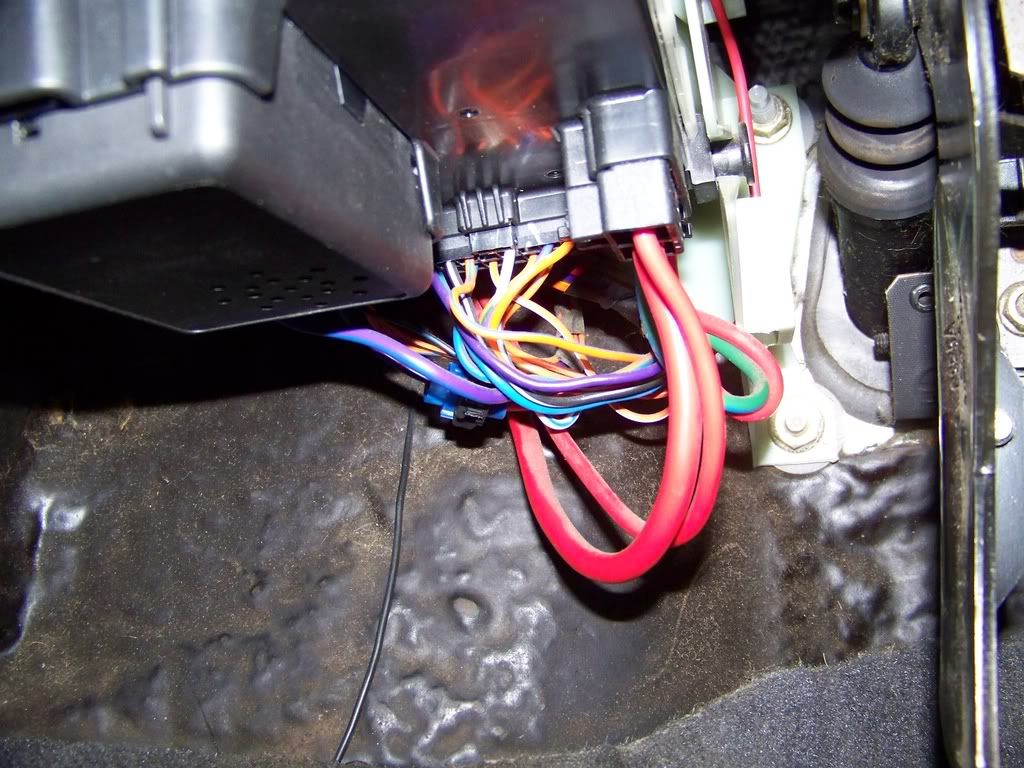
I then tapped into the purple/black wire with a quick splice and ran that wire up to the constant power wire and followed the same path.


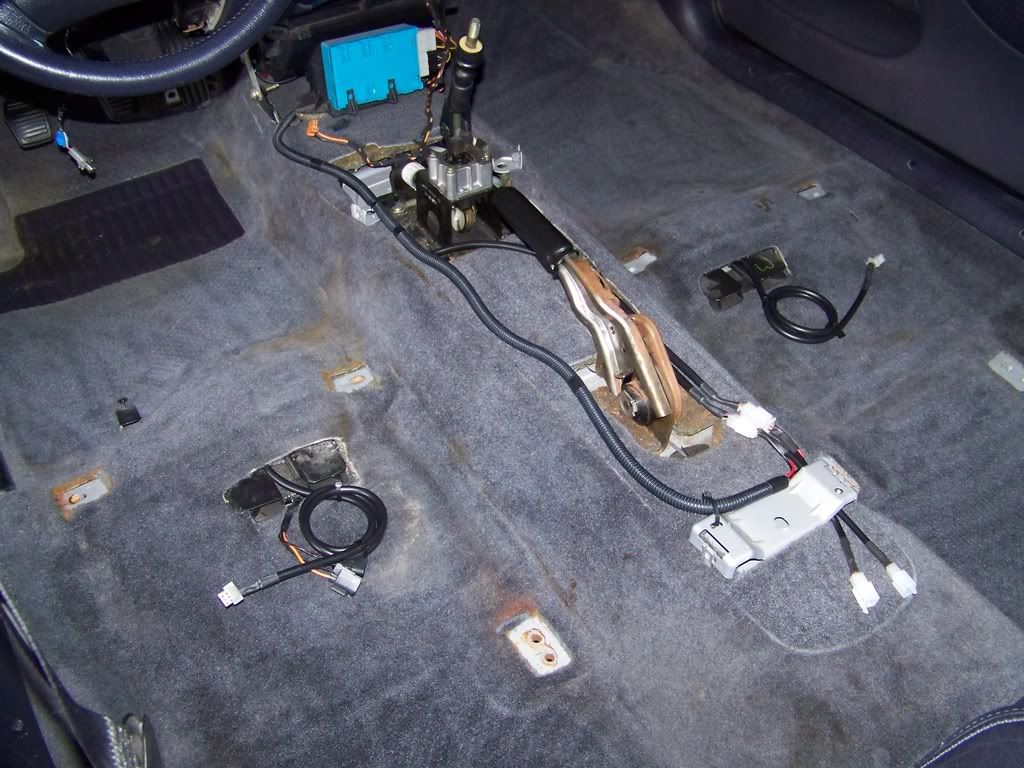
Here you can see the main seat heater harness where it runs along the center of the car and where it comes out for the seats.


You'll also notice the wire loom, that holds the power and ground wires for both seat heaters.

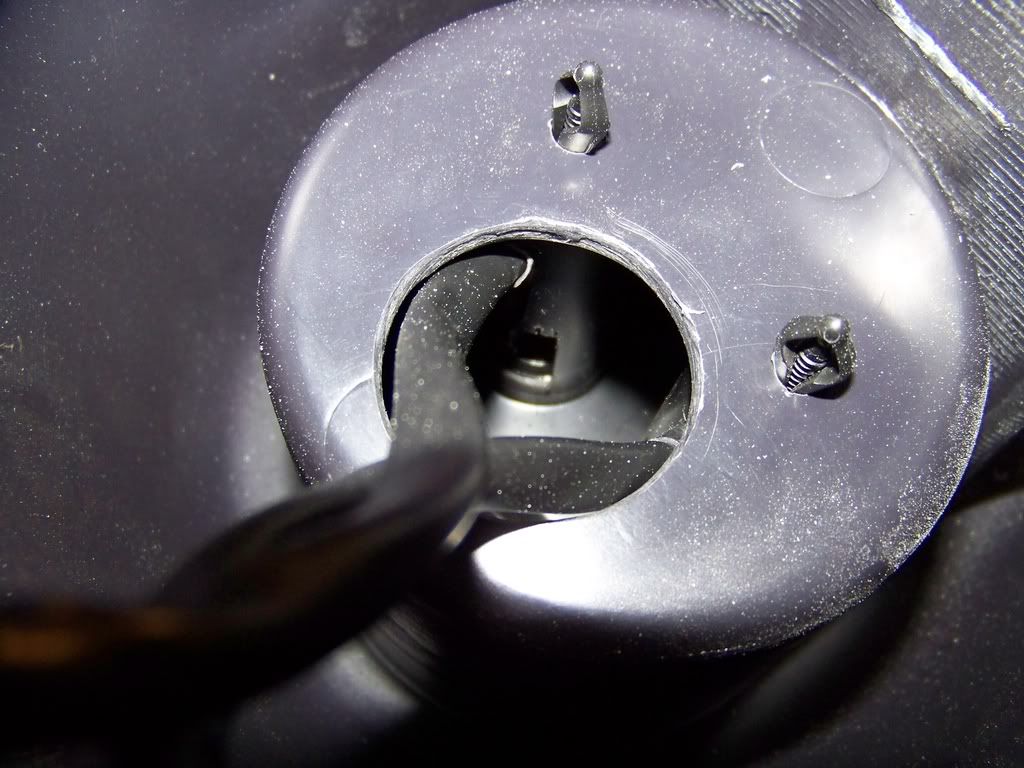
Here is the under side of the center console where I brought the switch wiring through.

you can sorta see how I cut the tubes to allow the wires to pass through.

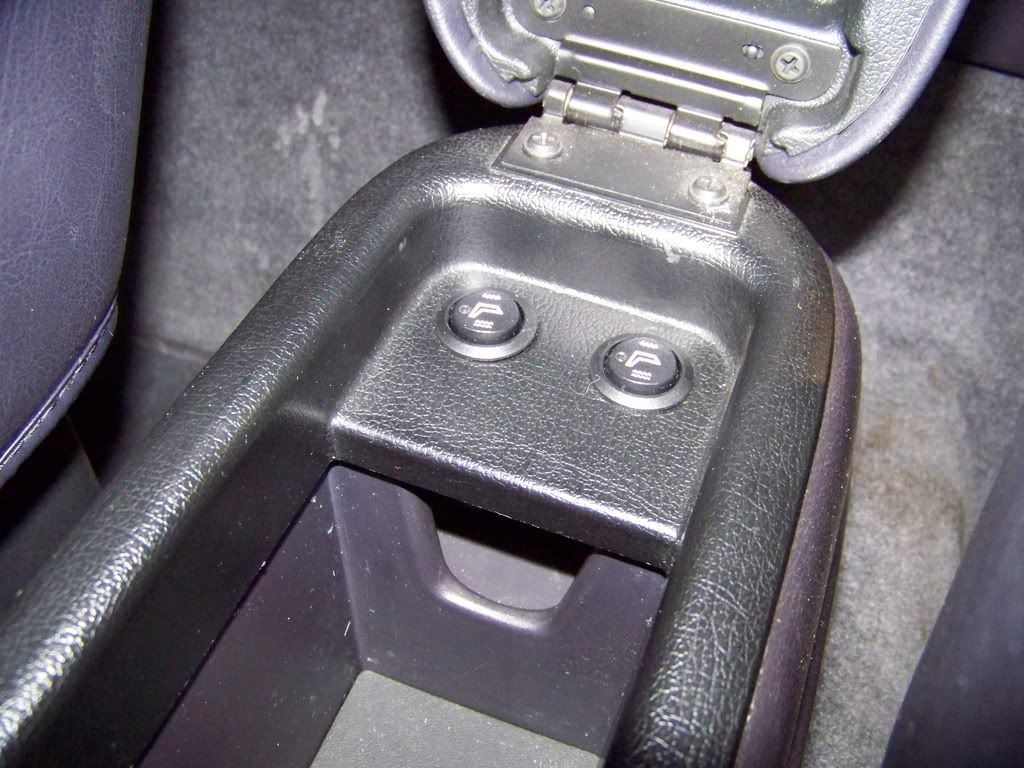
And here is where I mounted the switches.

it's a little further back than I would like while you are sitting in the seat but it's not bad. Not like I will be looking while I'm driving or anything. Plus it keeps the switches out of the way in a place that will never get used anyway.

I haven't tried the seat heaters yet. I just started the car for the first time in 4 months yesterday and it sounds good so far. I let it idle for almost an hour. I flipped the switches to make sure they were working and they were. Will test the heaters out on the test drive of the car. I have to top off the coolant, top off the oil, add and bleed the PS lines, put the fender liners on, put the bumper back on, put the headlights and grill on, put the bottom bumper cover on and then the wheels. Then I can drop it off the stands and take it out for a test drive and see how everything feels and hope all goes smoothly.
 
I'll be installing mine later this year just on the driver side and have planned on installing the switch on the plastic mount of the power seat controls. Any problems with mounting the switch there? :shrug:
-J
 
did they just say to high of a fuse or did they also give a suggested fuse rating? Are they suggesting 7.5A or something since they come with 10A fuses already?

All they say is: "This is what happens when you remove the 7.5 amp or 10 amp inline fuse and connect to a higher amperage fused or unfused power source. Please use the same amperage fuse that comes with the kit as this was fined tuned by our engineers. The seat heaters use only 4.7 amps therefore it is not necessary to use anything higher."
burntrheostat2.jpg


Mine did this, but about 3 times worse. But it definately wasn't on an unfused power source or have a different fuse than it came with.

biminiLX said:
I'll be installing mine later this year just on the driver side and have planned on installing the switch on the plastic mount of the power seat controls. Any problems with mounting the switch there?

Can't imagine there'd be a problem with that, short of not being able to see if it was actually turned on or not, or what position it was on.
 
I'll be installing mine later this year just on the driver side and have planned on installing the switch on the plastic mount of the power seat controls. Any problems with mounting the switch there? :shrug:
-J

the only issue I see is having a lot of wire harness under the seat.

I'm sure with time you will remember that up is high and down is low or however you mount it.

I thought about putting there at first I think but didn't like it personally.
 
Status
Not open for further replies.
Back
Top