Supah Stah
CEG'er
- Joined
- Sep 30, 2010
- Messages
- 34
Got mine yesterday...paint is a drying....thanks!

Got mine yesterday...paint is a drying....thanks!
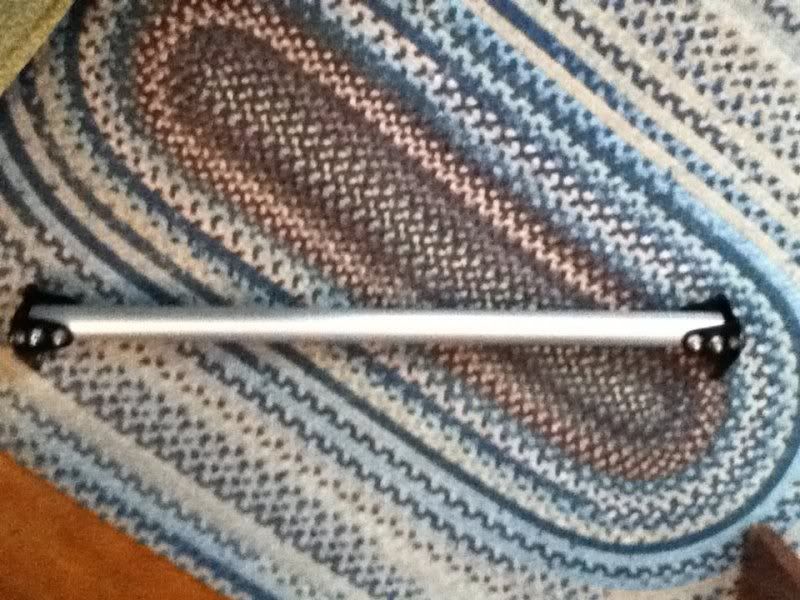
All painted up, ready to go. I'll try to get it installed this weekend.
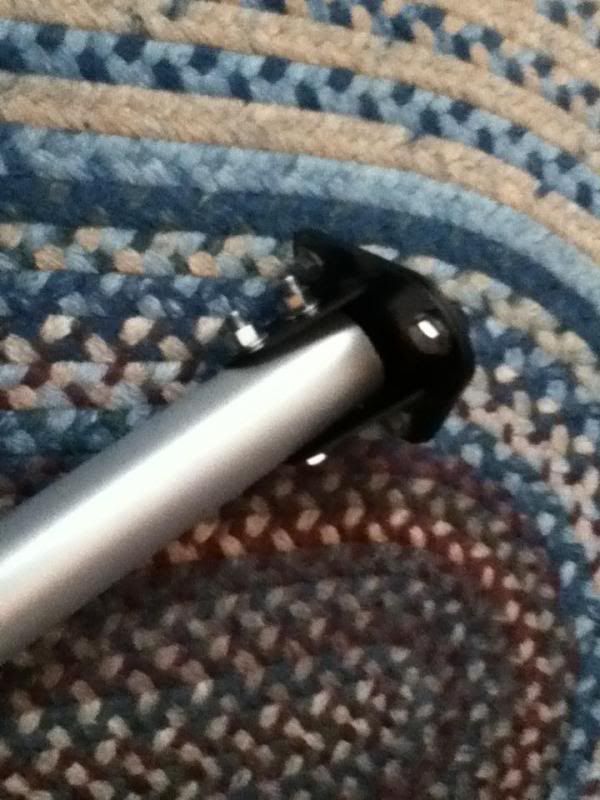
Got my brackets painted and installed this morning. Paint was actually yesterday. Waited on the bar because I couldn't come up with a color. Decided I would go with silver and black like
Smokinjoe posted. Simple and clean. I can always change it later on.
dayam... i missed again...
any chance you have an extra set left over?
How long did it take you to install the brackets? Pretty easy?
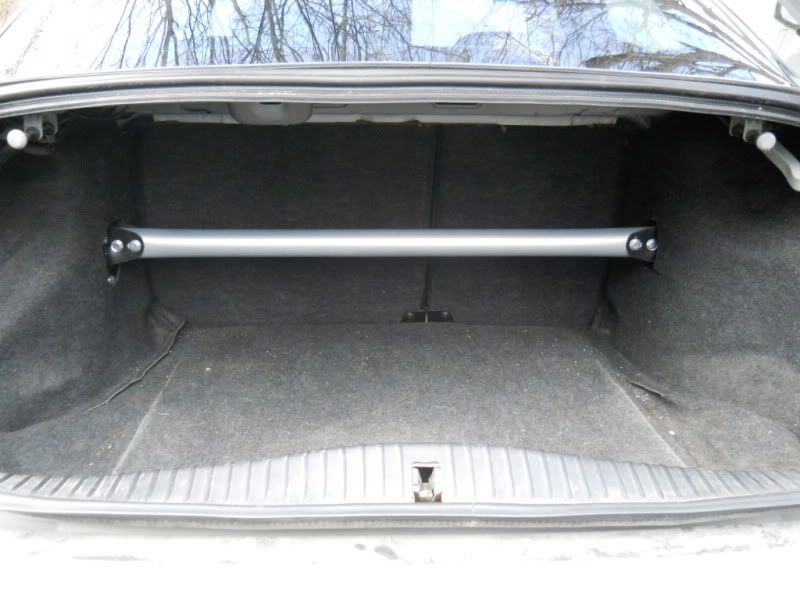
I got mine installed. After learning the proper technique, the other side went ment MUCH quicker. Carpet still needs to be trimmed a bit.
Soooo....nobody else installed theirs yet?