• Welcome to the Contour Enthusiasts Group, the best resource for the Ford Contour and Mercury Mystique.

    You can register to join the community.

Official GB: RP RSTB #2

maybe i can pick this up next weekend :) (wishful thinking?)

Wishful thinking. Here is a pick of the majority of the backer plates welded up. Unfortunately we ran out of shielding gas and the welding supply shop that we work with is closed on Sundays. Should be able to wrap these up by next weekend with parts shipping out during the week of the 19th.

img00480201203111339.jpg
 
Update for everyone. All the brackets are built, I'm in the process of checking cross brace lengths and cutting/drilling them accordingly. If all goes well RSTB's should be shipping out this weekend and everyone will have tracking numbers emailed to the addresses that were provided.
 
Also everyone I can not stress this enough... with the uncertainty of this forums integrity I strongly suggest noting my contact email address, which I have emailed everyone of you from with the information you provided me. This way if the forum goes down and you need to contact me please do so via that email address. Do not rely on the Facebook page or this thread even. Thank you!
 
Just an update to everyone. I took everyone's measurements and found that with a cross brace of 38.5" it will allow more then enough adjustment for everyone's measurements. I'm measuring every single kit as I finish drilling out the braces. Here are a couple of snap shots to show what I am talking about.

Compressed to shortest length

compressed.jpg


Extended to longest length

extended.jpg
 
All kits have the brackets sand blasted and all parts sprayed with WD40. I did something different this time with packaging. Rather then shipping the brackets loose wrapped and the hardware loose in a bag I decided to fully assemble the kit and package it as a whole. I'll be emailing everyone their FedEx tracking numbers over the next little bit. Everyone that is fully paid should have there kits by mid to late week, but definitely by the weekend. Thanks guys.
 
Oh another thing guys when you receive the kits I packed them with bagged biodegradable peanuts that will breakdown in water. So don't hesitate to throw them in the trash.

Also I will be updating the first post with estimated delivery dates.
 
Installation Instructions

Installation Instructions

All here are the installation instructions from the other thread.

I did not include installation instructions, but the kit is pretty straight forward to install. Here are some instructions though to ease the installation.

Tools/Materials Needed:
-punch
-hammer
-1/2" drill bit
-drill
-9/16" socket and ratchet,(Note: torque wrench capable of 35ftlbs recommended)
-9/16" open end wrench
-jack
-jack stand
-old towel or shop rag
-paint/permanent marker
-primer/sealer
-grinder - optional, but recommended

Detailed Installation Instructions: (This is one way to install the kit. I found it easier doing it this way, however there may be alternative installation methods that others may prefer.)
1. Remove trunk carpeting on the sides.
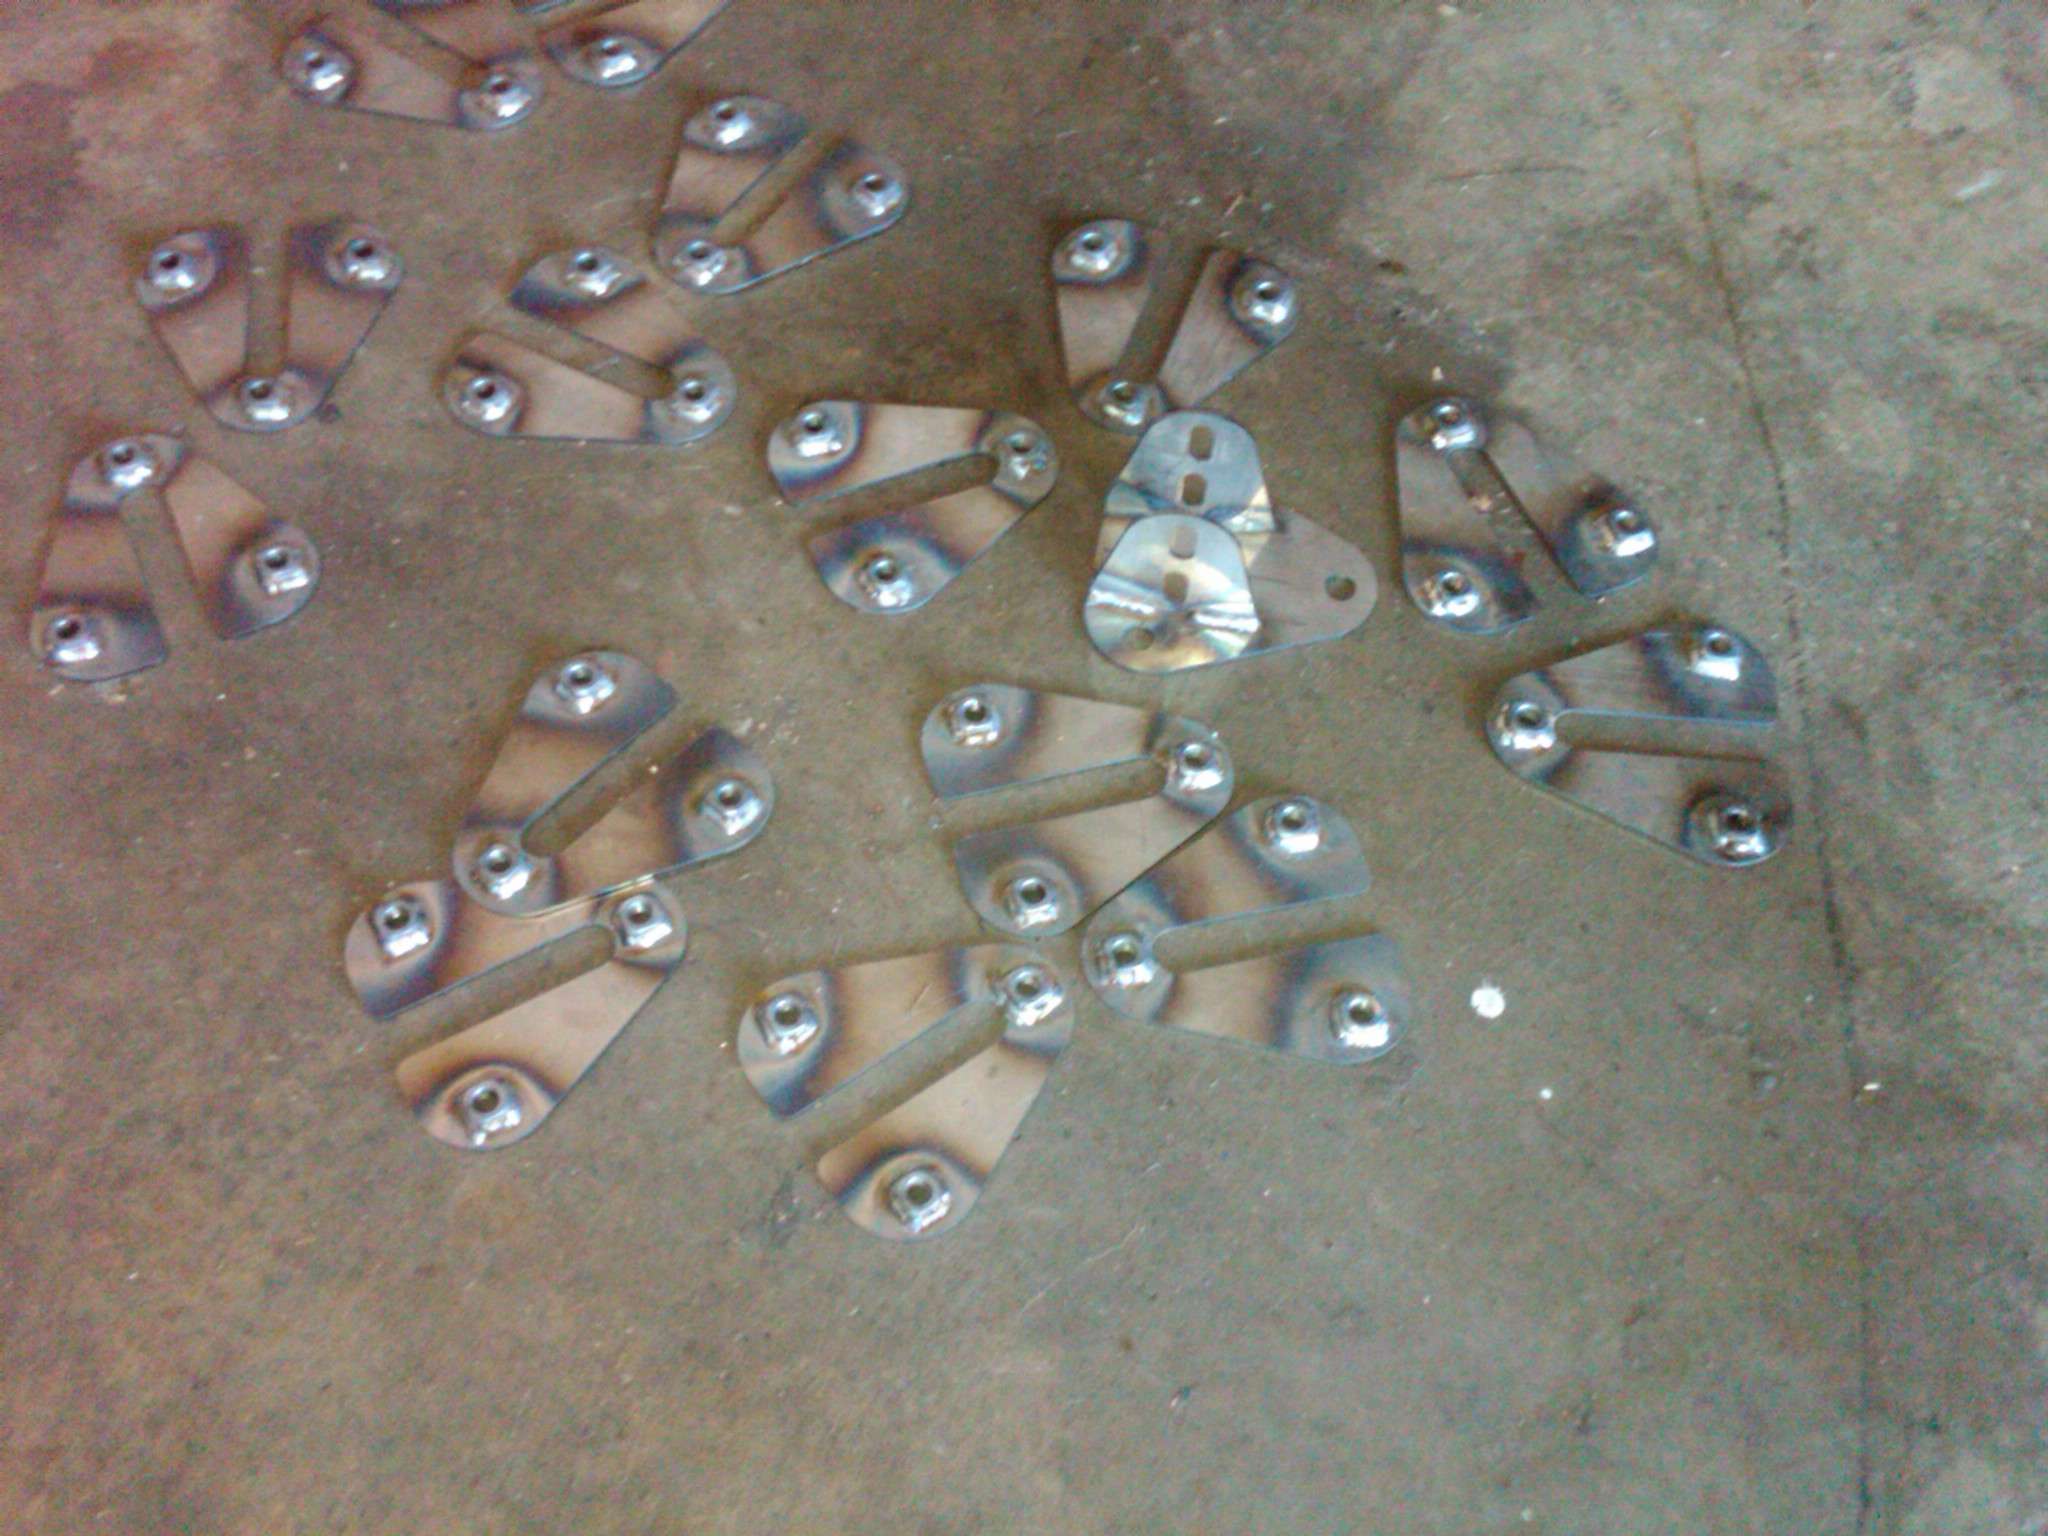
2. Place backer plate (u plate with weld nuts) inside of trunk aligning the bottom of the "U" with the bottom of the stamping underneath the left tower (weld nuts facing out).
3. Using the marker, mark where the holes are on the inner fender sheet metal.
4. Place the towel/rag on the trunk floor below where you marked the holes to collect metal shavings/debris.
5. Using the punch and hammer create marks at the hole locations that where previously identified
6. Using the drill and 1/2" drill bit drill out the hole locations (Note: This is a fairly large hole. I would recommend starting with a smaller drill bit and working your way up to the 1/2" size, but this is not necessary)
7. At this point drilling the holes may have a rough edge from the drilling operation. Cleaned this area up and the area around the holes so that it may be sealed with primer/sealer.
8. Cover prepped area with your choice of primer/sealer and wait to dry (Note: adding a top coat is optional here as the effected area will be covered by the bracket)
9. Repeat steps 2-8 for the right tower
10. Jack the car up in the rear and place the car on jack stands (Note: Please ensure the car is secure)
11. Using the 9/16" wrench/socket & ratchet thread two of the short bolts into the top two weld nuts on the backer plate from the back side (install bolts backwards on plate). This will serve as an alignment tool.
12. Place the backer plate into the wheel well and align the two bolts in the top two holes. The bolts will hold the backer plate in place.
13. Move into the trunk bringing with you one short bolt, washer, one long bolt, mounting bracket, and a nut
14. Place the longer bolt through the bottom hole of the bracket and partially thread it into the corresponding lower hole of the backer plate.
15. Pull the backer plate into the inner fender using the longer bolt so that the shorter bolt can be place through the mounting bracket.
16. Thread the nut onto one of the shorter bolts, which should hold the bracket in place.
17. Remove the long bolt.
18. Uninstall the longer bolt and replace it with the third shorter bolt and washer from step 13.
19. Tighten the bolt. (Note: Recommended torque of 35ftlbs)
20. Uninstall the nut from step 16.
21. Remove the upper two bolts from the backer plate used for alignment
22. Reinstall bolts from previous step with washers onto the mounting bracket. (Note: Recommended torque of 35ftlbs)
23. Repeat steps 11-22 for opposite side.
24. Install cross brace using the longer bolts, remaining washers, and nuts. (Note: Recommended torque of 35ftlbs)
 
Last edited:
got mine, looks great and i just set it in place as it came out of the box and even though i never got you my trunk measurments its going to fit fine. Now you just need to make a front one!!
 
I'm glad everyone so far is happy with their kits. When you get them installed you should take some pics!

got mine, looks great and i just set it in place as it came out of the box and even though i never got you my trunk measurments its going to fit fine. Now you just need to make a front one!!

Funny you should say that. Since I will be using a ST220 UIM with spacers on my engine the OMP bar that I have will not fit. So I'm going to be designing a FSTB that will go from the strut towers to the radiator support for a triangular design. However that is a ways off as the long awaited pre98 CF trunk is next on my list.
 
In the process of painting mine. Too cold to install it outside in the wind. I have 25 days before the first autocross anyway.

Yea I knew you were waiting on paint, I'm just anxious to see these installed as I made slight improvements on these kits. For example the brackets were laser cut for improved quality, which allowed me to reduce the hole sizes from 1/2" to 7/16" for the clearance holes. The slots I was able to reduce the radius and then enlarge the length to allow even more adjustment then the previous models. However that added a little bit of complexity with the welding, which is why these brackets have a skip weld to allow clearance for the washer and bolt should you need to have the brace set to less then 39". So I'm really happy with these latest kits.

That said I do have one extra kit, possibly two pending another sale to Canada. So if you missed out on the GB you can still buy a kit for $130 + S&H.
 
picked mine up yesterday afternoon. looks great mike! cant wait to test fit it later this week then send er off to pc. thx mike.
 
Alright I have now confirmed that all the packages that have been shipped out have been delivered. I'm assuming that everyone has had a chance to look things over and everything is in good order as I have not heard anything. Hopefully some of you have had a chance to install them if not then maybe this weekend. If anyone has any questions or concerns feel free to shoot me a email or a PM on the forums! Thanks guys!!

NOTE: I'll be out on a business trip all next week (4/9-4/13) with limited time for getting on the forums if at all. So that said don't be alarmed if I do not get back to you right away next week. Email will be the best way to get in touch with me during that time.
 
Last edited:
Back
Top