• Welcome to the Contour Enthusiasts Group, the best resource for the Ford Contour and Mercury Mystique.

    You can register to join the community.

Seat Heaters

Status
Not open for further replies.
I'm off to work to start on the project. Hopefully you and I will both have a better idea once we get our seats apart. :)

Do keep us updated.

Chris
 
oh, it's going to be a while before I start.

I was replacing my rear e-brake cables last night and had to reset the adjuster on the e-brake handle. So while I was pulling the center console out I took a look at removing the seats, well the driver side seat rails are covering the bolts and without having the battery in I can't move the seat to gain access to the bolts. So I have no choice but to wait until I have the engine bay back together before I do anything with this.
 
Work has begun, so far the upper looks pretty easy. I think that I will have to trim about 4" off the pad for it to fit, but we'll see. No hog ring removal necessary for the uppers.

Will post back with more info on the lowers momentarily.

Chris
P.S. I am taking pics, but can't upload them at work.
 
Last edited:
Removal of all hog rings (11) is necessary for seat cushion heater installation. I tool some good pics and will upload asap. Also, a set of hog ring pliers come in handy! I bought the cheap ones with the kit and had little trouble with HR installation. I don't think I'll get to the electronics today, but I'll keep you guys updated.

I'll post again with pics and a semi-formal write up when I get back home.

Chris
 
So you got both bottom and back heating elements installed? I am eagerly awaiting pictures of the install!!

I believe it was discussed briefly earlier in the thread but where do you plan to tap into to get power?
 
First of all, I was having some issues with the batteries in my camera so I don't have all of the removal pics. This being the case, you might see a photo repeated in order to show both removal and installation. I did not include pics of the seat removal, but you can look that up in the archives like I did. I will be making a number of posts considering the limit on pics per post. So without further ado...

Disclaimer... blah blah blah... I am not responsible... blah blah... Enjoy! :D

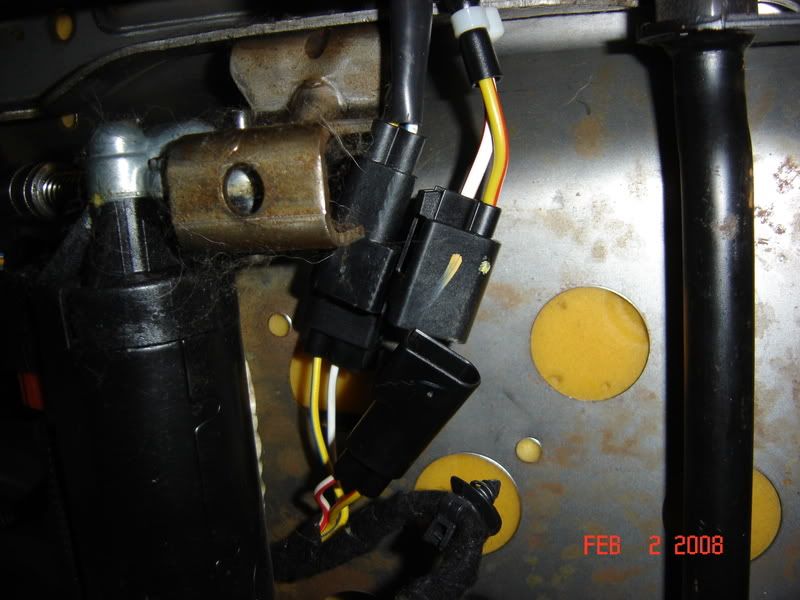
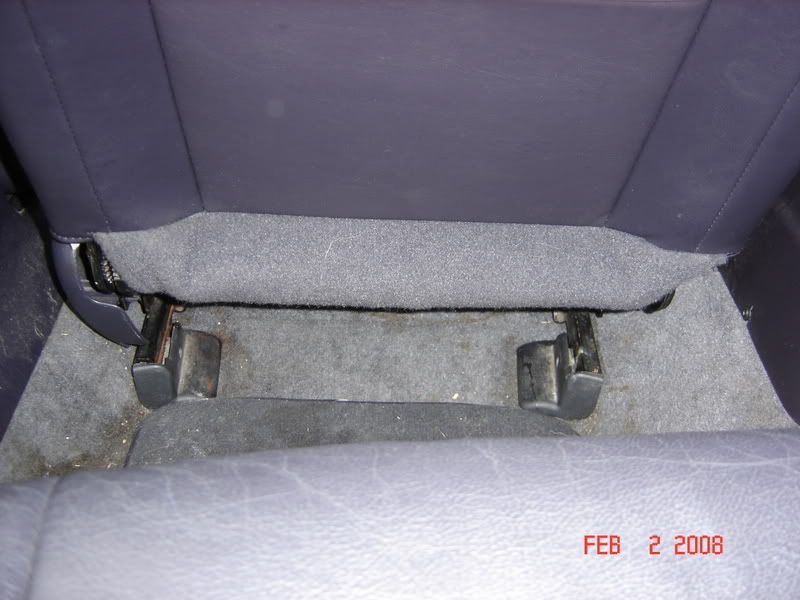
After removing the seat from the vehicle make sure to disconnect the connectors running to the upper seat back. One of the connections will be push-fastened to the seat bottom. This will need to be removed as well.

UnderdashHarness001.jpg


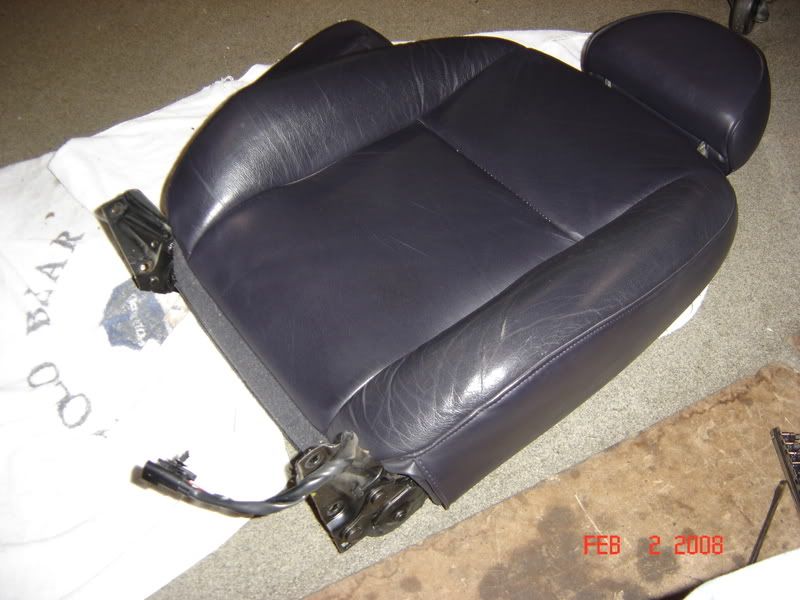
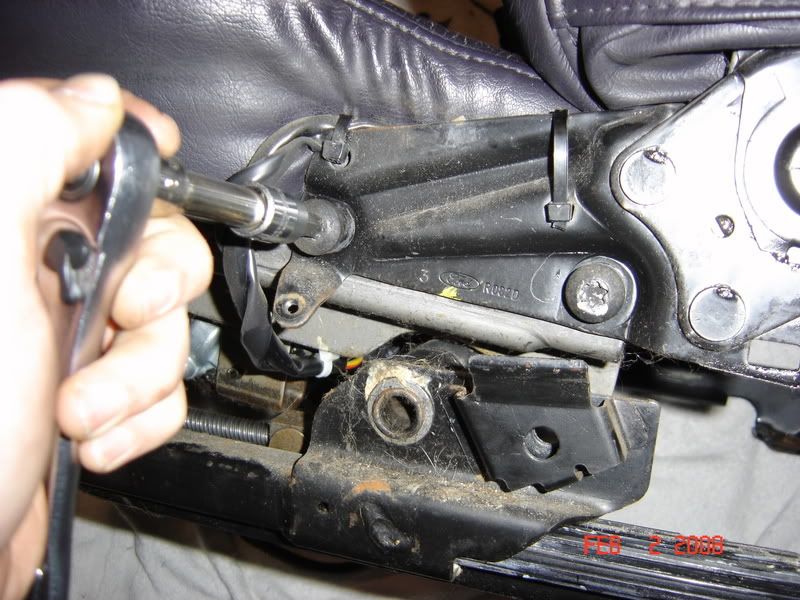
To separate the upper seat back from the base, remove the 2 Torx fasteners from each side of the seat.

UnderdashHarness002.jpg


The seat back should now be free of the base and ready for disassembly.

UnderdashHarness003.jpg


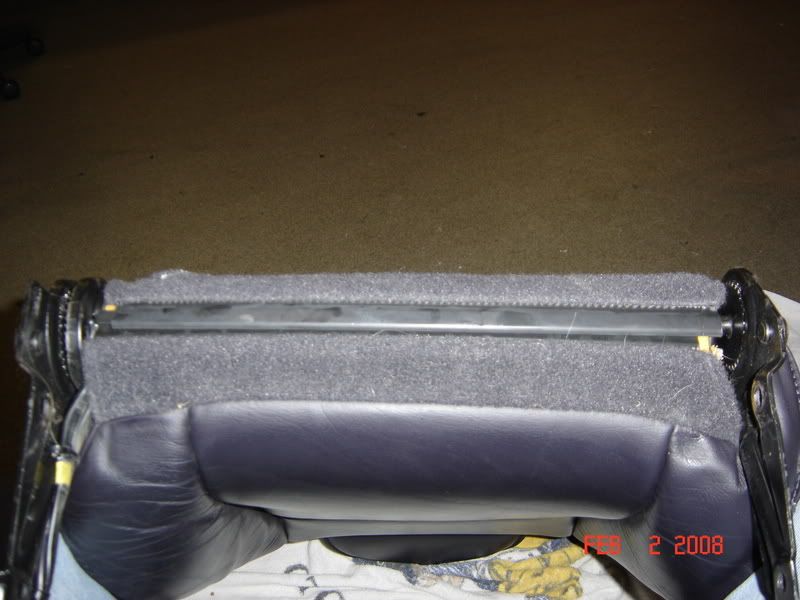
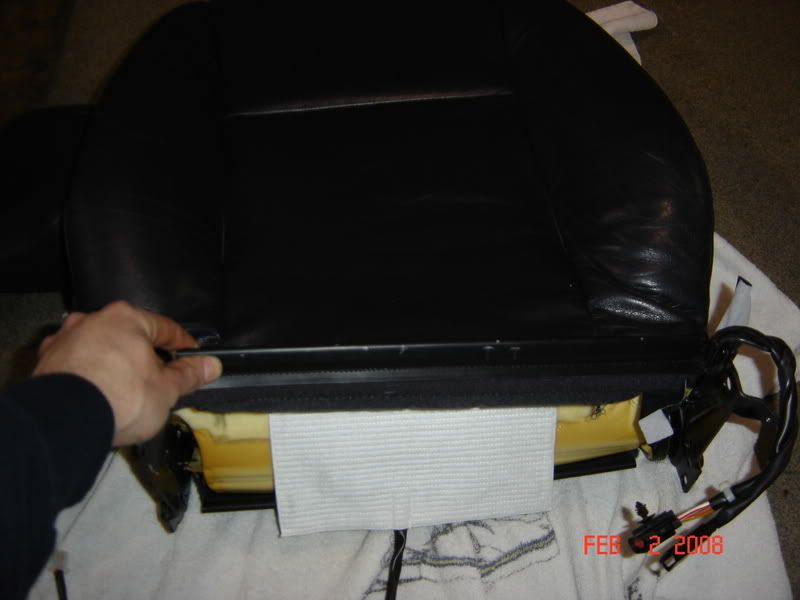
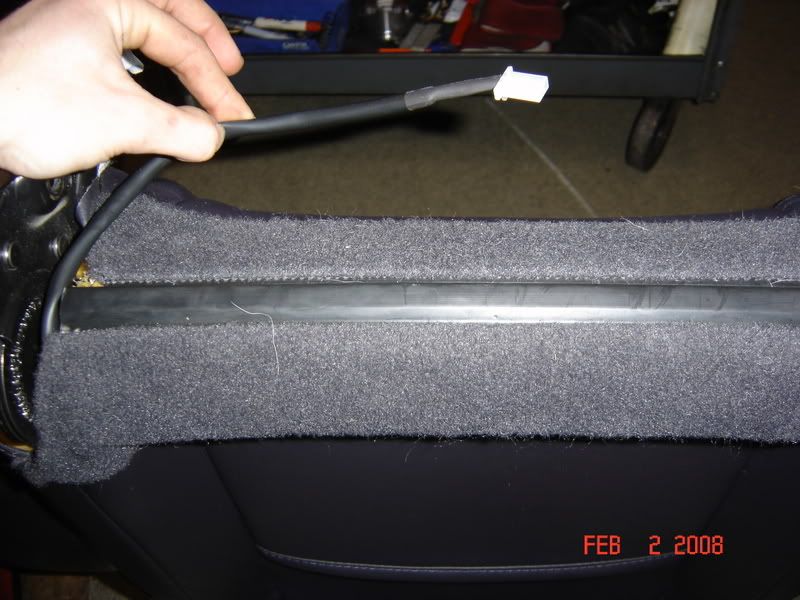
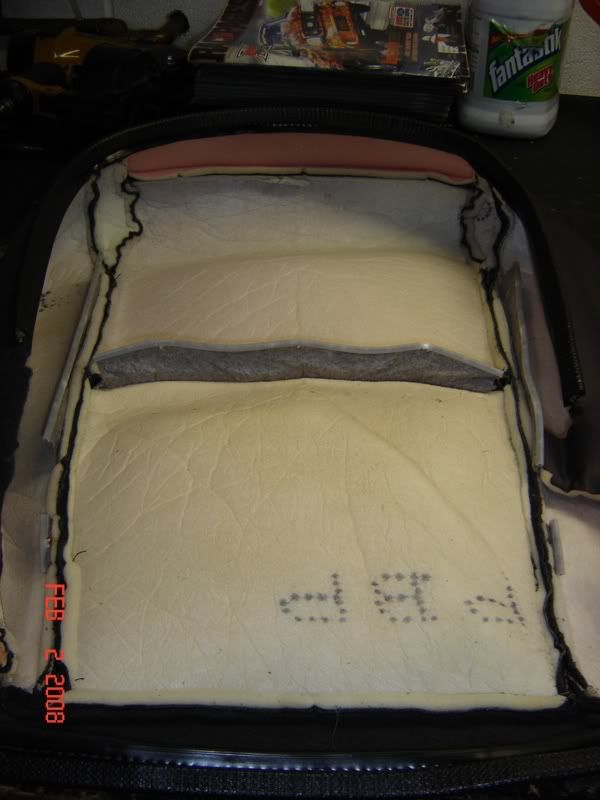
Start by un-clipping the bottom and opening the upholstery. This piece is a little tricky, but with some patience and a little cursing it will come free. Be careful not to break the plastic as it is interlocked together. I noticed a couple times that the plastic was showing stress marks from where I was prying. Have faith, it will come free. You'll hear a "snap" when it starts to unclip.

UnderdashHarness004.jpg


UnderdashHarness005.jpg


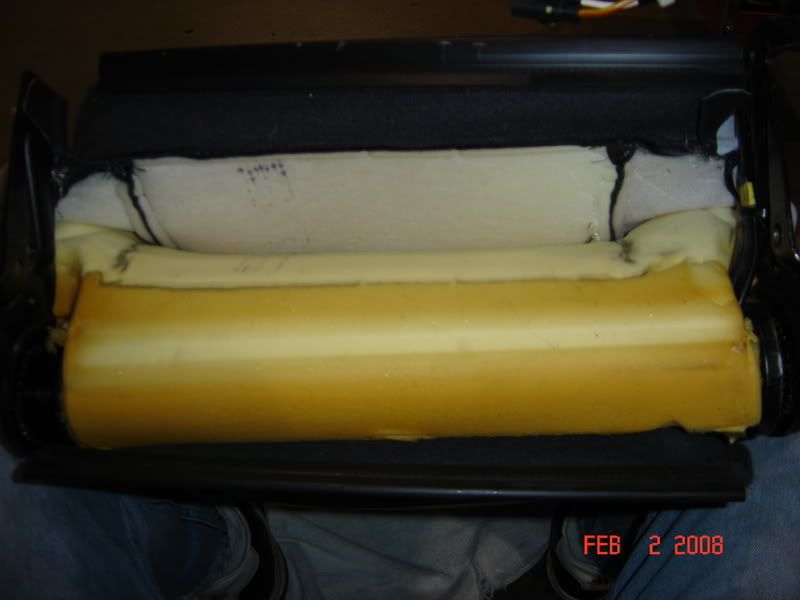
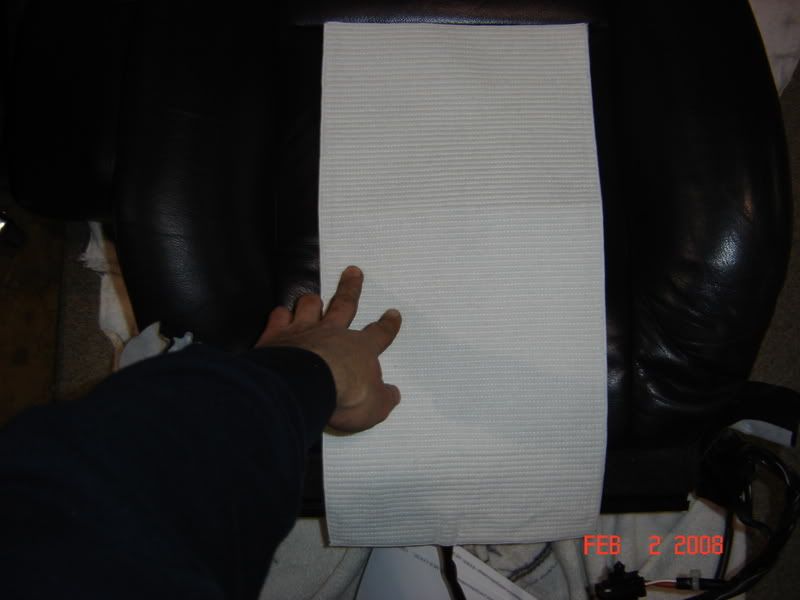
Initially I thought that I would have to remove some of the pad for it to fit the seat back, but that didn't turn out to be the case. Basically I slipped the pad up into the seat until it reached the channel and could go no further. I also slipped the two supplied pieces of tape on either side of the pad to help hold it in place. I did not use any glue, but that's up to you. The length that was left over was just enough to wrap underneath the seat and snap back together. Again, I did not trim the overall length of the pad, but you may choose to.

UnderdashHarness006.jpg


UnderdashHarness033.jpg


UnderdashHarness034.jpg


That's it for the upper seat back. Onto the base...

Chris
 
Last edited:
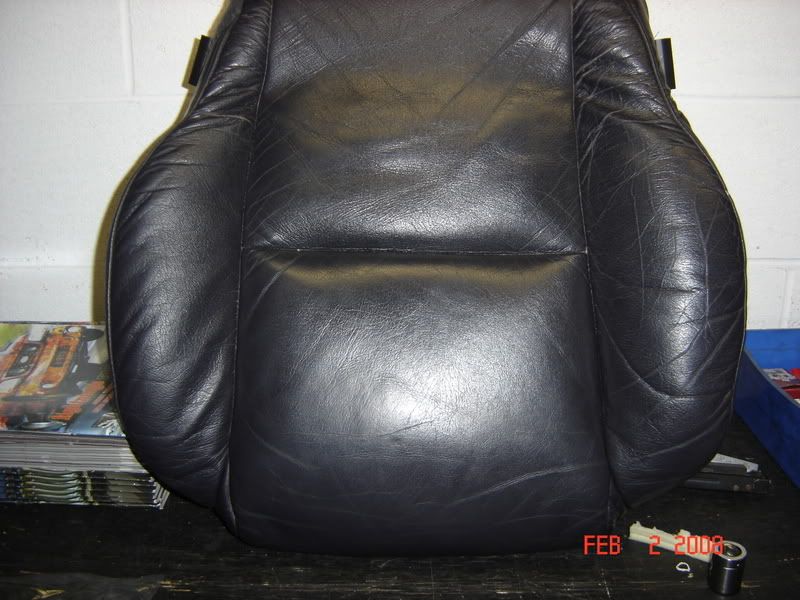
The seat base is definitely more complicated. Start it off by removing the lower seat trim/strip. It's basically a molded pinch lace that holds both the cushion and the cover to the base itself. It's a little tough at first, but as you remove it inch by inch it will get easier.

(Sorry I don't have a pic, but it's pretty obvious when you've got the seat in front of you.)


Once the foam/cover are removed from the base it's now time to remove the cover. Start by unrolling the sides to access the hog rings.

UnderdashHarness030.jpg


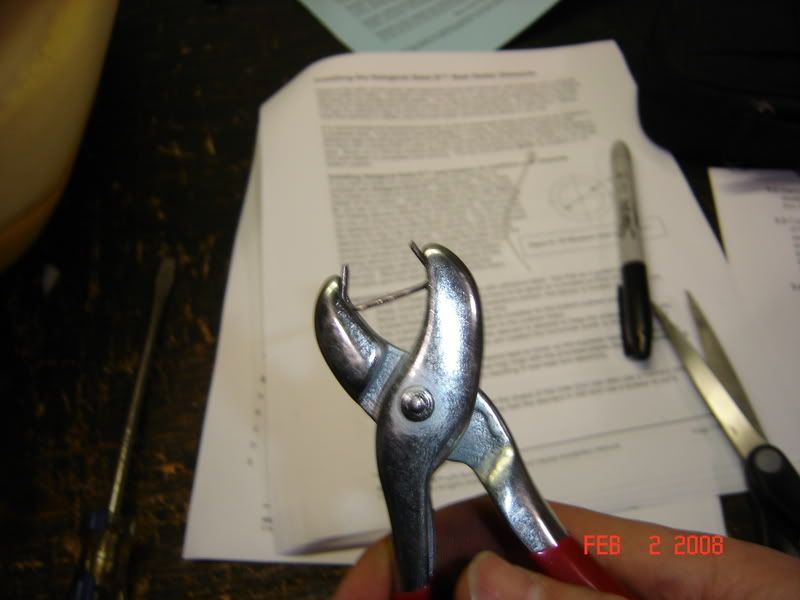
Make sure to keep track of how many HR's were removed and where they came from. There will be little tears and indents from the original HR's that will help for future reference. Remove and discard all 11 hog rings from the seat cushion. The cover should now be free and set aside.

UnderdashHarness008.jpg


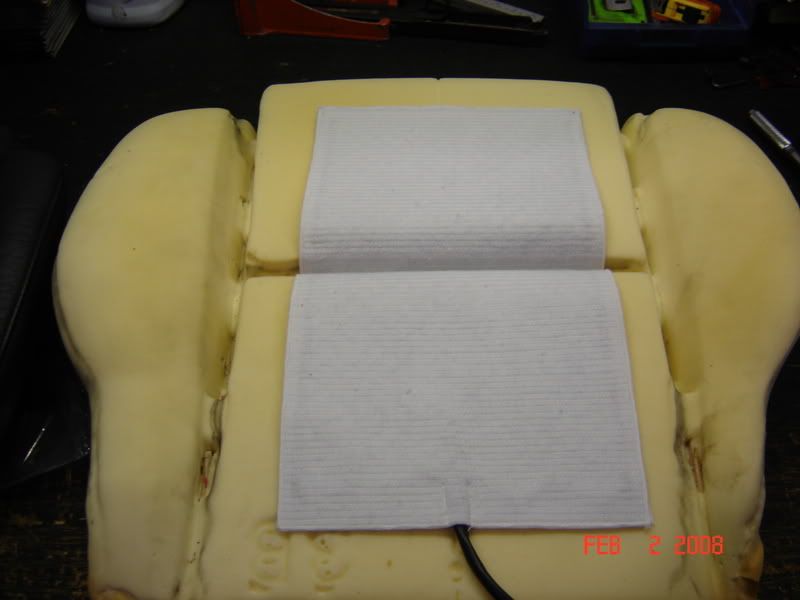
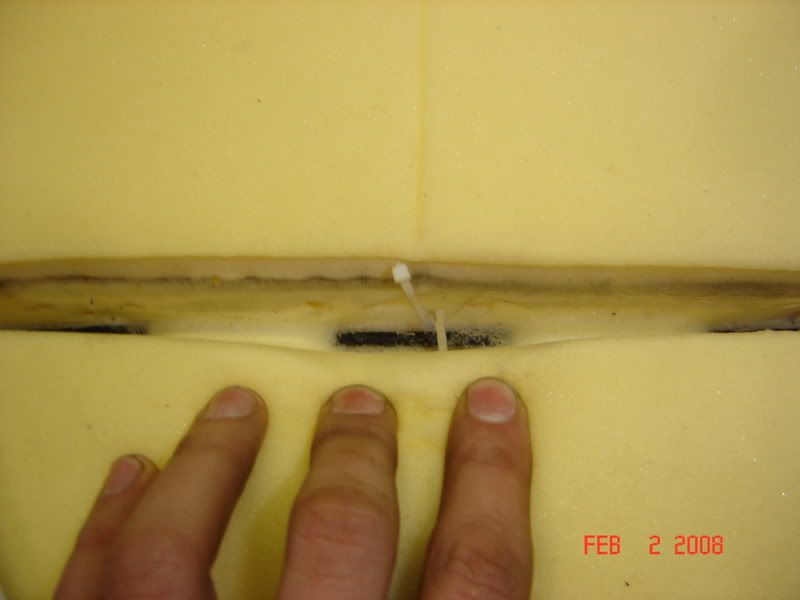
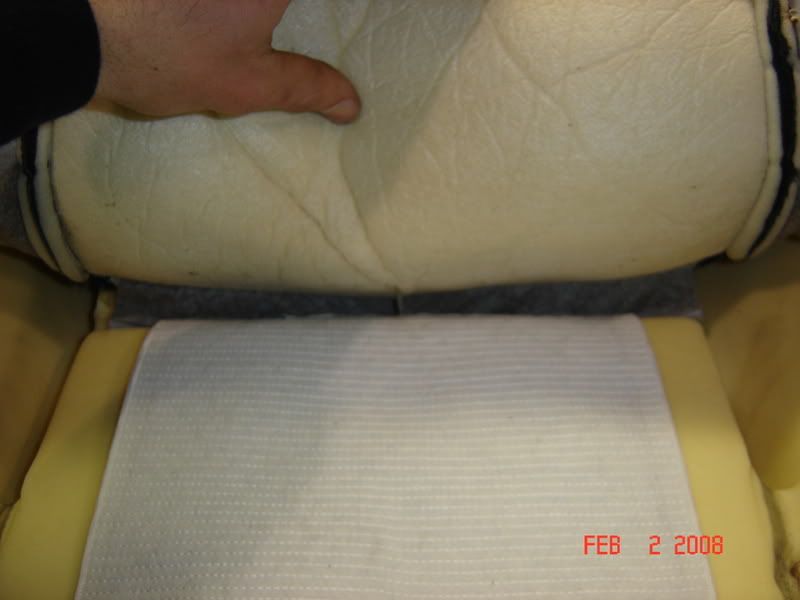
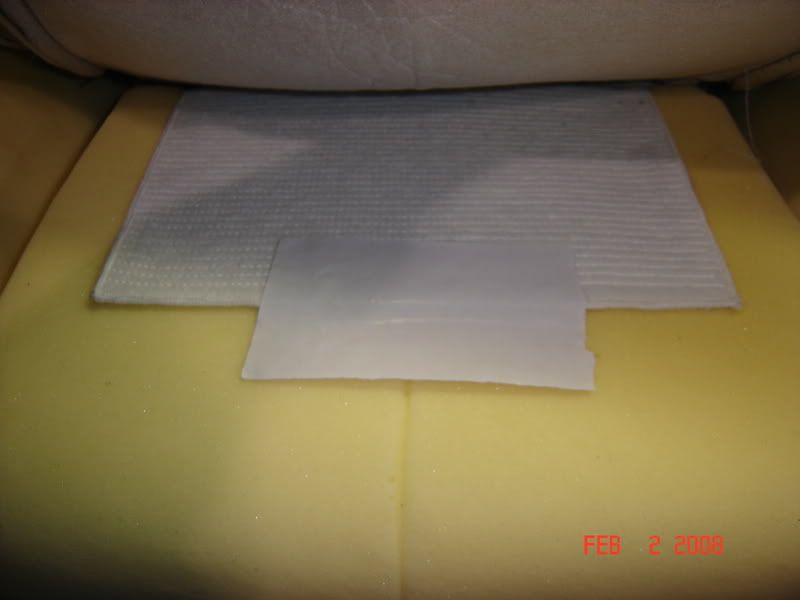
Start by laying out the heating pad and figuring where the cord will be routed as well as how the pad will fit into the channel in the seat. You may choose to position the pad further forward of aft of what's pictured. I chose the center. After deciding where the pad will be placed in the channel mark the center HR attachment place with a sharpie and remove the pad.

UnderdashHarness007.jpg


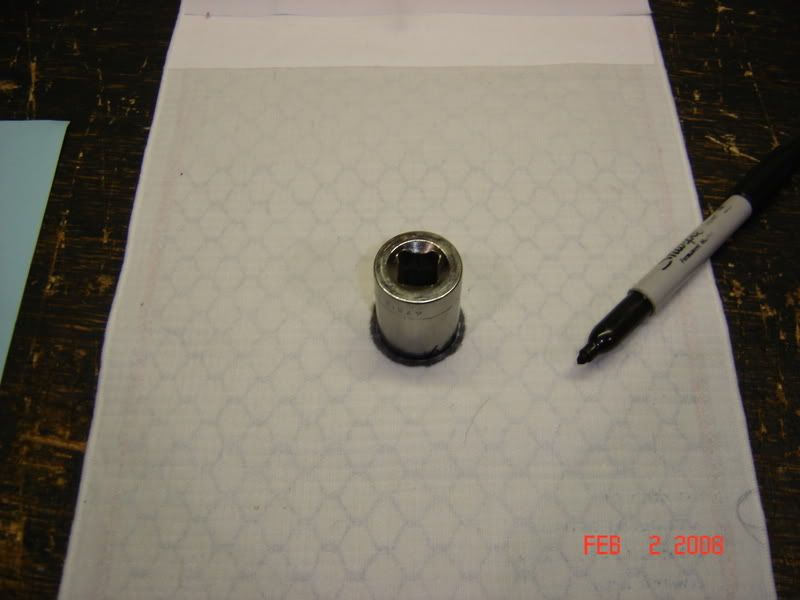
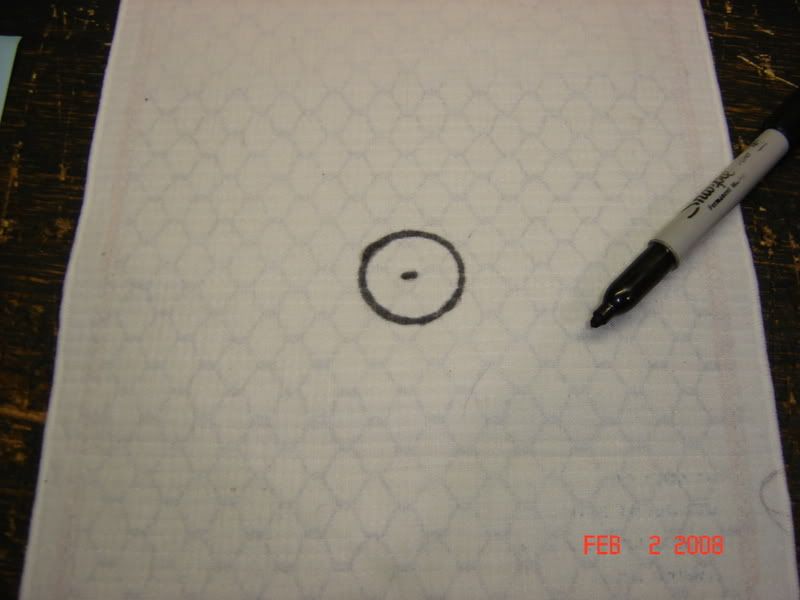
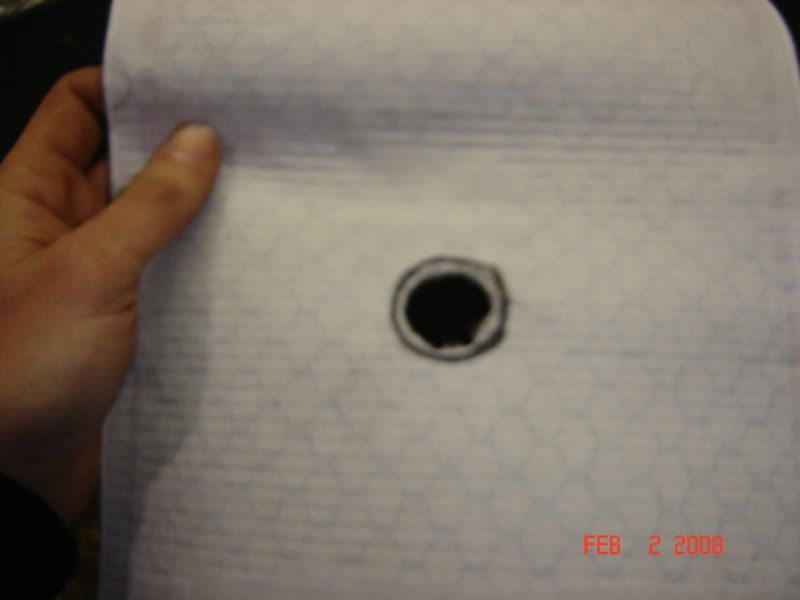
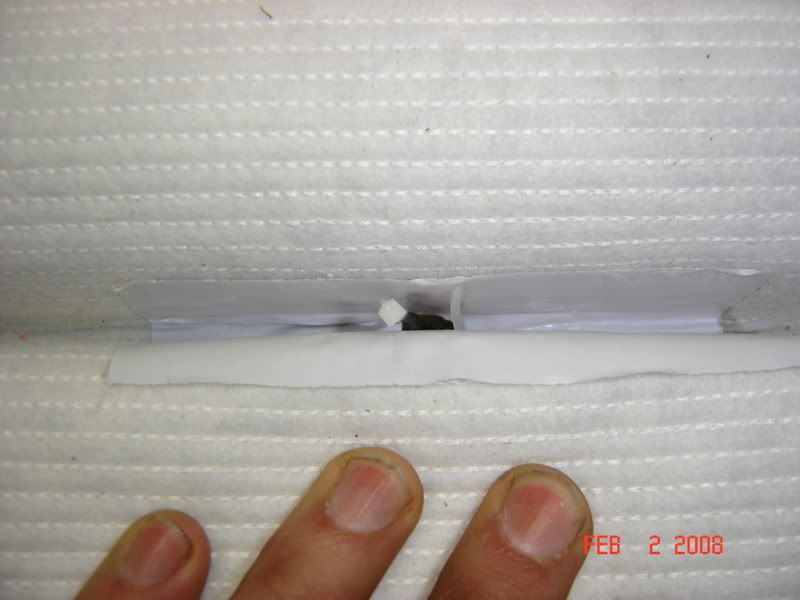
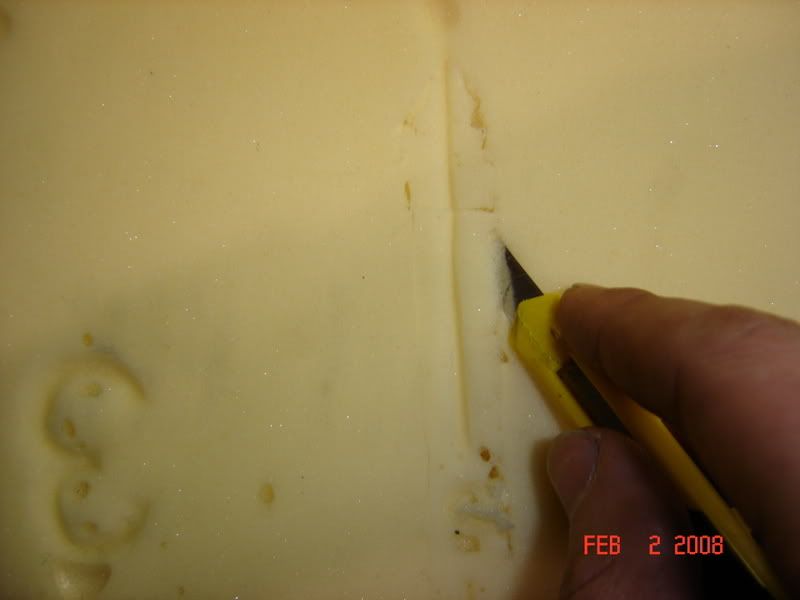
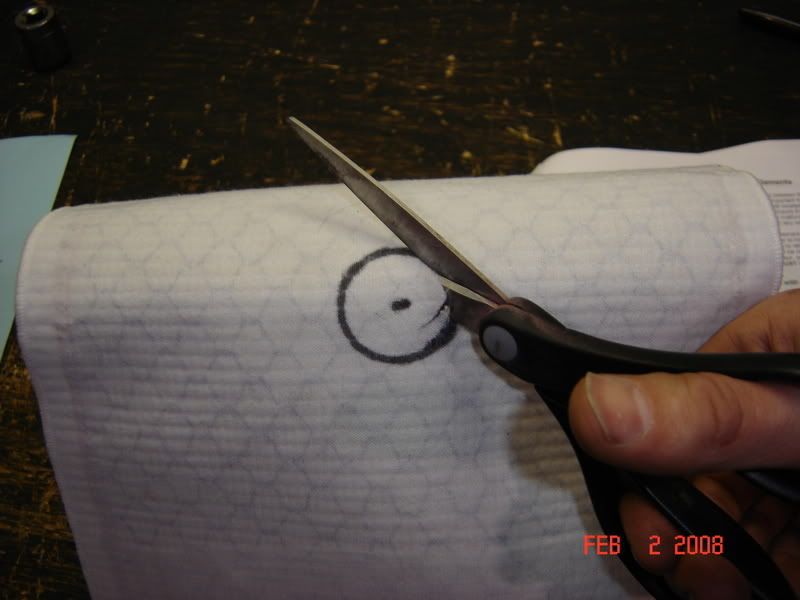
Now it's time to cut the "Hole inside a Hole" for the HR. ;D
I used a 7/8 socket to make my circle. I then used household scissors to cut the hole in the element.

UnderdashHarness009.jpg


UnderdashHarness010.jpg


UnderdashHarness011.jpg


UnderdashHarness012.jpg


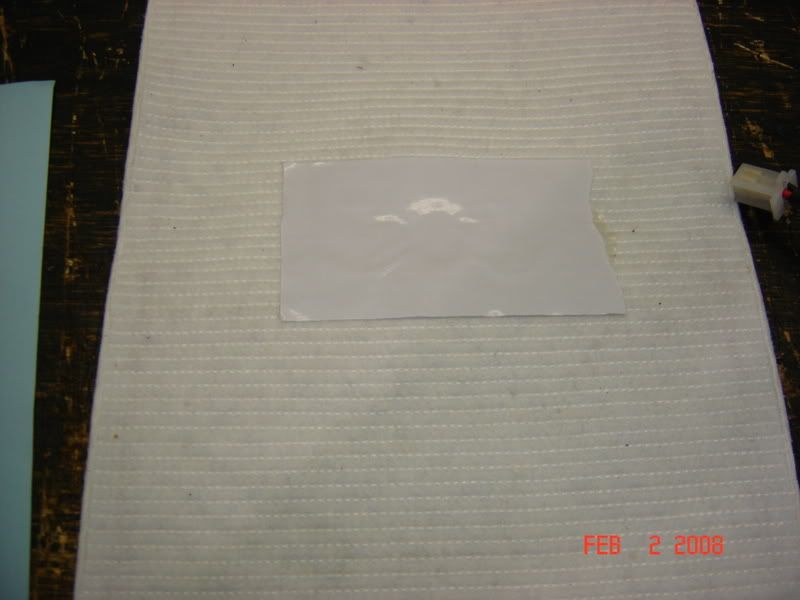
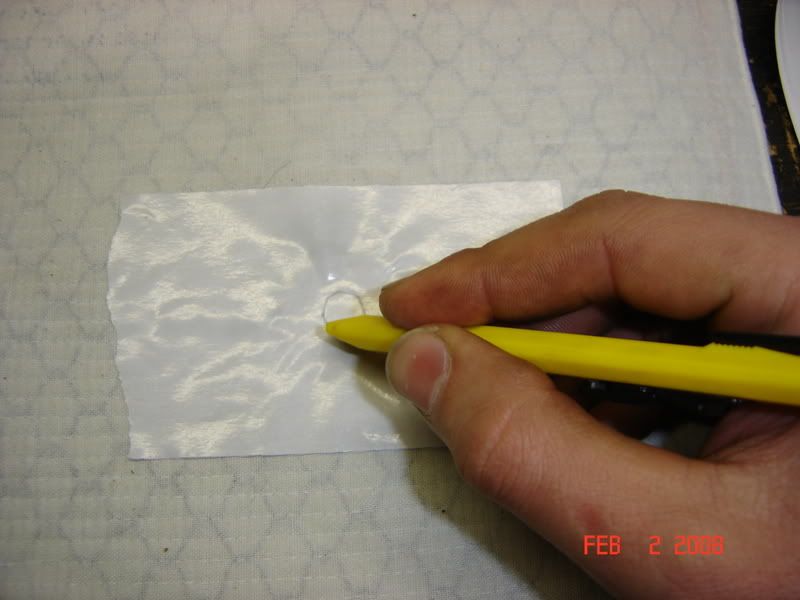
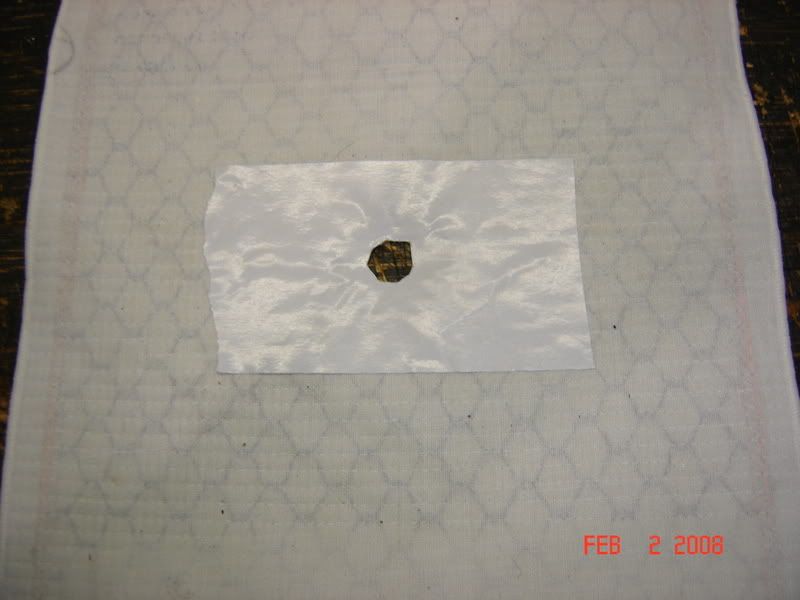
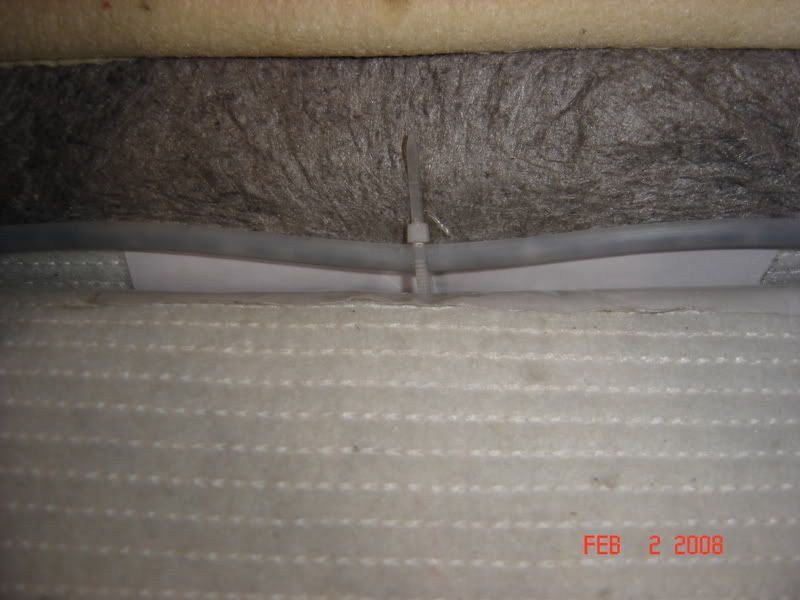
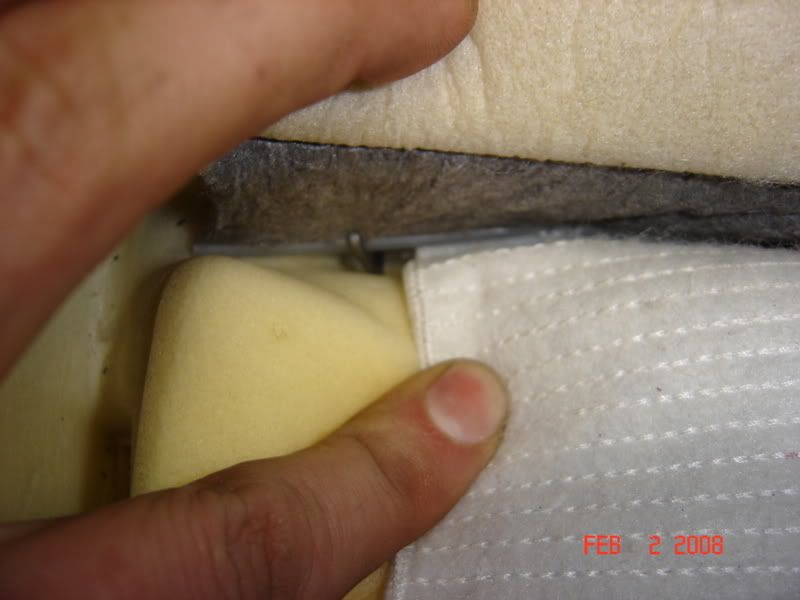
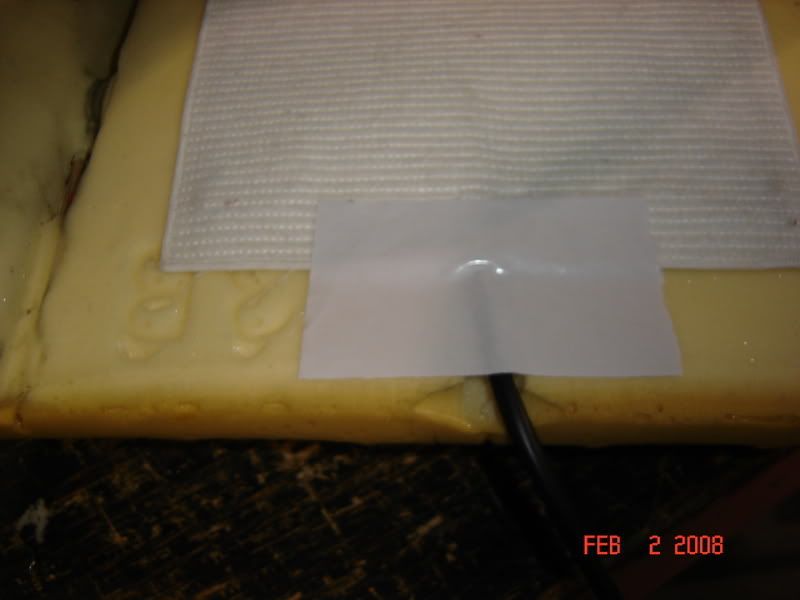
After cutting the hole in the element I tore one of the supplied pieces of tape in half to cover both sides of the hole with. I then cut a smaller hole in the tape to install the zip tie/HR

UnderdashHarness013.jpg


UnderdashHarness015.jpg


UnderdashHarness016.jpg


To be continued...
 
Last edited:
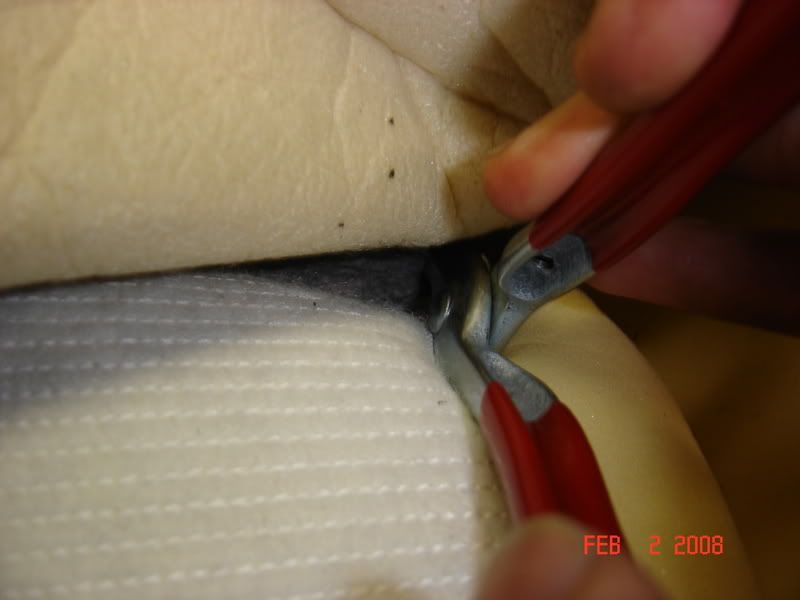
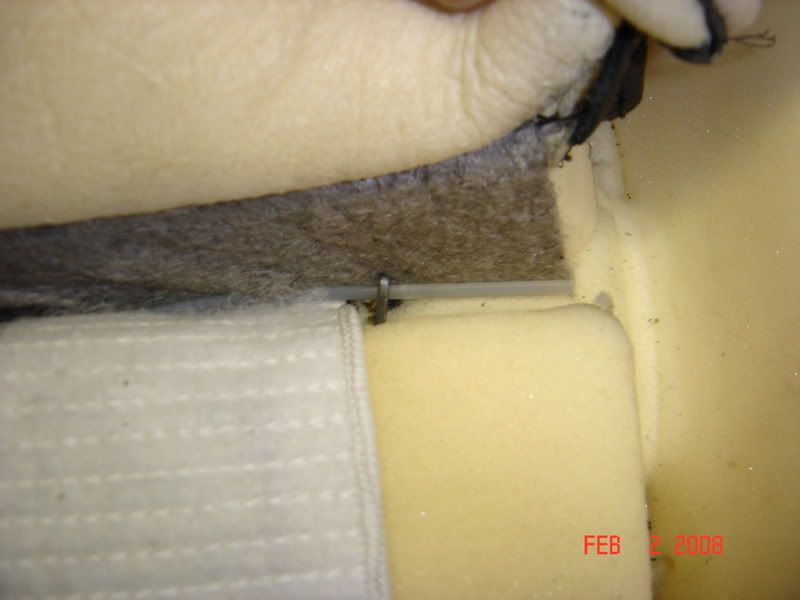
Now you're ready to secure the pad to the foam and reinstall the seat cover. Start by placing the supplied zip tie in place of the original center HR. Then fasten the cover to the foam through the hole in the element.

UnderdashHarness020.jpg


UnderdashHarness021.jpg


UnderdashHarness022.jpg


UnderdashHarness023.jpg


Now you can start to replace the HR's that were removed. I started with the outer channel.

UnderdashHarness024.jpg


UnderdashHarness025.jpg


UnderdashHarness027.jpg


After securing the channel I tore the other piece of supplied tape in half and used it to secure the front of the pad in place.

UnderdashHarness028.jpg


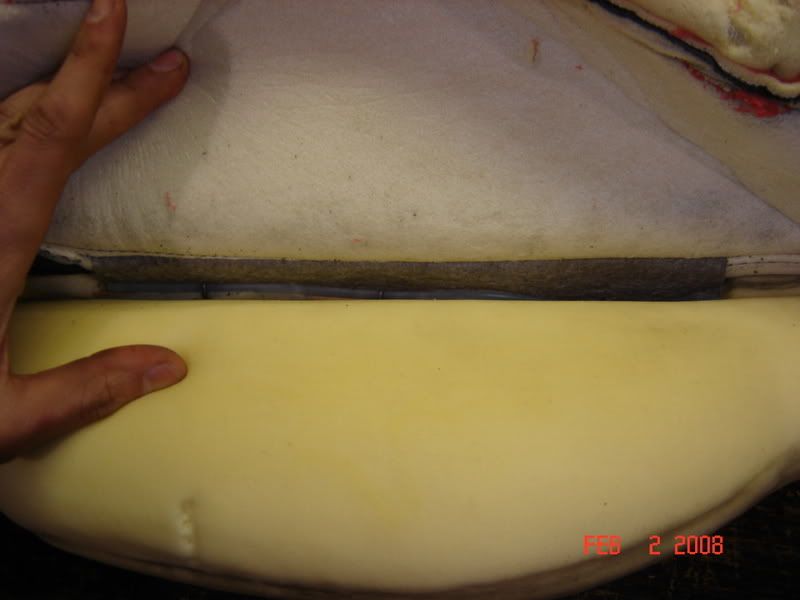
Also, don't forget to trim a small path in the foam to help conceal the wire in the back. I think my trim job was a bit heavy. You probably don't need to remove as wide a section as I did, but it still looked ok. I also used to other half of the tape to secure the back. Again, you can use glue, but I chose not to.

UnderdashHarness018.jpg


UnderdashHarness029.jpg


Continued...
 
Last edited:
Now can finish installing the rest of the HR's. I started in the middle and worked my way front and back/side to side. Kind of like a head torque sequence. Try to get the new HR's back in the same place as the originals and make sure that you are clamping the new HR's to equal lengths/shapes. This will help with overall appearance.

UnderdashHarness026.jpg


UnderdashHarness030.jpg


With the cover HR'd back into place, roll the sides back over the foam and secure it to the seat base with the integrated pinch lace. I started in the front/middle and worked my way around and back.

UnderdashHarness032.jpg


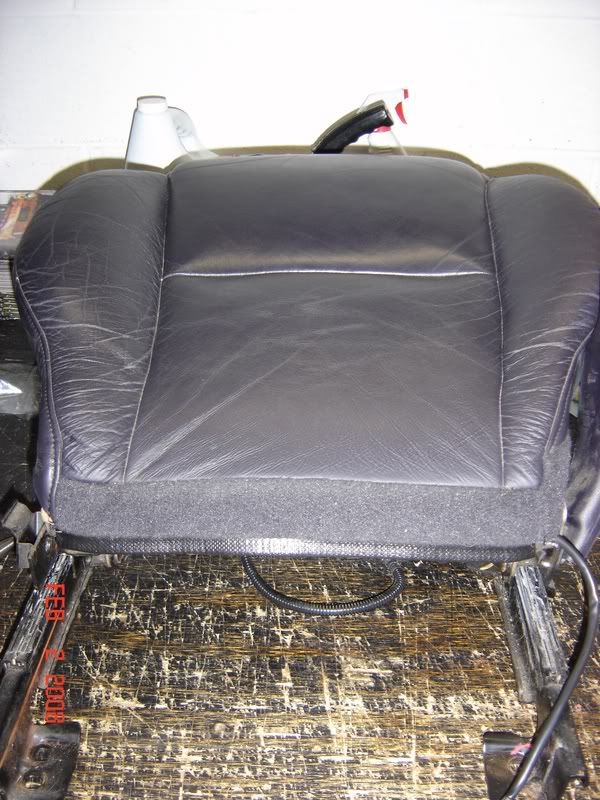
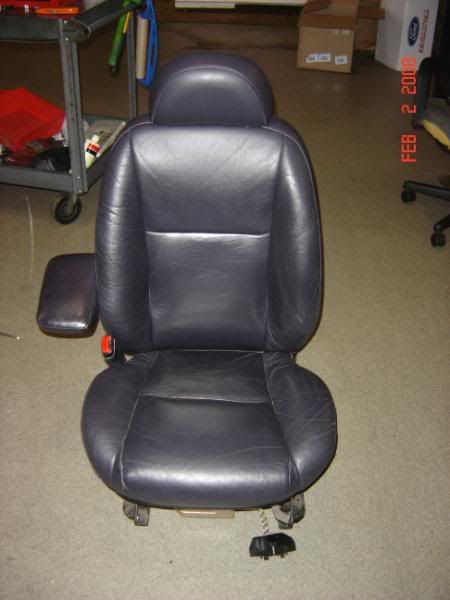
The seat base is now done and ready to reattach to the upper seat back.

UnderdashHarness031.jpg


Reattach the Torx fasteners to both sides of the seat.

UnderdashHarness002.jpg


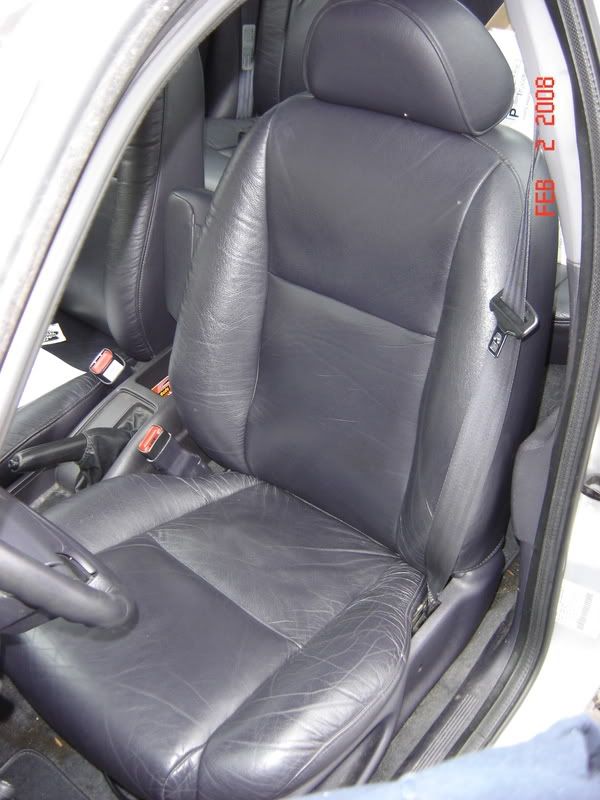
VIOLA! There you have it, nicely installed seat heaters.

UnderdashHarness036.jpg


UnderdashHarness038.jpg


UnderdashHarness037.jpg


As I stated in an earlier post I did not get to the electrical part yet, but I will post more as I do more.

Chris :)
 
Last edited:
ah.... ok, now I get the "hole inside a hole" part. Thanks, that helped me. Can't wait to start on mine.

Couple questions...
1) on the seat back, you just slid the heater element up the back to the horizontal channel and stopped it there. Are you not supposed to go any further or did you just choose not to?
2) if one were to use glue, what type of glue would be best to use? I noticed it said to glue the elements down but I don't recall it stating what type of glue to use.
 
ah.... ok, now I get the "hole inside a hole" part. Thanks, that helped me. Can't wait to start on mine.

Couple questions...
1) on the seat back, you just slid the heater element up the back to the horizontal channel and stopped it there. Are you not supposed to go any further or did you just choose not to?

I chose to only slide up to the channel. Once you make a channel in the element you've essentially reduced the size by about 2". I didn't think I'd gain anything by pulling the whole seat apart just to move the piece 4" up and lose 2" overall. Just didn't make sense to me. If you want to, you can definitely move it up higher on the seat back. Totally personal preference.

2) if one were to use glue, what type of glue would be best to use? I noticed it said to glue the elements down but I don't recall it stating what type of glue to use.[

I'm not sure what glue specifically. I would assume some type of spray adhesive (3m) would work nicely.

I did get the electronics done tonight, but will post the details tomorrow. Right now I got to get ready for the evening. :cool:

Chris
 
I was just wondering because I wasn't sure how far the heater element wrapped under the seat back. I figured if it wrapped below the seat back that I would go ahead and move it above the channel. And if I did that then I would just do the "hole inside a hole" thing again to attach it in the channel right?
I didn't think about 3M spray adhesive, I have some Super77 I think still.
 
I was just wondering because I wasn't sure how far the heater element wrapped under the seat back. I figured if it wrapped below the seat back that I would go ahead and move it above the channel. And if I did that then I would just do the "hole inside a hole" thing again to attach it in the channel right?
Right!

Again it's personal preference. I personally didn't want to disassemble the seat anymore than I had to. Also, I wasn't worried about heating my shoulders. It's only my ass that seems to freeze in the seat. :D

Chris
 
Electrical Installation

Electrical Installation

Here's what I did for the electrical stuff. Electrical is not my forte, but this seemed to work well for me. :)

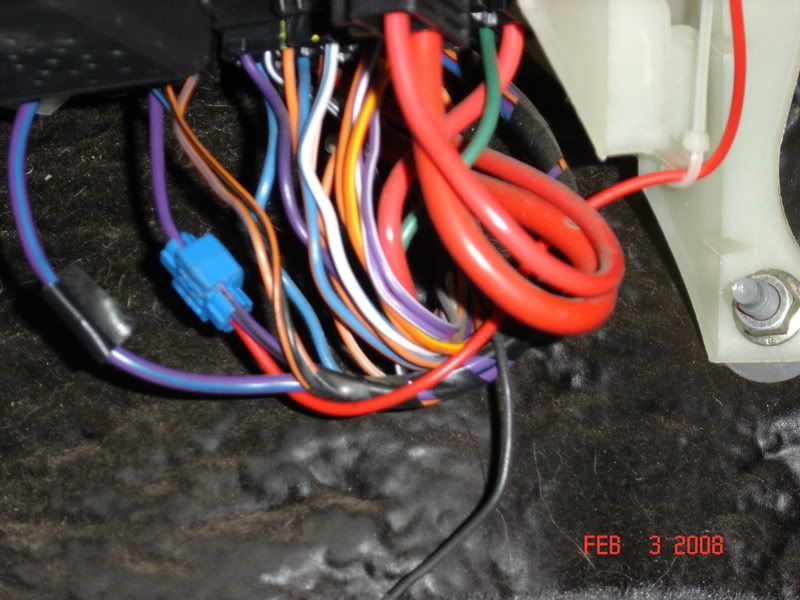
I spliced the power wire into the purple/black wire at the under dash fuse box with the provided connector. I can't remember exactly which circuit it is, but I know that it's either a 30A or 40A fuse that's linked to the ignition run circuit. It will only work with the key in the run position! I think it's the power windows circuit? (It was dark and freaking cold, we did the electrical in a hurry!)

UnderdashHarness042.jpg


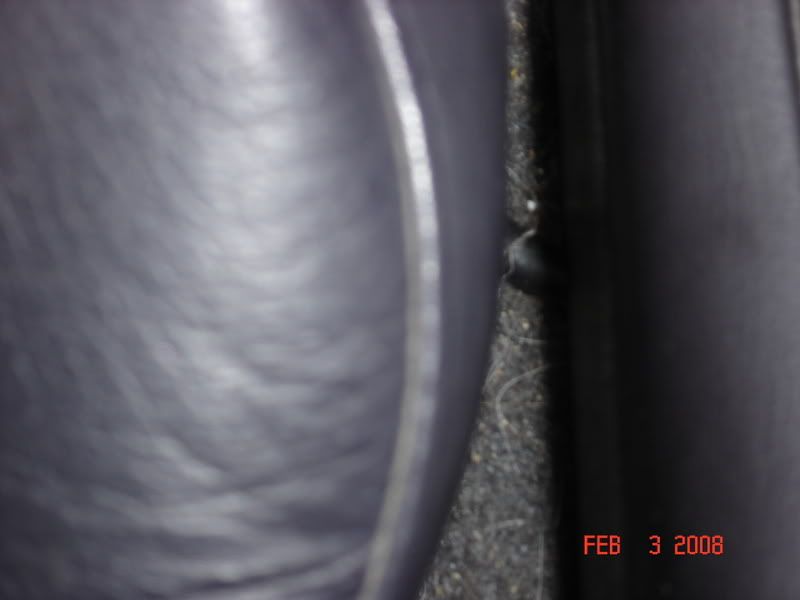
I fastened the seat heater wires to the base of the seat with zip ties and directed it out the front of the seat. I then ran it toward the console where I notched the side of the console for the wire to go into the console and be concealed. I made sure that I had enough slack to run the seat through its full range of motion and that it didn't get pinched if I lowered or raised it completely. You only see the wire if you're lying on the floor looking at the front of the seat or if you spread the seat apart from the console. :cool:

UnderdashHarness041.jpg


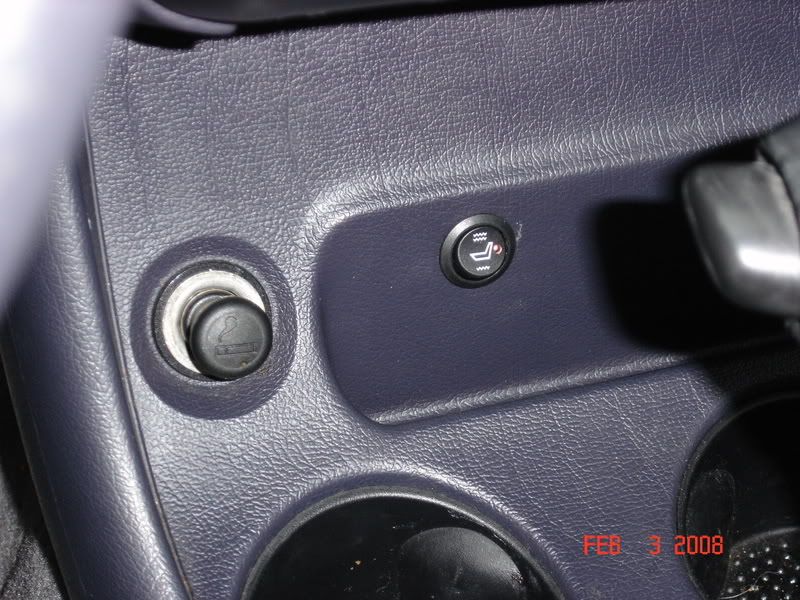
I zip tied the extra slack in a loop and placed it around the e-brake assembly under the console. I then ran the wire forward so I could mount the switch at the front of the console. I grounded the circuit by splicing into the cigarette lighter ground wire (black) with the provided connector.

(Sorry for no pics, but again it was freaking cold and I was not wanting to be out there longer than necessary.)

So that was it. I verified that the seat was only active with the key in "Run" so I don't run the chance of draining the battery accidentally. I used my friends whole saw that was a little small and then opened the whole to size by hand.

Two things I would have liked to change about the switch:

1.) Not scratch the damn console as I was positioning the drill :mad:

2.) Move the switch to the left just a touch more as it is currently pressing up against the electronics behind the console and making the button kind of pop out. It's not bad or ugly, but just annoying. (Last time I say it, IT WAS FREAKING COLD!) :laugh:

UnderdashHarness043.jpg


As with anything, you may choose a different route, but that's what I did and I'm proud to say that my ass is nice and toasty!!!

Chris
 
Last edited:
looks like everything is fairly straight forward. i cant wait for my heater to get here now so i can stop freezing my ass off in the mornings.
 
did you install only one seat heater or two?

Just wondering if you tapped into the same wire to power both or if you are using two different power sources for each seat heater?
 
I used a 3/4" hole saw and then used a 5/8" drill bit like a dremel to open the hole up a tiny bit more. Yeah I know it's pretty "Shade Tree", but I used the tools I had access to. :laugh:

With the limited amount of time I had at my shop, I was only able to do the drivers seat. I was thinking that I would tap into the same power source for the passenger side. Not sure exactly how that will work out, but I plan to do some homework before I start. I'll let you know.

Chris
 
Last edited:
I have Mystique leather seats in my car (that I swapped in). A lot of the above directions don't apply to me. First, I can just pull the leather right off the foam cushion, and pull the foam right out. The leather is held to the foam with velcro strips. There is no hog rings at all. All that needed to be done was remove a little piece from the foam for the cord. For the back, I had to remove the plastic trim on the side of the seat, and take out 3 torx bolts. Second, the little bladder in the seat back prevented me from taking it totally out; I couldn't figure out how to remove the hose for it. Finally, I didn't actually have to remove the whole seat to do this. I left it in the car, and just took the back off.

For everyone else putting stuff in: these aren't adhesive backed; they have tape on them, you pull the tape off and use that to stick it to the foam; they basically just sit on the foam. And second, I never understood the "4-wire element" thing. The fatter, bigger element goes on the seat bottom, and the taller, thinner one goes on the back.
 
Last edited:
Hey guys, how long did it take to get the heaters?
I ordered on 1/30 and they took my email, but I haven't got anything yet and no email either. :shrug:
Just wondering.
-J
 
Status
Not open for further replies.
Back
Top