tophe7d
CEG'er
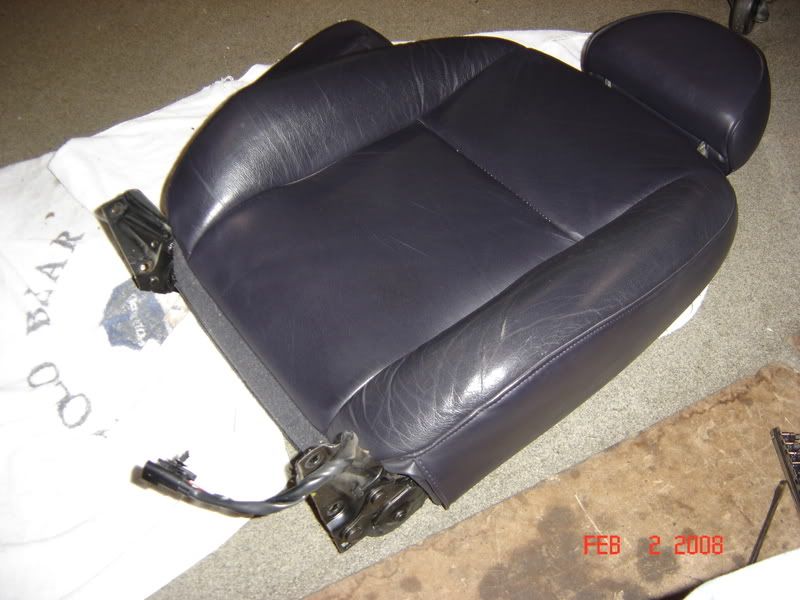
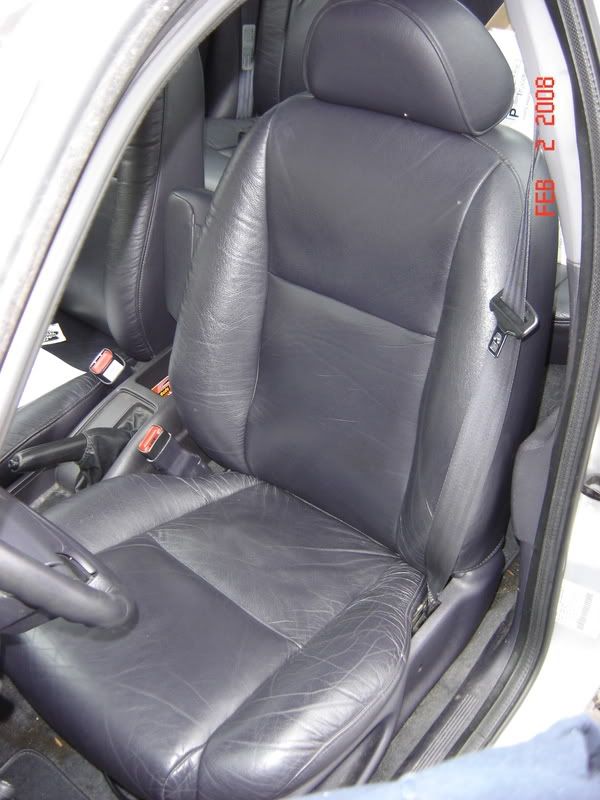
I'm off to work to start on the project. Hopefully you and I will both have a better idea once we get our seats apart. ")
Do keep us updated.
Chris
Do keep us updated.
Chris


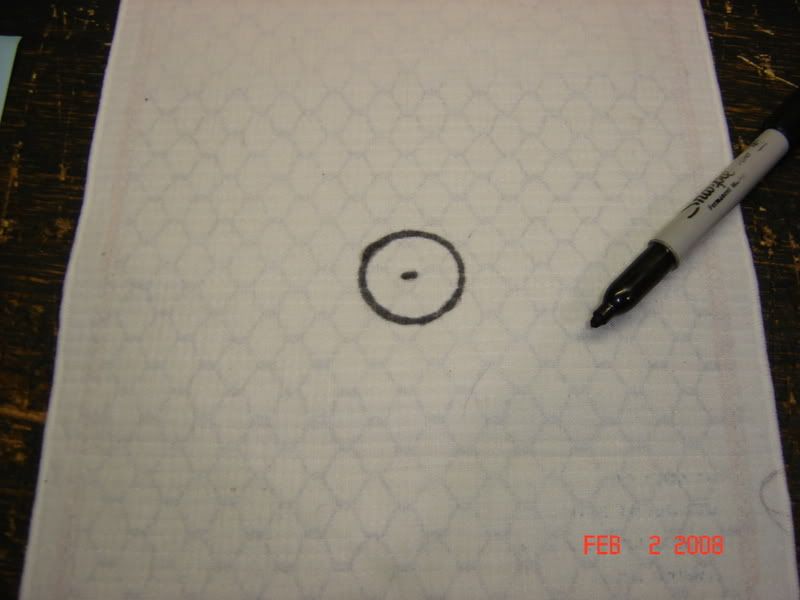
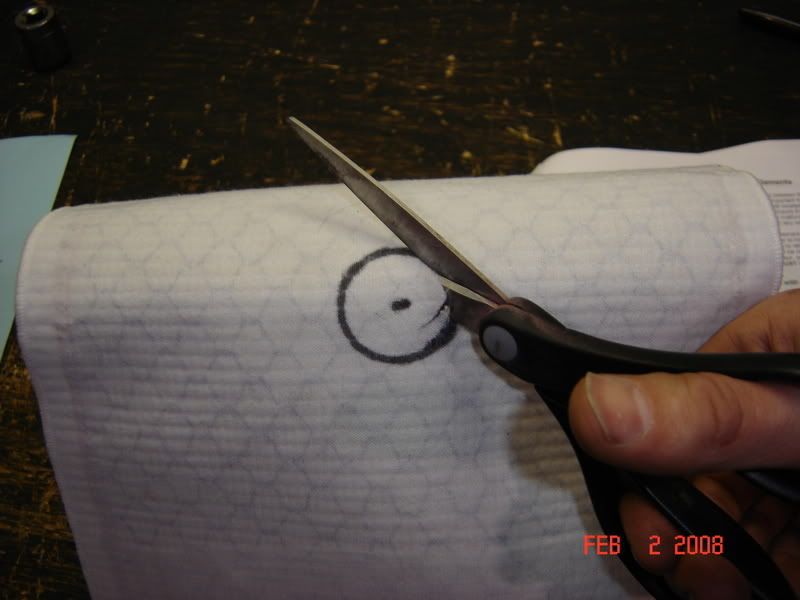
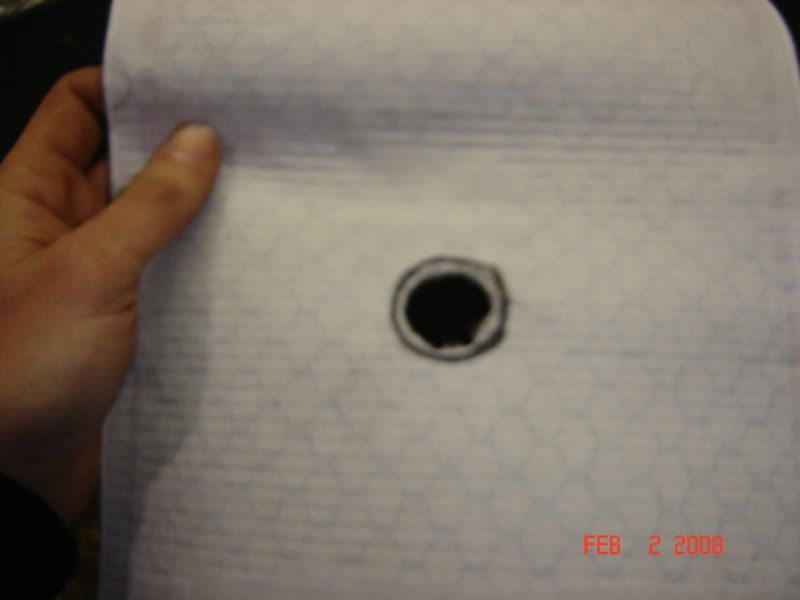

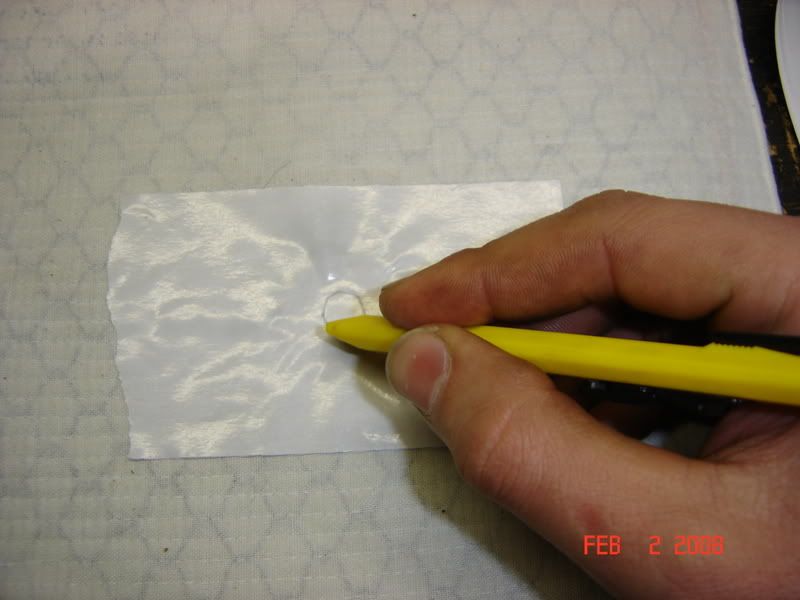
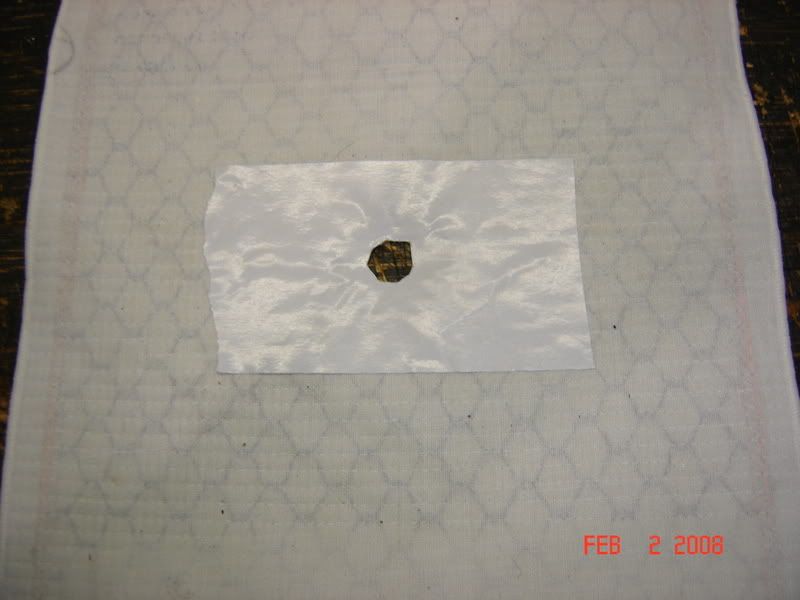

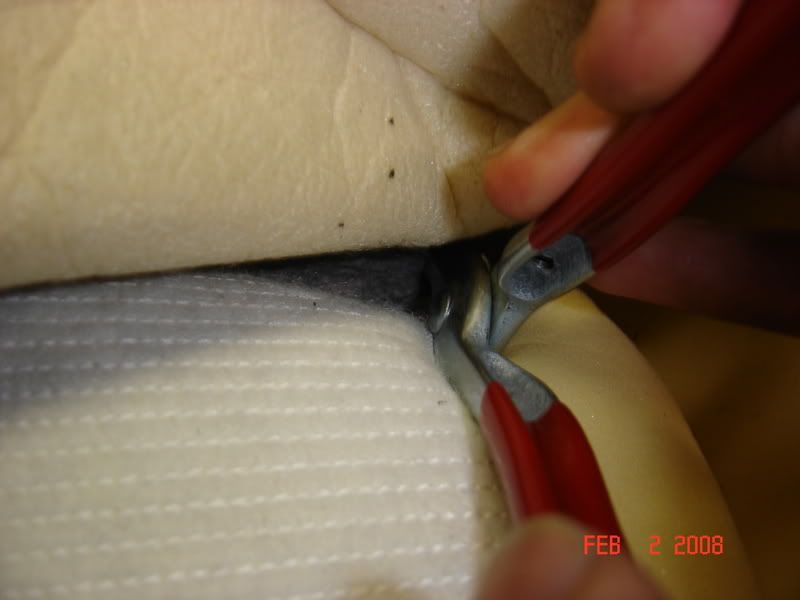
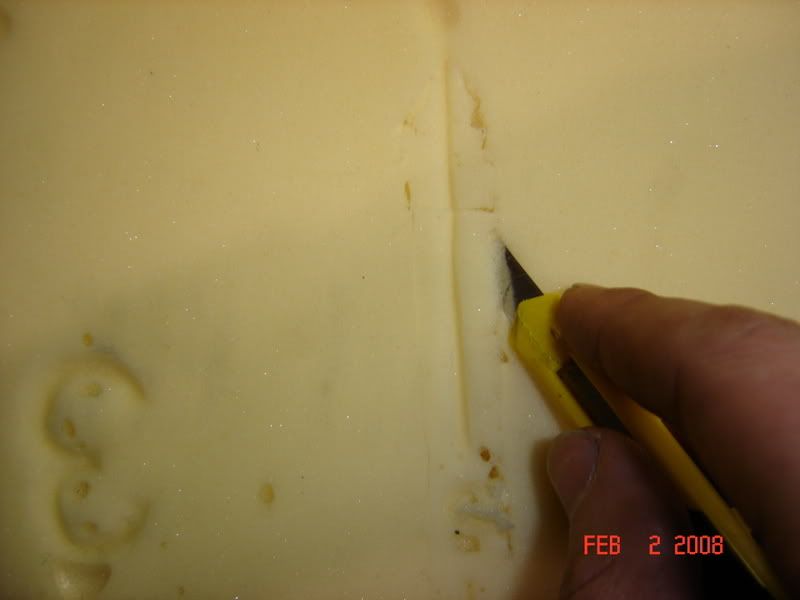
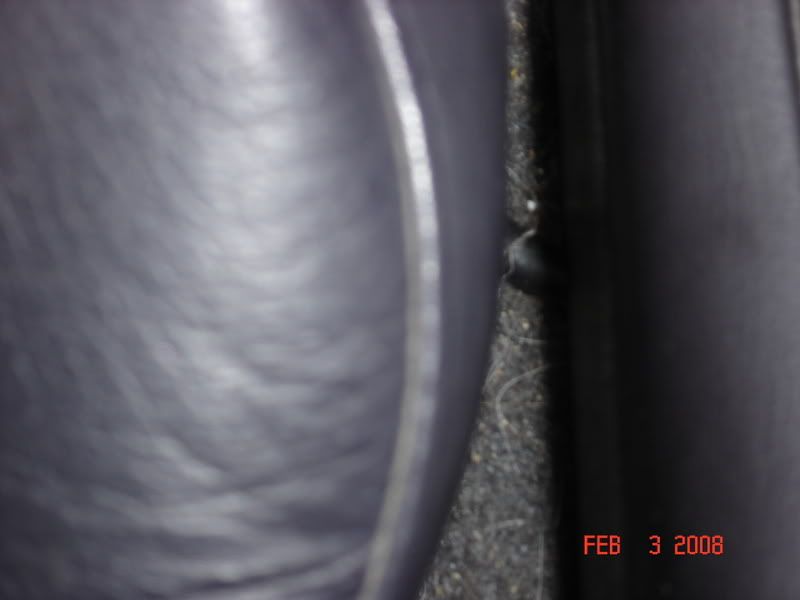
ah.... ok, now I get the "hole inside a hole" part. Thanks, that helped me. Can't wait to start on mine.
Couple questions...
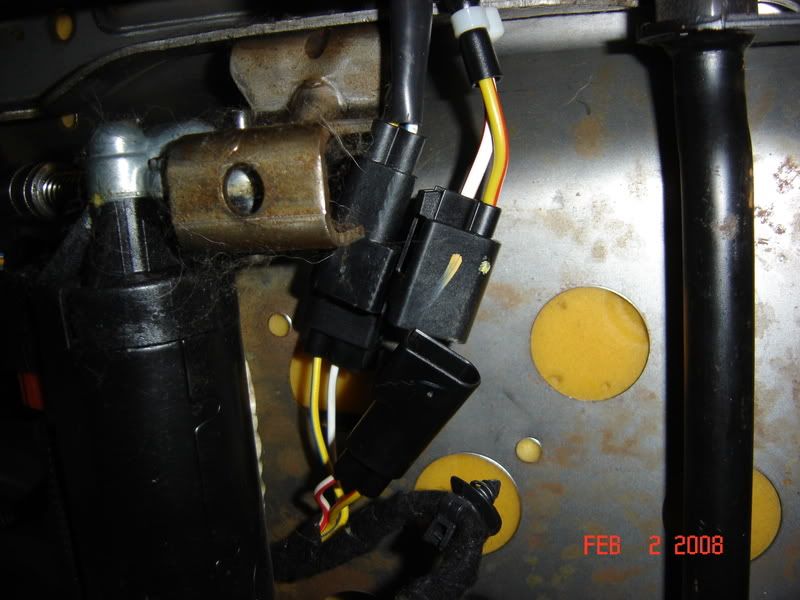
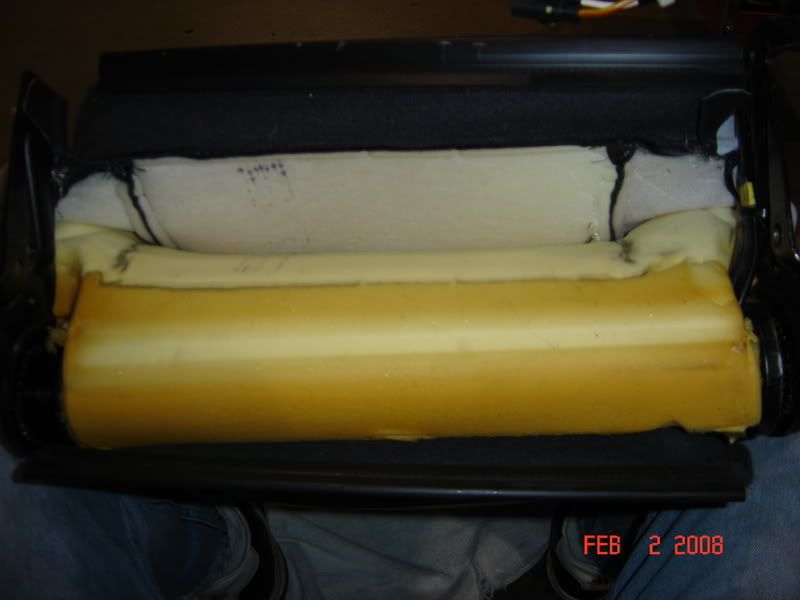
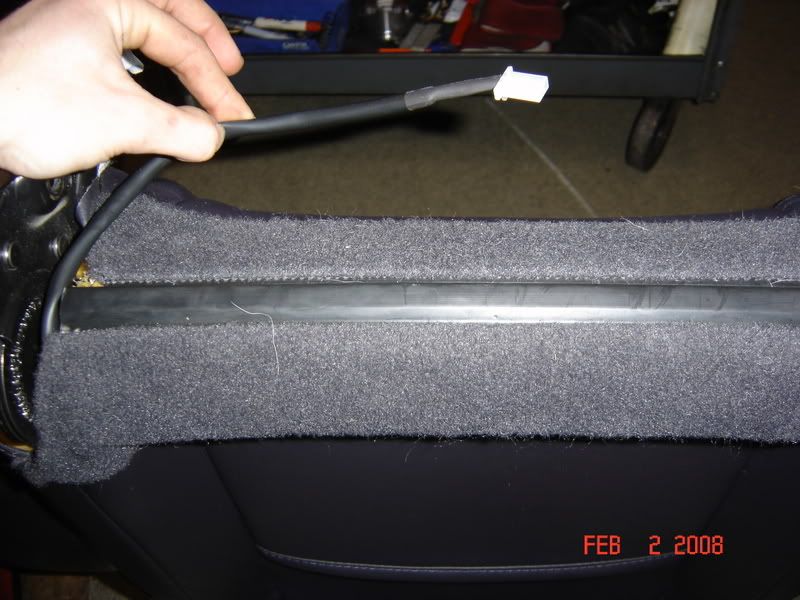
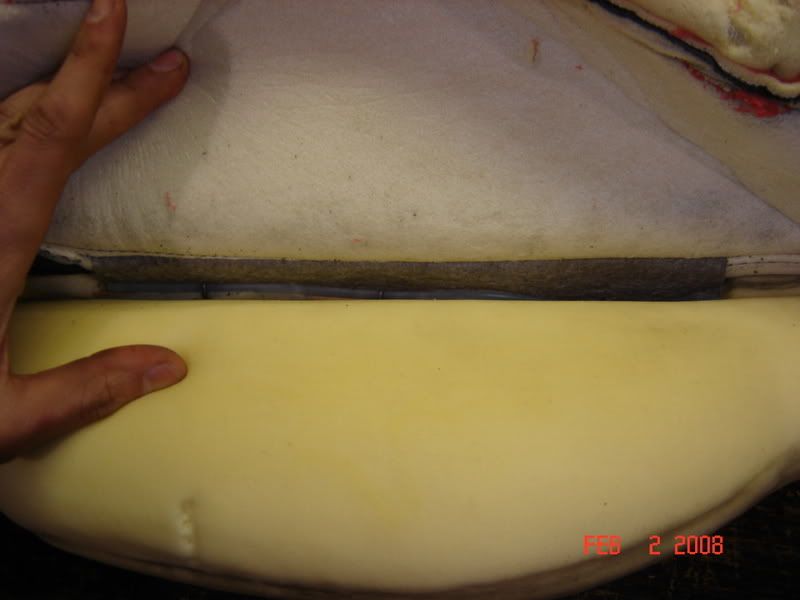
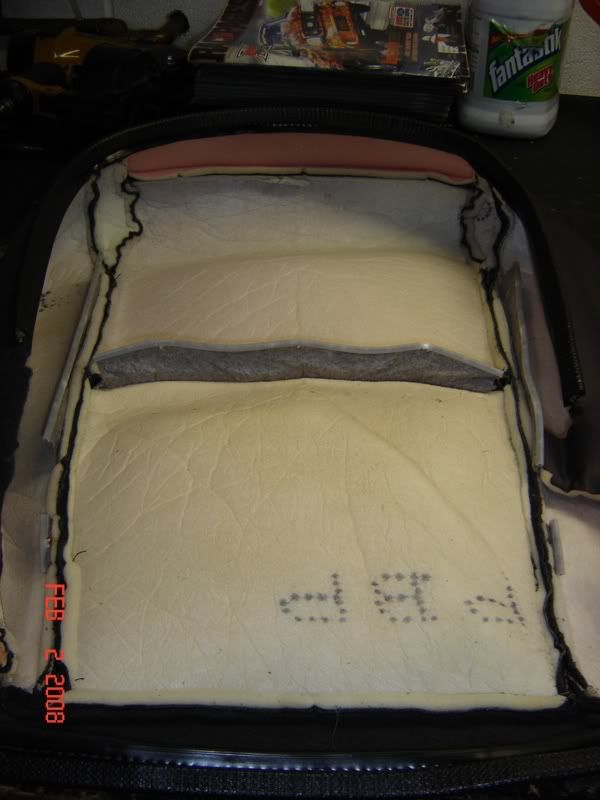
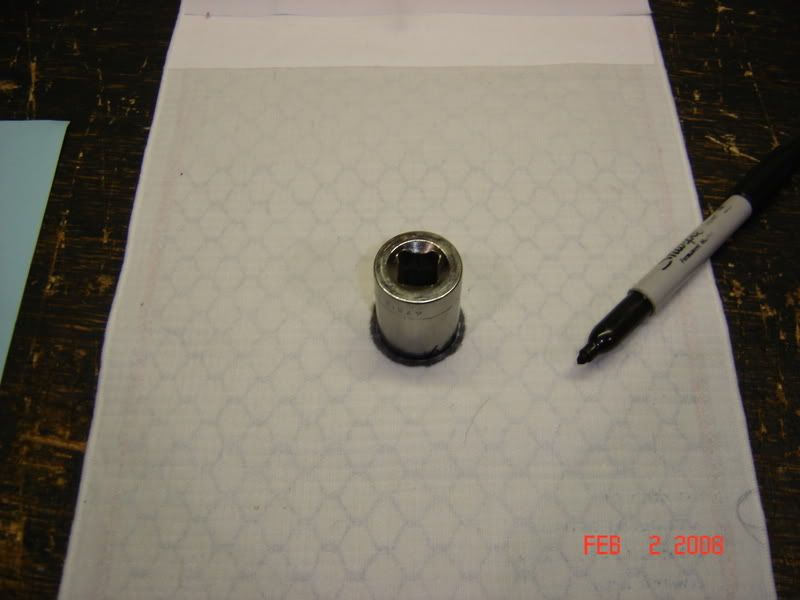
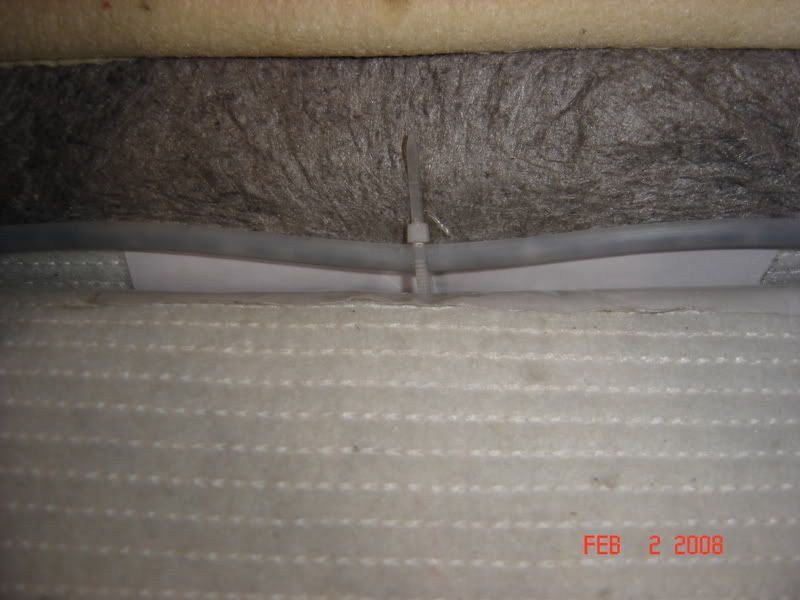
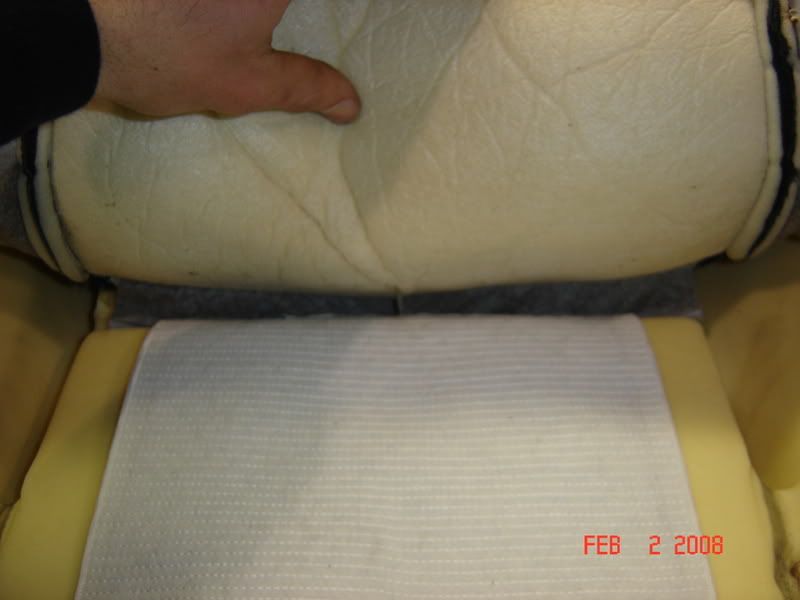
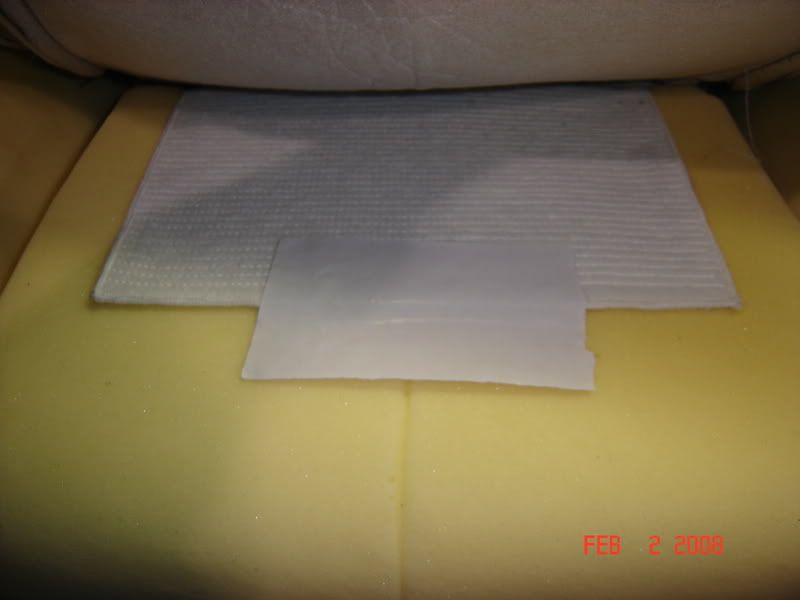
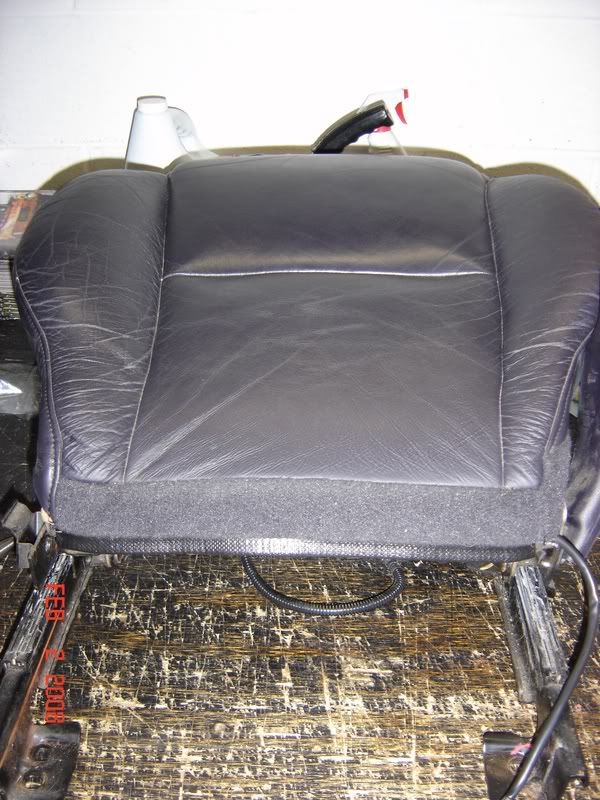
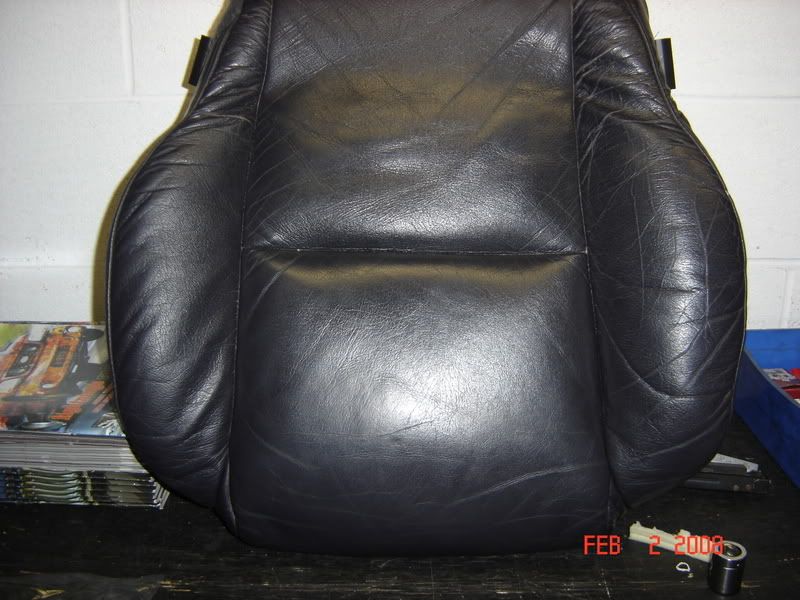
1) on the seat back, you just slid the heater element up the back to the horizontal channel and stopped it there. Are you not supposed to go any further or did you just choose not to?
I chose to only slide up to the channel. Once you make a channel in the element you've essentially reduced the size by about 2". I didn't think I'd gain anything by pulling the whole seat apart just to move the piece 4" up and lose 2" overall. Just didn't make sense to me. If you want to, you can definitely move it up higher on the seat back. Totally personal preference.
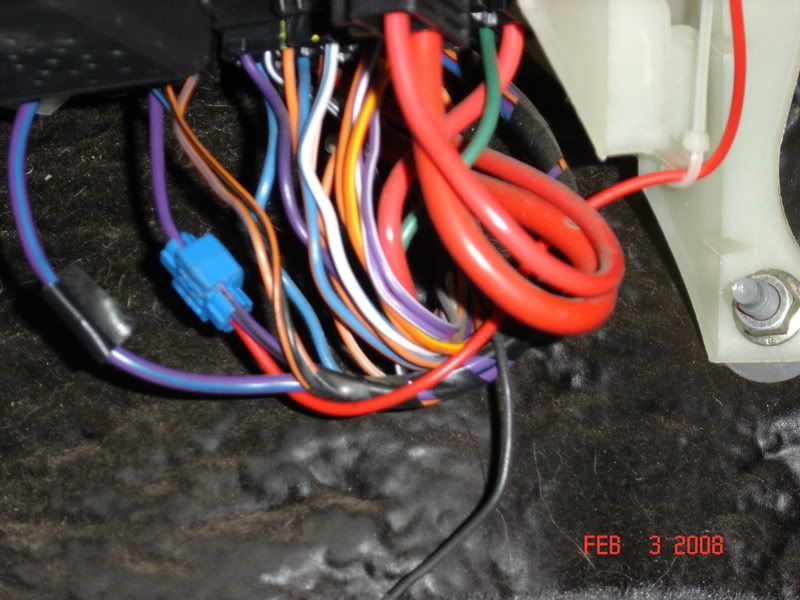
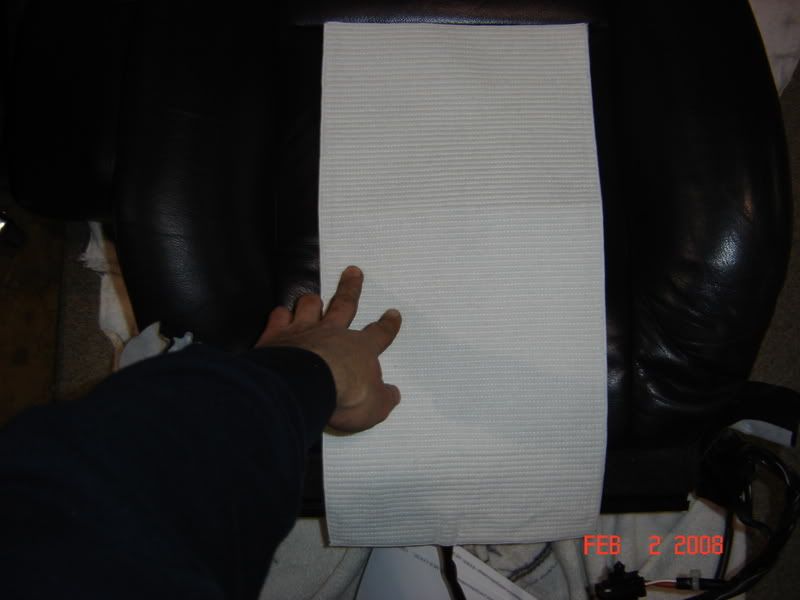
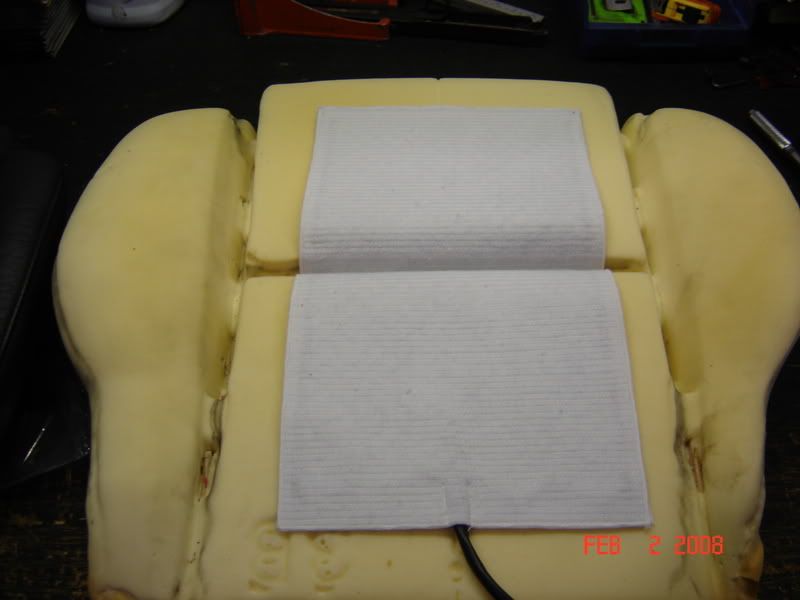
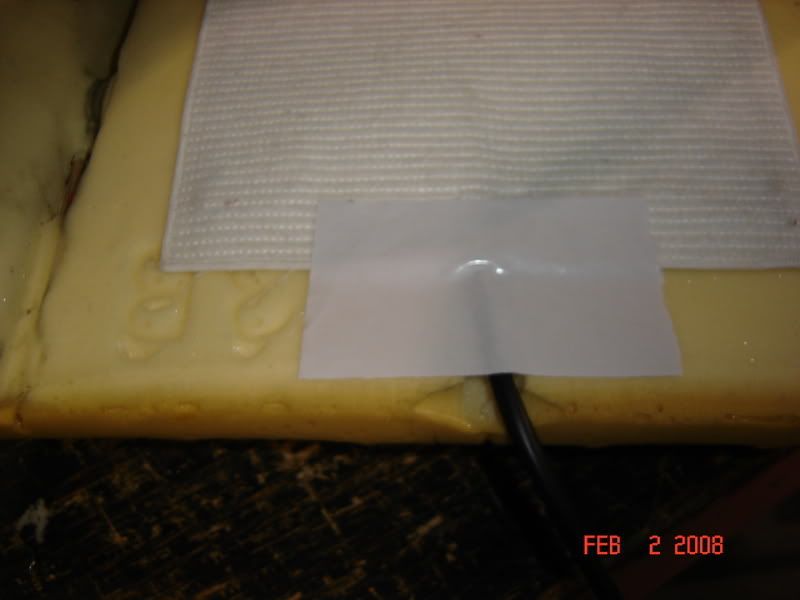
2) if one were to use glue, what type of glue would be best to use? I noticed it said to glue the elements down but I don't recall it stating what type of glue to use.[
I'm not sure what glue specifically. I would assume some type of spray adhesive (3m) would work nicely.
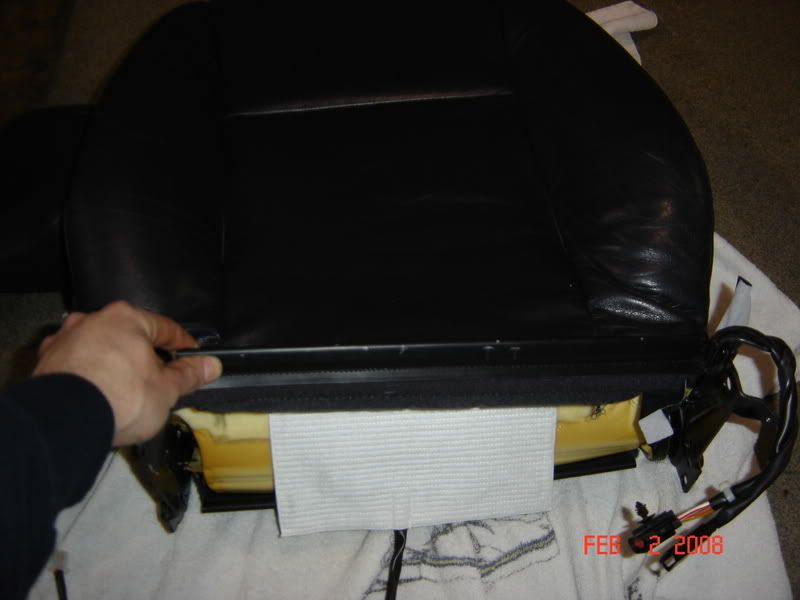
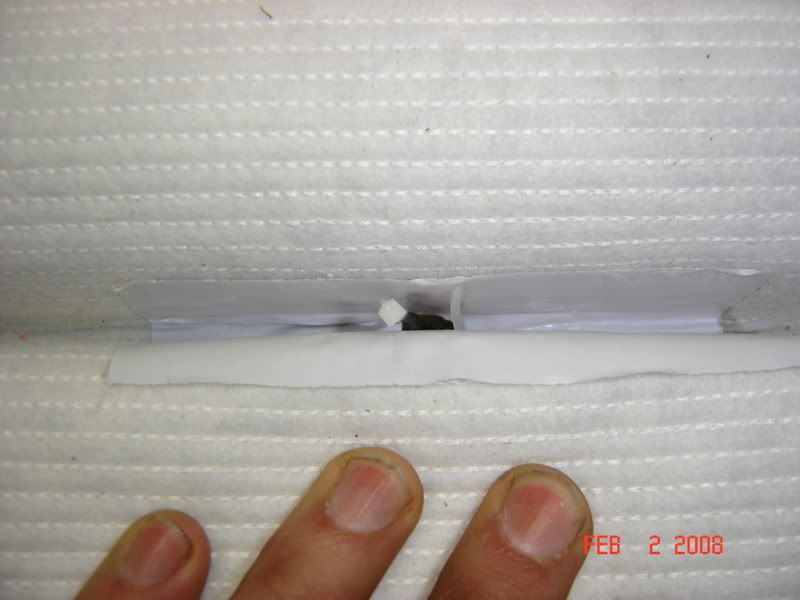
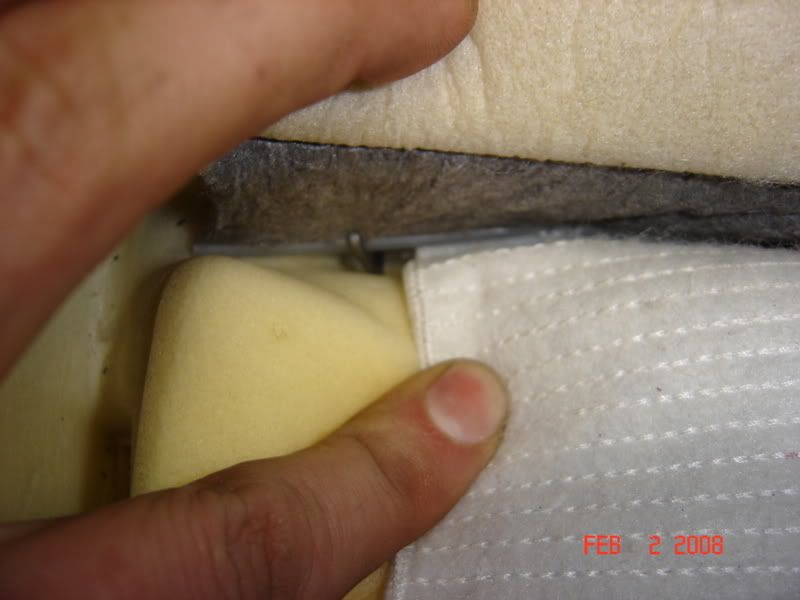
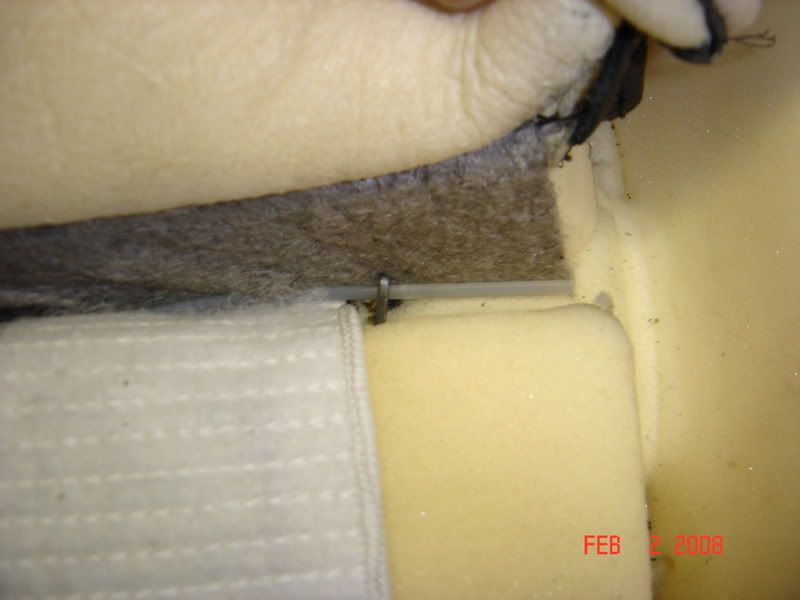
I was just wondering because I wasn't sure how far the heater element wrapped under the seat back. I figured if it wrapped below the seat back that I would go ahead and move it above the channel. And if I did that then I would just do the "hole inside a hole" thing again to attach it in the channel right?