• Welcome to the Contour Enthusiasts Group, the best resource for the Ford Contour and Mercury Mystique.

    You can register to join the community.

RP RSTB kit

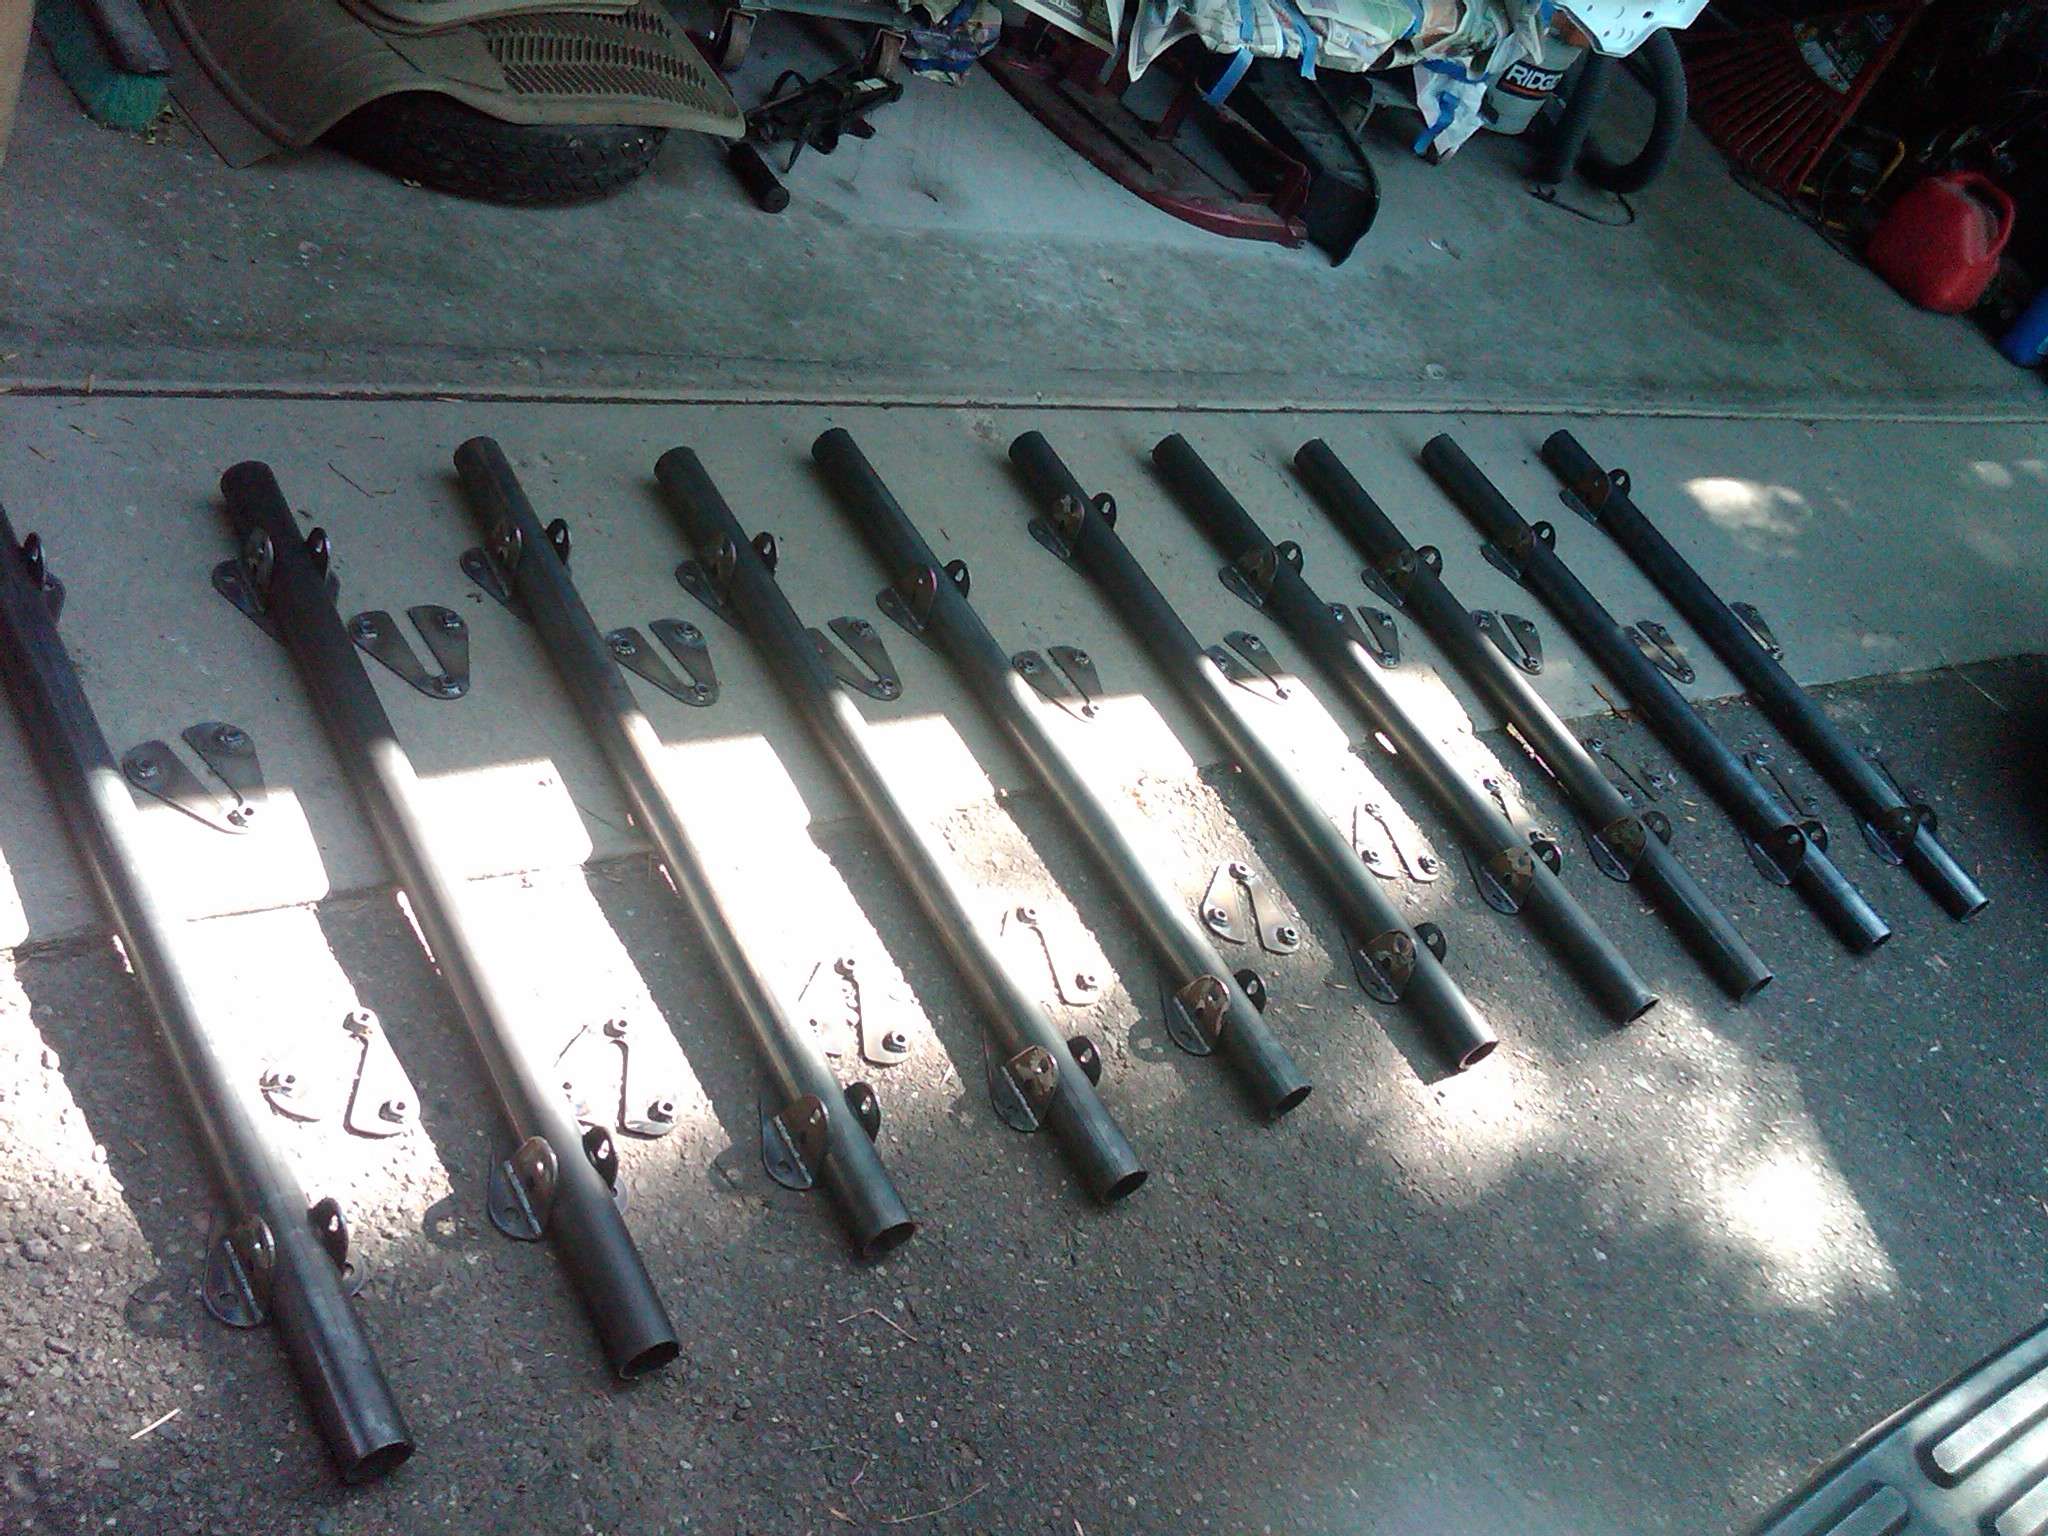
I'm waiting on some straggling brackets to come in, but I'll have 10 complete RSTB's with what I have now (but since only 8 people have paid, accounting for 9 bars, that should be fine :nonono:). I'll be bead blasting the brackets tomorrow morning so they will be ready for paint or what have you as well as cleaning up the cross braces and drilling the mounting holes in them. Then for the people that order the powder coated brackets those will be coated tomorrow as well. Should have kits starting to ship next week.

and now pics...

rstbs70811parts.jpg

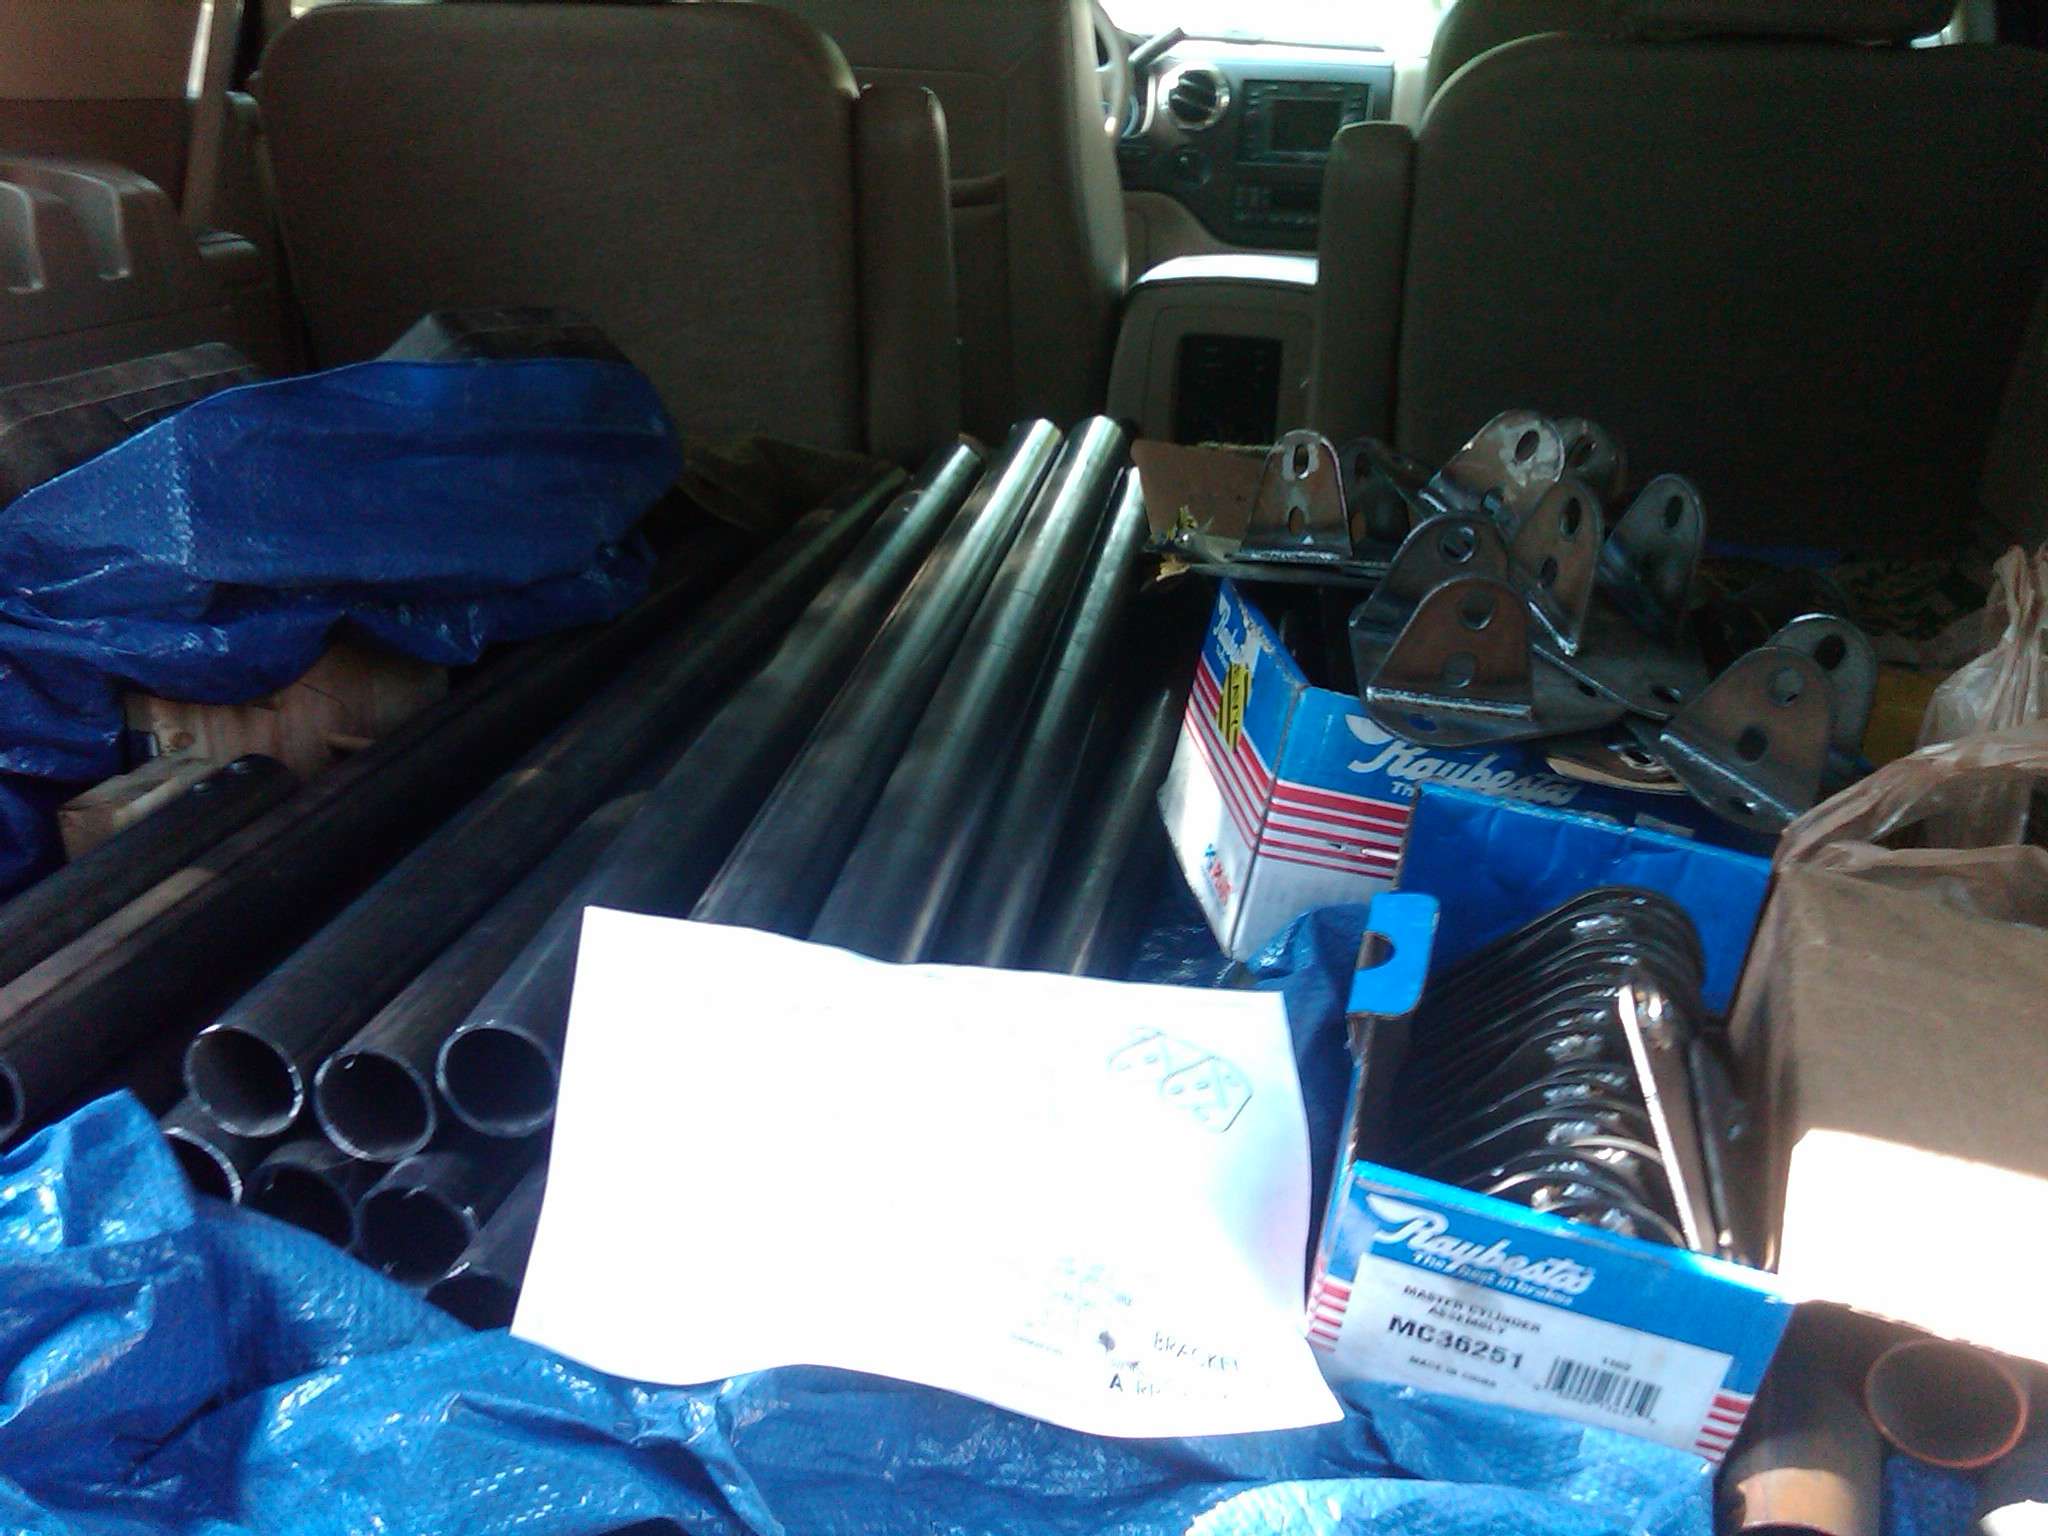
rstbs70811kits.jpg
 
What brand of powdercoat do you use Mike? Maybe I will just pay you to coat mine in the red to match my front strut tower bar and calipers.
 
What brand of powdercoat do you use Mike? Maybe I will just pay you to coat mine in the red to match my front strut tower bar and calipers.

My oven isn't large enough to coat the cross bar. I can only do the brackets for you. Most of the powder I own comes from Eastwood.
 
mike if you need some differnt stuff you cant get at eastwood let me know. i work with liquid and powder paint for a living.
 
My oven isn't large enough to coat the cross bar. I can only do the brackets for you. Most of the powder I own comes from Eastwood.

Oh ok...guess the bare kit is fine then. I will have my buddy do everything up in the red to follow my theme. Thanks for letting me know.
 
Just an update: I had some hold ups with the box supplier, but I should be picking up the bundle of boxes tomorrow afternoon. Also at this point I still only have 10 complete kits, so if anyone else pays they will be waiting for the next shipment of bracket piece parts to come in, which then will need to be welded (should only take one afternoon). However I currently do not have an ETA on the shipment of those parts. That said I am 100% confident the 10 kits, which are currently paid for, will be in FedEx's hands by Sunday. So everyone should have their RSTB kit by the end of the day Friday. Thanks for your patience.
 
Paypal orders have been updated with tracking information. Most shipments are looking like they will be delivered by Thurs/Fri some may not make it until Mon next week.
 
Just wanted to provide another update here...

Most of you ordered the bare kits. I know I said it would be as welded... but I decided to go a bit further and bead blasted all of the brackets for everyone that ordered the bare kits. That way when you get them you shouldn't need to really do much prep work to paint them or whatever your fancy for a surface finish. Well when I went to package all of the kits I noticed that due to the ridiculous humidity we've been experiencing in MN a lot of the brackets had started showing surface rust. Well I wasn't about to send you guys a box of rusted parts. So I took the time and re-blasted all of the bare brackets. When I was finished I then sprayed everything down with WD40. Because of this extra work it put a delay on shipping. However I dropped off all of the kits tonight at FedEx so everything is on it's way. Tomorrow once everything has been updated on FedEx's website I'll update the first post with estimated delivery dates for everyone. Most of you are in the 2 day shipping range so I still feel a lot of you should receive the kit by Friday in time for the weekend. However some of you may not get it until Mon morning. Those of you on the coast may not see it until Tues.

Please post pictures when you get them installed. I hope everyone is happy with them.
 
Installation Instructions

Installation Instructions

I did not include installation instructions, but the kit is pretty straight forward to install. Here are some instructions though to ease the installation.

Tools/Materials Needed:
-punch
-hammer
-1/2" drill bit
-drill
-9/16" socket and ratchet,(Note: torque wrench capable of 35ftlbs recommended)
-9/16" open end wrench
-jack
-jack stand
-old towel or shop rag
-paint/permanent marker
-primer/sealer
-grinder - optional, but recommended

Detailed Installation Instructions: (This is one way to install the kit. I found it easier doing it this way, however there may be alternative installation methods the others may prefer.)
1. Remove trunk carpeting on the sides.
2. Place backer plate (u plate with weld nuts) inside of trunk aligning the bottom of the "U" with the bottom of the stamping underneath the left tower (weld nuts facing out).
3. Using the marker, mark the where the holes are on the inner fender sheet metal.
4. Place the towel/rag on the trunk floor below where you marked the holes to collect metal shavings/debris.
5. Using the punch and hammer create marks at the hole locations that where previously identified
6. Using the drill and 1/2" drill bit drill out the hole locations (Note: This is a fairly large hole. I would recommend starting with a smaller drill bit and working your way up to the 1/2" size, but this is not necessary)
7. At this point drilling the holes may have a rough edge from the drilling operation. Cleaned this area up and the area around the holes so that it may be sealed with primer/sealer.
8. Cover prepped area with your choice of primer/sealer and wait to dry (Note: adding a top coat is optional here as the effected area will be covered by the bracket)
9. Repeat steps 2-8 for the right tower
10. Jack the car up in the rear and place the car on jack stands (Note: Please ensure the car is secure)
11. Using the 9/16" wrench/socket & ratchet thread two of the short bolts into the top two weld nuts on the backer plate from the back side (install bolts backwards on plate). This will serve as an alignment tool.
12. Place the backer plate into the wheel well and align the two bolts in the top two holes. The bolts will hold the backer plate in place.
13. Move into the trunk bringing with you one short bolt, washer, one long bolt, mounting bracket, and a nut
14. Place the longer bolt through the bottom hole of the bracket and partially thread it into the corresponding lower hole of the backer plate.
15. Pull the backer plate into the inner fender using the longer bolt so that the shorter bolt can be place through the mounting bracket.
16. Thread the nut onto one of the shorter bolts, which should hold the bracket in place.
17. Remove the long bolt.
18. Uninstall the longer bolt and replace it with the third shorter bolt and washer from step 13.
19. Tighten the bolt. (Note: Recommended torque of 35ftlbs)
20. Uninstall the nut from step 16.
21. Remove the upper two bolts from the backer plate used for alignment
22. Reinstall bolts from previous step with washers onto the mounting bracket. (Note: Recommended torque of 35ftlbs)
23. Repeat steps 11-22 for opposite side.
24. Install cross brace using the longer bolts, remaining washers, and nuts. (Note: Recommended torque of 35ftlbs)
 
According to FedEx everyone should have received their RSTB's. I've updated the first post accordingly. If for some reason you haven't received the package please PM and let me know! Thanks guys.
 
Newb had something come up and can no longer commit to the purchase of his RSTB. That said it is now available to the first person that contacts me.
 
Well, I can't say I'm thrilled with this. My bar is too long and will not fit between the end plates; it just barely interference-fits between the strut towers themselves...here is a bad cell pic showing it supported just by the interference of the towers. Car in the air or on the ground doesn't change it.
0730012228.jpg

I'm particularly disappointed because I was really excited to get it in tonight, as I'm in the middle of a two-day autocross competition and wanted to compare back-to-back feeling under the most controlled limit handling conditions I'll ever see (basically same course layout both days). So much for that. :mad:

So what are your thoughts Mike?
 
Thanks for the heads-up...hopefully, the're not all like that. To be sure, I plan to test fit mine tomorrow before I take it to paint.
 
Back
Top