If someone would be willing to take pictures during the install i can then put them in this guide and create a separate how-to post in the how-to section. Also, if something doesnt seem clear or i forgot a step please let me know so i can update it.
Sway Bar Endlinks Install guide.
Fronts:
1. Start by jacking up both sides of the car and removing the wheels. Then use a 15mm wrench/ratchet and either a pair of vice grips or, IIRC, a 17mm wrench (could be 18mm) on the back side of the endlink stud through the strut. Once that end is removed, repeat the procedure on the other end of endlink, at the sway bar. Repeat for the other side of the car.
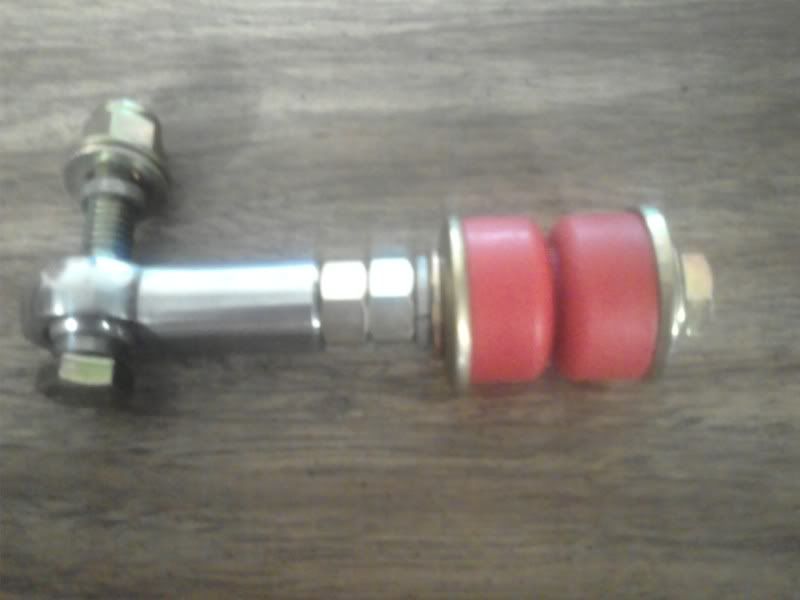
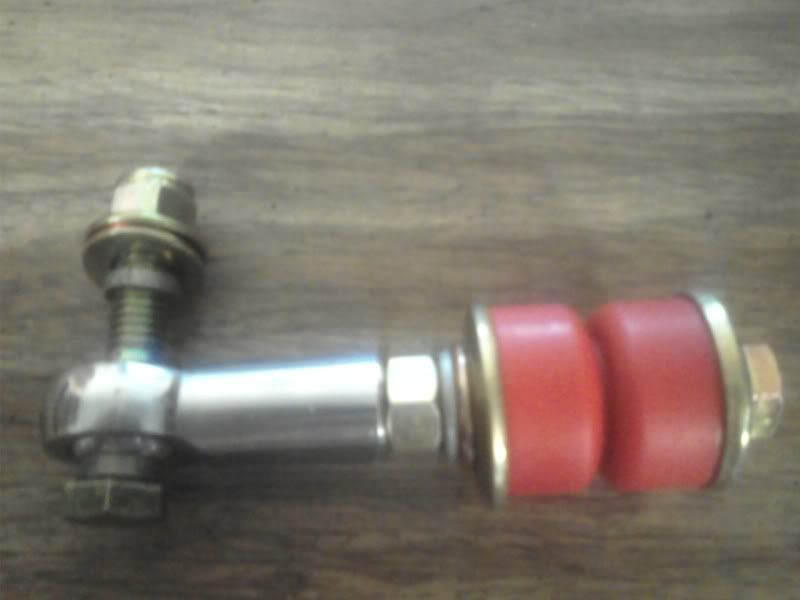
2. If you want to set the endlinks to stock length, simply turn the ends until you reach the desired length. The end with the larger jam nut is right hand thread, while the end with the smaller jam nut is left hand thread. This is done so you can easily distinguish between the two. Once you have the length set, tighten the jam nuts against the rod. At this point you wont be able to fully lock them but get them as tight as you can. Set both sides to the same length.
3. Install the bottom through bolt first. Make sure you have a spacer on both sides of the rod end and a washer on both sides of the sway bar. Since the spacers are hand cut, they wont all be exactly the same size, but that’s not an issue since they only have to be thick enough to keep the bolt head or washer from contacting the rod end. The bolt goes inward as seen here.
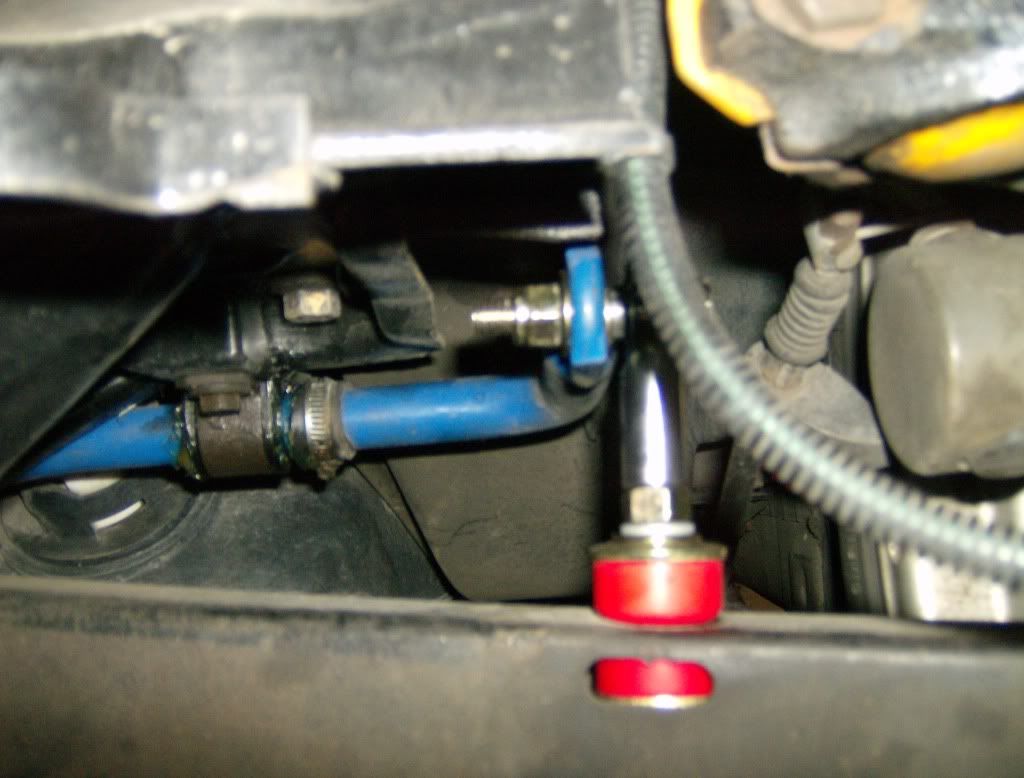
4. Install the other through bolt through the strut in the same manner, only with the bolt facing outwards. Don’t forget to put the brake hose bracket onto the bolt before you install the lock nut.
5. Using a 9/16 wrench, lock down the jam nuts. Make sure they are nice and tight, you don’t want them to back off while your driving as it would allow the endlinks to spin and change their length. Don’t forget that the small one is left hand thread and thus backwards.
6. Repeat for the other side.
7. Install wheels and lower car.
Rears:
1. Again jack up both sides of the vehicle and remove the wheels.
2. Using a 15mm and 13mm wrench loosen the through bolt for the stock endlink but do not remove it at this time, leave the nut partially on the bolt.
3. Using a deep well 15mm socket, remove the nut that holds the endlink to the control arm.
4. Finish removing the through bolt and remove the endlink.
5. Using a flat head screwdriver, sometimes it takes two, work your way around the bushing in the control arm, pushing the it down until you have completely removed it. This takes some work, practice, and patience, but once you have it figured out is not difficult.
6. Disassemble your upgraded endlink but leave the bottom bushing, bushing cup, and washer on the bolt. Like this:
7. Put the bolt with bushing up through the hole in the control arm and install the other bushing, bushing cup, washer and lock washer, and nut, in that order. Using a 9/16 wrench and 9/16 socket, tighten down the nut as tight as possible.
8. Here is where you have 2 options. Option 1 is install the second nut and then the rod end, using the second nut as a jam nut against the rod end. Use this setup for stock or only slightly lowered suspensions. Option 2 is to skip the second nut and just install the rod end all the way down and tighten it fully against the nut. Use this setup for suspensions dropped more than ~1”.
Option 1
Option 2
9. Install the through bolt in the same manner as the fronts, again making sure there is a spacer on both sides of the rod end and a washer on both sides of the sway bar. Using your 9/16 wrench and ratchet, tighten down the lock nut.
10. Repeat for other side
11. Install wheels and lower vehicle
As a side note, I recommend checking all the nuts for the first couple oil changes just to make sure they aren’t backing off or coming loose. Once you feel comfortable they aren’t backing off then you can go to only checking them occasionally.