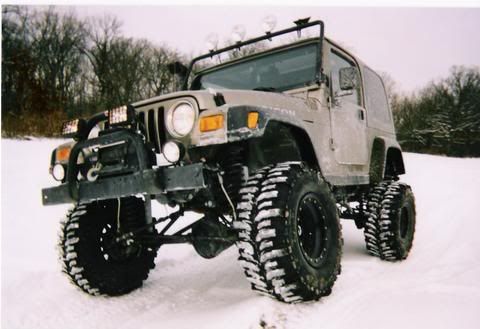
blu_fuz
New Member Classroom vulture
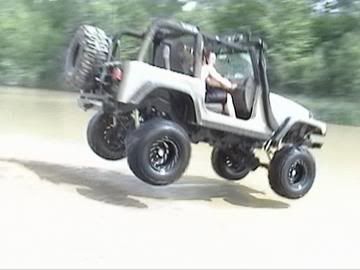
Bring it to PRT and start racecar mode.")
^ I'm about at that point with my car. Strip it, gut it, fill it with metal cage, and wear a helmet everywhere I drive it.

Bring it to PRT and start racecar mode.
^ I'm about at that point with my car. Strip it, gut it, fill it with metal cage, and wear a helmet everywhere I drive it.
Article No.
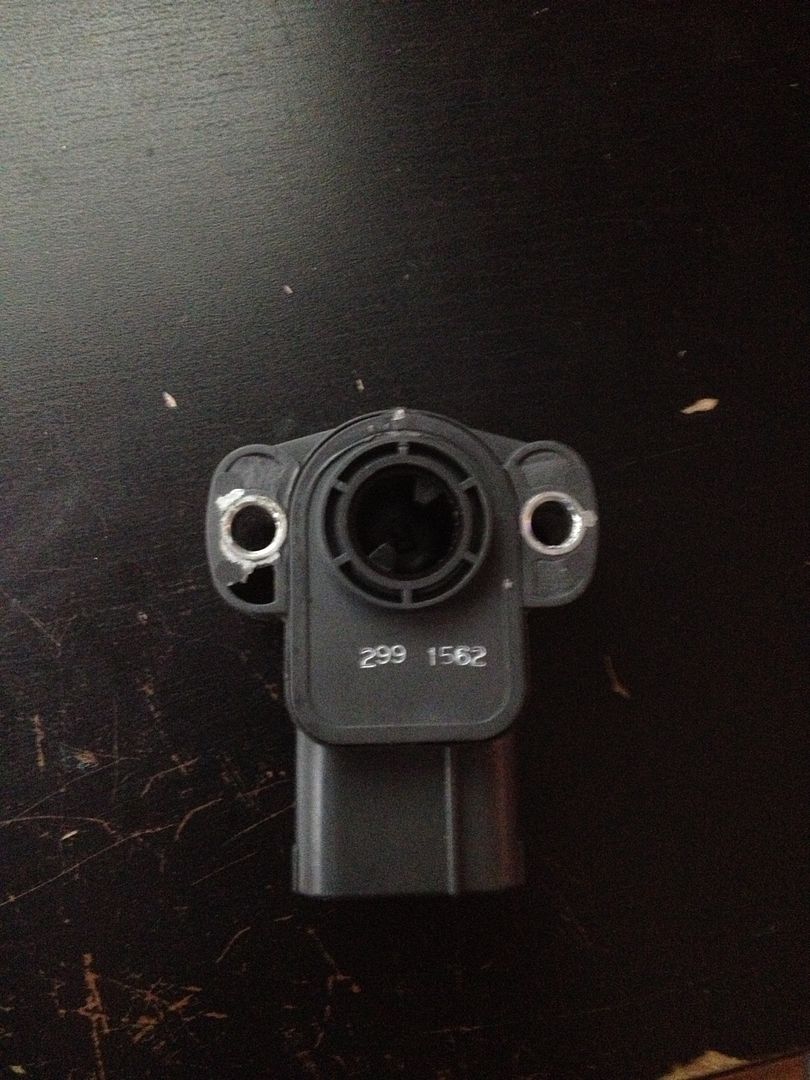
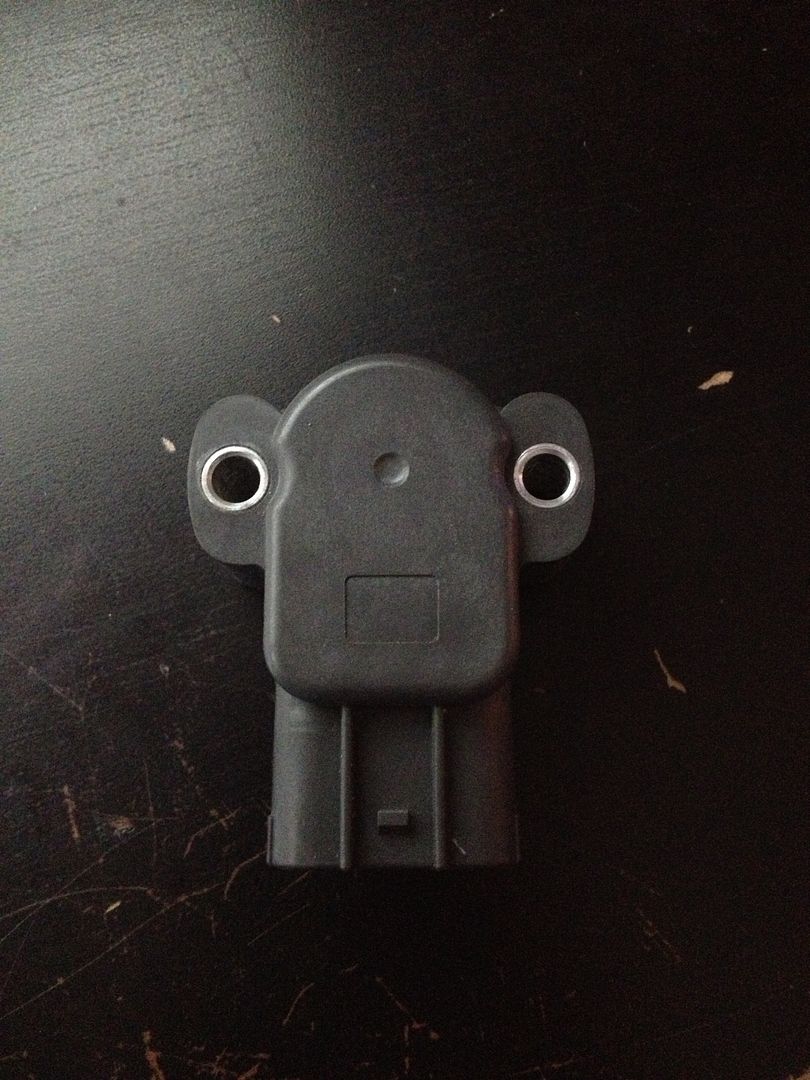
01-20-5 DRIVEABILITY - DETECTING VACUUM LEAKS - USING THE ROTUNDA VACUTEC 522 SMOKE LEAK DETECTOR MACHINE
DRIVEABILITY - DIAGNOSTIC TROUBLE CODES (DTC) P0171, AND/OR P0174 - DETECTING VACUUM LEAKS - USING THE ROTUNDA VACUTEC 522 SMOKE LEAK DETECTOR MACHINE
Publication Date: OCTOBER 2, 2001
FORD: 1997-2000 CONTOUR
1997-2001 ESCORT
1997-2002 CROWN VICTORIA, MUSTANG, TAURUS
2000-2002 FOCUS
2002 THUNDERBIRD
1997-98 F-250 HD, F-250 LD
1997-2002 E SERIES, EXPEDITION, EXPLORER SPORT, EXPLORER, F-150, RANGER, WINDSTAR
1999-2002 SUPER DUTY F SERIES
2000-2002 EXCURSION
2001 ESCAPE
2001-2002 EXPLORER SPORT TRAC
LINCOLN: 1997-2002 CONTINENTAL, TOWN CAR
2000-2002 LS
1998-2002 NAVIGATOR
2002 BLACKWOOD
MERCURY: 1997 COUGAR, TRACER
1997-2000 MYSTIQUE
1997-2002 GRAND MARQUIS, SABLE
1999-2002 COUGAR
1997-2002 MOUNTAINEER
ISSUE:
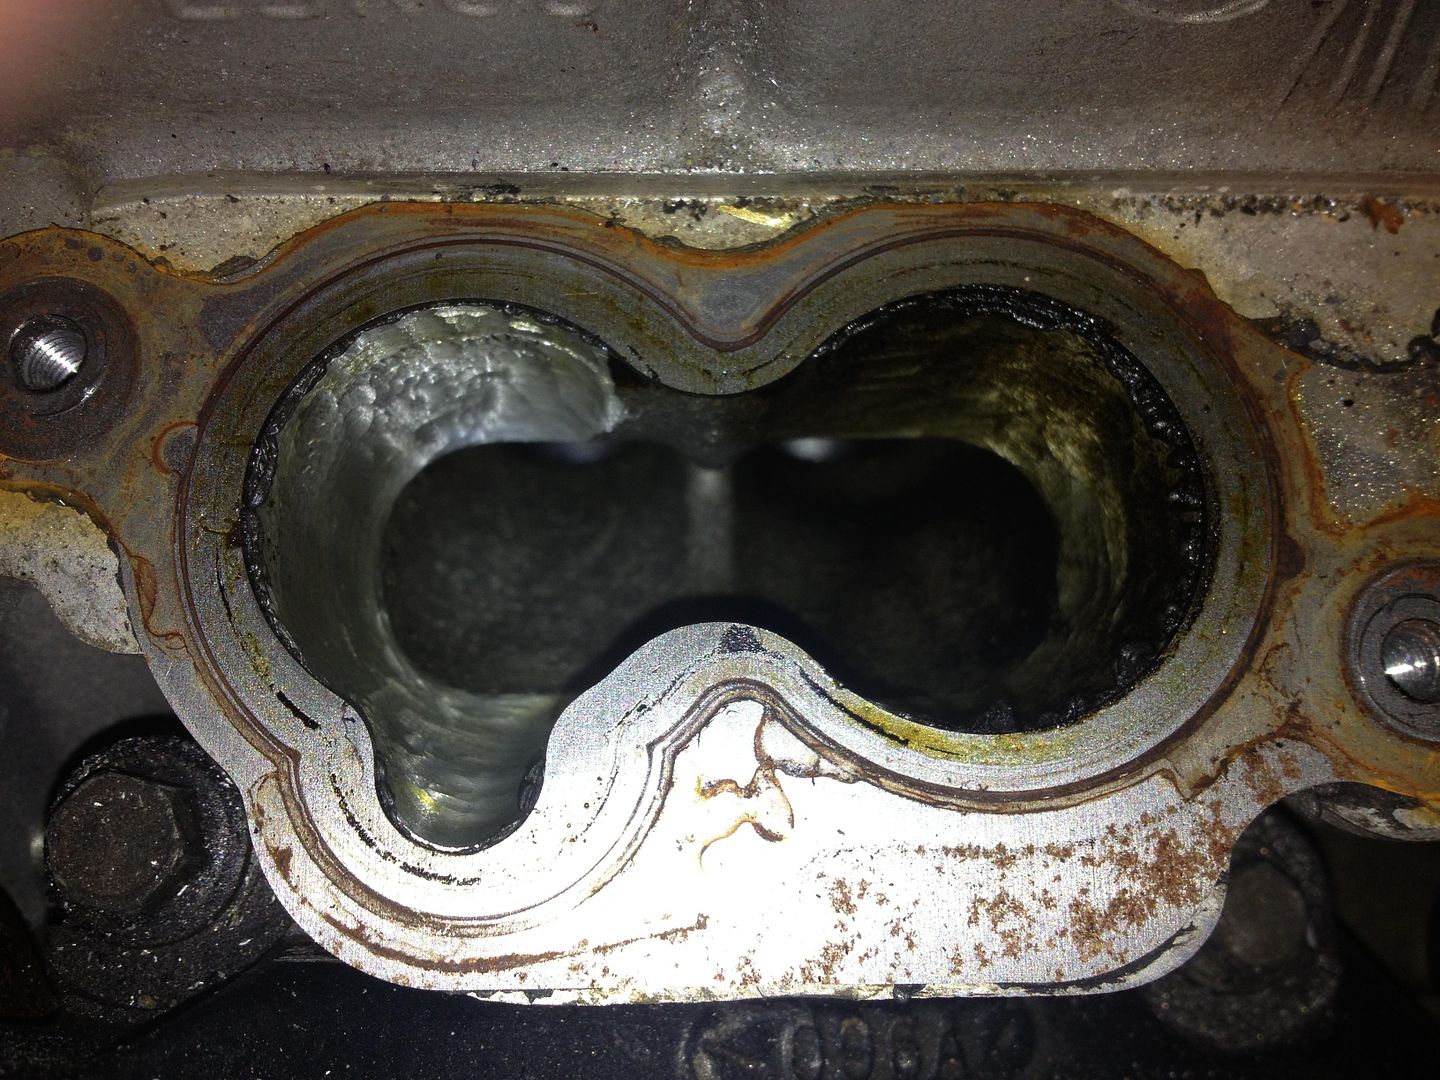
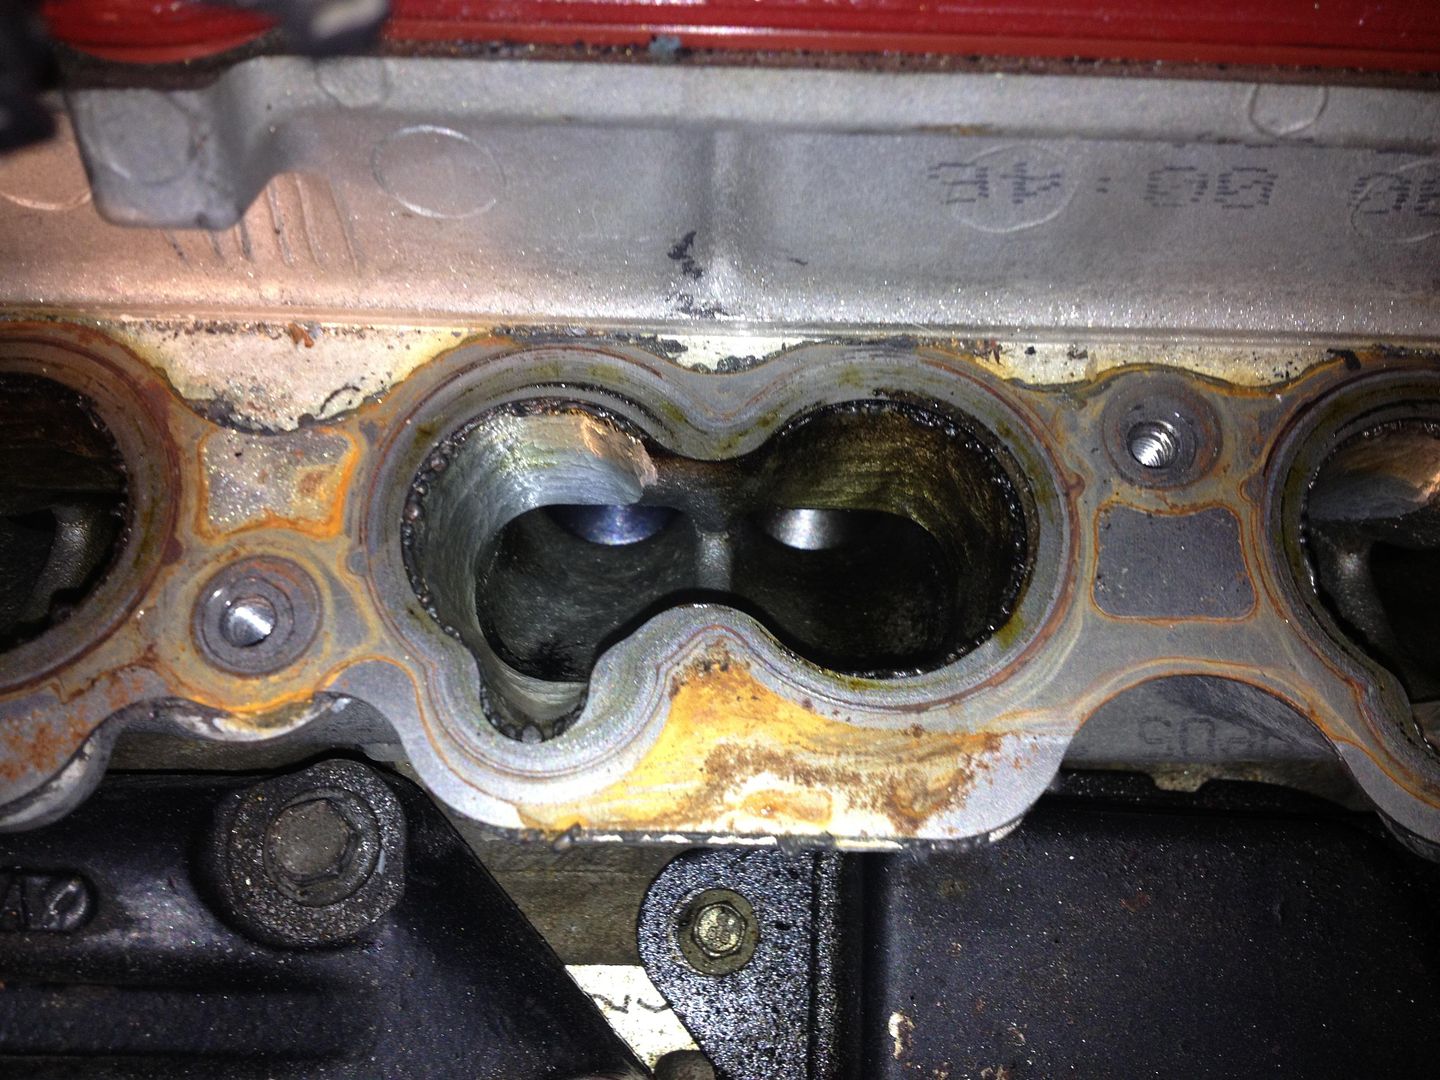
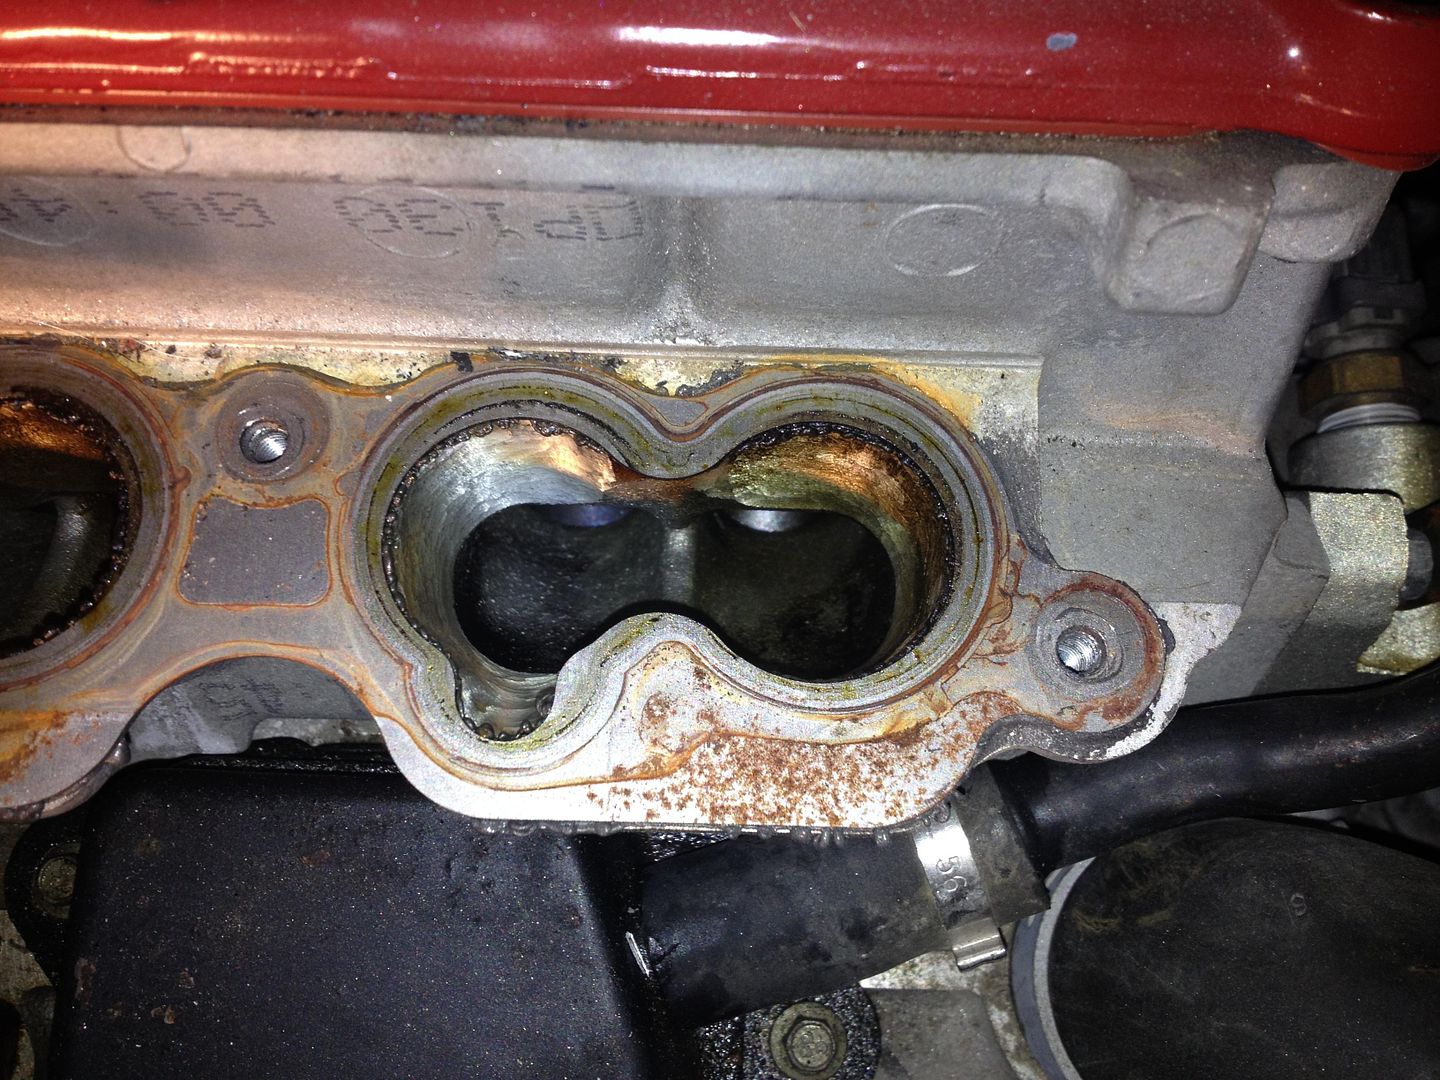
Some vehicles may exhibit vacuum or air leaks in the Intake Manifold and/or Engine System causing DTC's, P0171 (System Too Lean (BANK 1), and/or P0174 (System Too Lean (BANK 11). This article can also be used if you suspect a vacuum leak that has not generated a DTC.
ACTION:
Use the Rotunda's Vacutec 522 - Smoke Leak Detector Machine to help detect vacuum or air leaks in the engine compartment air intake or vacuum system. Refer to the following Service Procedure for details.
SERVICE PROCEDURE
NOTE: IGNITION KEY AND ENGINE MUST BE TURNED OFF AT ALL TIMES DURING THIS DIAGNOSTIC PROCEDURE.
VEHICLE PREPARATION
Prepare vehicle for a hoist (if necessary).
Visually inspect the engine Intake Manifold and Engine System for loose, broken or disconnected hoses etc...
If you find a leak condition, repair by using the appropriate model year PC/ED or Workshop Manual. Verify the fix for this repair by using this Vehicle Preparation and Diagnostic Procedure.
If you DO NOT locate the Intake Manifold and Engine System leak condition, perform the following steps included in the Vehicle Preparation and Diagnostic Procedure.
In the topside of the engine compartment, remove any plastic shields that could be covering the Throttle Body or Intake Manifold.
Remove the Air Cleaner Outlet Tube Assembly (Zip Tube) on the Throttle Body side. Plug the Throttle Body inlet opening with the proper Cap Plug located in the Rotunda Vacutec - 522 Kit.
Plug or tape the ends of the closure hose(s) if equipped (usually attached to the Air Cleaner Outlet Tube Assembly (Zip Tube)) for best results.
Plug the tail pipe(s) with the tapered rubber cone (218-00003).
Locate a small manifold vacuum source/port to the Intake Manifold (if equipped). It is recommended to use the vehicle's manifold vacuum source from the Vapor Management Valve (VMV) port.
Insert the nozzle from the Black Hose which is located on the right side of the Rotunda's Vacutec 522 Unit into the Intake Manifold vacuum source. This Black Hose will release SMOKE only. DO NOT use the clear hose (air Pressure source).
Power Supply - 12V DC: Attach the Remote Starter Power Cables located on the left side of the Rotunda Vacutec - 522 unit to the subject vehicle battery.
NOTE: BATTERY NEEDS TO BE IN GOOD WORKING ORDER TO RUN THE SMOKE LEAK DETECTOR MACHINE.
Hook up the Halogen spotlight (218-00008) cables on the vehicle battery terminals. This is a high intensity light source will help locate the smoke in the engine compartment.
DIAGNOSTIC PROCEDURE FOR LOCATING INTAKE MANIFOLD AND ENGINE VACUUM/AIR LEAKS WITH THE ROTUNDA'S VACUTEC - 522 SMOKE LEAK DETECTOR MACHINE
NOTE: YOU WILL SEE SMOKE DURING THE FOLLOWING DIAGNOSTIC SMOKE MACHINE PROCEDURE FROM THE FOLLOWING COMPONENTS ( IF EQUIPPED): EGR VALVE, EVR, IAC SOLENOID (ONLY IF EQUIPPED WITH AN EXTERNAL CAP VENT) AND IMRC. THE SMOKE WILL BE VISIBLE WITH THESE COMPONENTS UNDER PRESSURE (13 INCHES OF WATER ( 1/2 PSI)).
NOTE: DO NOT CHANGE ANY OF THESE COMPONENTS UNLESS THEY HAVE GENERATED THEIR SPECIFIC DTC.
Turn the selector valve to "Smoke" position.
Verify that the nozzle from the "Black Hose" is inserted in the manifold vacuum hose (Step 6 of Vehicle Prep) to pressurize Intake Manifold and Engine System with smoke only.
Check the "Power Supply Light" (Green Light ON) located on the Rotunda Vacutec 522 Panel housing when the Vacutec - 522 Remote Starter Power Supply Line (Cables) are secured to the vehicle's battery terminals.
Pick up the Rotunda's Vacutec - 522 Remote Starter which is located with the Power Supply Line (Battery Cables).
NOTE: THE REMOTE STARTER RELEASES THE SMOKE INTO THE VACUUM HOSE THROUGH THE BLACK HOSE NOZZLE INTO THE ENGINE.
Check the "Smoke Indicator Light" (Red Light "ON" will illuminate when the remote starter trigger is pushed) located on the panel of the Rotunda Vacutec - 522 unit.
Check that the Halogen Spotlight is secured to the vehicle's battery terminals.
Remove the oil fill cap.
Push the Rotunda's Vacutec Remote Starter Trigger which will release the Smoke into the Intake Manifold and Engine System until you see smoke coming from the oil fill cap opening (neck).
Once the smoke is visible from the oil fill cap opening, quickly tighten the oil fill cap to seal up the oil system.
Push the Remote Starter Trigger until the Intake Manifold and Engine System have reached maximum pressure (13 inches of water (1/2 PSI)).
NOTE: WHEN THE INTAKE MANIFOLD AND ENGINE SYSTEM HAS REACHED MAXIMUM PRESSURE, YOU MAY SEE SMOKE COMING FROM THE RELIEF VALVE LOCATED ON THE REAR SIDE OF THE ROTUNDA VACUTEC - 522 UNIT. STOP PUSHING THE REMOTE STARTER TRIGGER.
Start looking for smoke on the topside of the engine compartment. Push the Remote Starter a few more times while you are looking for the smoke.
If there's no smoke visible on the topside of the engine compartment, secure the vehicle safely on a hoist.
Push the Rotunda Vacutec remote starter trigger to refill to the maximum pressure of the Intake Manifold and Engine System with smoke again.
NOTE: WHEN THE INTAKE MANIFOLD AND ENGINE SYSTEM HAS REACHED MAXIMUM PRESSURE, YOU MAY SEE SMOKE COMING FROM THE RELIEF VALVE LOCATED ON THE REAR SIDE OF THE ROTUNDA VACUTEC - 522 UNIT. STOP PUSHING THE REMOTE STARTER BUTTON.
Check the underside of the engine compartment for smoke.
NOTE: IF YOU DON'T SEE SMOKE AND ARE UNABLE TO LOCATE THE LEAK, REFER TO THE PC/ED MANUAL OR WORKSHOP MANUAL FOR OTHER DIAGNOSTIC PROCEDURES.
NOTE: IT IS POSSIBLE TO HAVE A VACUUM OR AIR LEAK INSIDE THE VEHICLE IN THE PASSENGER COMPARTMENT. IF NO EXTERNAL LEAKS ARE FOUND, BE SURE TO VERIFY THAT NO SMOKE IS VISIBLE IN THE INTERIOR OF THE VEHICLE.
If you see the smoke, repair the leak source after carefully removing Halogen Light and Rotunda's Vacutec - 522 Remote Starter Power supply cables from the vehicle's battery terminals. Note: Follow PC/ED or Workshop Manual procedure for repairing the specific leak.
When the repair is completed. Clear DTC's if applicable. Repeat Step 1-13 only once to verify that the leak is repaired.
When the repair is verified and completed (Under Diagnostic Procedure Steps 1-13), perform the following:
Remove all diagnostic equipment from vehicle: tail pipe cone, car caps, halogen light, remote starter Power Supply Lines (Battery Cables), Black Hose, nozzle and tape used during this procedure.
Re-install the Intake Manifold vacuum source to the VMV port (if used) or any other Intake Manifold vacuum source as originally equipped.
Tightened all clamps and re-install all electric connectors and Plastic Shields (if equipped) that were removed during this test procedure.
Release vehicle.
OTHER APPLICABLE ARTICLES:
NONE
WARRANTY STATUS:
INFORMATION ONLY
OASIS CODES:
499000, 608000, 609000, 610000, 611000, 612000, 698298
Very interesting thread, and I thought I had bad luck with my car...
Your car looks great, I say keep it after all the effort you've put in, I envy your dedication. But of course only you can make the decision, if it truly leaves a sour taste I suppose you gotta let it go, though IMO keeping it is the pragmatic option at this stage.
Good luck!
*fingers crossed*
I'm sorry you've gone through all of this. I'd be furious.
-Sam
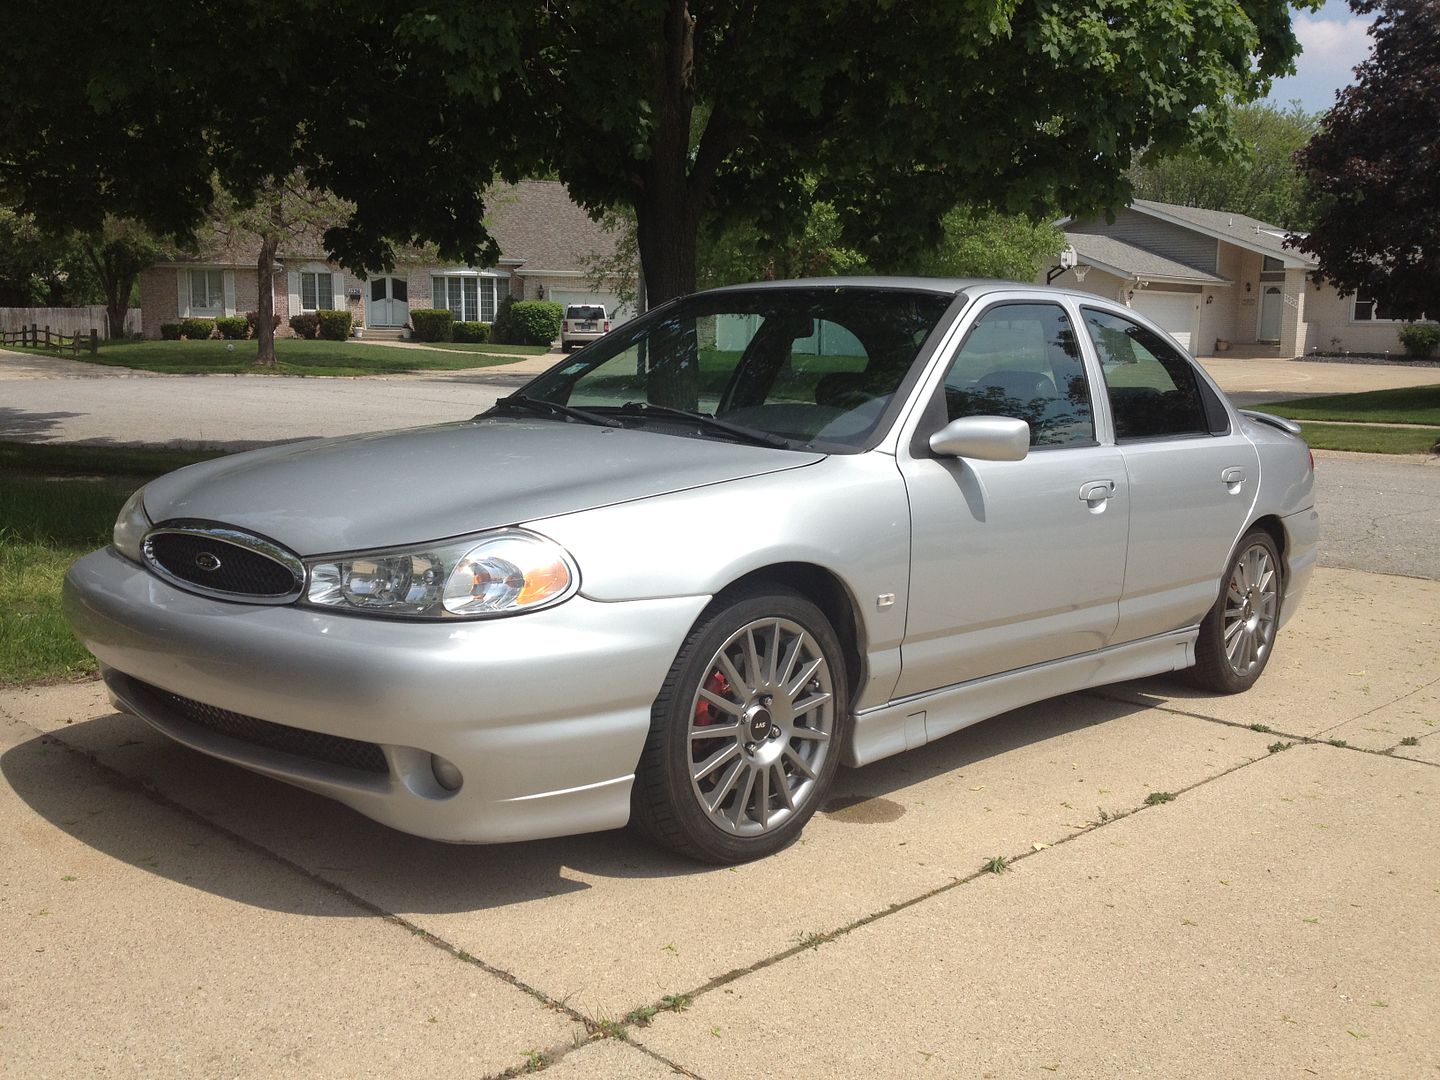
Yeah, I'm really curious to see what it'll go for.