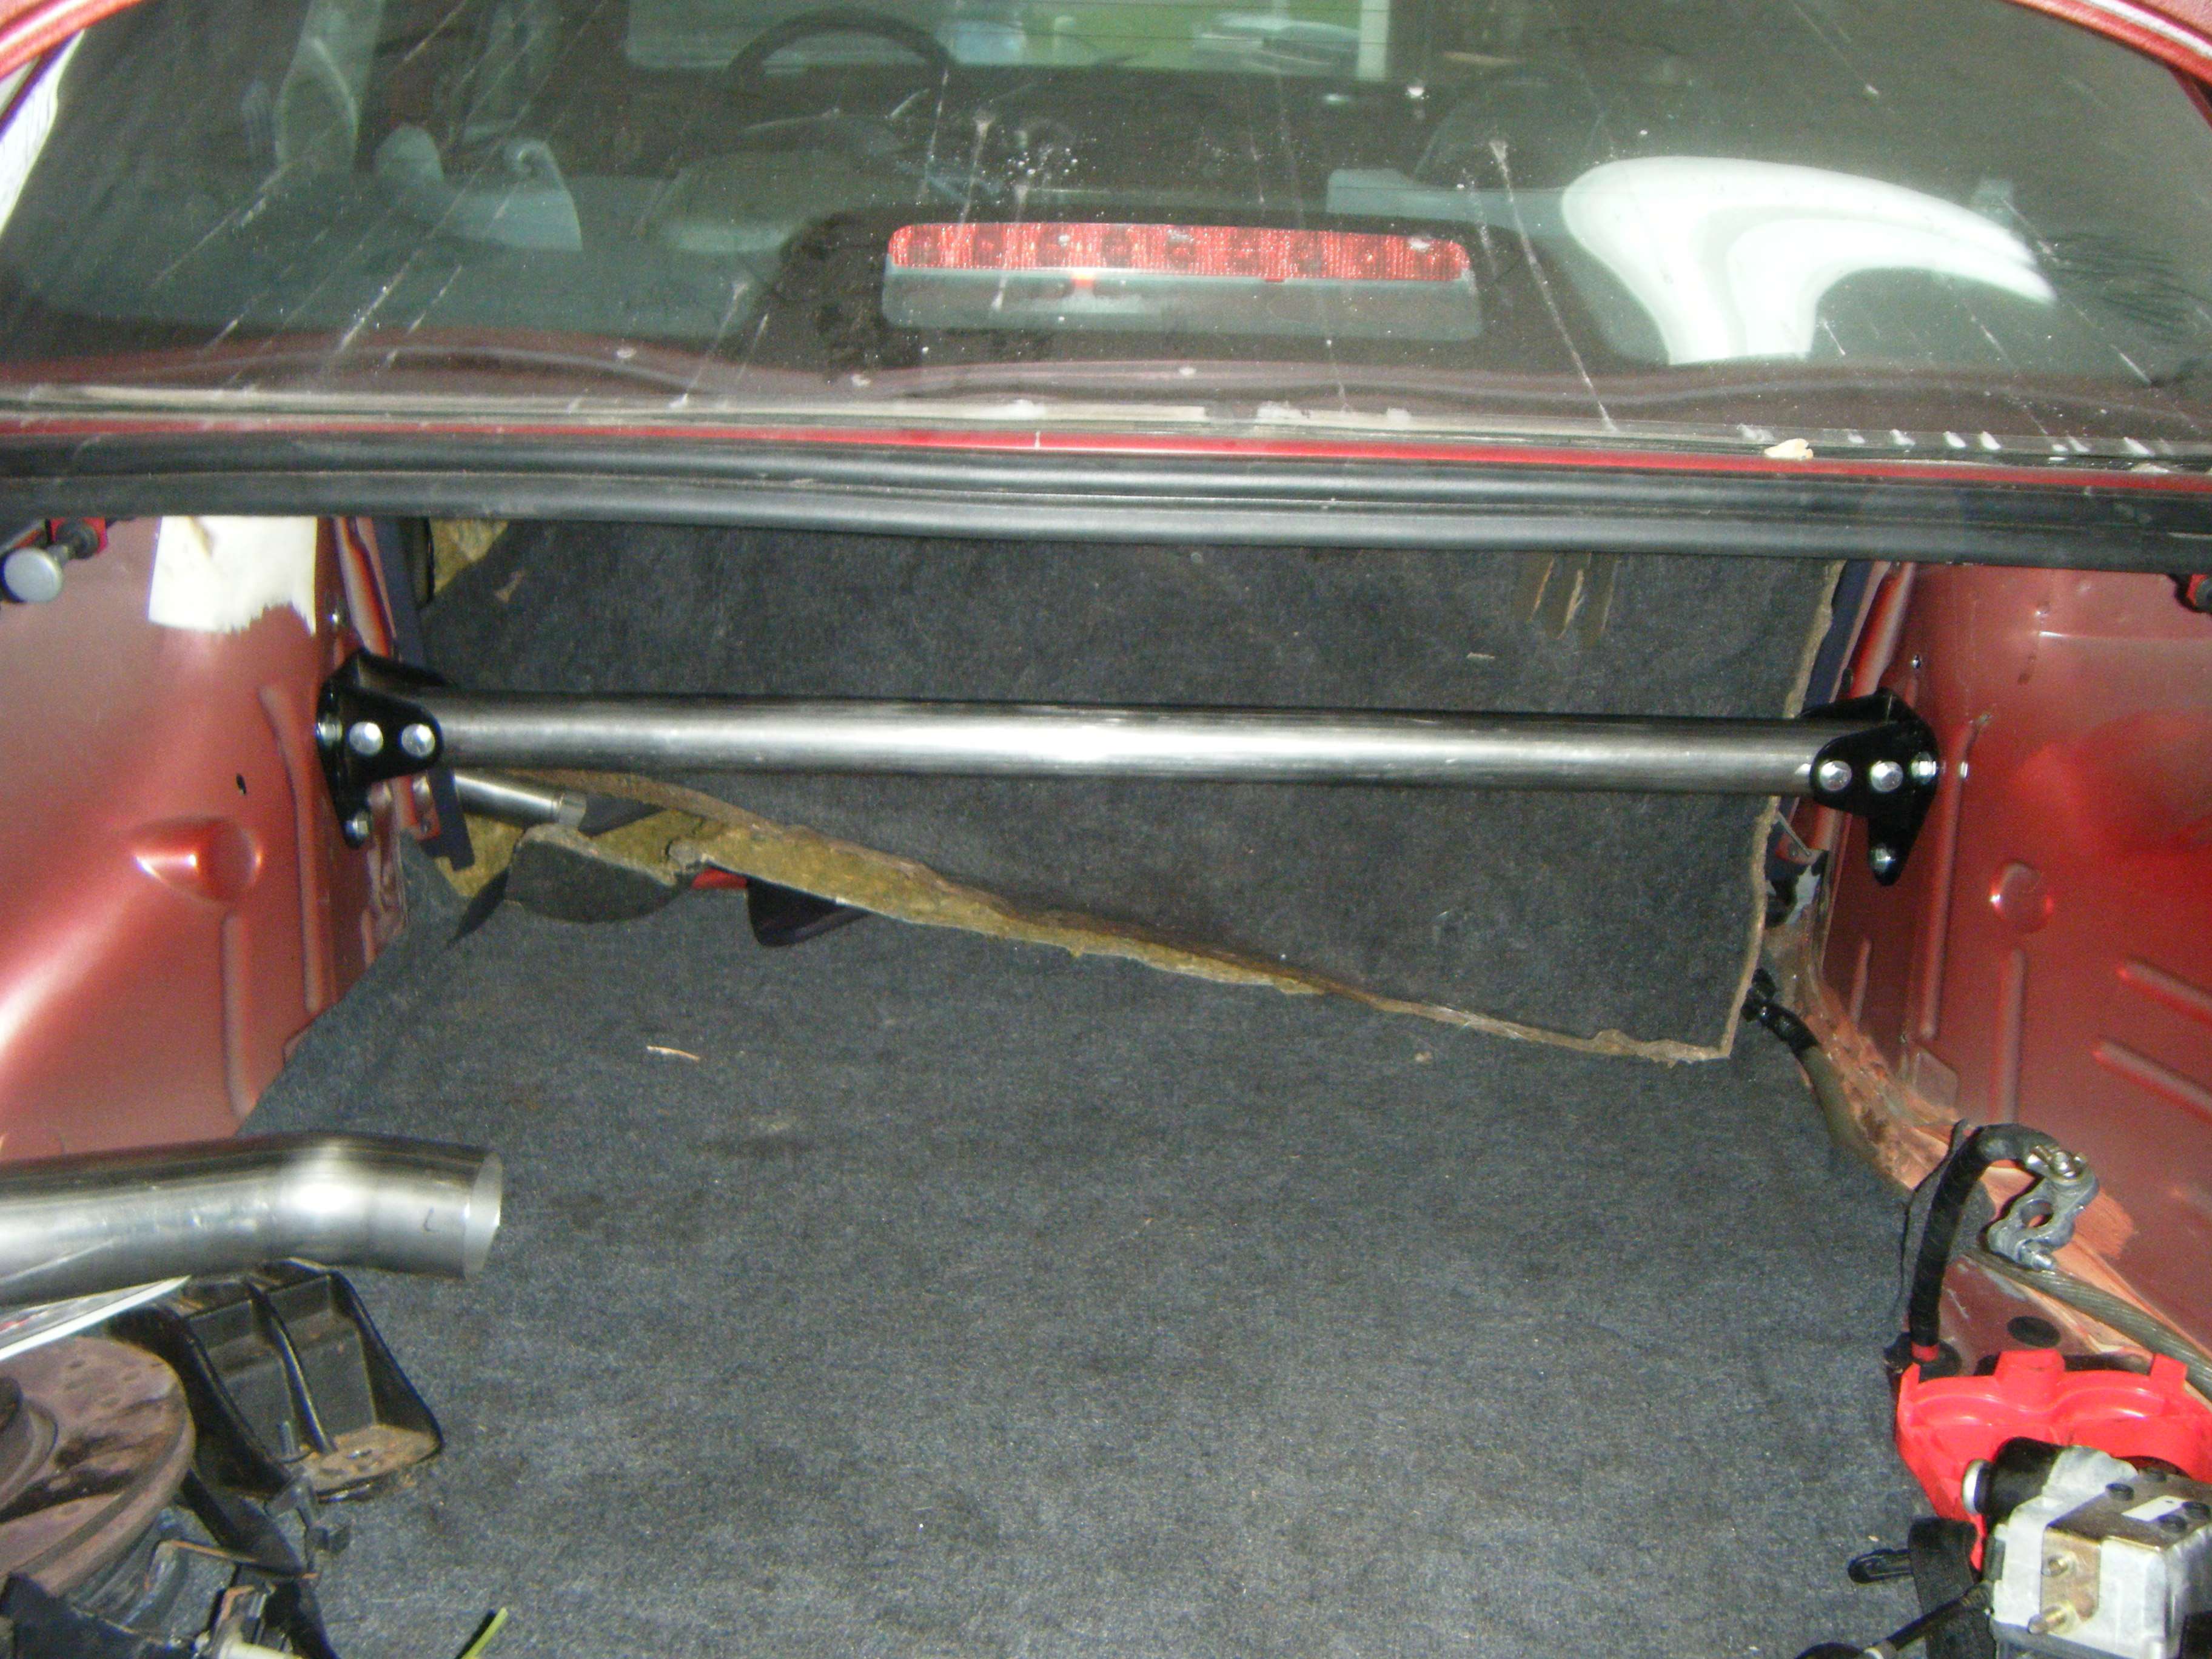
the bar looks really nice, I know it's early but do you have a some kind of price range for a final product?
what's your review on it so far? Can you feel a difference?
Why are the plans for the next prototype? What about just welding it in?
I'm targeting between $150-210. It would be more on the higher end if I provide it fully painted. I've been thinking of offering the cross brace painted in Silver, T-Red, Black, or green to match the paint work of the car. Because paint is fairly expensive (T-red the worst is going to run me $95 for a pint) I'd have to up the price to accommodate this. Black would probably be the standard as it is a lower cost with the other colors available at a slightly higher cost. The other option is shipping the RSTB with the hardware, powder coated brackets (mirror black), and the cross bar in bare steel or primer at a reduced cost. This would put the painting in the hands of the buyer and helping bring the cost to a minimum. Also the other option I've been pursuing, to assist in turn around time, is having a third party weld the bracket assemblies. Hope that helps. I think I will present all of these as options to be honest when I got to production. Something like bare steel +$0, black +$20, t-red, silver, green +$30. However again this is all ball park because I haven't priced paint lately.
As for reviews, that is to come. I plan on sending out this prototype and the second one to CEG'ers to install and test to gain opinions and to determine whether any changes are necessary to the design. My car as you may know doesn't have an engine, transmission, or interior, and is not driveable
")
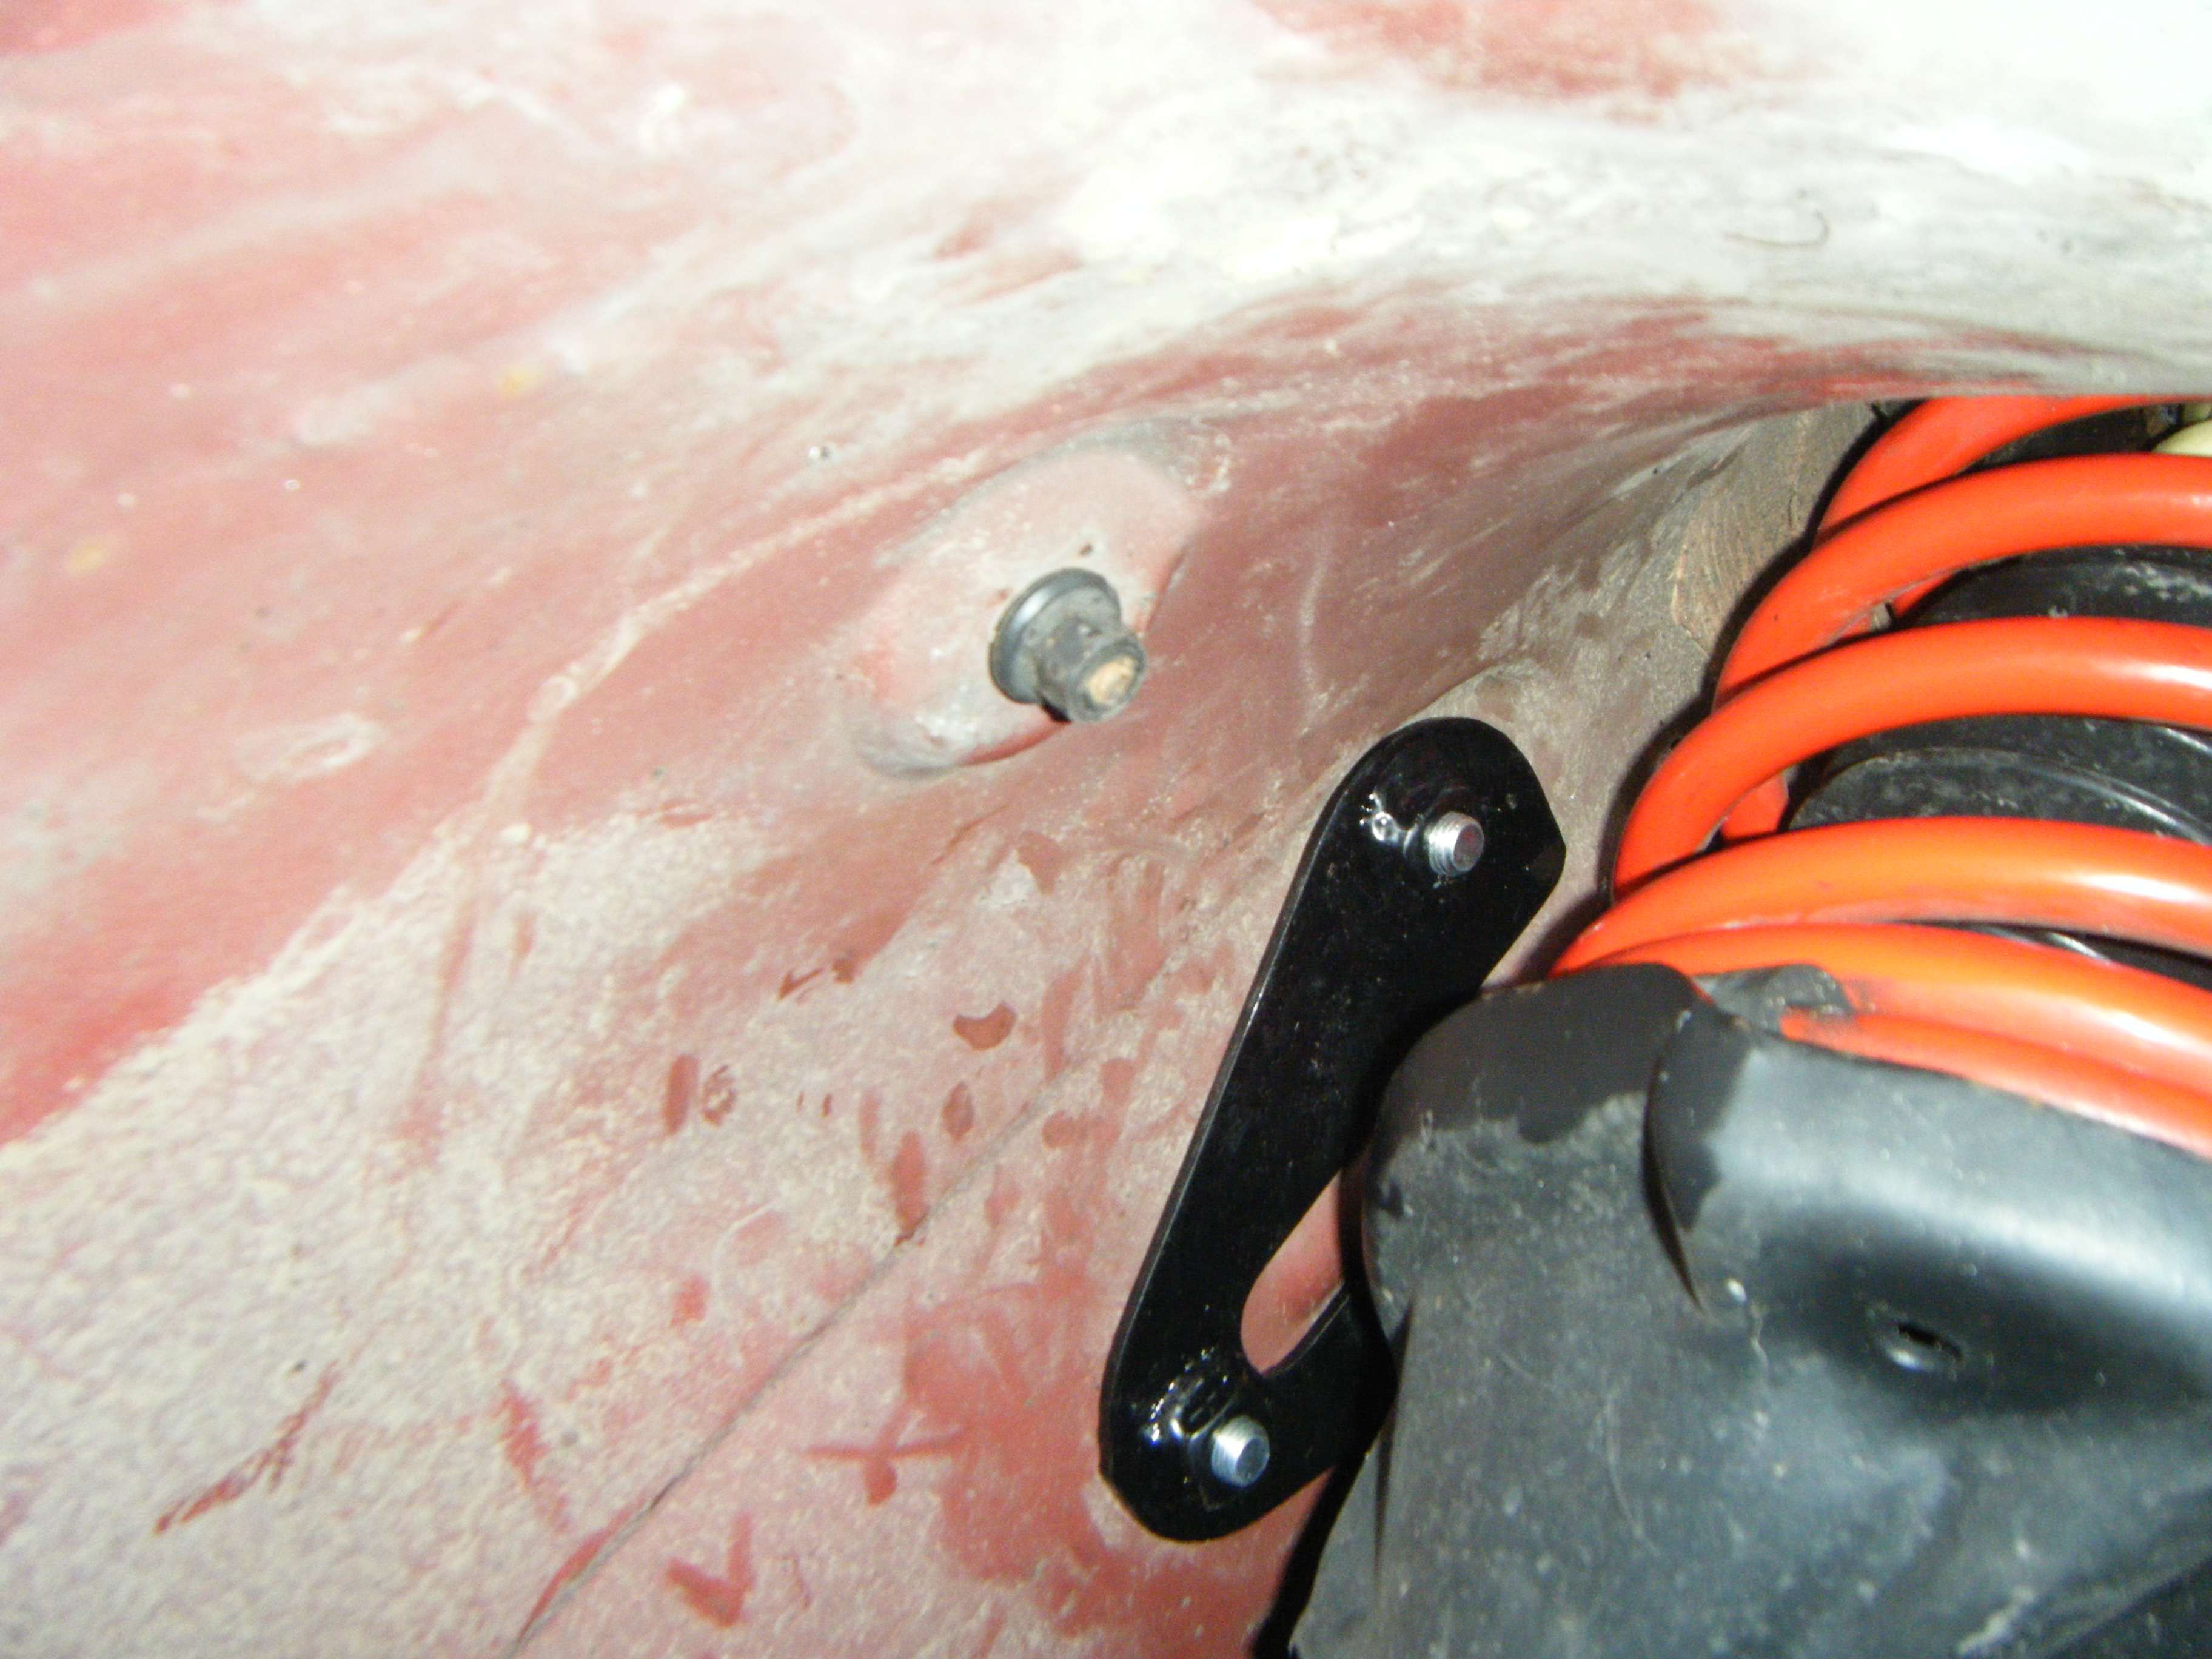
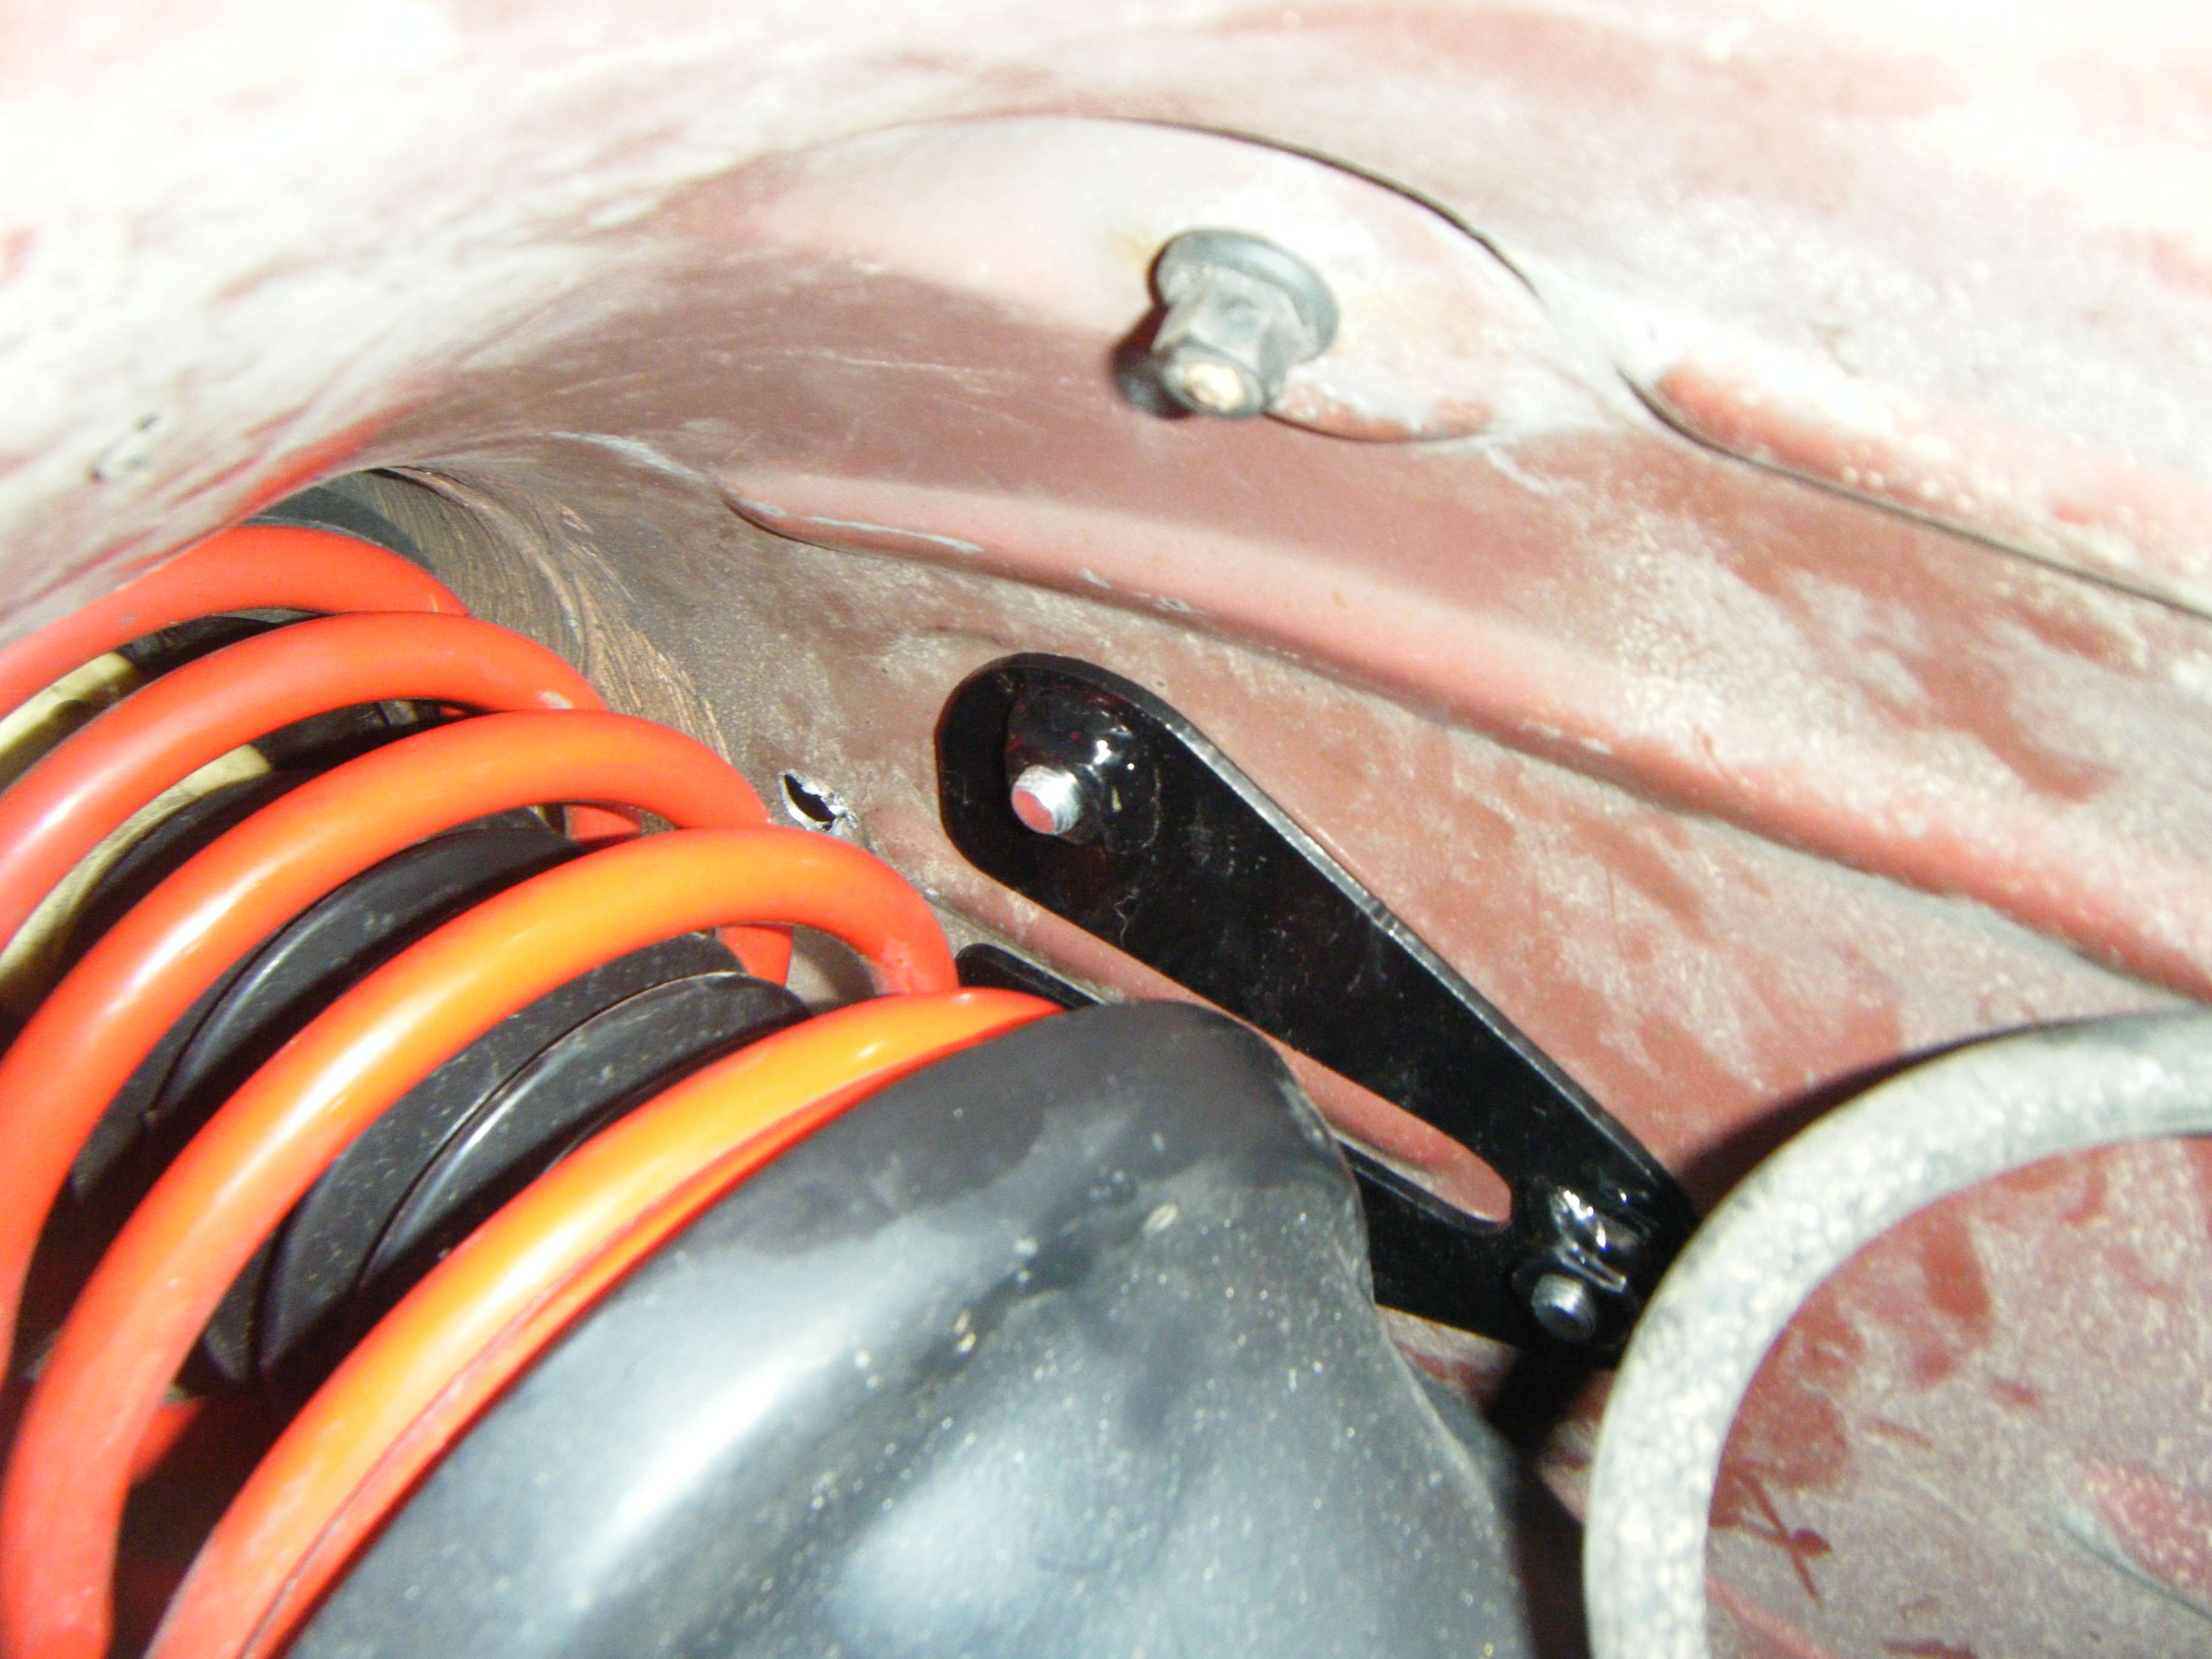
Next prototype is not really a prototype, but a prove design (PD) unit. This means that it is all production intent and built with production intent parts. In reality it is not very different from the first prototype except for a slight change in the inner fender bracket. I opted for this design because of the following:
1 - Uses OEM stampings for orientation leaving out guess work.
2 - Only modification's to install is the drilling of 4 holes (no welding, since not everyone has access to a welder)
3 - Installation to the average person can be completed in ~20min. (Only need to jack up the car in the rear corners to lift the suspension up to allow access above the tire, no need to take the car off the ground)