blu_fuz
New Member Classroom vulture
1995 3L w/ built MTX
Mileage:
trans = 0
car = 212,000
motor = 18,000
Mileage:
trans = 0
car = 212,000
motor = 18,000
Last edited:


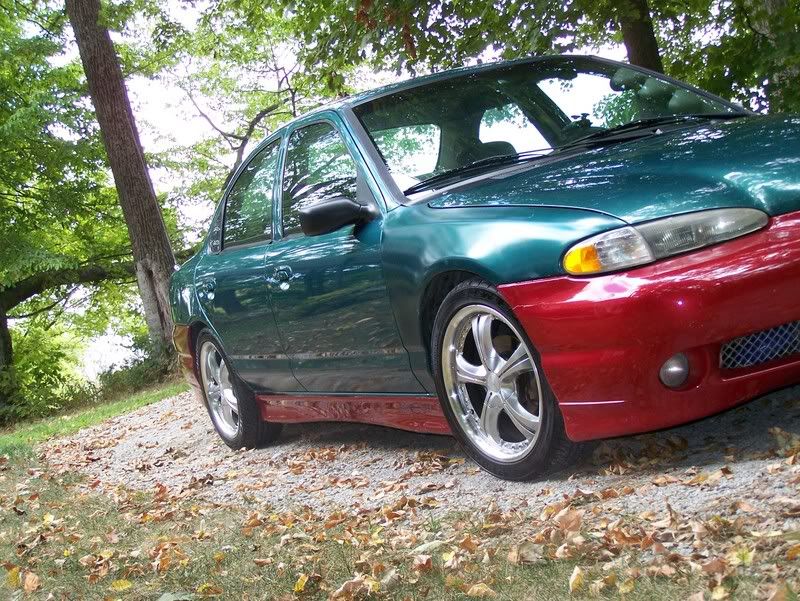
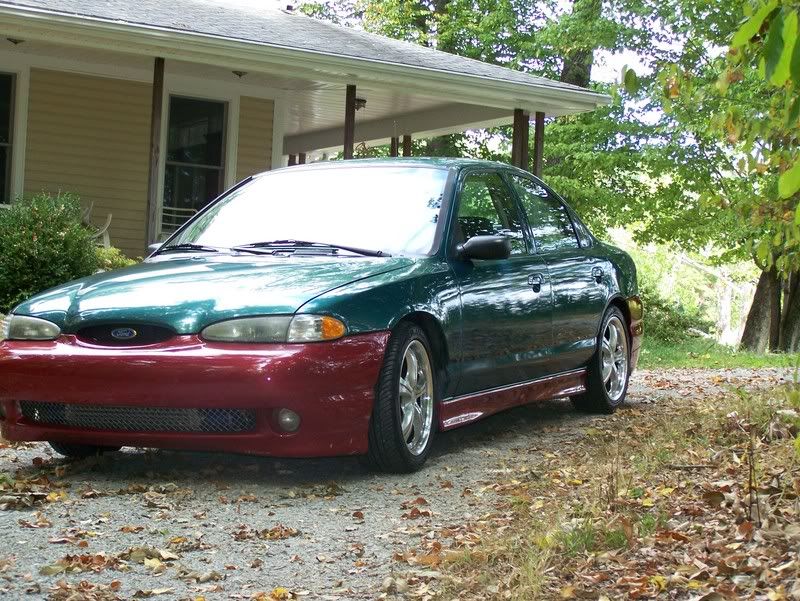
im planning on it but i have not done so. i need to pay off some bills first.striker...are you/ have you already, painted the SVT kit on your car?
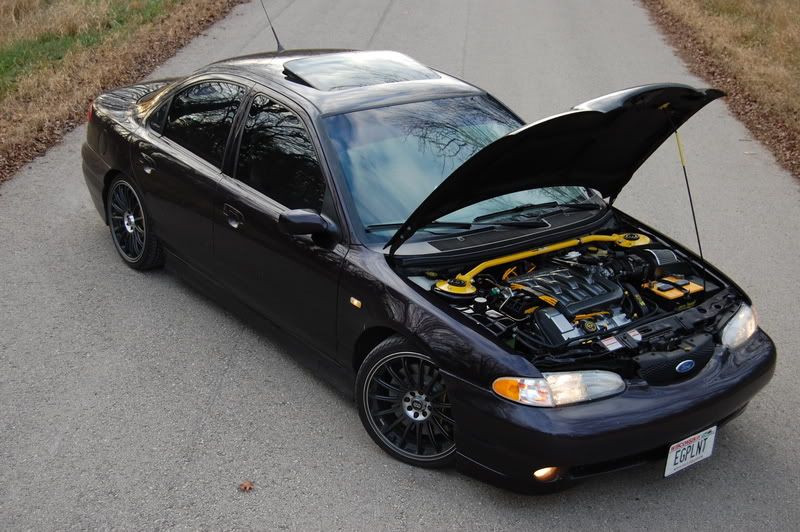
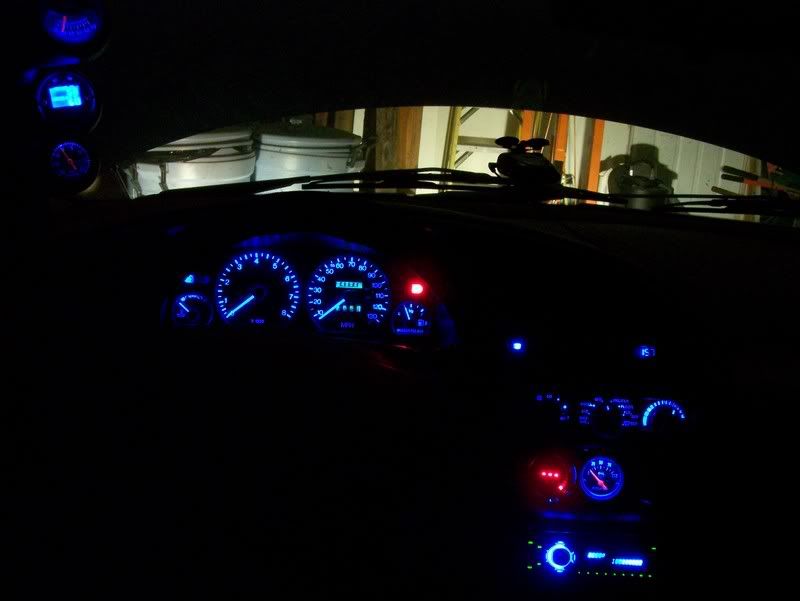
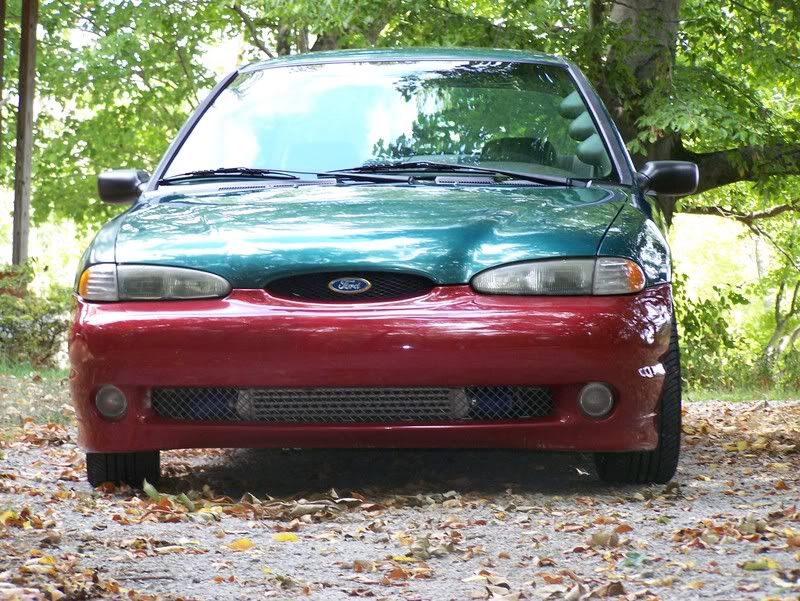
Hey blufuz how did you set the fog lights up so they are on without the headlights?
someone correct me if im wrong, but isnt there a "how-to" on the wiring to change it so the foggers come on with the parking lights?
someone correct me if im wrong, but isnt there a "how-to" on the wiring to change it so the foggers come on with the parking lights?
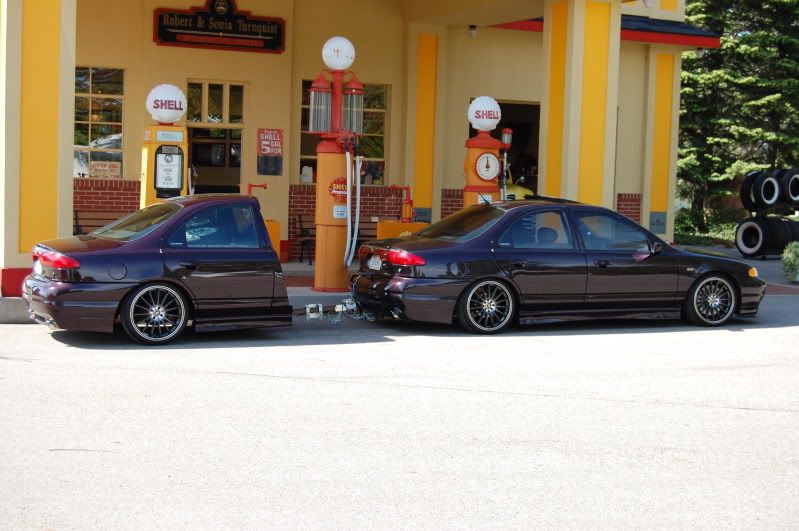
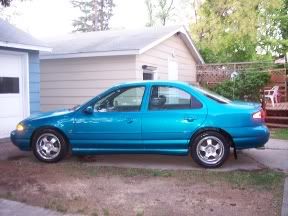
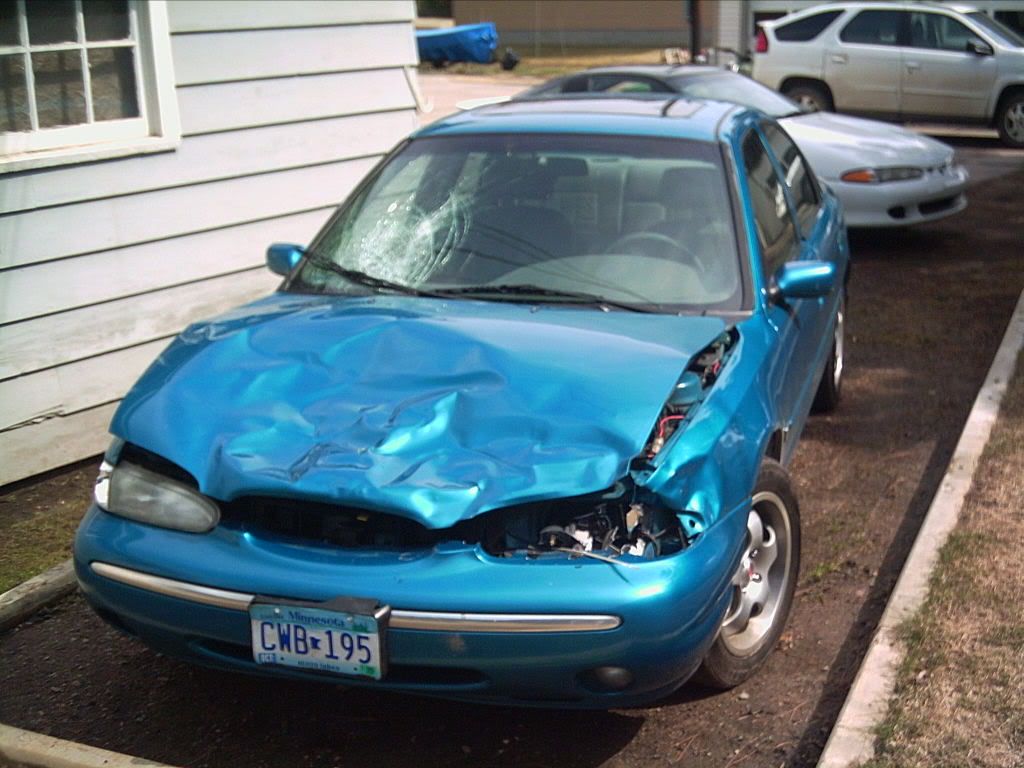
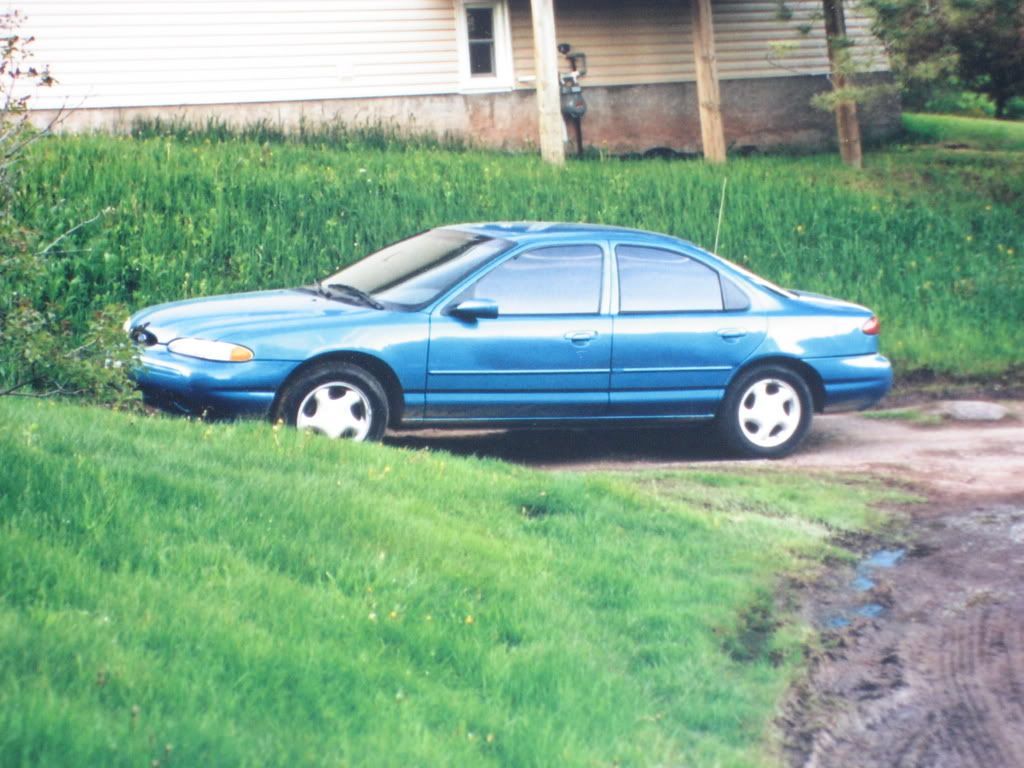
") . She looks good from a distance
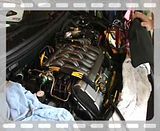
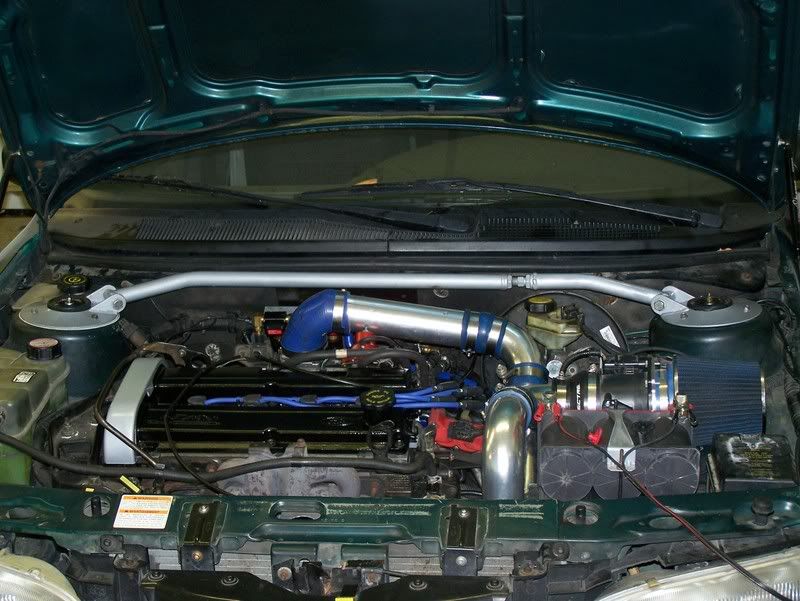
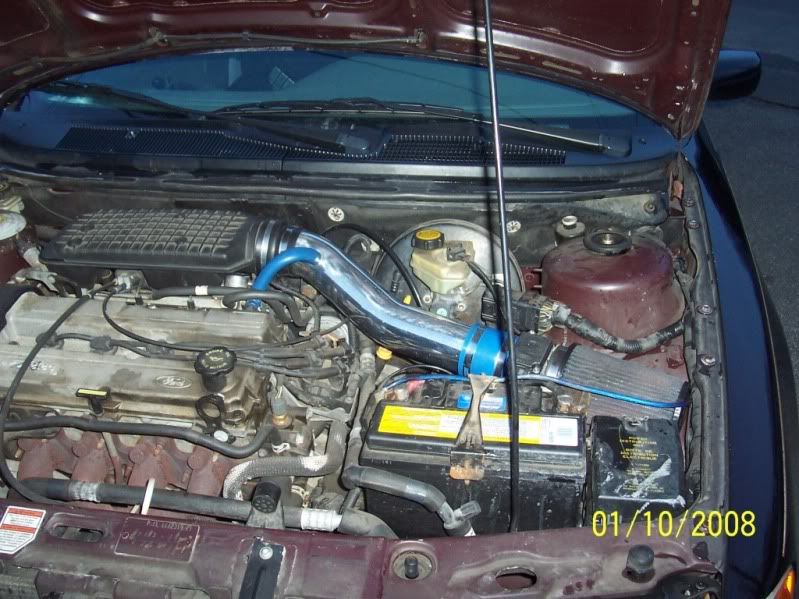
. She looks good from a distance ") , and don't mind the dirty engine bay!
, and don't mind the dirty engine bay!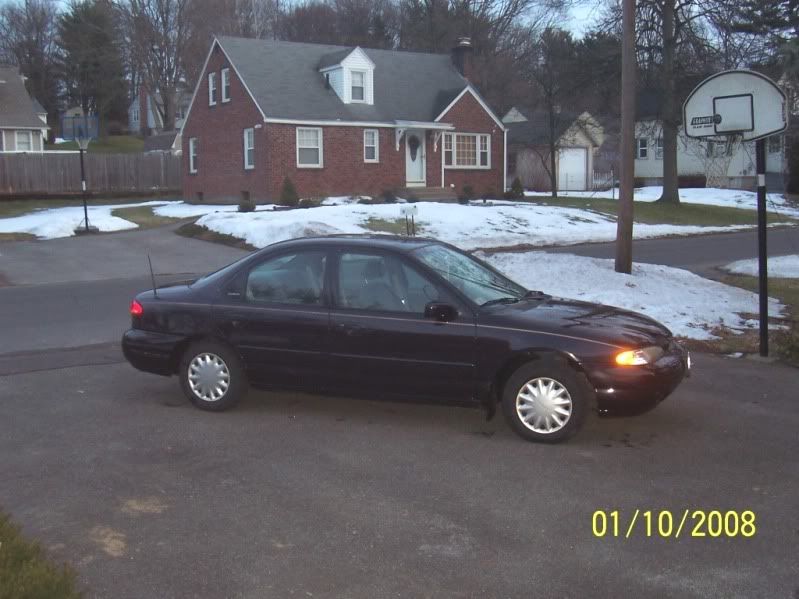
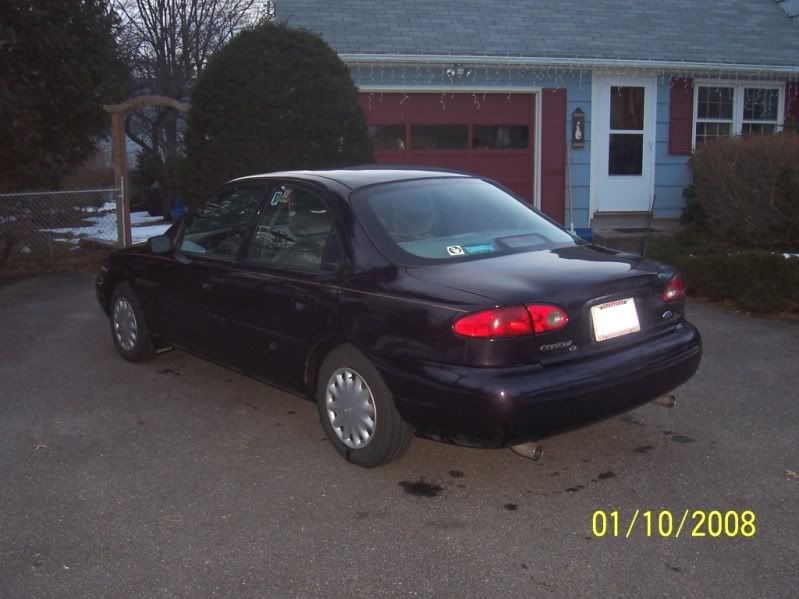

 I still see it around town now and again..


http://www.cardomain.com/ride/846143
The same as she ever was. She's not running so good these days though. I'm looking to sell her or part her out if I can't get her fixed soon.
