Installation Instructions
Installation Instructions
All here are the installation instructions from the other thread.
I did not include installation instructions, but the kit is pretty straight forward to install. Here are some instructions though to ease the installation.
Tools/Materials Needed:
-punch
-hammer
-1/2" drill bit
-drill
-9/16" socket and ratchet,(Note: torque wrench capable of 35ftlbs recommended)
-9/16" open end wrench
-jack
-jack stand
-old towel or shop rag
-paint/permanent marker
-primer/sealer
-grinder - optional, but recommended
Detailed Installation Instructions: (This is one way to install the kit. I found it easier doing it this way, however there may be alternative installation methods that others may prefer.)
1. Remove trunk carpeting on the sides.
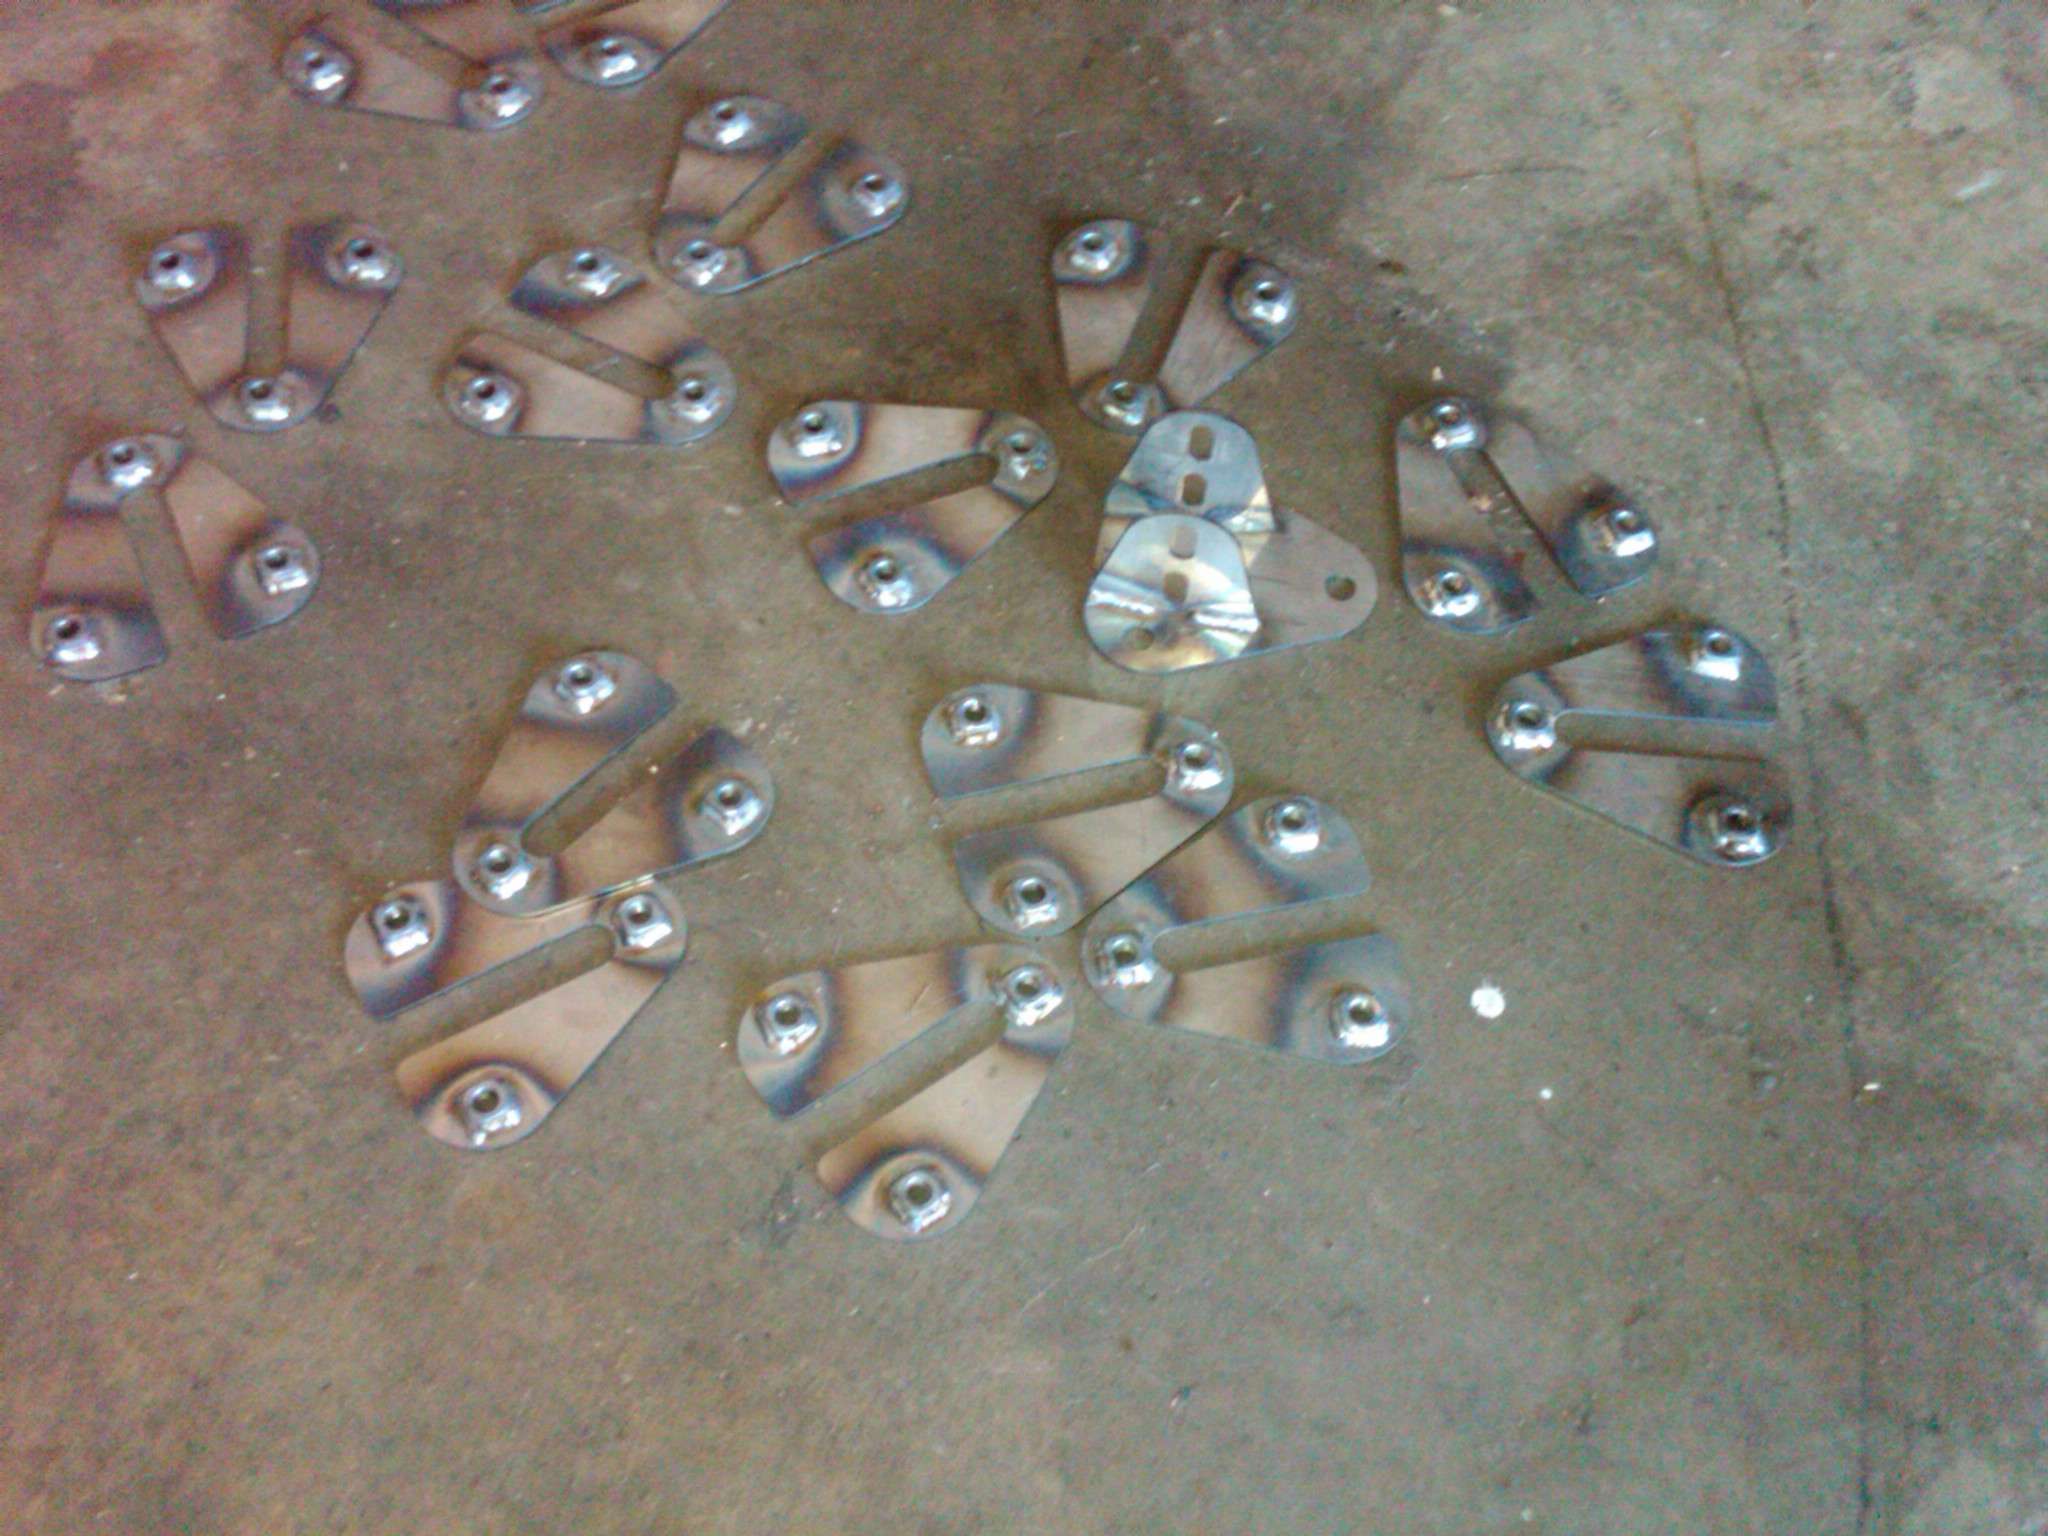
2. Place backer plate (u plate with weld nuts) inside of trunk aligning the bottom of the "U" with the bottom of the stamping underneath the left tower (weld nuts facing out).
3. Using the marker, mark where the holes are on the inner fender sheet metal.
4. Place the towel/rag on the trunk floor below where you marked the holes to collect metal shavings/debris.
5. Using the punch and hammer create marks at the hole locations that where previously identified
6. Using the drill and 1/2" drill bit drill out the hole locations (Note: This is a fairly large hole. I would recommend starting with a smaller drill bit and working your way up to the 1/2" size, but this is not necessary)
7. At this point drilling the holes may have a rough edge from the drilling operation. Cleaned this area up and the area around the holes so that it may be sealed with primer/sealer.
8. Cover prepped area with your choice of primer/sealer and wait to dry (Note: adding a top coat is optional here as the effected area will be covered by the bracket)
9. Repeat steps 2-8 for the right tower
10. Jack the car up in the rear and place the car on jack stands (Note: Please ensure the car is secure)
11. Using the 9/16" wrench/socket & ratchet thread two of the short bolts into the top two weld nuts on the backer plate from the back side (install bolts backwards on plate). This will serve as an alignment tool.
12. Place the backer plate into the wheel well and align the two bolts in the top two holes. The bolts will hold the backer plate in place.
13. Move into the trunk bringing with you one short bolt, washer, one long bolt, mounting bracket, and a nut
14. Place the longer bolt through the bottom hole of the bracket and partially thread it into the corresponding lower hole of the backer plate.
15. Pull the backer plate into the inner fender using the longer bolt so that the shorter bolt can be place through the mounting bracket.
16. Thread the nut onto one of the shorter bolts, which should hold the bracket in place.
17. Remove the long bolt.
18. Uninstall the longer bolt and replace it with the third shorter bolt and washer from step 13.
19. Tighten the bolt. (Note: Recommended torque of 35ftlbs)
20. Uninstall the nut from step 16.
21. Remove the upper two bolts from the backer plate used for alignment
22. Reinstall bolts from previous step with washers onto the mounting bracket. (Note: Recommended torque of 35ftlbs)
23. Repeat steps 11-22 for opposite side.
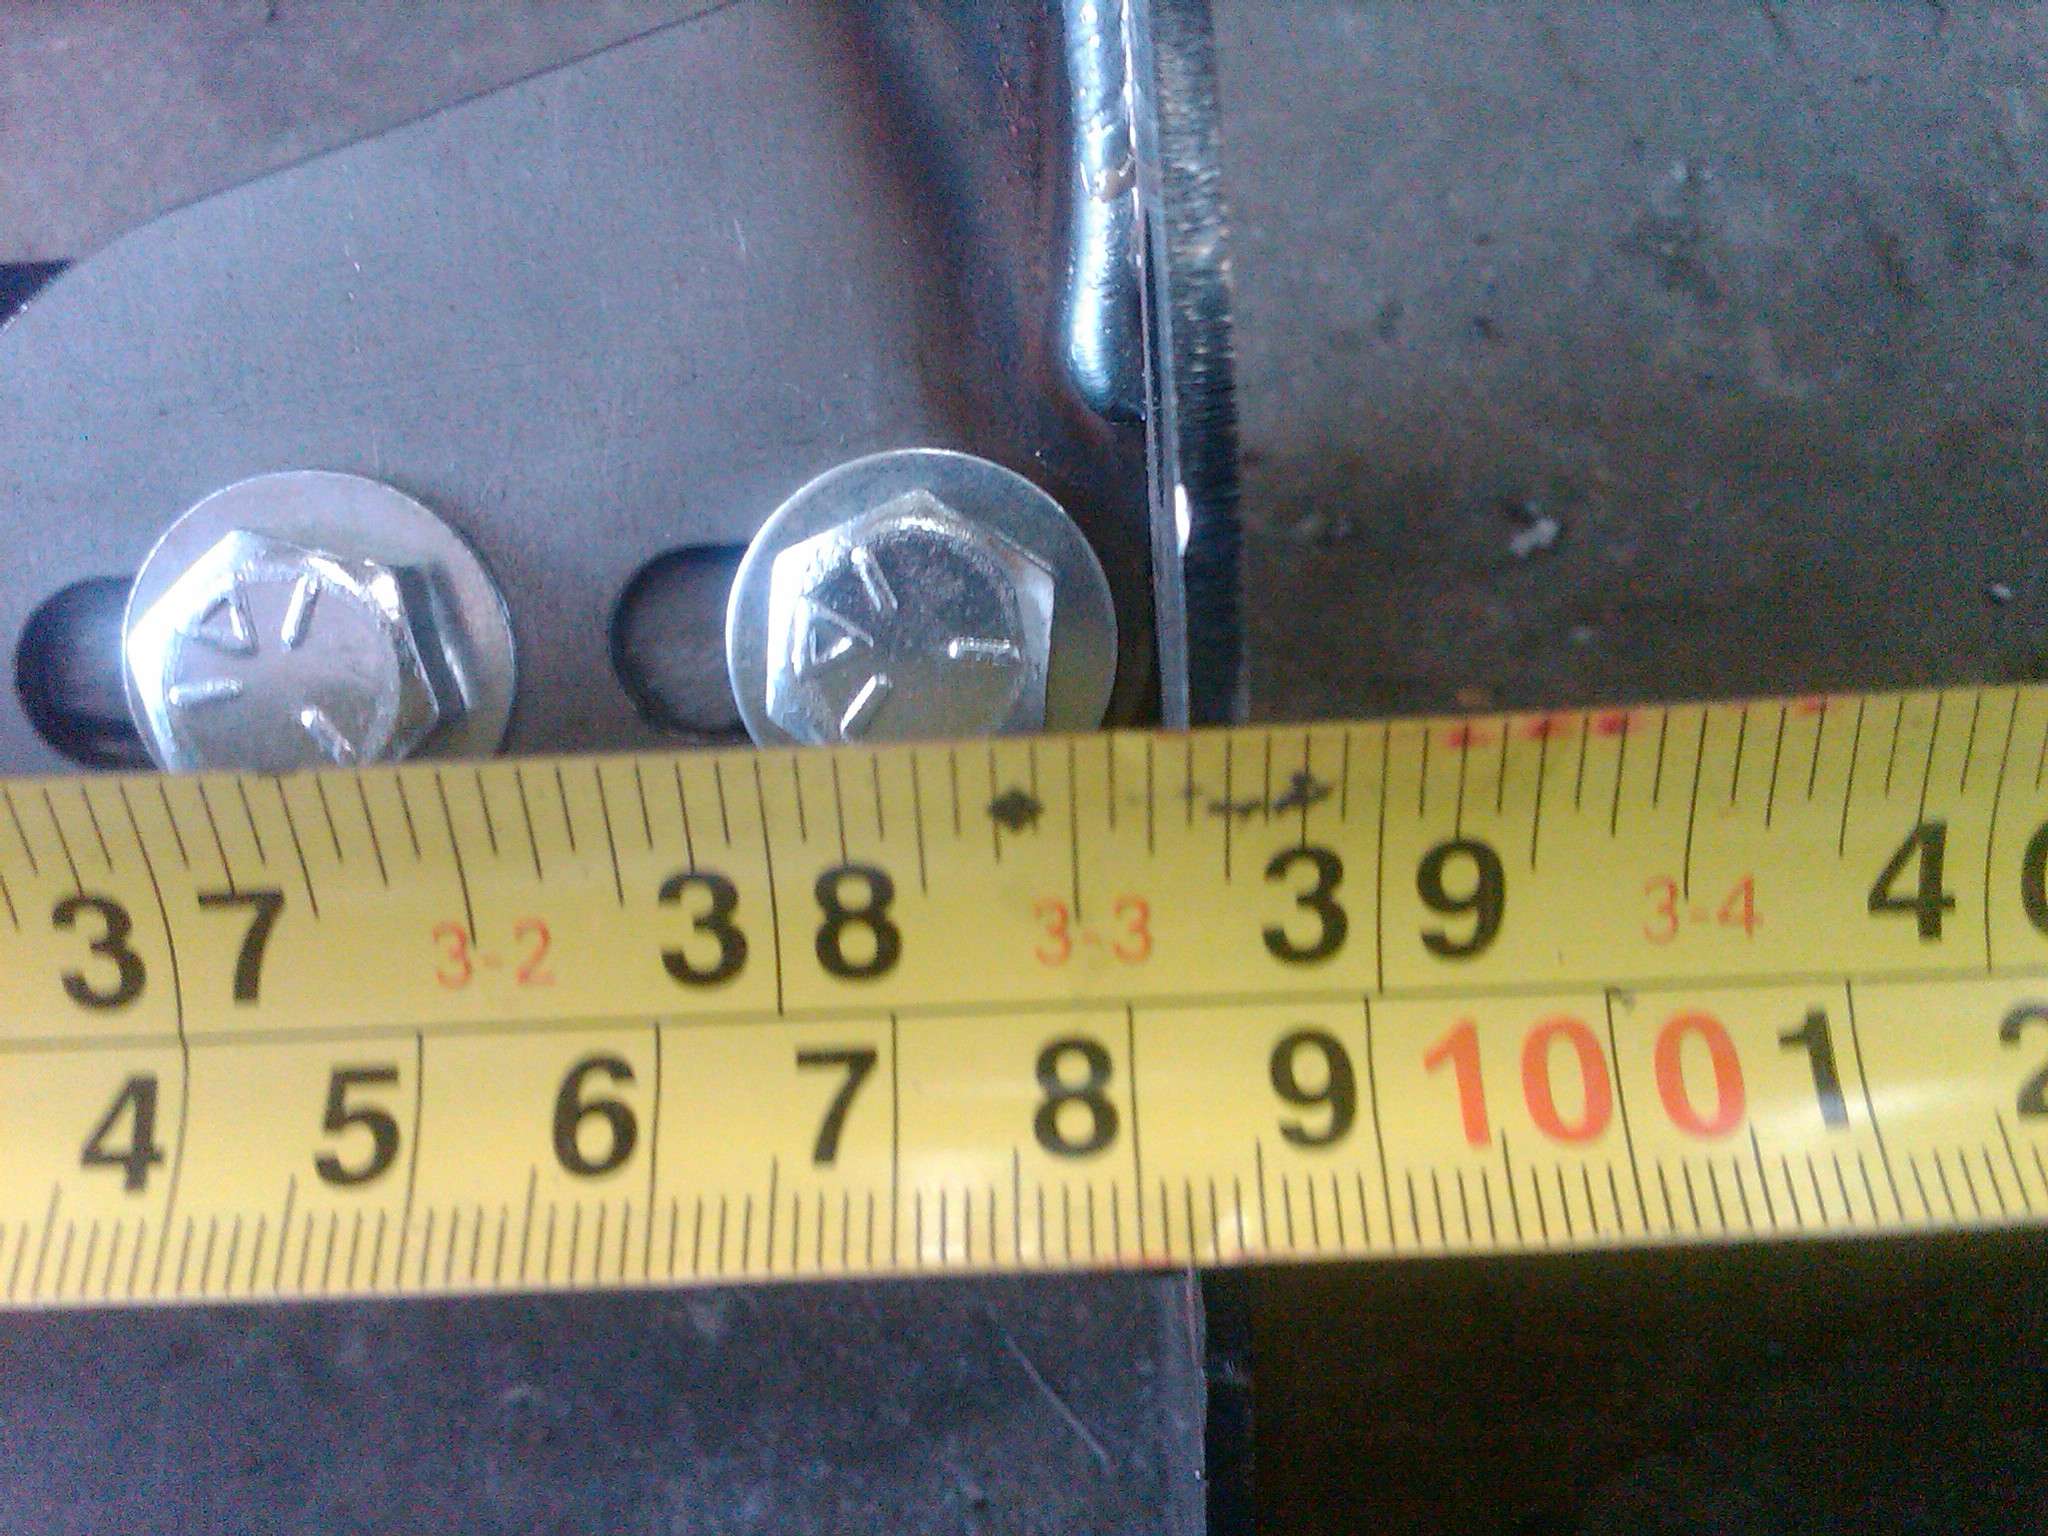
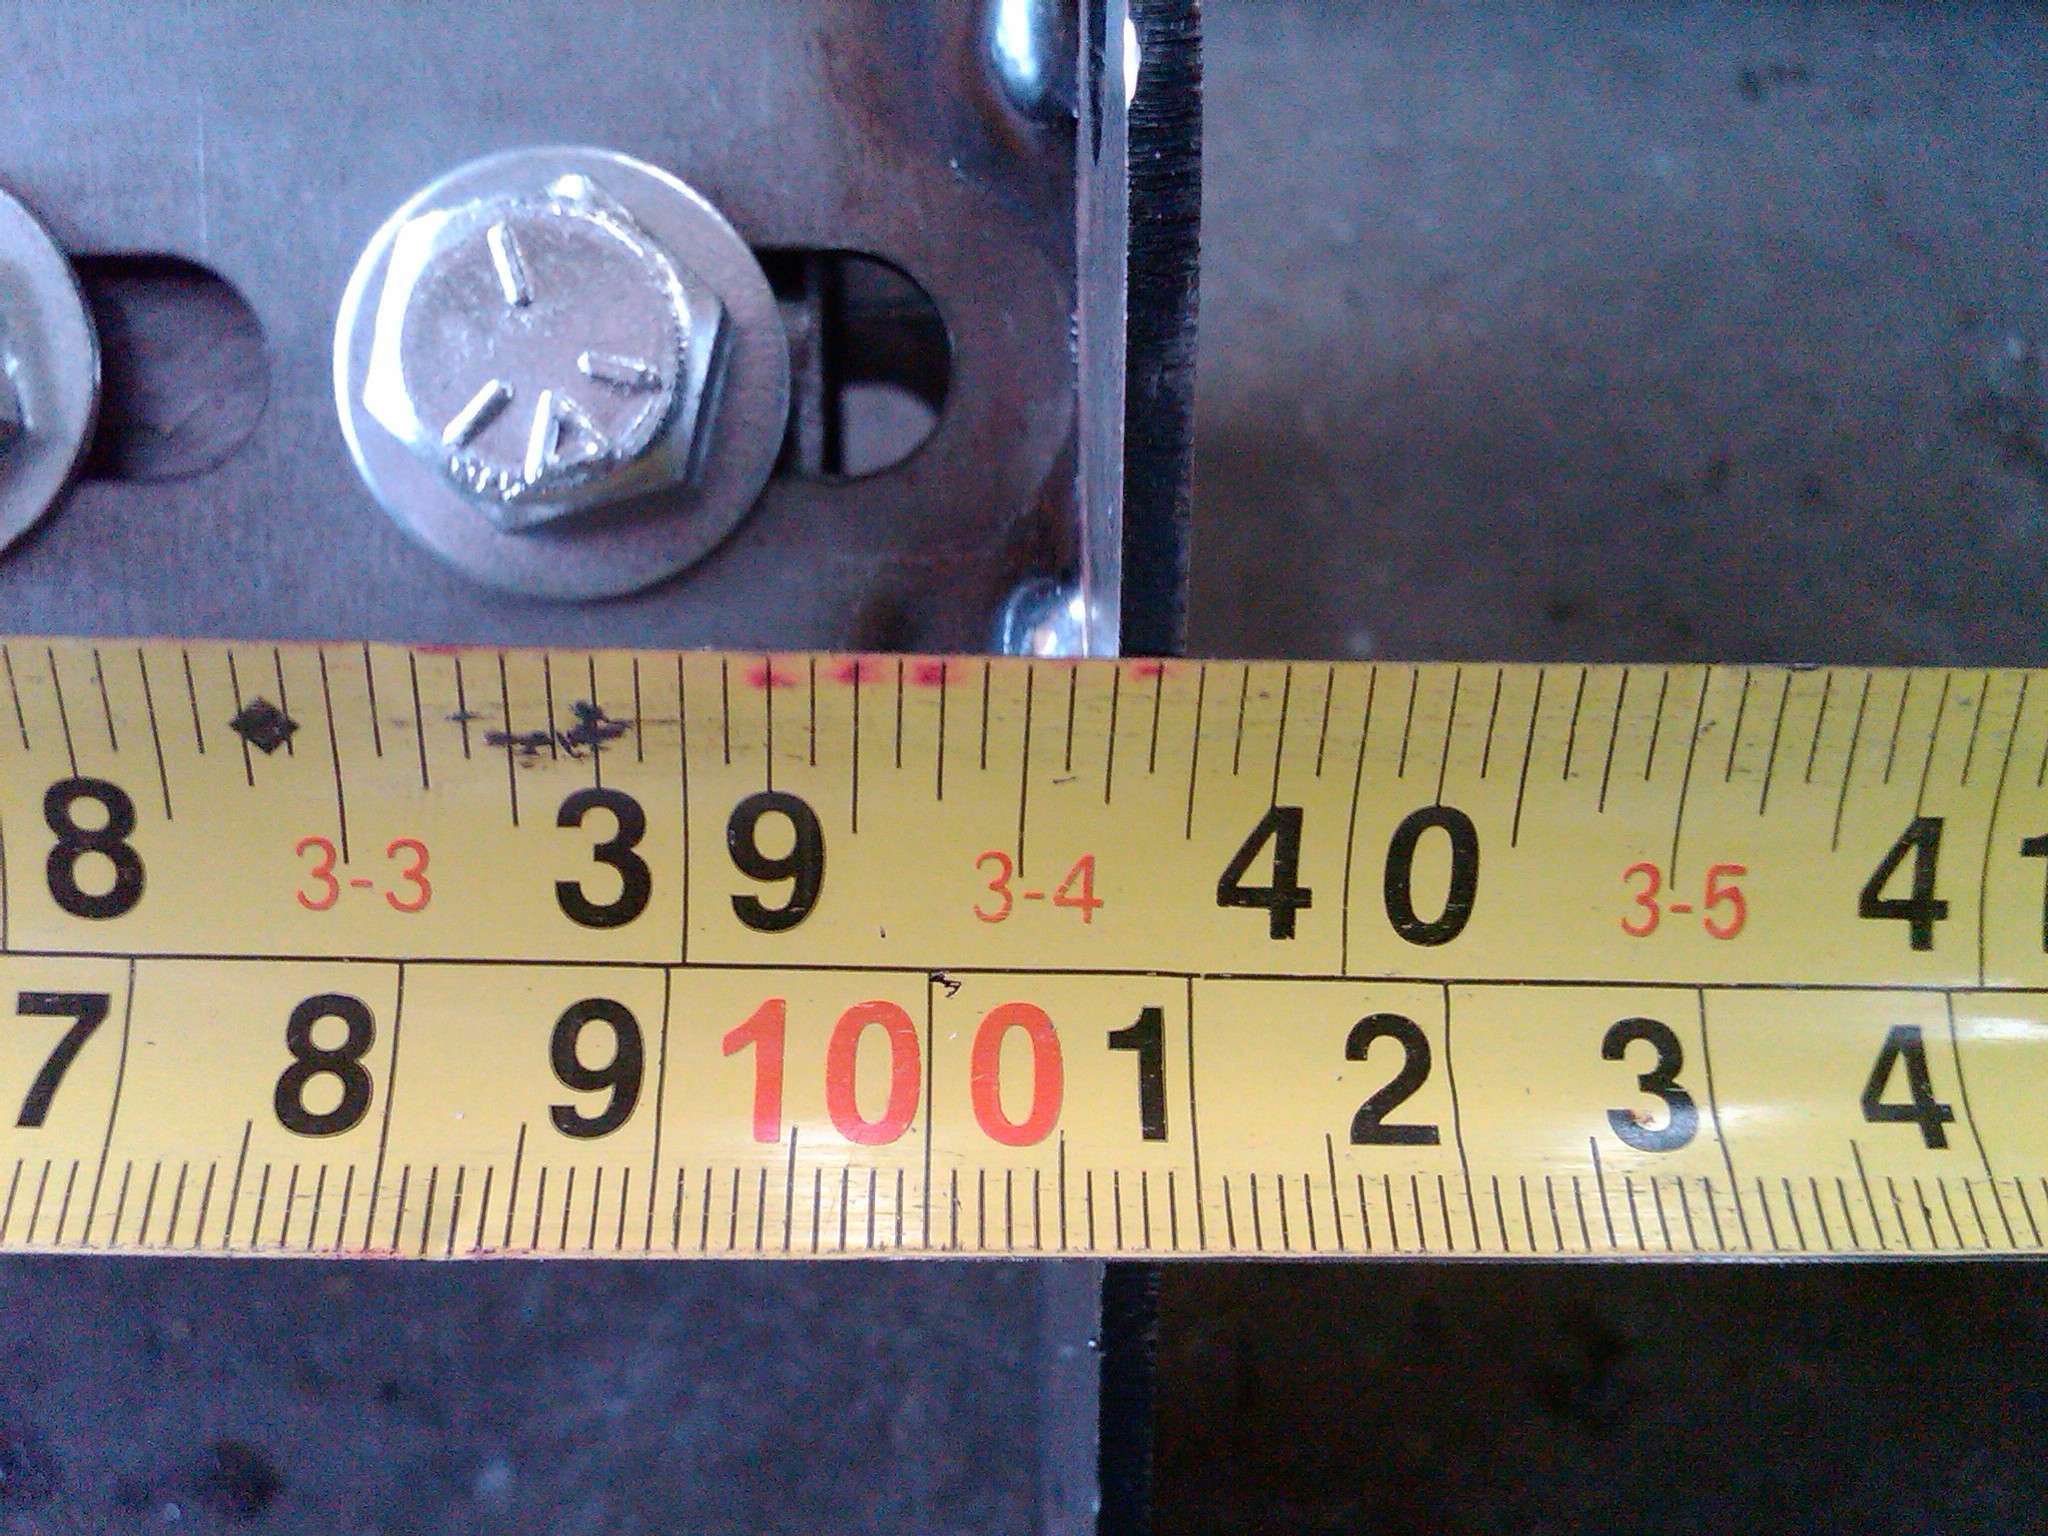
24. Install cross brace using the longer bolts, remaining washers, and nuts. (Note: Recommended torque of 35ftlbs)
(wishful thinking?)


