I know this thread is old, but It seemed like a good place to post this, and I wanted to share my experience with removing this bushing.
My idea here was to create a miniature power steering pulley type of configuration. 3 tapped holes that I could situate a small plate (large washer with 3 matching holes) and use a gear puller to yank the thing out nice and smooth.
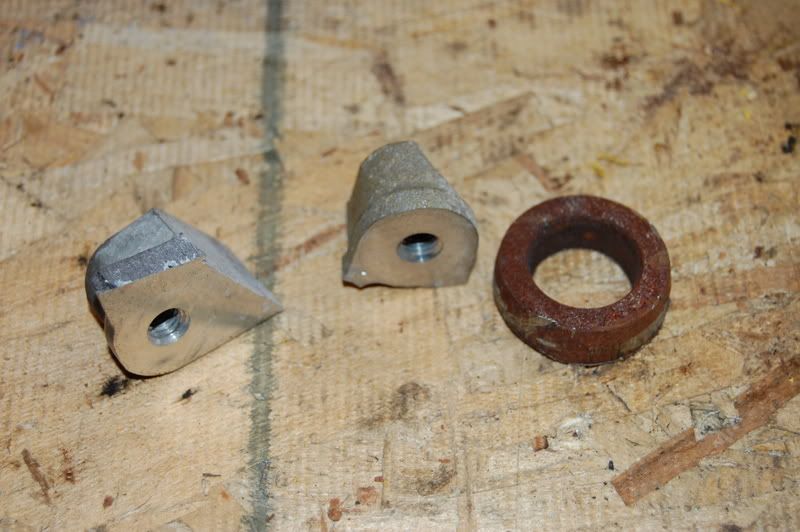
My Pilot bushing was steel, but was still very easy to drill small holes into with a cordless drill.
Also, all the pictures I took were after most of the work was done. I actually wasn't expecting this to work so well, So I didn't bother taking pictures until I proved it worked.

This took me 45 mins total including a trip to Lowes to get the right size screws and washer.
I used the following:
1. Cordless drill
2. A bench vise, or drillpress+vise recommended
3. Cheap tap/die set from Lowes (5x0.8 tap and matching drill bit)
4. (3) 5x0.8x25mm pan head screws --Lowes part 138455
5. 3/4" washer (~1/8" thick) --Lowes part 61702
6. Slightly larger drill bit (9/32 maybe?) than used for the tap
7. piece of paper, and a contractors pencil.
8. 10mm Deep well socket.
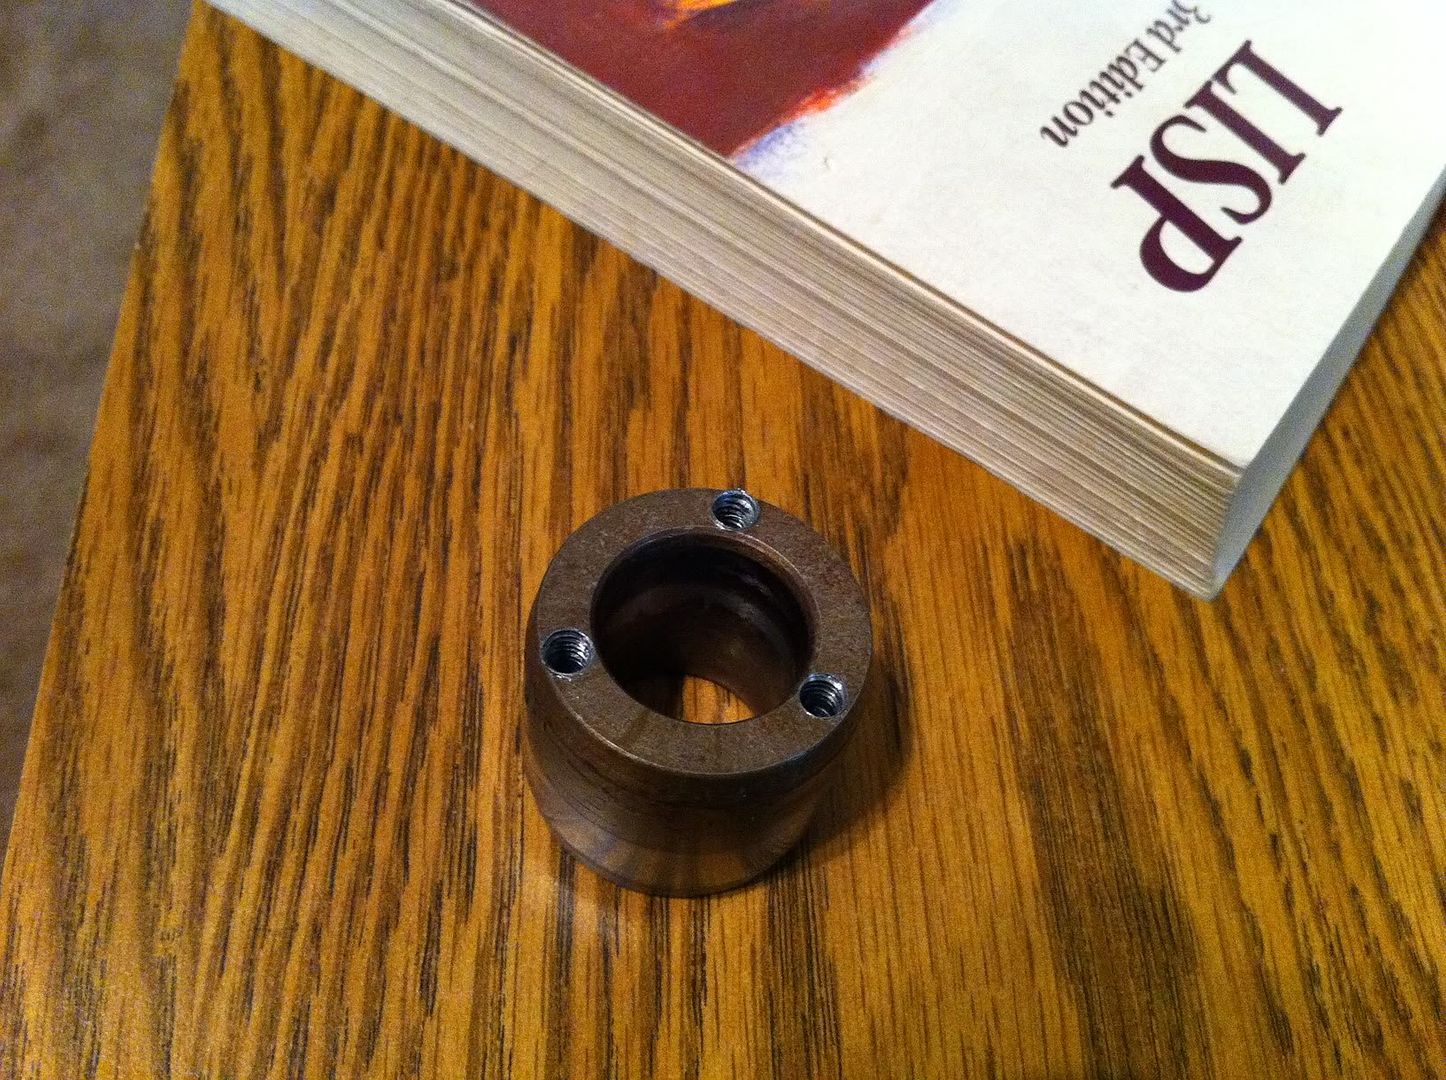
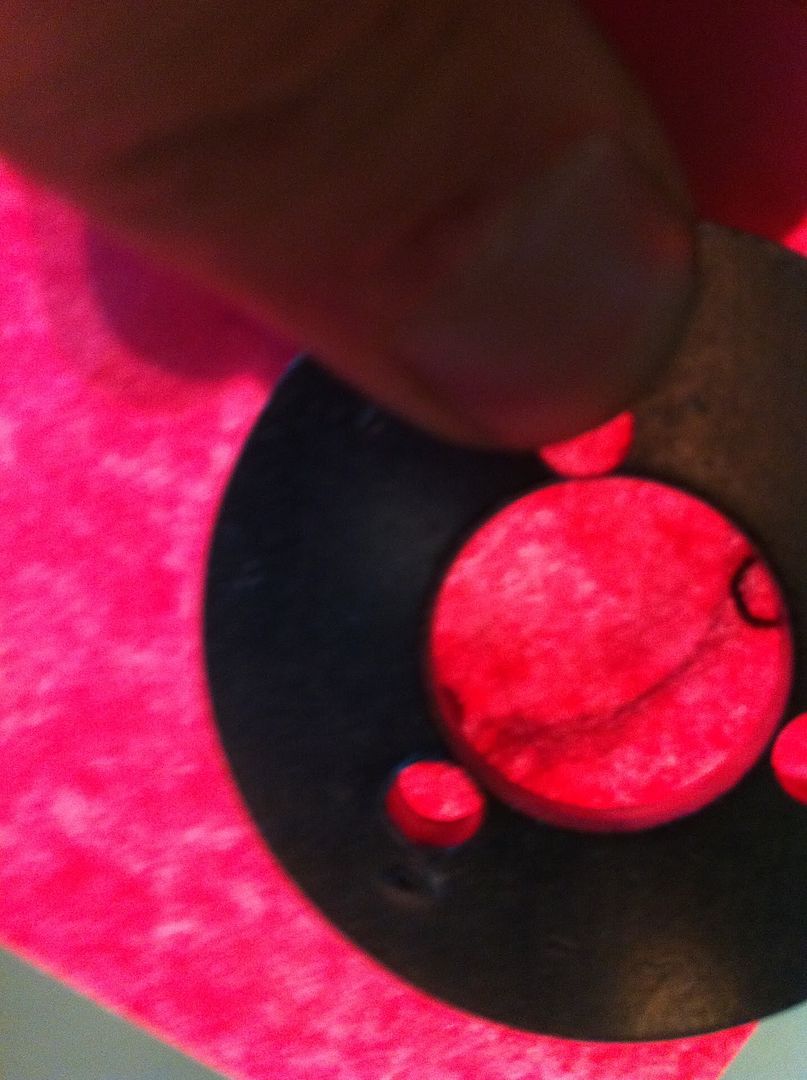
First thing I did was free-hand drill 3 small holes in the bushing and tap them out. About 1/2" deep. I didn't do any measuring, I just tried to keep my drill as straight as possible, and space the holes evenly.
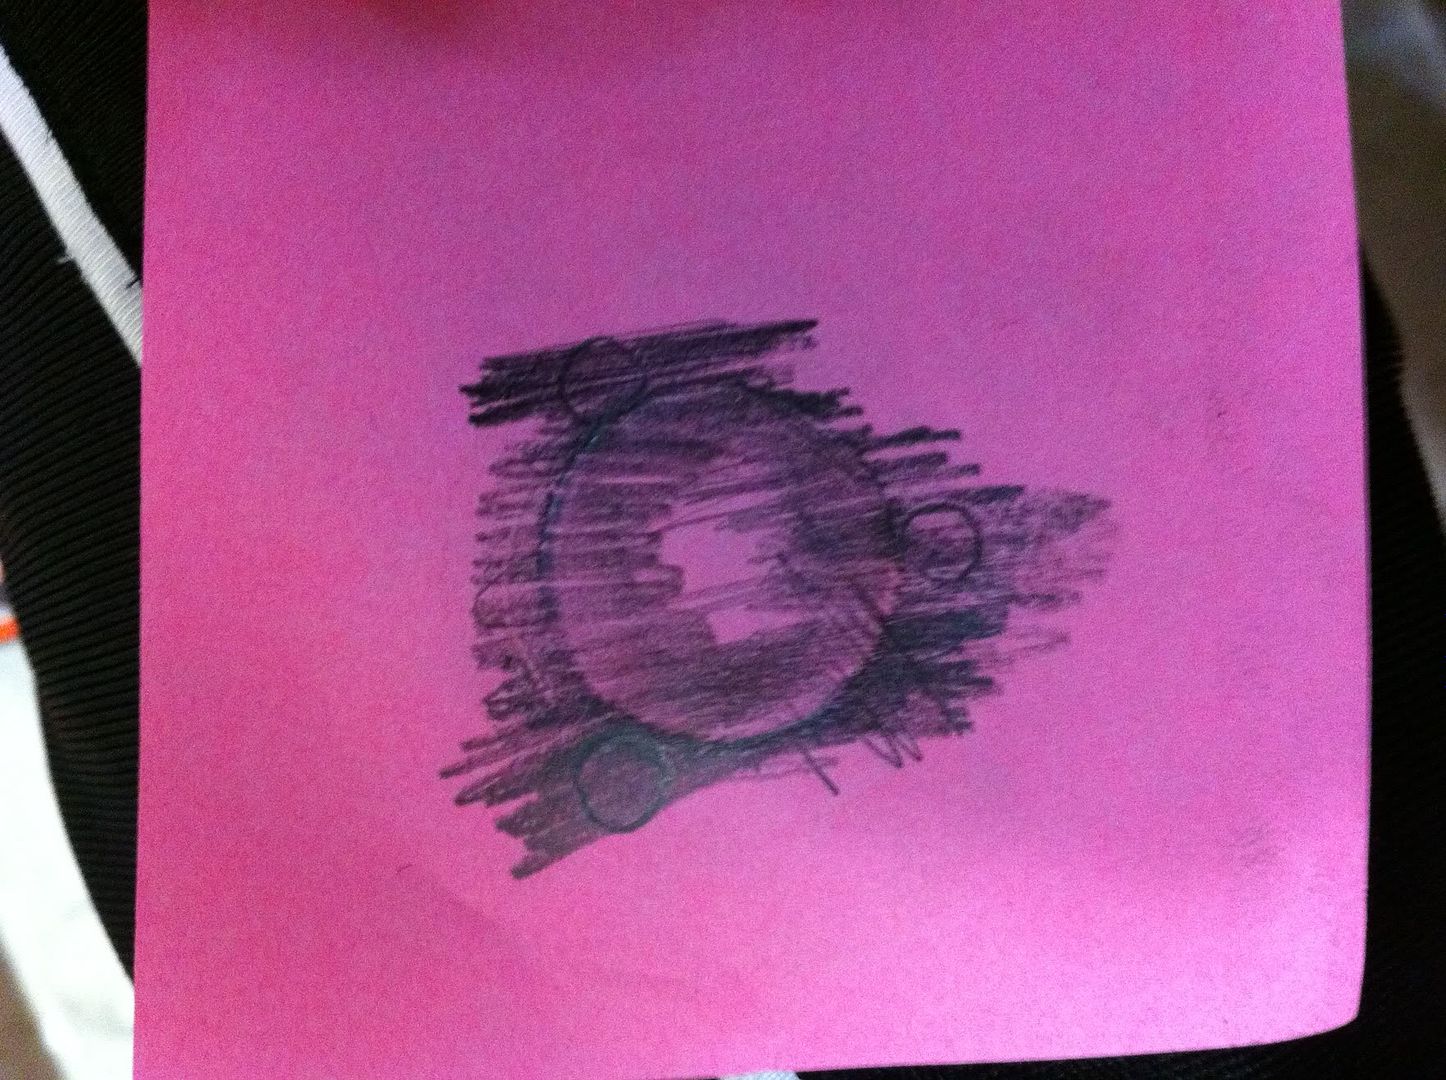
Next, I used a piece of paper, and a pencil to get an "impression" of the holes. There is probably a much more accurate, scientific, less redneck way to do this, but my quick thinking lead me here since I had already drilled the pilot bushing.. :idea:
Then I colored the back side of that paper with the pencil. This is to create a type of carbon copy effect we will use to transfer this pattern to the washer for drilling.
Next, hold the paper and the washer together, with the colored back side against the washer, up against a bright light until the impression and the washer are fairly centered. In this picture you can barely see how they are NOT aligned well.
Keep them aligned, turn it over, and trace out the holes from the impression. Press hard to transfer the graphite from the back side of the paper to the washer. You will barely be able to see this on the washer, do not look at it in direct light, the markings will disappear, look at it from the side, make the markings more clear with marker if you need to.
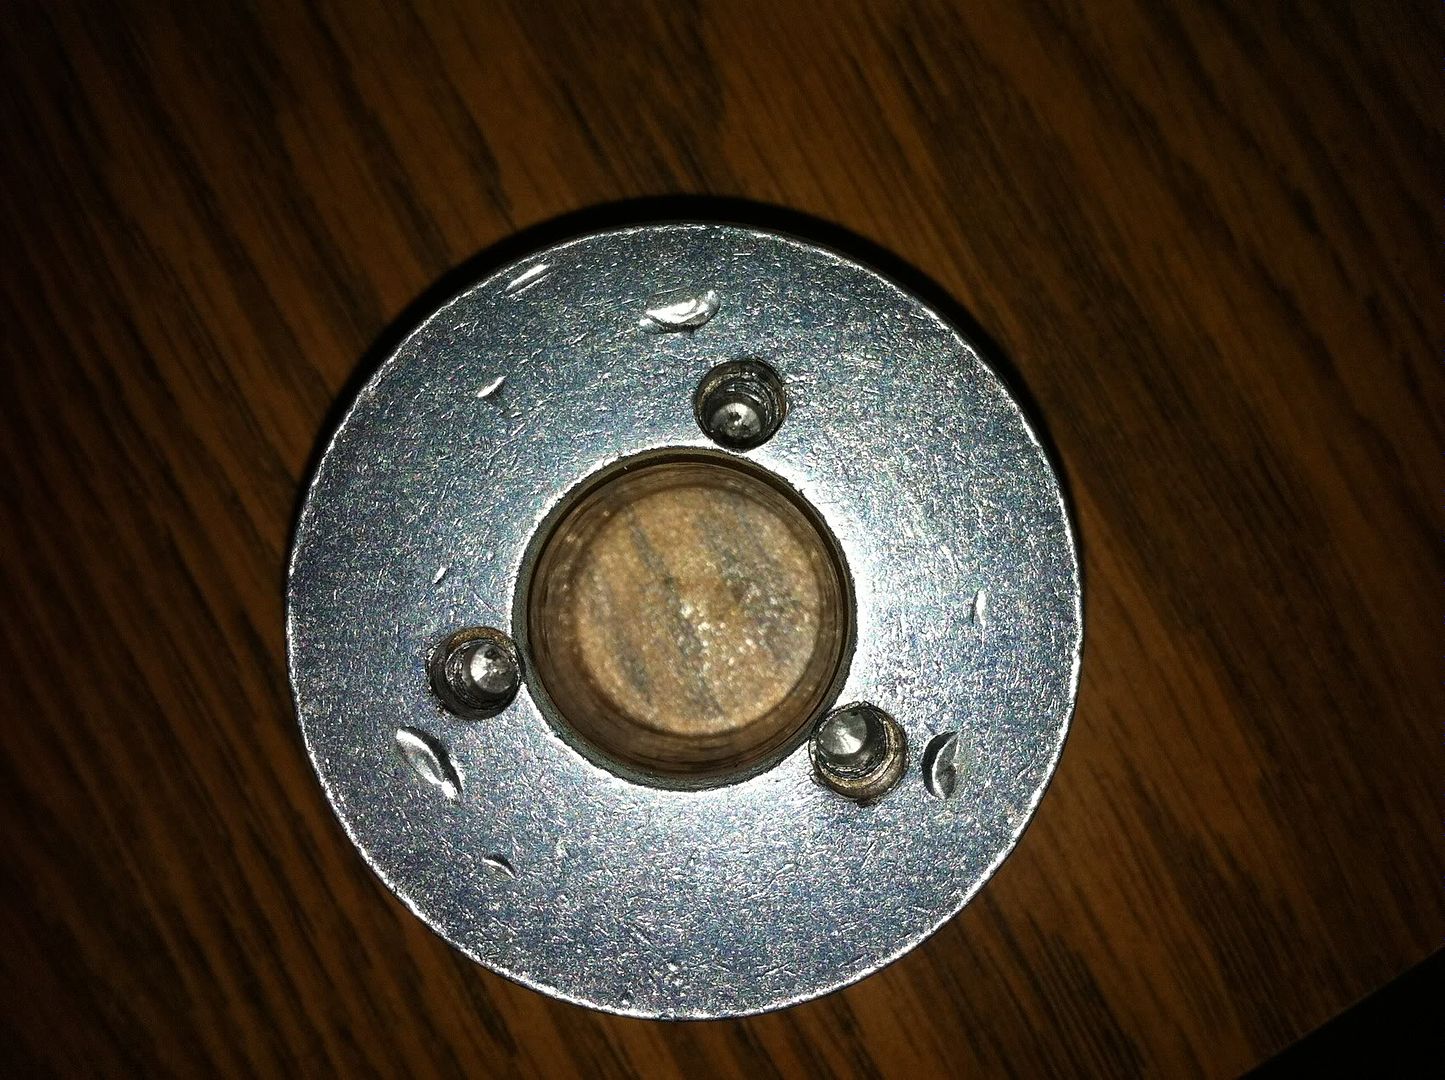
Drill these holes out with the larger drill bit in a Drill press, or with the washer in a bench vise for stability. My washer got very hot while drilling. probably because I was using a drill press, but be careful here, you do not want to hold this by hand while drilling.
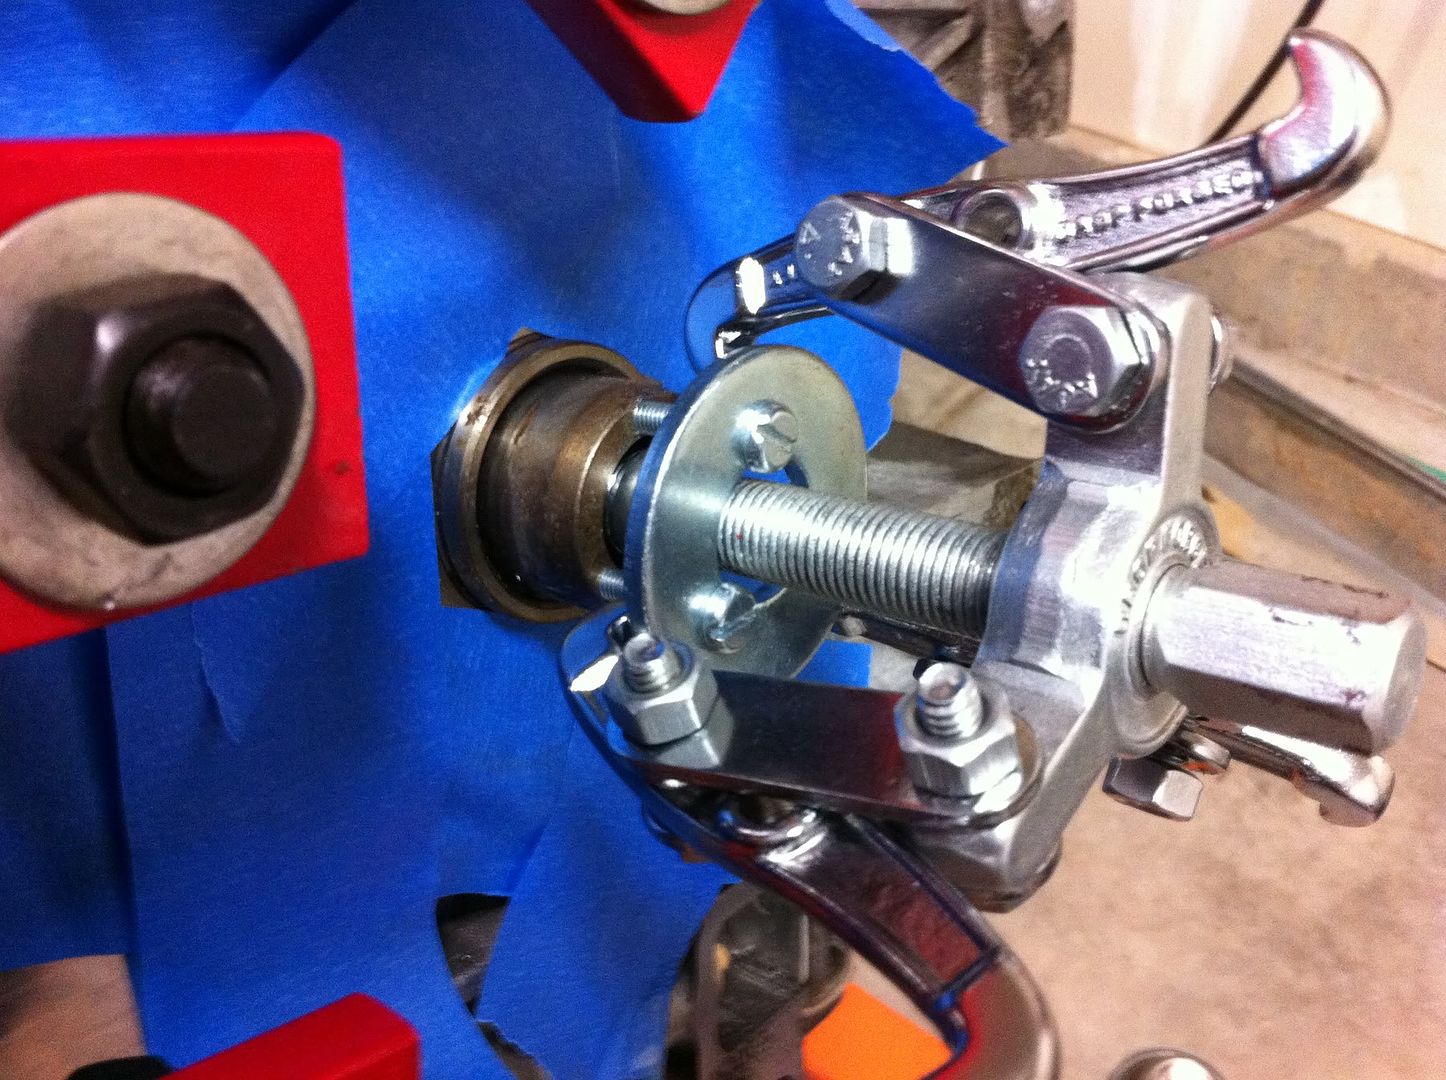
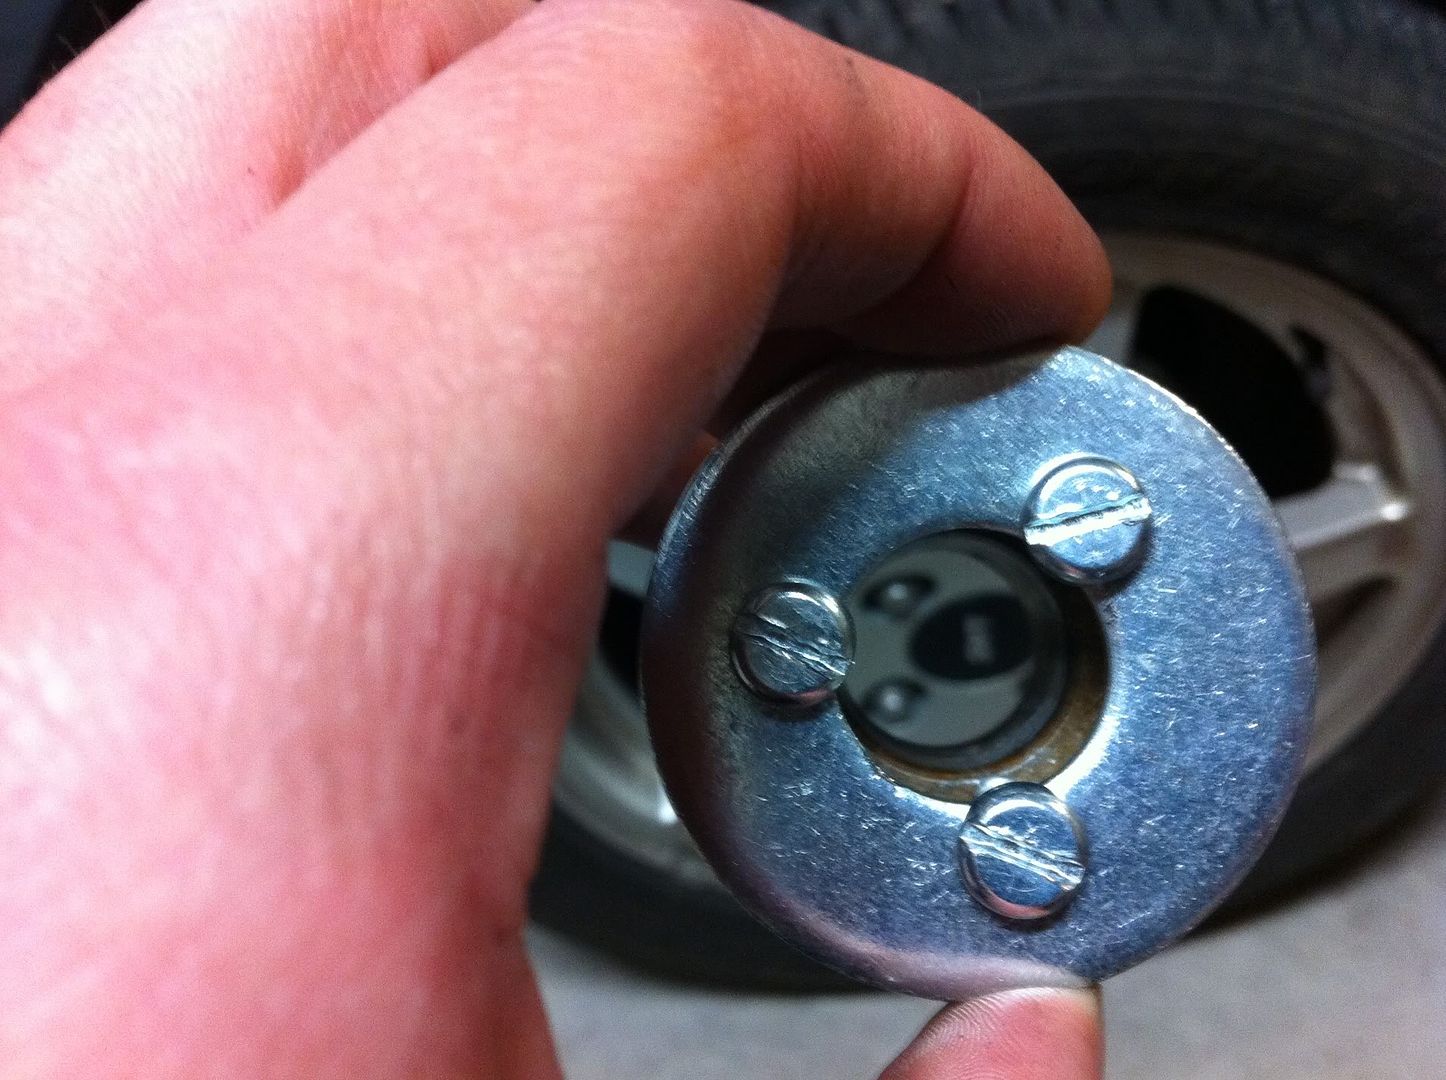
You can see here how the holes in the washer are larger than the tapped holes in the bushing.
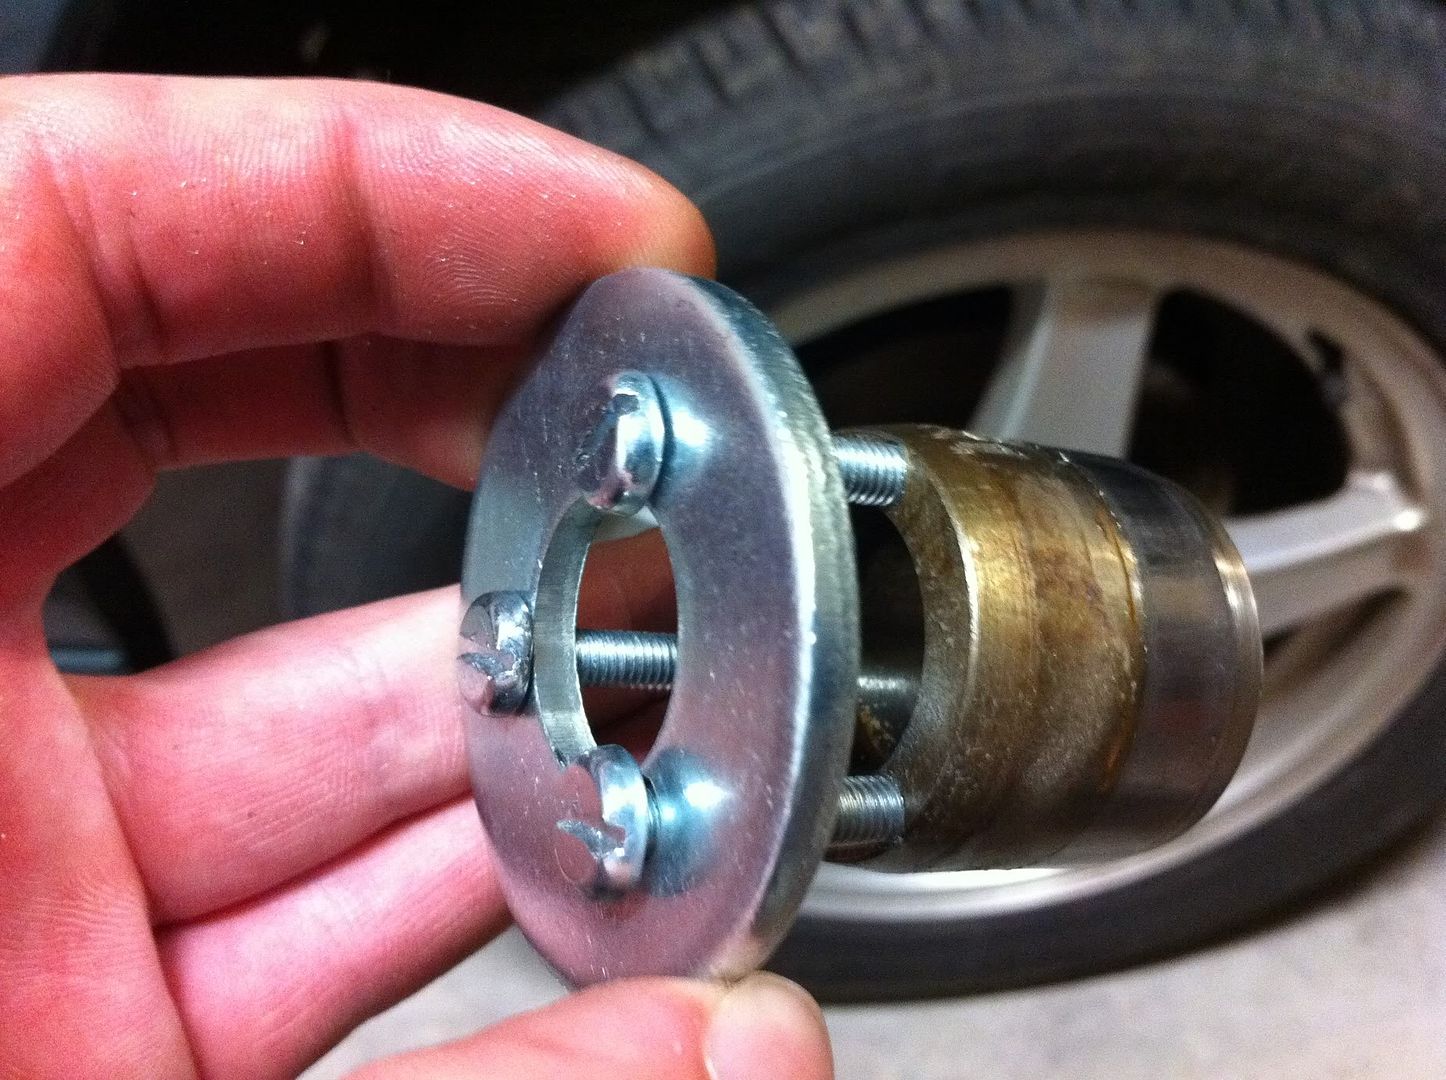
Finally, put the screws and washer into the bushing, and using a small gear puller, pull that bad boy out. I used a 10mm deep well socket as a spacer for the gear puller bolt.
I didn't use and impact for this at all, only a 1/2" ratchet. The bushing came out very smoothly.