terryford8
CEG'er
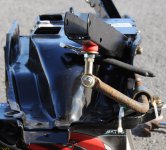
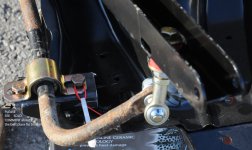
Solo92s10 REAR SWAYBAR BRACKET UPGRADE…UPDATE
http://www.contour.org/ceg-vb/showthread.php?77328-How-to-make-new-rear-swaybar-brackets-on-subframe
I recently bought a brand new Ford rear Subframe for my 1999 Mercury Mystique and had to decide whether it needed reinforced swaybar brackets. The OEM unit I bought seemed to have a reinforced system that was better than earlier models(this is just my speculation)
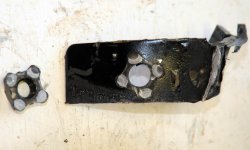
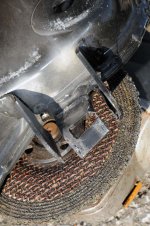
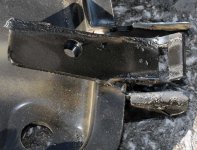
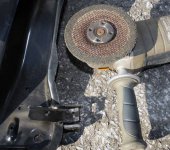
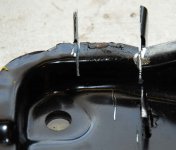
After many restless nights I took my sawzall to the new unit and realize this was the right decision.
The beautiful brackets Solo made are so much better and I would recommend them to anybody
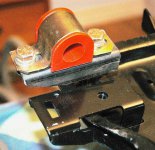
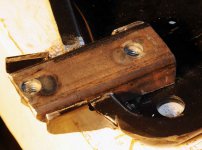
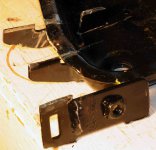
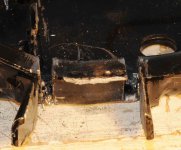
When I started cutting into the OEM piece it was clear that it wasn't as strong as I thought and the original factory brackets only bolt at one end. The one failure on my old unit with BAT 21mm bar was the bracket snapped where it slotted in. The Solo units use energy suspension brackets that bolt in at each end and appear much stronger. You can even get units with grease fittings
This isn't mean as a full blown how to as Solo92s10 has a very fine post already set up and in my case he went far out of his way to guide me thru the process. His knowledge you just can’t BUY!!!!!
Was just hoping this would show the same work being done on a more modern unit than the one used in the solo post.
Would also point out his way of using a chop saw saves so much time and makes it easier to cut the groves in the frame so the new bracket can drop in. I didn't have a chop saw available and truth be told they kinda scare me lol
thanks for looking
doug p


