• Welcome to the Contour Enthusiasts Group, the best resource for the Ford Contour and Mercury Mystique.

    You can register to join the community.

BLKOUT2: Rebirth. PRT 2011 track car build thread.

Pole120

Addicted CEG'er
Joined
Mar 15, 2004
Messages
5,111
Location
Waukesha, WI
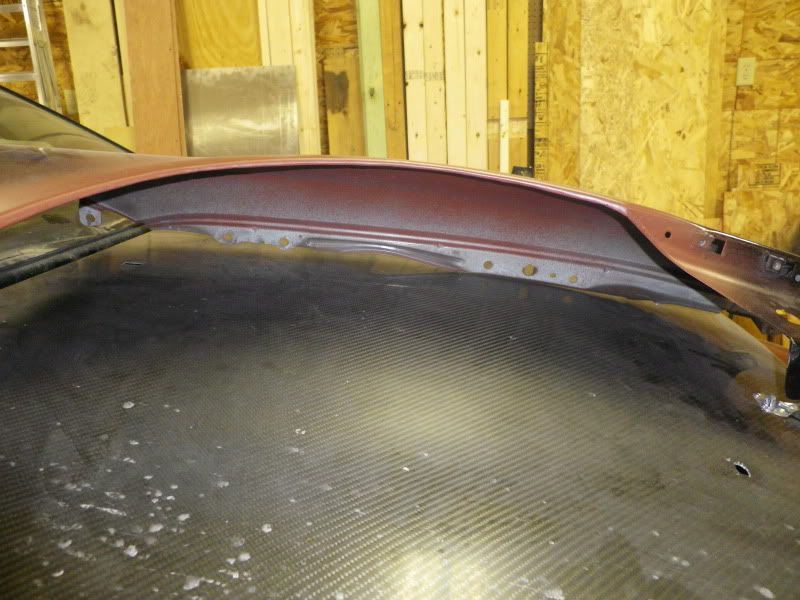
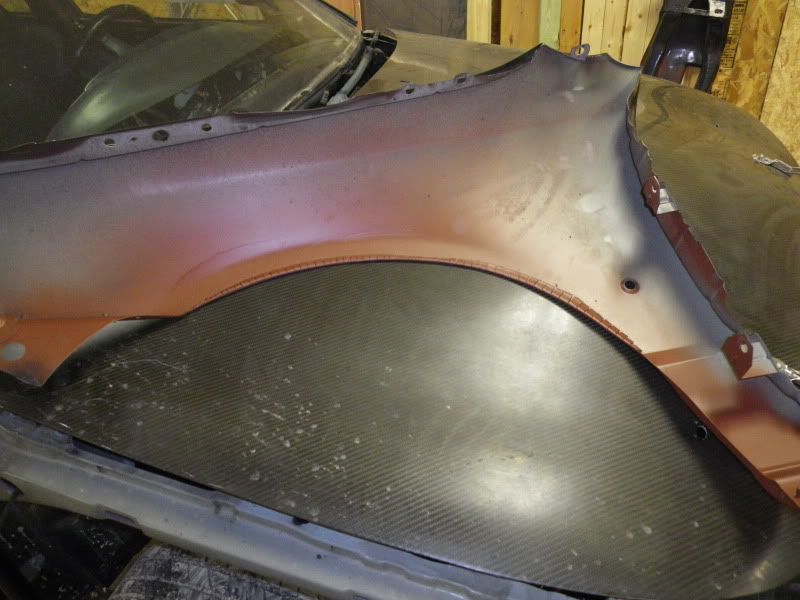
If you were following my other thread at all you know that I'm finally working on something very important to me. After being put off several times for various reasons, it's finally happening, and it's happening. With a completion due by our local SVTOA show, May 1st.

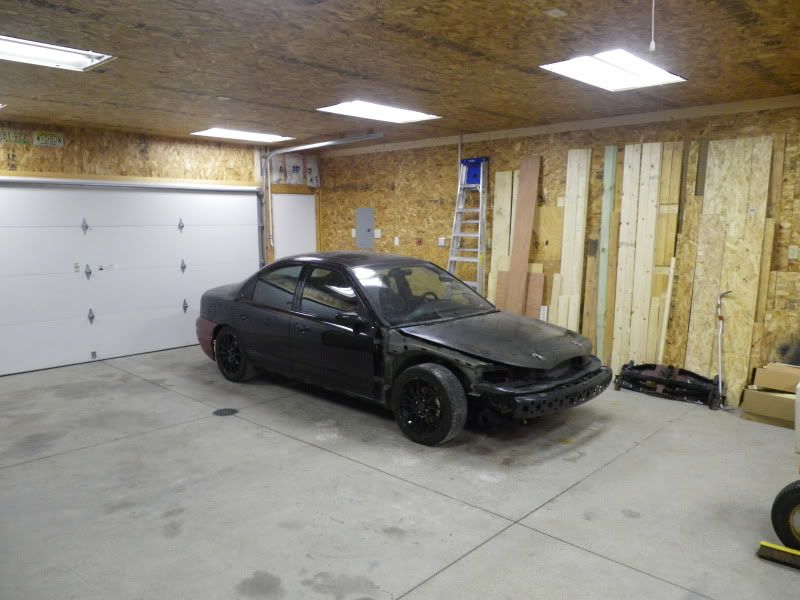
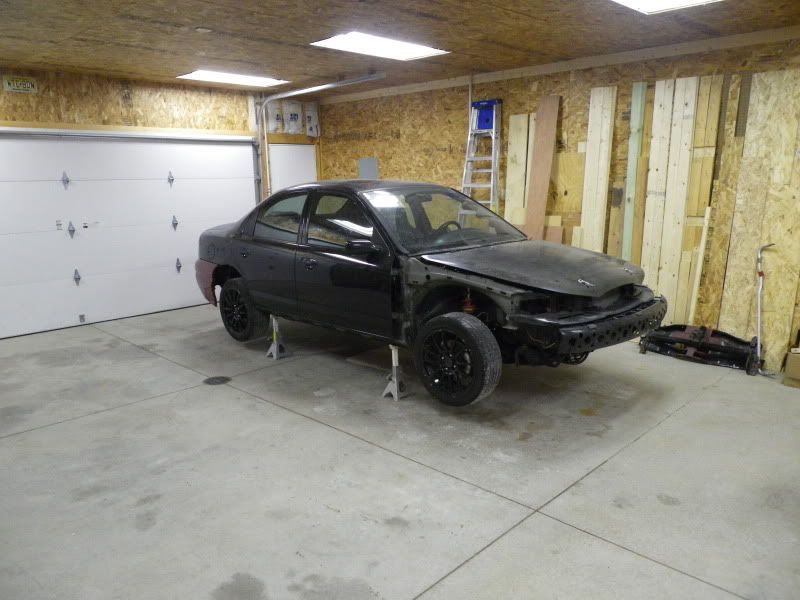
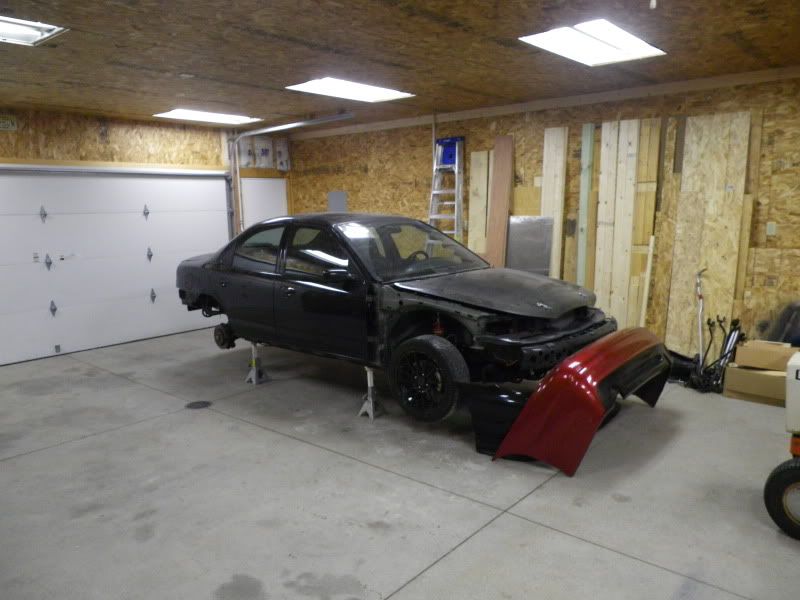
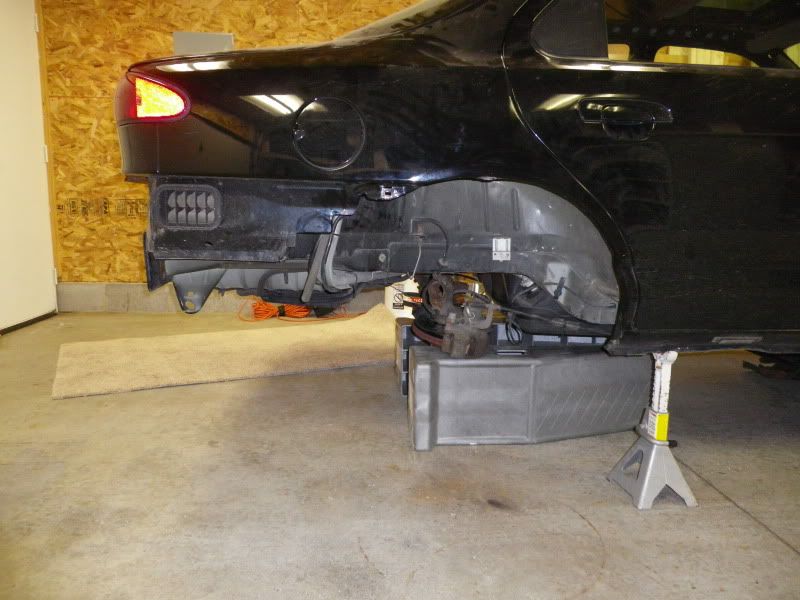
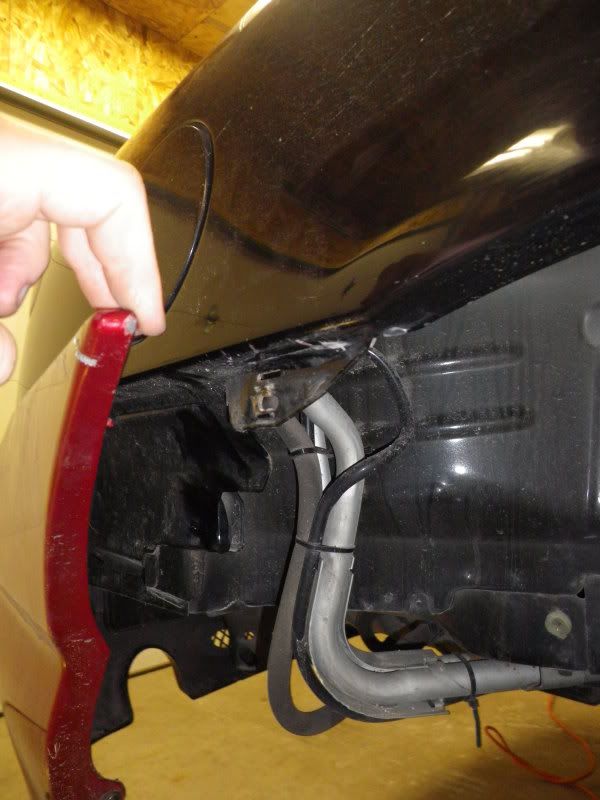
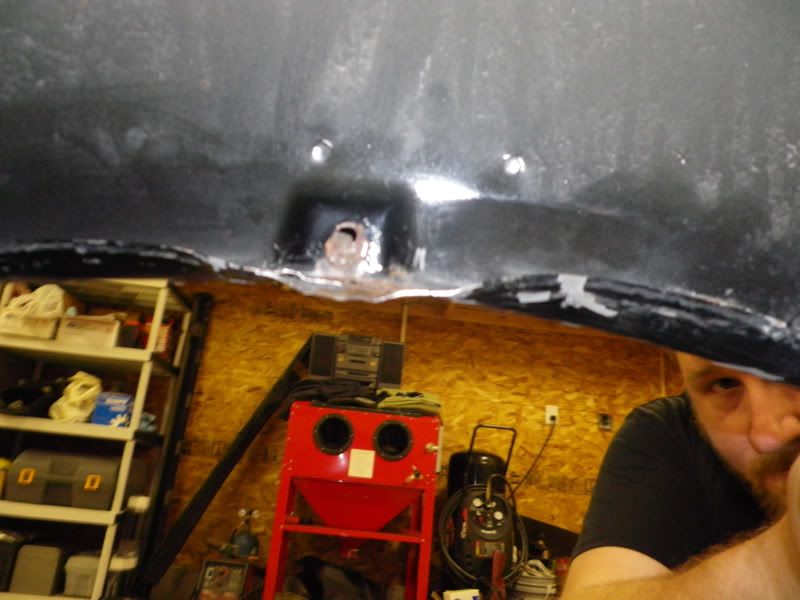
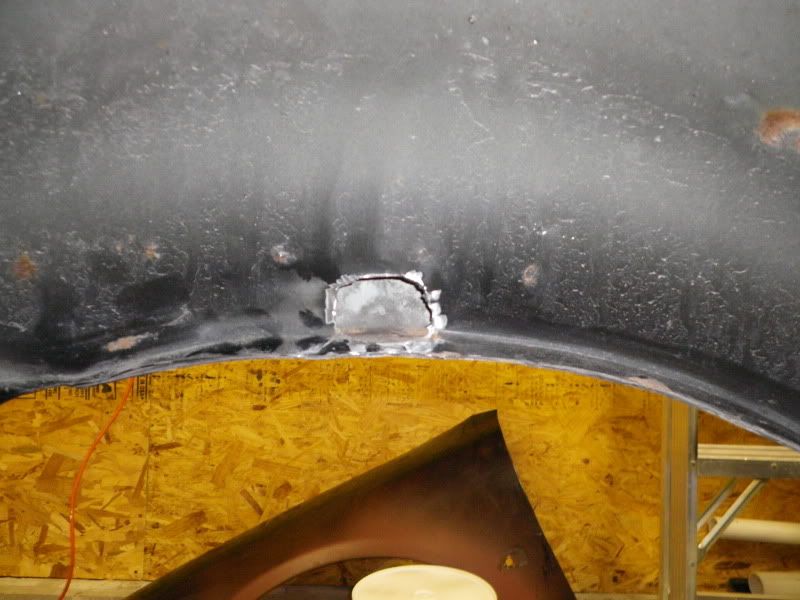
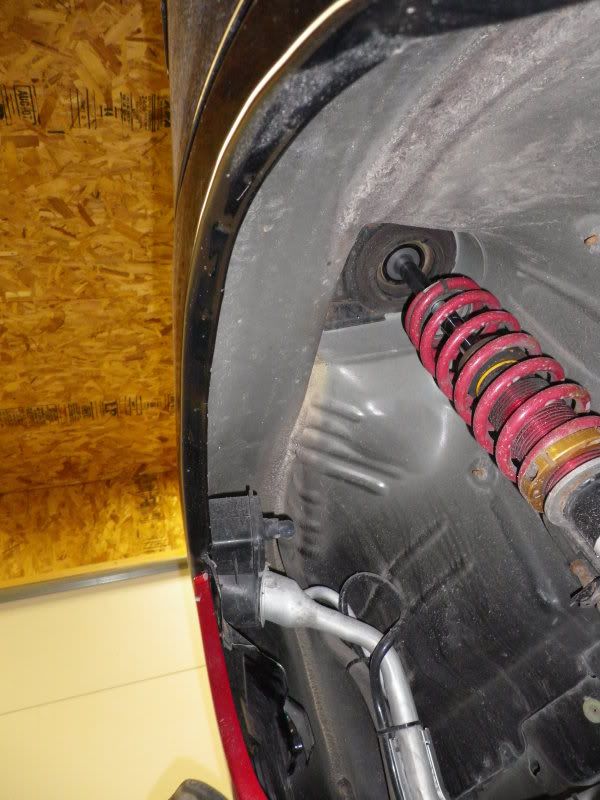
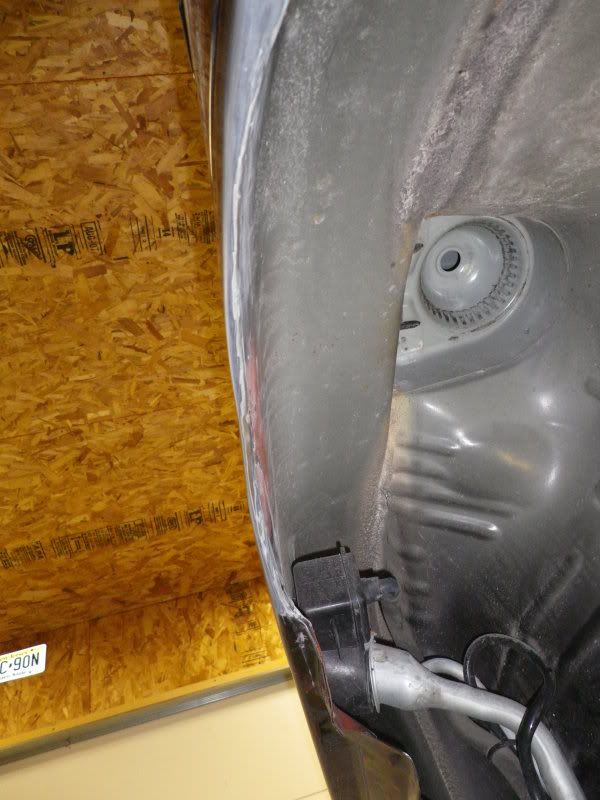
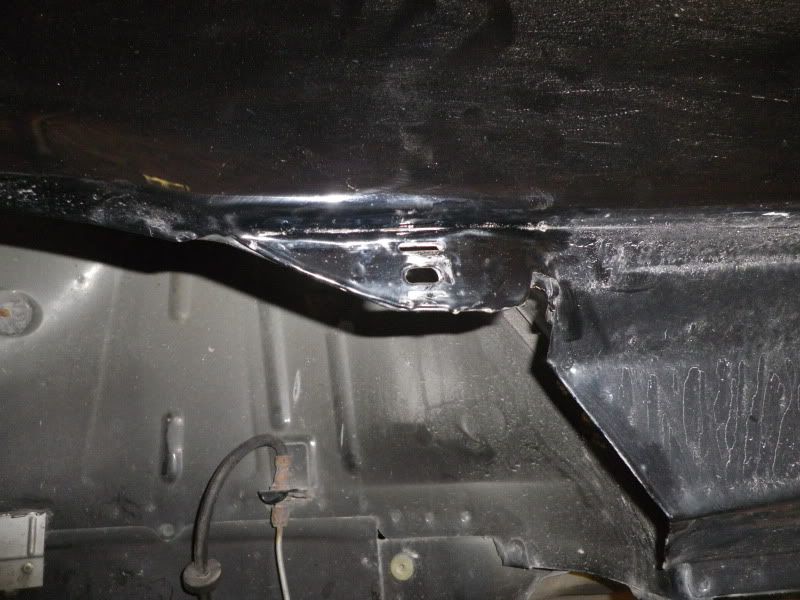
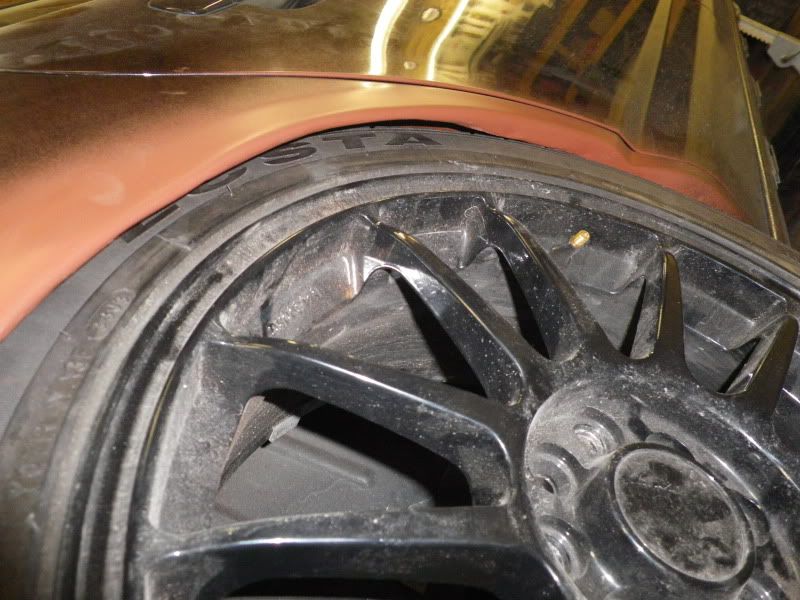
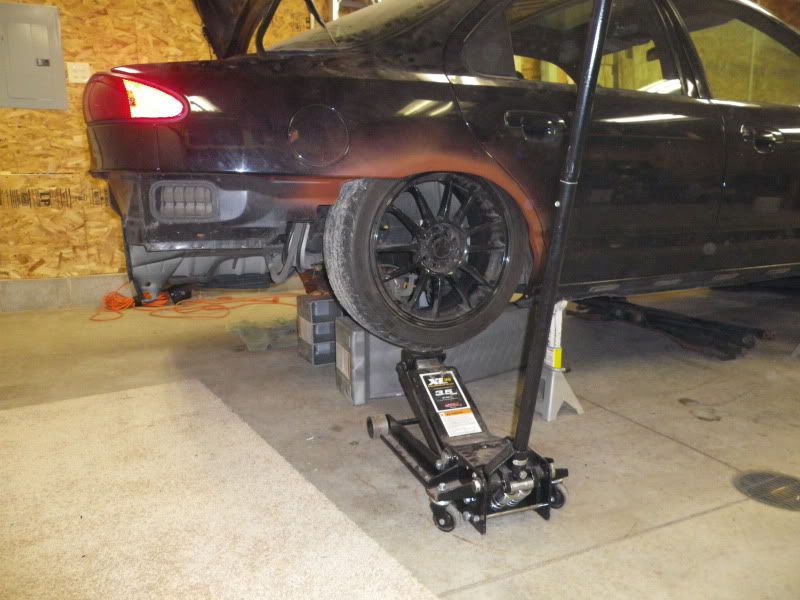
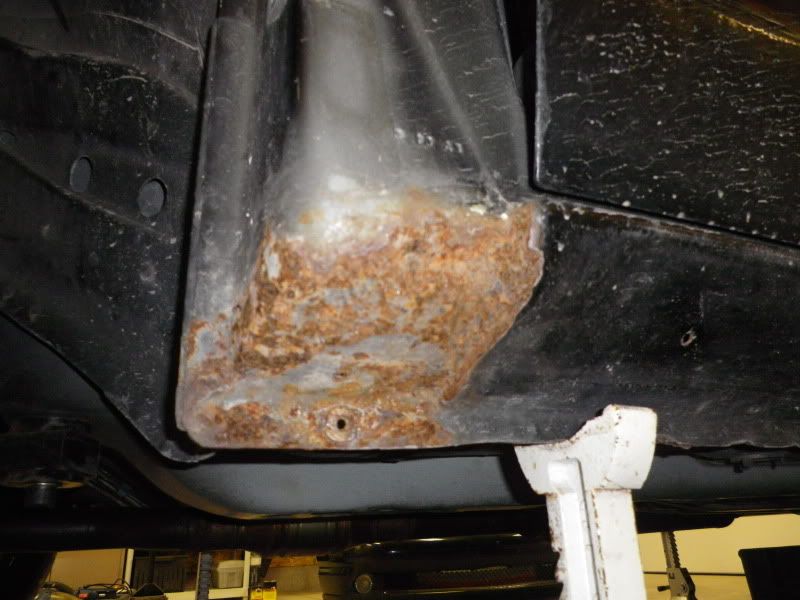
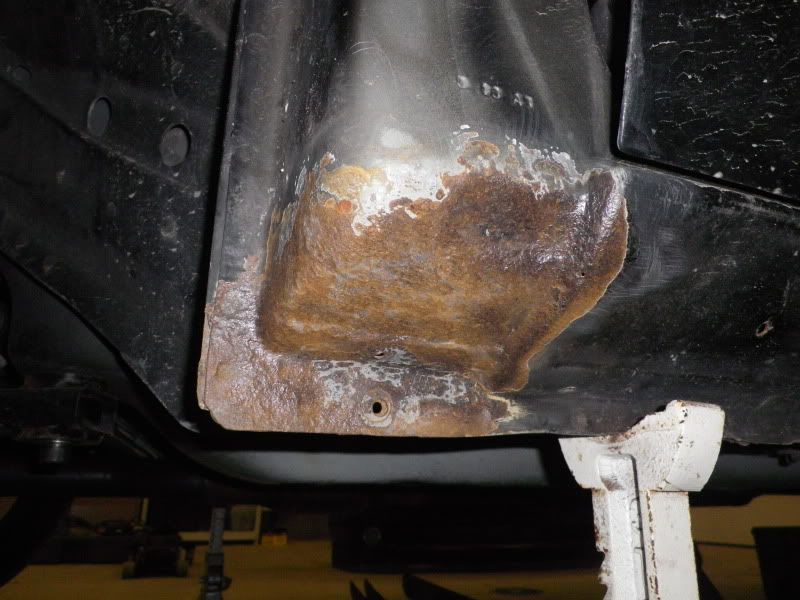
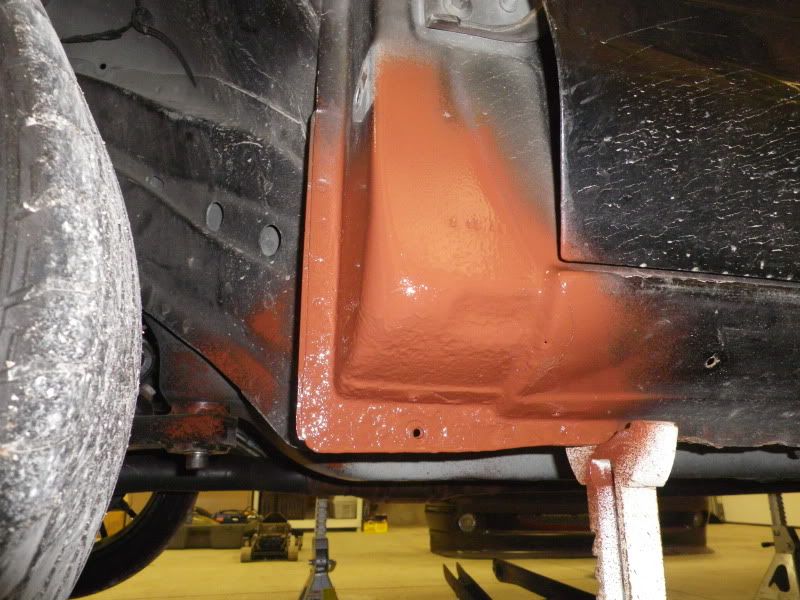
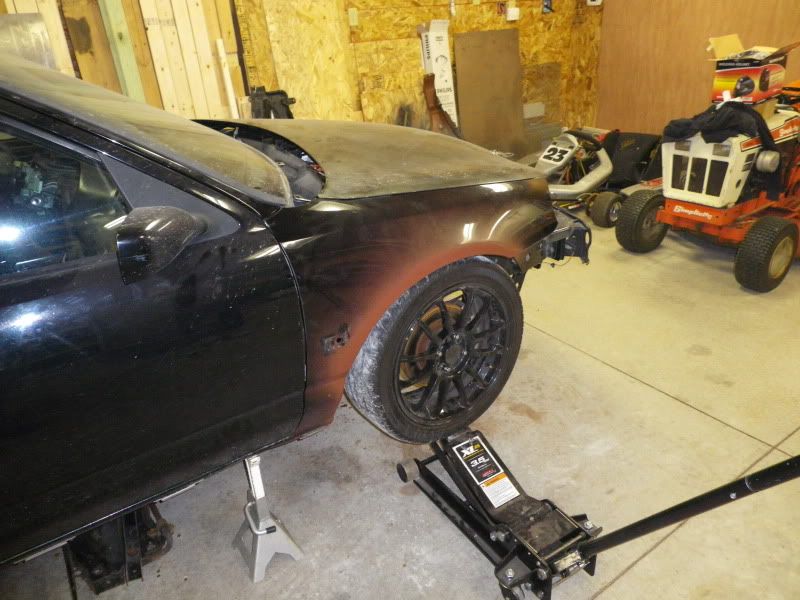
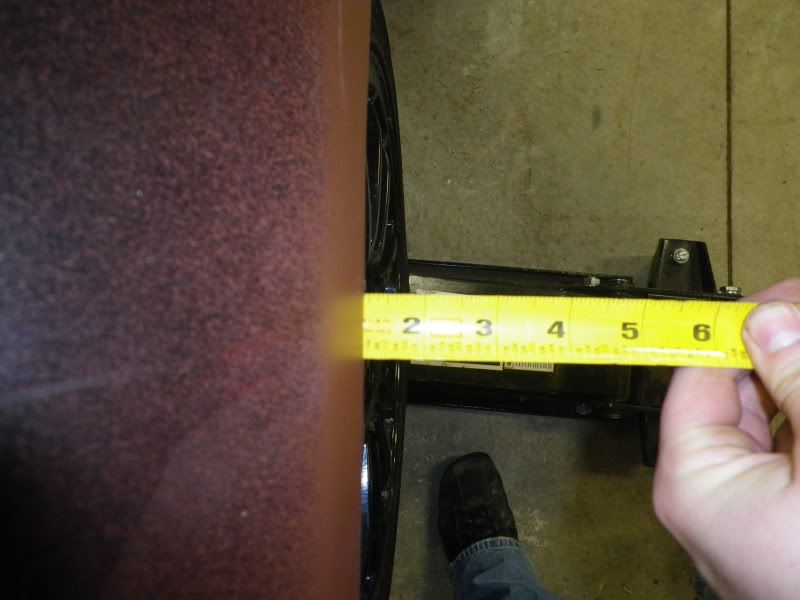
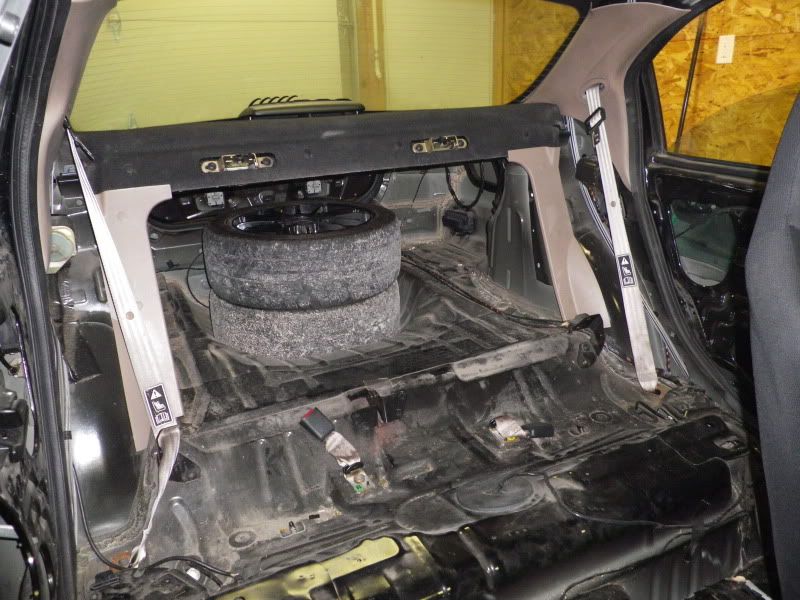
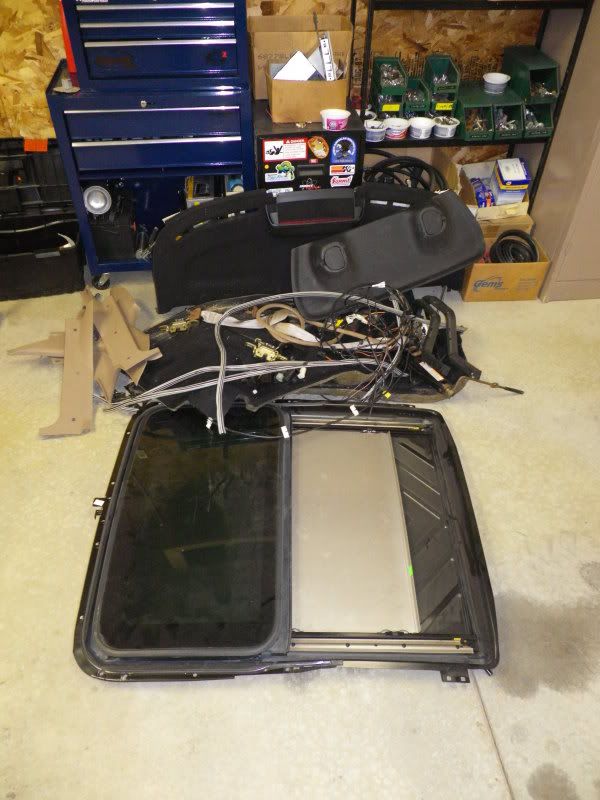
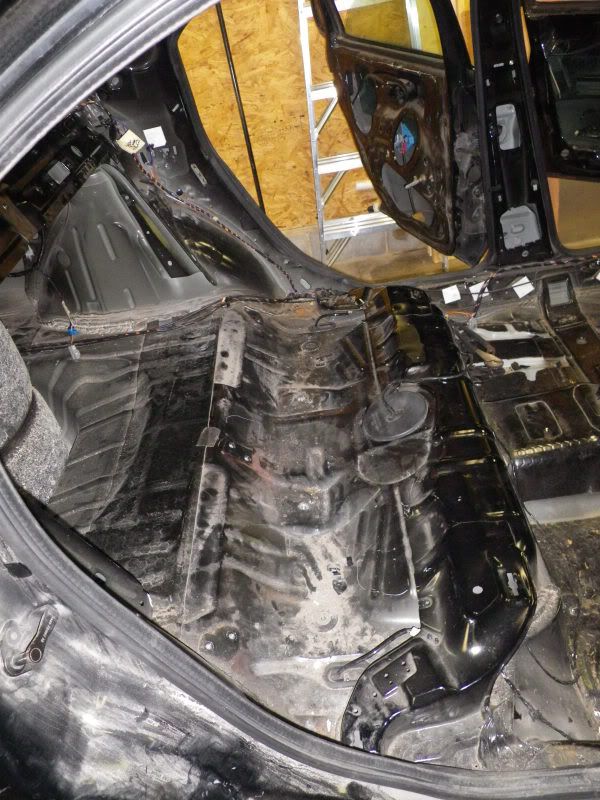
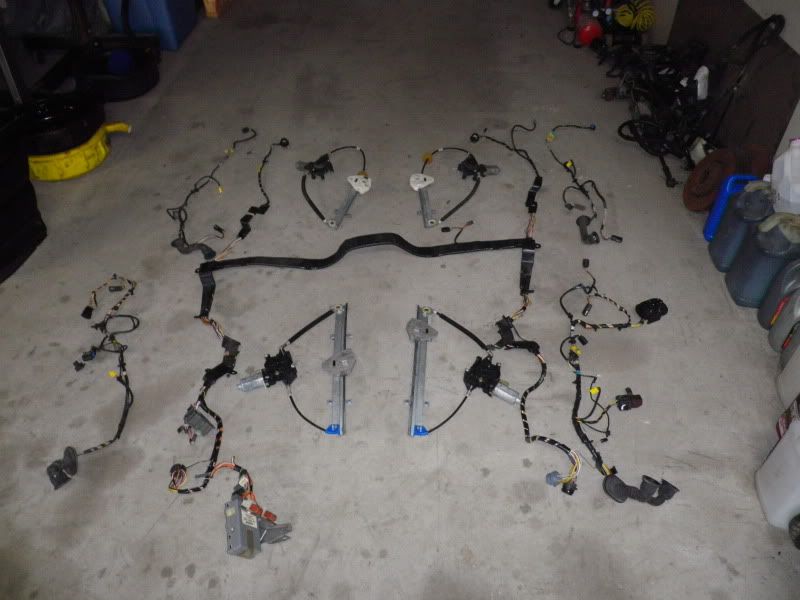
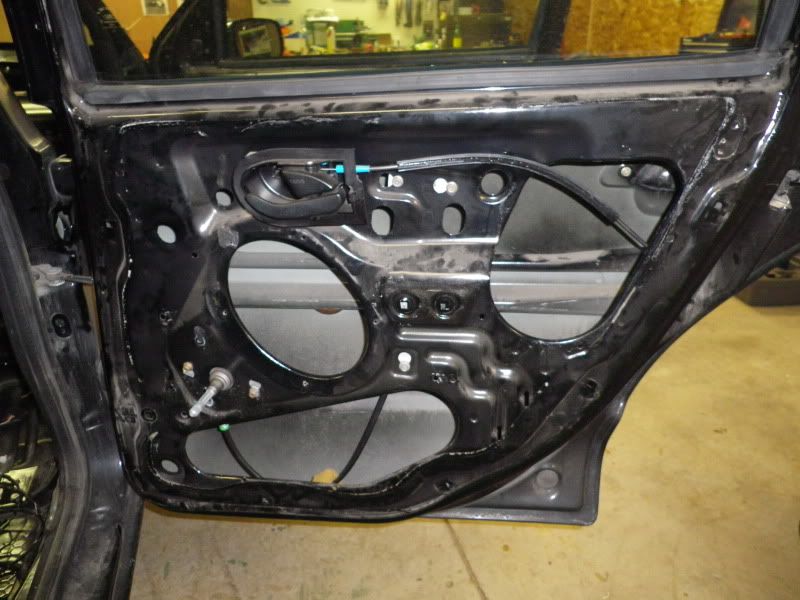
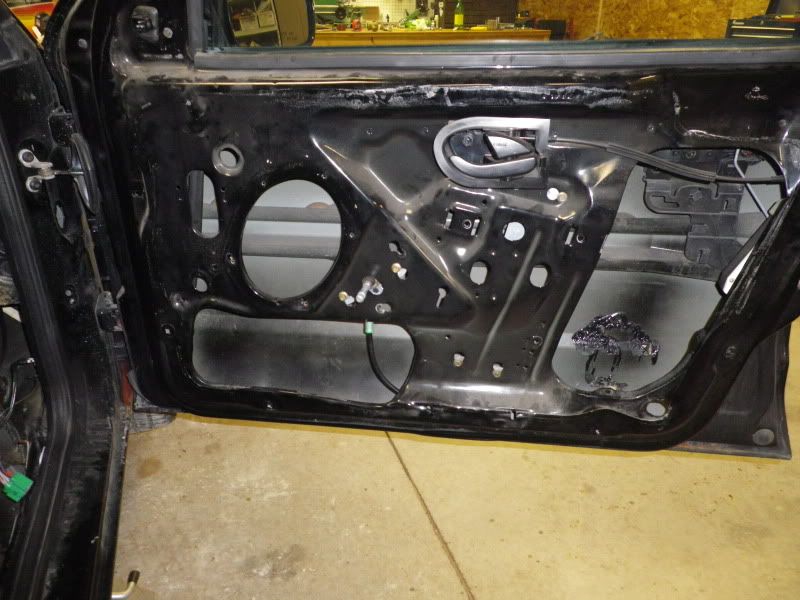
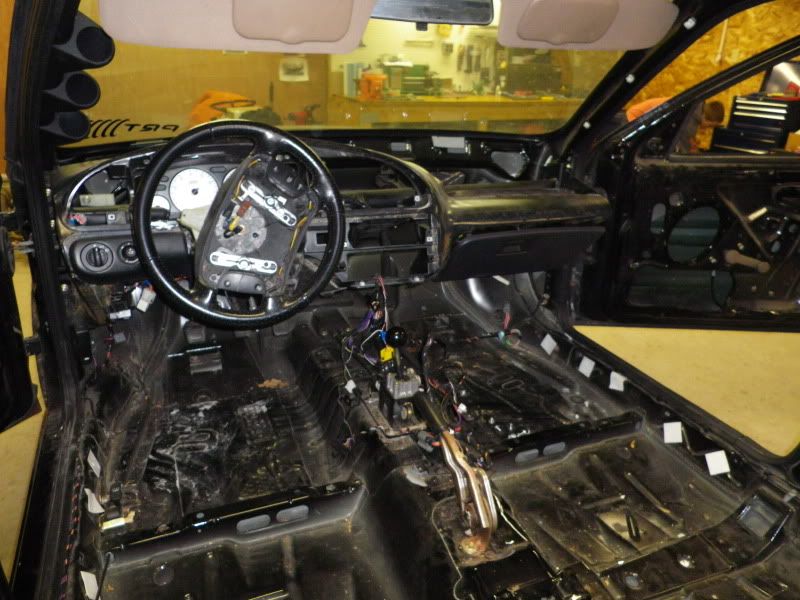
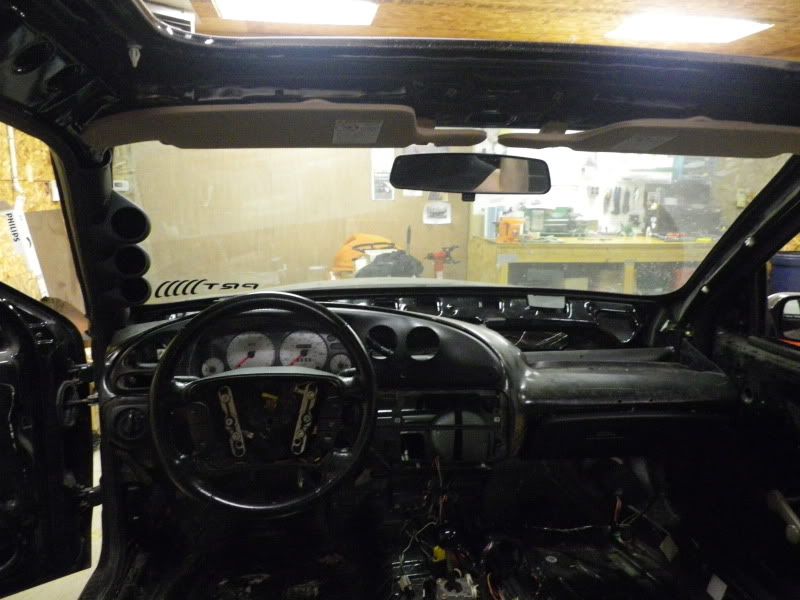
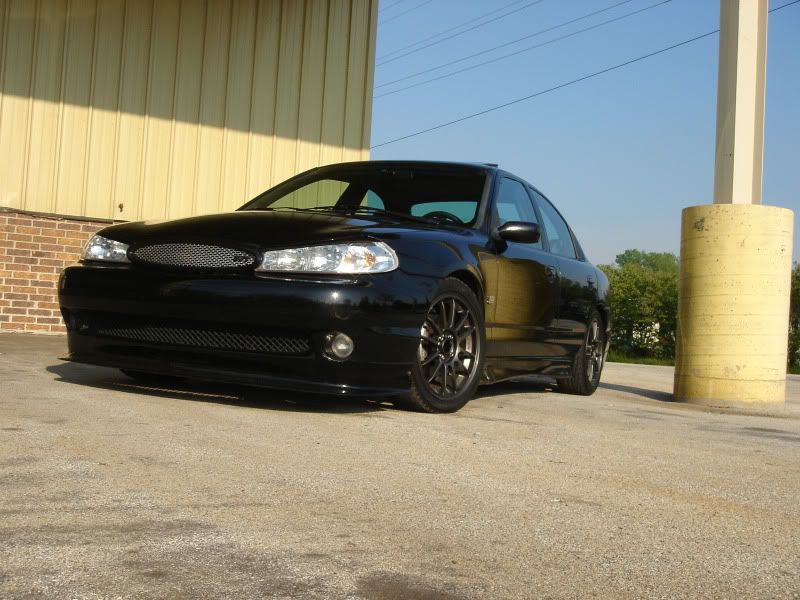
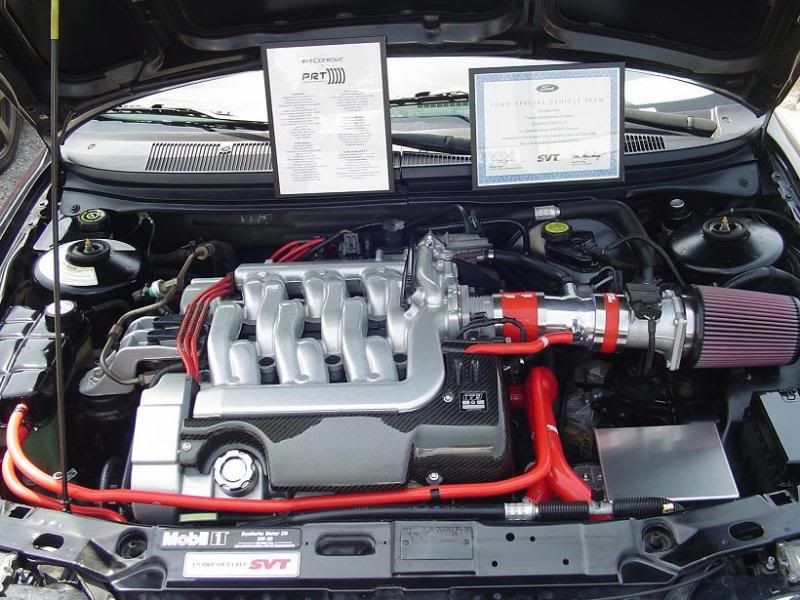
What i've started with is my 99 Contour SVT dubbed "BLKOUT2" I happened uppon this car solely by luck about 5 years ago, with the intent of building a fun weekend track toy. Well as they always do plans change, this time as a result of totaling my daily driver "BLKOUT" mid build. Gears shifted and the car was completed for street duty, which it served without incident for 4 years and 60k miles. As otehr projects took my time, and PRT began to grow, the car degraded thoroughly as parts were stripped for other projects and mock up. Up until now, some work was done to the car, wich will be documented here at the appropriate time.

The plan for this build is simple, go as fast as possible. :D Enjoy!

For reference, this was the car after initial completion in 06

BLKOUT1.jpg


picture.jpg
 
Last edited:
Mid last week the car was moved to it's temporary heated home.

This morning around 10, work began.

1.jpg


2.jpg


3.jpg


First to go was the stock subframe and control arm assemblies. In place of these items will be PRT's new control arm kit, Urethane bushings in the reinforces trailing arms and the imfamous aussie sway bar.

4.jpg


5.jpg
 
The red bumper currently on the car was installed because it's mounting points were damaged in a roll over, as the track car will use alternate mounting provisions, I didn't see any point in cutting up the good black bumper.

The car was already equipped with Ground Control coil overs, there will be some some changes in store, but for the most part they are what will be run for shock/spring setup.

What you'll see here is the stock bumper corner mounting, this is known for causing issues with tire clearance, and while some choose to hammer it out of the way, we went a bit farther....

IMGP0490.jpg


The future(2012) intent is to run roughly and 8-8.5" wide wheel on the car so prior to painting for this season it seemed like the perfect time to make room for the future wheels and tires. This means, rolling the fender lips on all 4 corners. Pictured is a splash shield mount that must be cut out of the inner sheet metal in order for the lip to fold flat. No special special fender tools here, just a dremel, and angle grinder and a BFH. While the finished product may not be super pretty on the inside, from the outside the fender looks untouched, with the exception of existing damage thanks to a parking lot.

IMGP0519.jpg


IMGP0522.jpg


IMGP0524.jpg


Before/after

IMGP0492.jpg


IMGP0527.jpg


IMGP0532.jpg


IMGP0533.jpg


IMGP0547.jpg


IMGP0549.jpg
 
Last edited:
We will be running wheel spacers to take advantage of the newly available space for 2011.

Now turning attention to the front fenders. I approached this differently because the lips are not double thickness like the rear. Taking a hammer to these would do little more than destroy them. Instead, after trimming off no longer necessary splash shield tabs, reliefs were cut in the lip to a predetermined depth and the sheet metal was simply folded back by hand. The finished product again, looks unaltered from the outside. No before pics this time, sorry.

IMGP0553.jpg


IMGP0554.jpg


IMGP0555.jpg


That's it for today's progress, back at it tomorrow!
 
It's currently a heavily modded 2.5. There's a 3L sitting in the garage, but I want to get it race-able before I worry about throwing in a different engine.
 
This is really cool. Now we have something worth logging onto CEG for.
 
Hey, when you get around to replacing the bushings, I can help you out! :) j/k Thanks for YOUR help!!
Looks great man! I can't wait to see this come together.
Erick --
 
Well here's tonight's progress. Chad (newsvt) stopped out tonight to lend a hand this evening.

To get started we fitted the front fenders, the only mentionable rust on the car was discovered after I pulled the drivers side skirt and fender, so while everything was apart we took care of getting that cleaned up and handled.

IMGP0556.jpg


IMGP0557.jpg


IMGP0558.jpg


Next we fitted the fenders and did a little measuring to see what size spacers, and eventual tire size we could accommodate. As of right now with the 235/40/17s, we have room for roughly a 20mm spacer all around with room to spare. Though, i doubt we'll go this drastic for the sake of the wheel bearings, still it will be nice to push them out some for a nice flush look.

IMGP0559.jpg


IMGP0561.jpg


IMGP0563.jpg
 
Last edited:
Next came a little more disassembly. The car originally had a full interior(a couple of them actually) and while I had gotten a start stripping the car a few months ago there was a little left to do before I started on the floor sound deadening and patching holes.

IMGP0574.jpg


IMGP0575.jpg


IMGP0577.jpg


IMGP0578.jpg


IMGP0581.jpg


In the fall of '10 I also converted all of the doors to manual operation. All windows are now manual crank and the mirrors simply adjust with hand pressure to the lenses. It eliminated not only a lot of weight and complication, but also a ton of wiring.

Out with the old

IMGP0350.jpg


In with the "new"

IMGP0568.jpg


IMGP0570.jpg
 
In my attempt of trying to document everything in a before and after style, i've also been taking some pictures of the old vs new suspension pieces. Not pictured is the swapping of the front swaybar from the SVT 19mm unit to a standard contour 20mm piece with urethane bushings. In addition to this in the front end solid subframe bushings were machined and welded in.

msc122.jpg


Shown here is the stock rear sway bar next to the 22mm hollow "Aussie bar", which was designed and sold in limited quantities way back in CEG's past. I've had two of these bars in three different cars and I love it.

IMGP0591.jpg


While the detailed write up of all the interior mods is yet to come, I figured i would throw two teaser pics in the mix...

IMGP0579.jpg


IMGP0584.jpg
 
Did you remove all the padidng on the dash!? I was thinking about doing that since mine is starting to warp alot.

Wont removing the splash guards mkae your fenders all dingd up from flying rocks? How are you going to protect the car from that?
 
Did you remove all the padidng on the dash!? I was thinking about doing that since mine is starting to warp alot.

Yes, and I wouldn't recomend it on a street car, but I don't feel like going into detail as to why, so just trust me.

Wont removing the splash guards mkae your fenders all dingd up from flying rocks? How are you going to protect the car from that?

1) Maybe
2) I don't care
3) I'm not going to protect them(see 2)
 
Back
Top