blu_fuz
New Member Classroom vulture
This is my first how-to on something that interested me. I hope this helps someone else here. Pretty basic, but I am proud of it  .
.
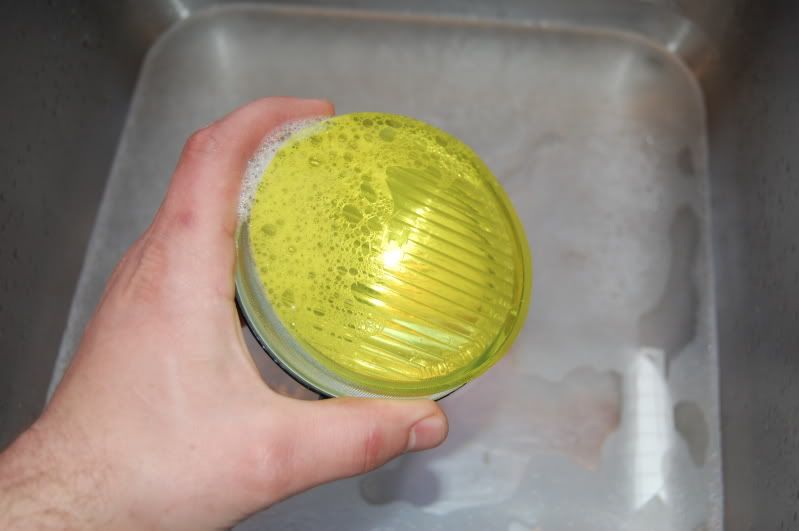
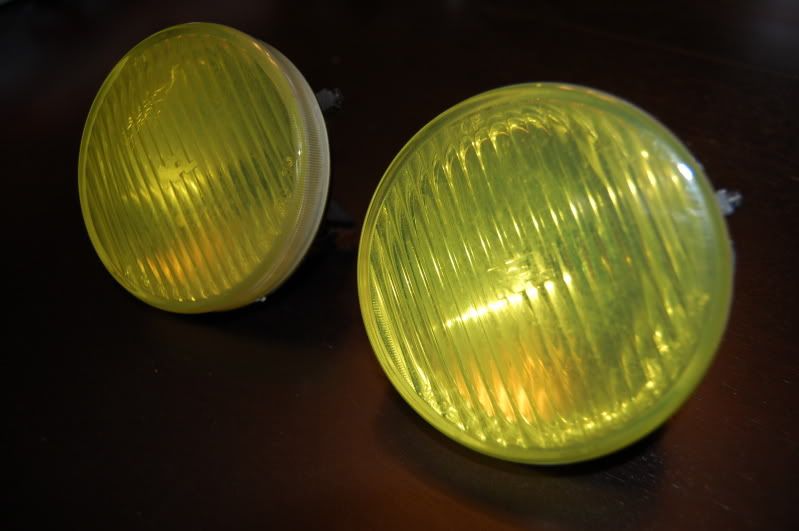
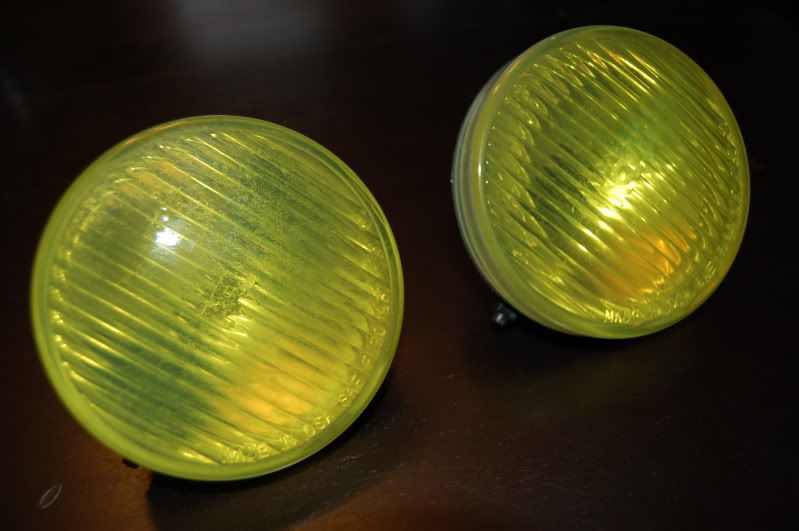
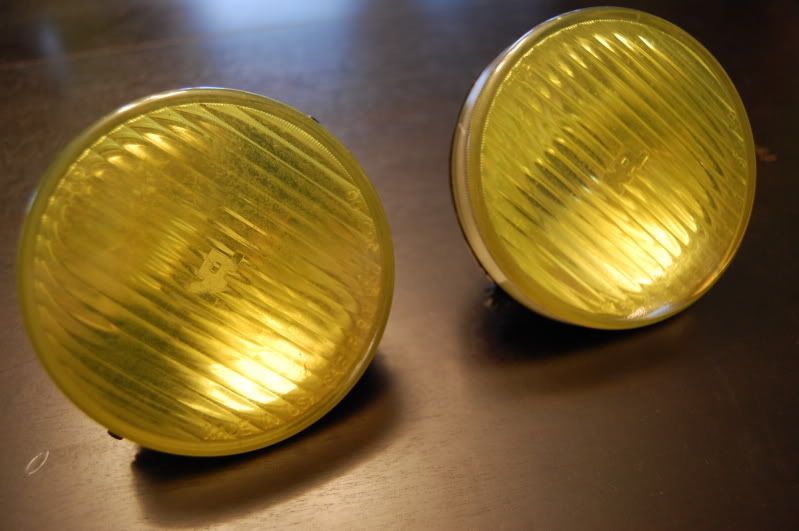
Final goal for this aestetic mod is to create a yellow light output from your fog lamps. Easier way to do it could be to just buy yellow bulbs I guess. This how-to will apply to any color of your choice. I chose yellow so I will not be hassled by the police for improper DOT approved lamp color.
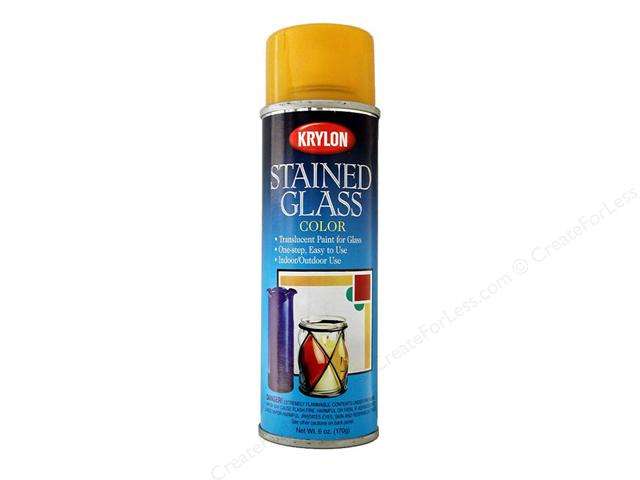
1. PRE-STEPS Locate a small amount of transparent vinyl, really in any color you want. Ebay is a great place to start. You can also call around to your local decal/vinyl shop. My 12"x24" sheet cost $13 on ebay. It should come with a vinyl squeegie or you can just use an old credit card I guess.
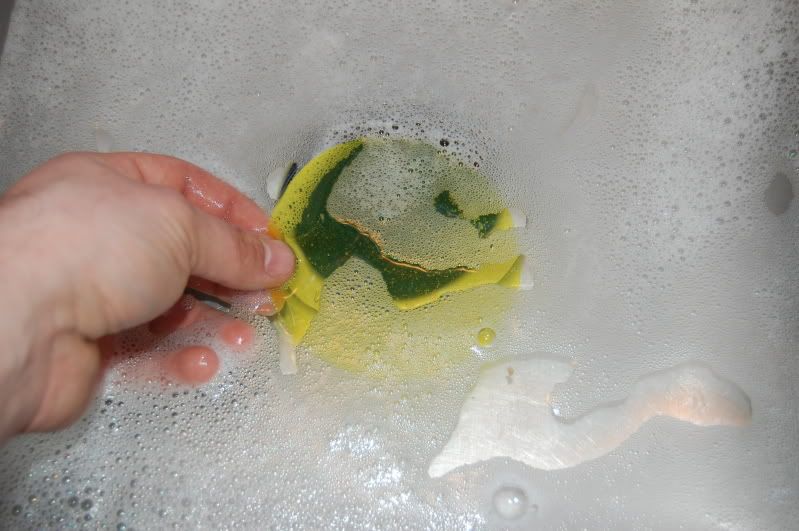
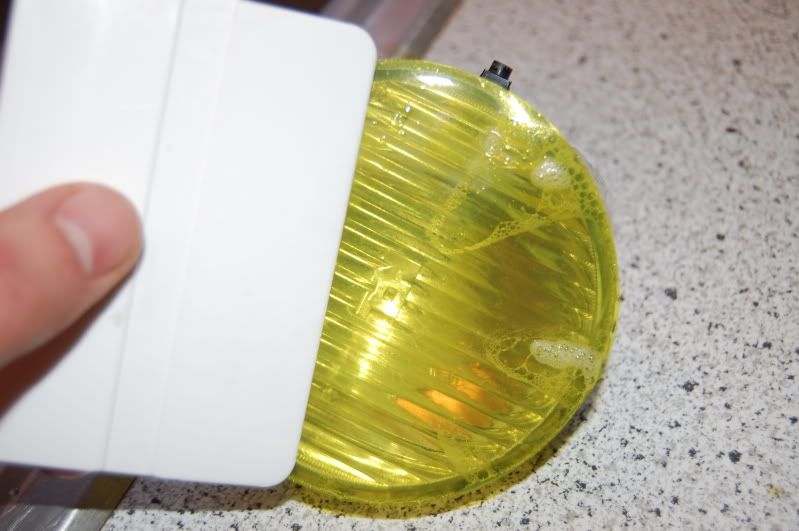
Put a 2-3" deep pool of room temp/warm water in your sink with a dribble of dish soap. This will help with the vinyl layment.
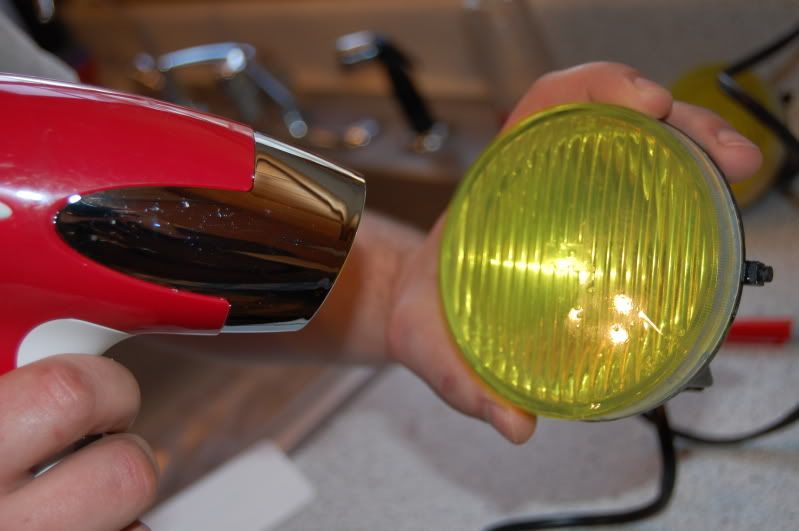
Have a hair dryer ready for use.
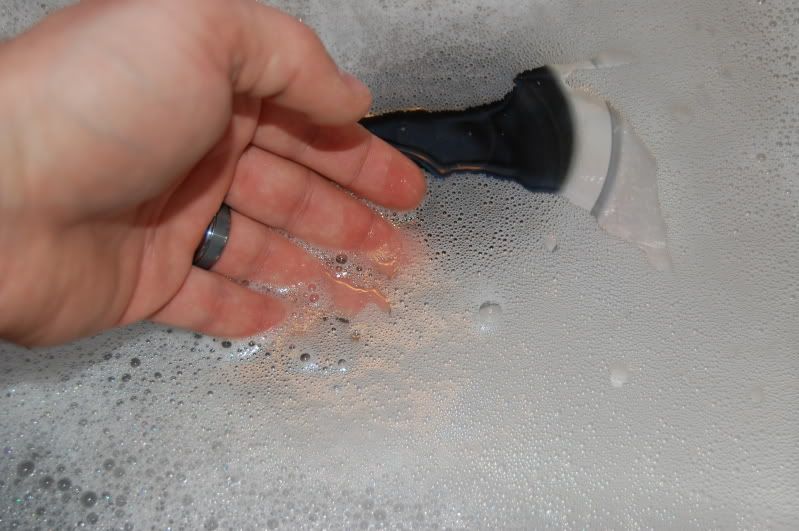
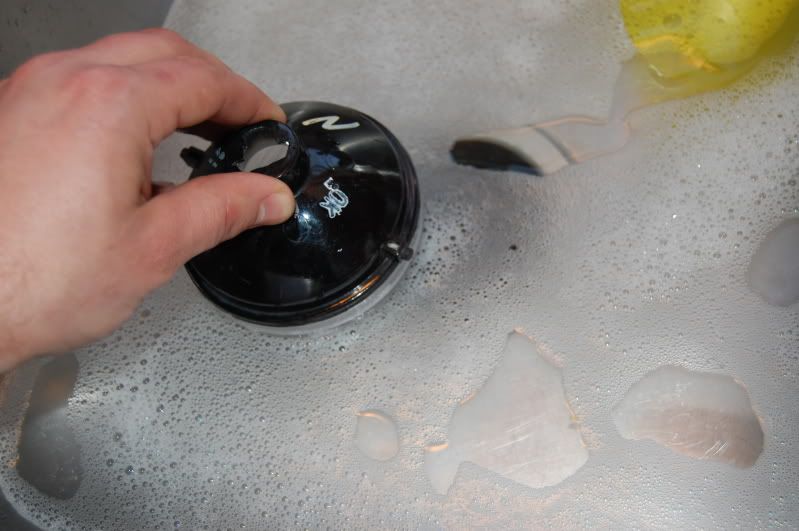
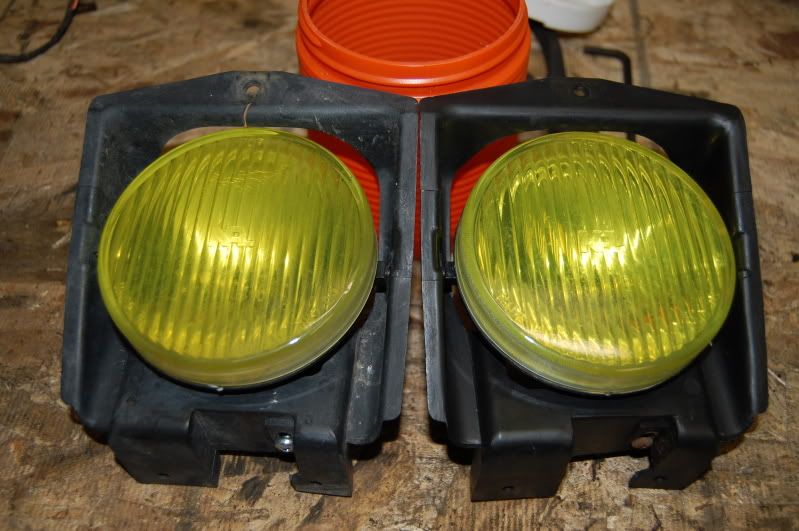
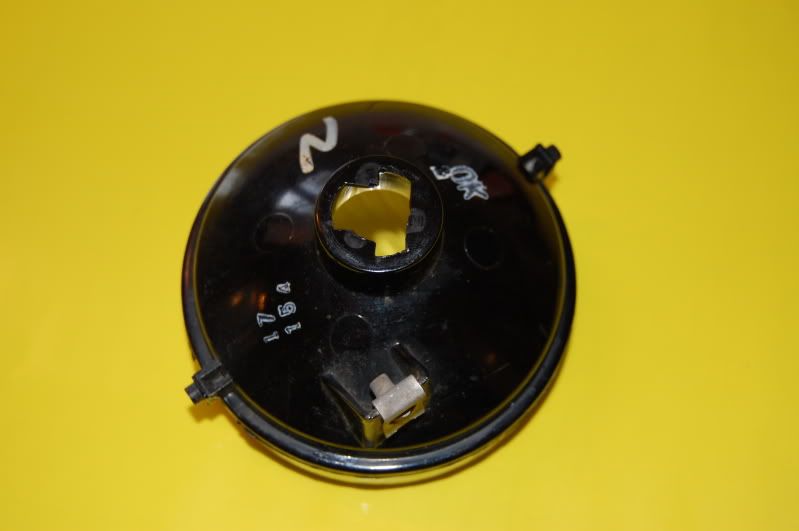
2. Un-clip your fog light bulb harness from the bulb and/or twist the bulb counter clockwise to remove it from the back of the lamp housing. Remove your fog lamps and brackets from your bumper. There should be one phillips screw on the top of the bracket and one or two more on the bottom depending on what model contour you have.
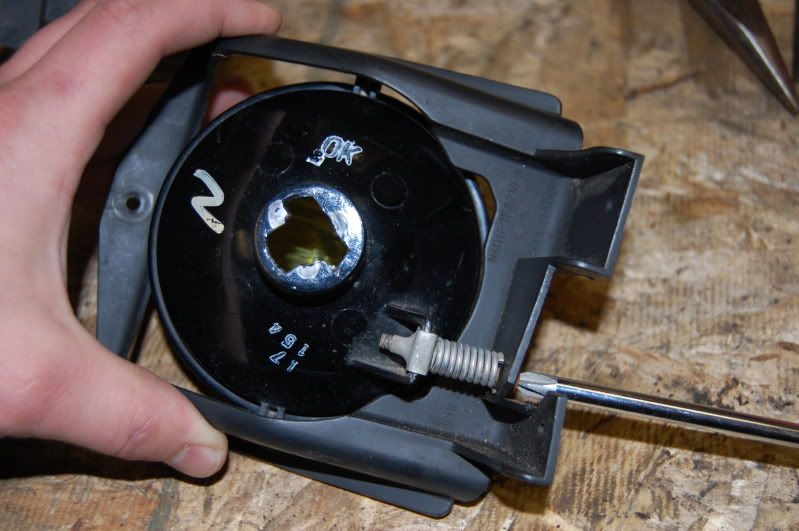
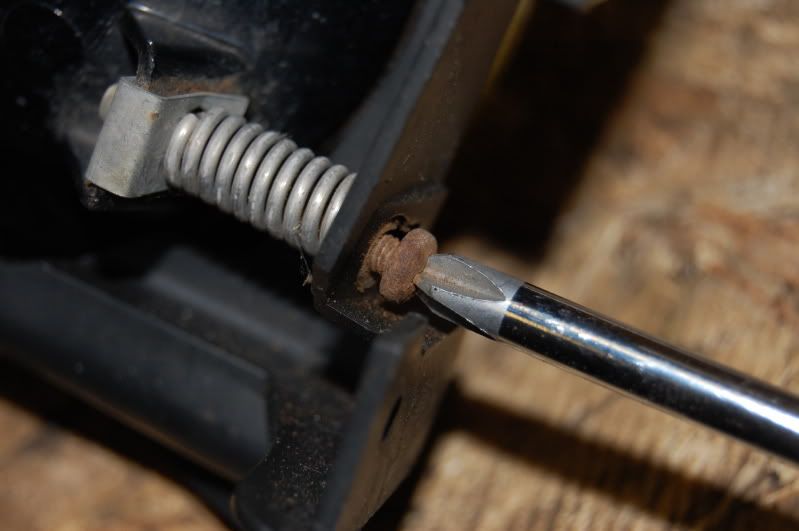
3. Remove the aiming screw from the bottom of the bracket. Sometimes the bolts are rusted tight to the metal clip so be prepared to have to replace them if needed.
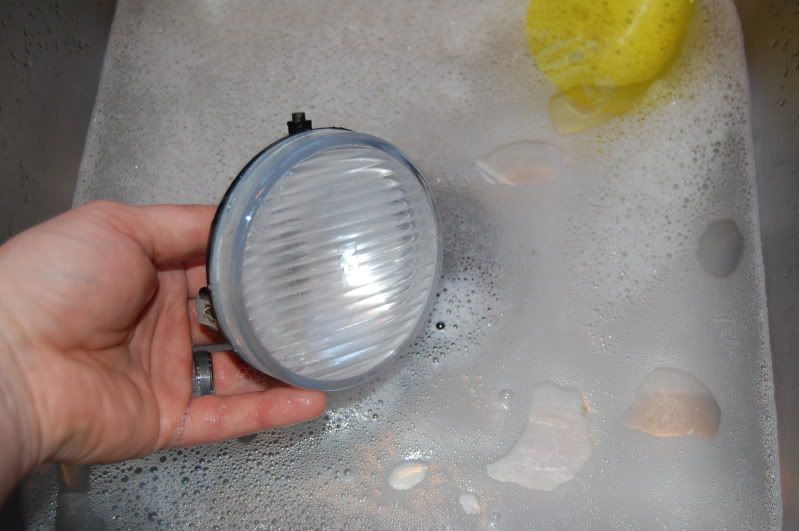
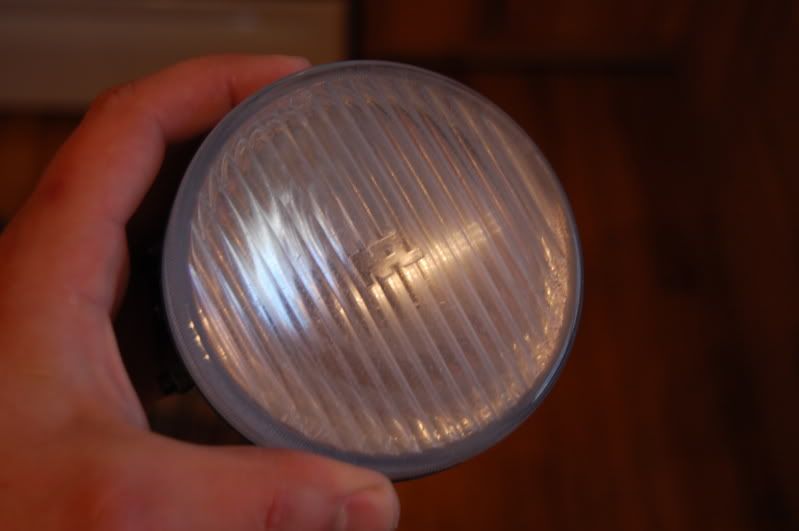
4.Clean the lens from any debris, bugs, road grime, etc. I did a quick wipe down with a brillo pad and wished I had used some fine grit sand paper or steel wool to get all the bumps off the lenses.
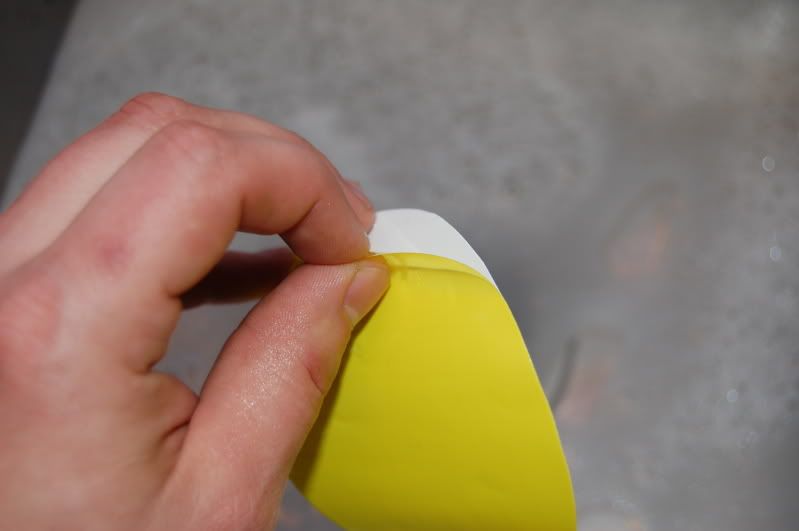
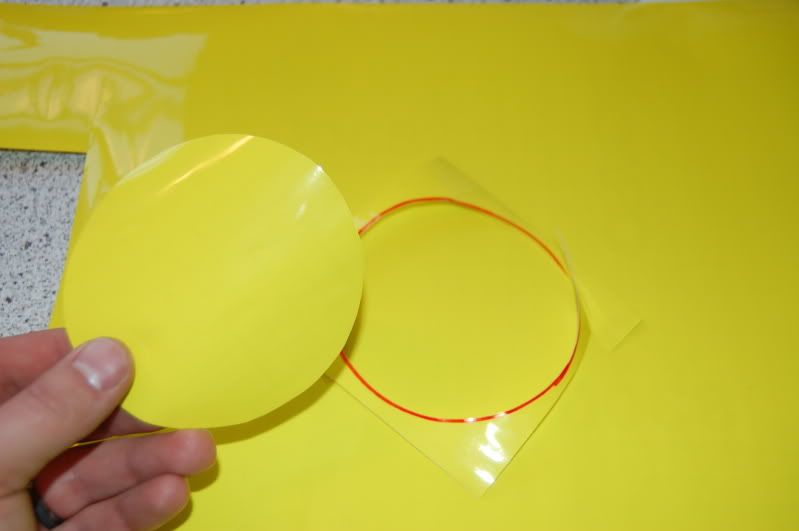
5.Take your clean lens and place it face down on the non-sticky/non-paper side of your vinyl before you peel any apart.
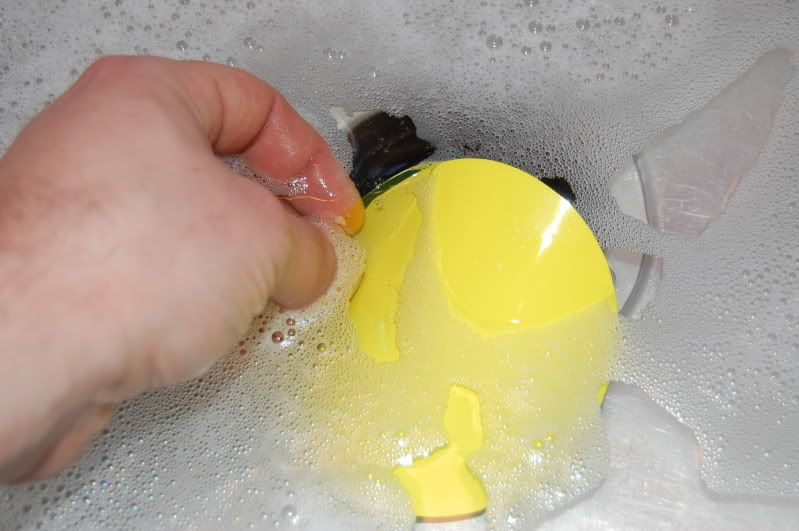
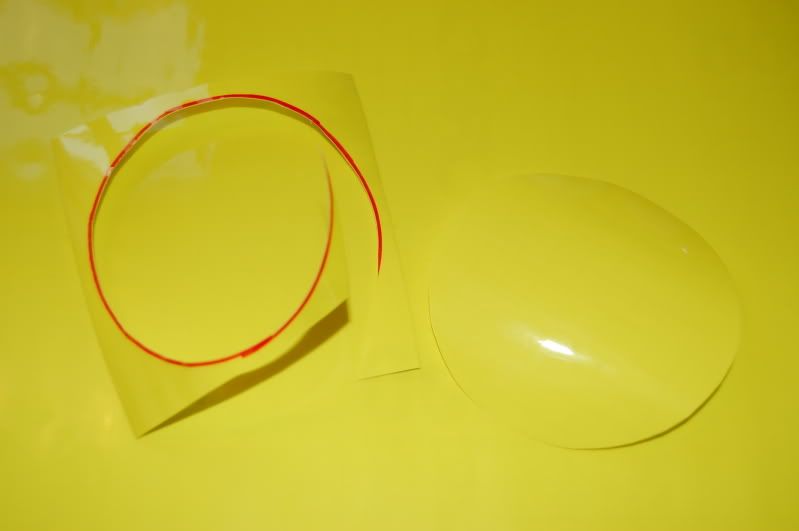
6.Trace around the lens and get as close to the lens as you can without touching it with the marker.

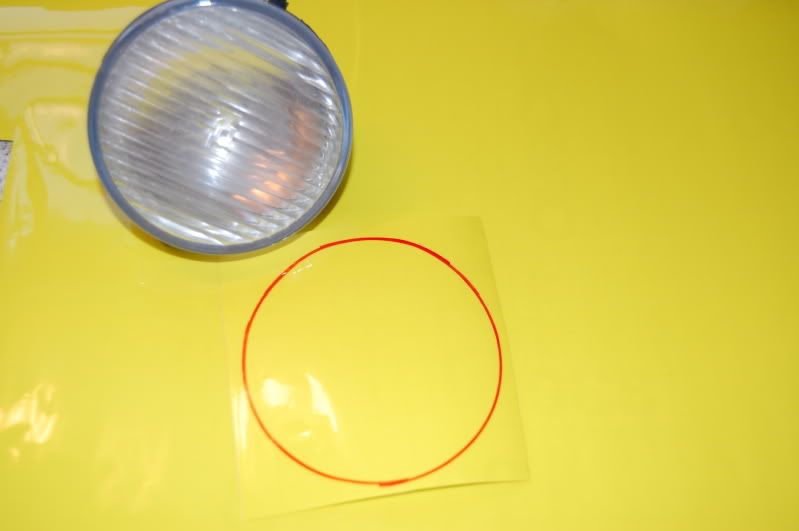
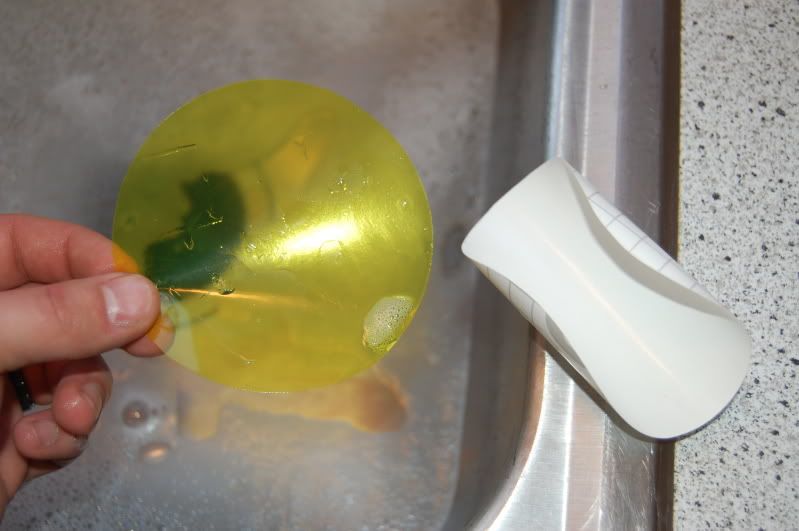
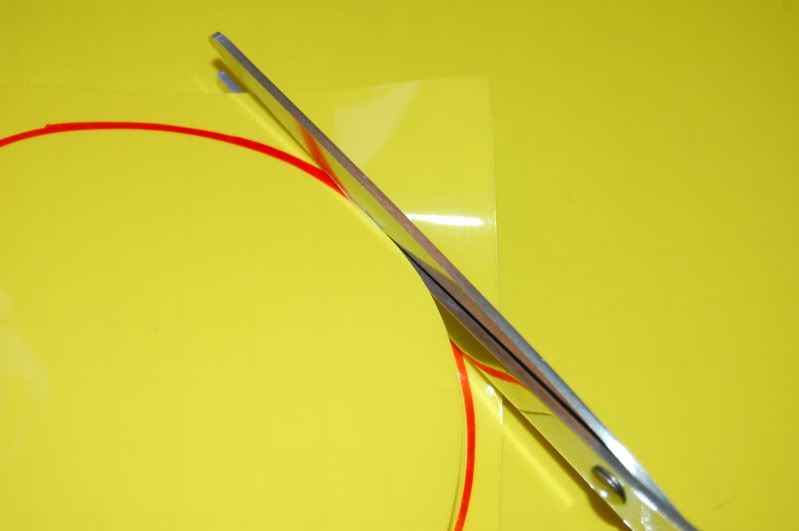
7.Cut around the circle on the inside of the line created by the marker. This will ensure that you don't see any of the marker on the vinyl after it is installed. It just so happens to make the correct size circle for final install.
.Final goal for this aestetic mod is to create a yellow light output from your fog lamps. Easier way to do it could be to just buy yellow bulbs I guess. This how-to will apply to any color of your choice. I chose yellow so I will not be hassled by the police for improper DOT approved lamp color.
1. PRE-STEPS Locate a small amount of transparent vinyl, really in any color you want. Ebay is a great place to start. You can also call around to your local decal/vinyl shop. My 12"x24" sheet cost $13 on ebay. It should come with a vinyl squeegie or you can just use an old credit card I guess.
Put a 2-3" deep pool of room temp/warm water in your sink with a dribble of dish soap. This will help with the vinyl layment.
Have a hair dryer ready for use.
2. Un-clip your fog light bulb harness from the bulb and/or twist the bulb counter clockwise to remove it from the back of the lamp housing. Remove your fog lamps and brackets from your bumper. There should be one phillips screw on the top of the bracket and one or two more on the bottom depending on what model contour you have.
3. Remove the aiming screw from the bottom of the bracket. Sometimes the bolts are rusted tight to the metal clip so be prepared to have to replace them if needed.
4.Clean the lens from any debris, bugs, road grime, etc. I did a quick wipe down with a brillo pad and wished I had used some fine grit sand paper or steel wool to get all the bumps off the lenses.
5.Take your clean lens and place it face down on the non-sticky/non-paper side of your vinyl before you peel any apart.
6.Trace around the lens and get as close to the lens as you can without touching it with the marker.
7.Cut around the circle on the inside of the line created by the marker. This will ensure that you don't see any of the marker on the vinyl after it is installed. It just so happens to make the correct size circle for final install.