Detailed below is the easiest way I���?�ve found thus far to install Energy Suspension's trailing arm bushing set. Total time of bushing install (removal/install of arms not included) about 1 hour. Please excuse picture quality; these were taken with my old digi-cam.
Tools needed
Propane torch
1 3/8" hole saw and drill
3/8 ratchet
9/16 socket
9/16 wrench
15mm socket
Breaker bar
PB blaster
Optional-
Air hammer with chisel attachment
Also needed
ES Bushing set
(1) 3/8-16 x 3 1/2" hex bolt
(1) 3/8-16 nut
(2) 1 1/4" OD washers
(2) 1 3/4" OD washers
Arm Bushings1) After soaking the bolts (there are three on each side) with PB blaster remove the arm and bracket assemblies from the car noting which side they are off of.
2) Remove arms from brackets.
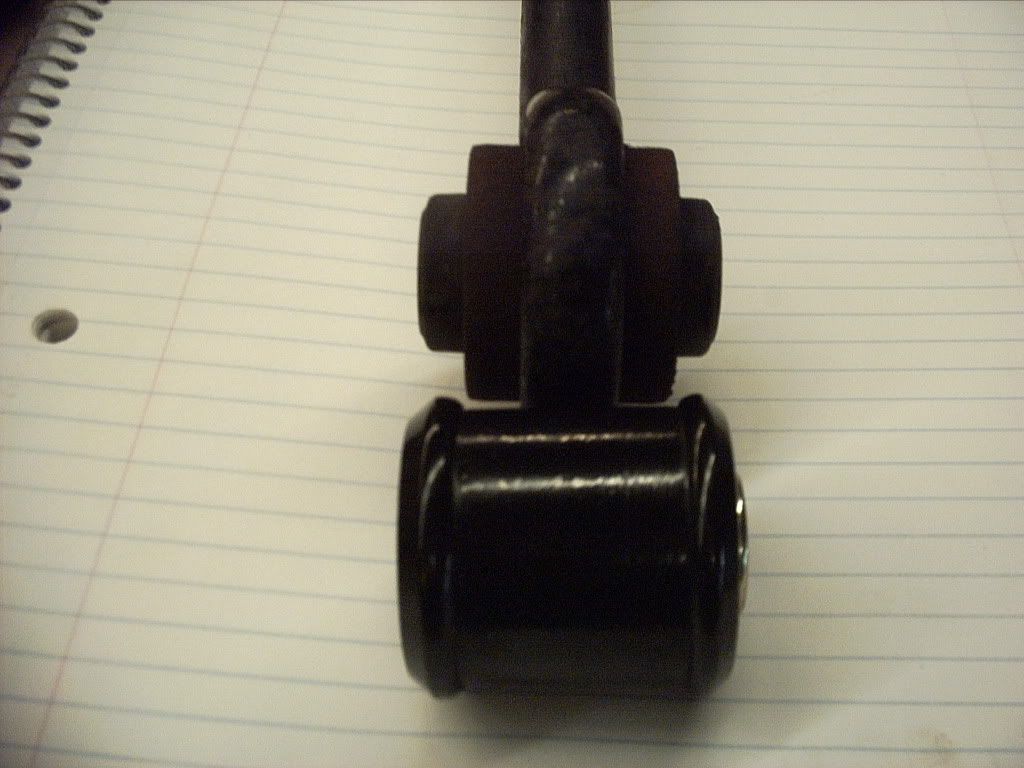
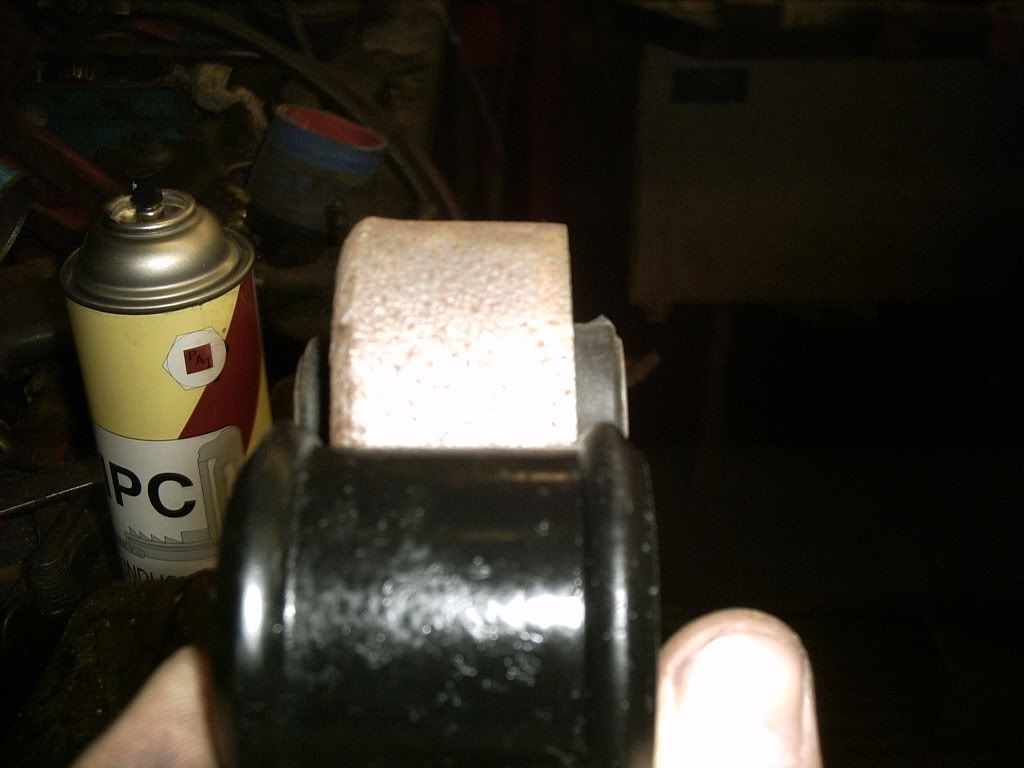
3) Select the proper bushing for the arms as pictured below, the center portion of the bushing is the same width as the metal sleeve in the arm.
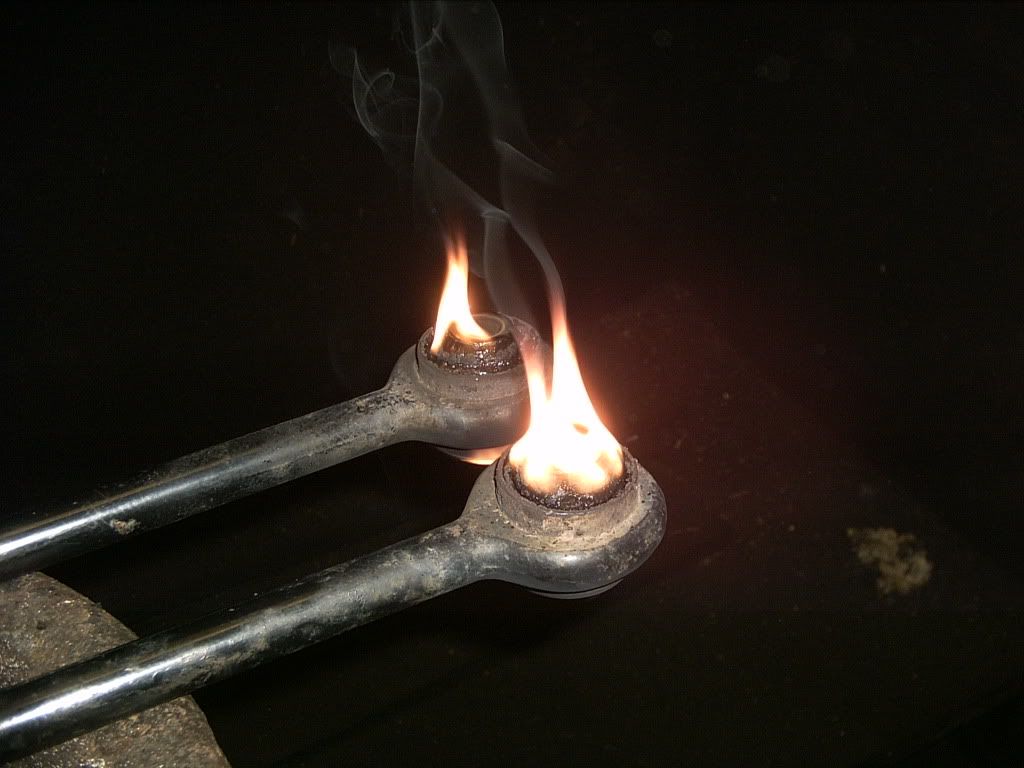
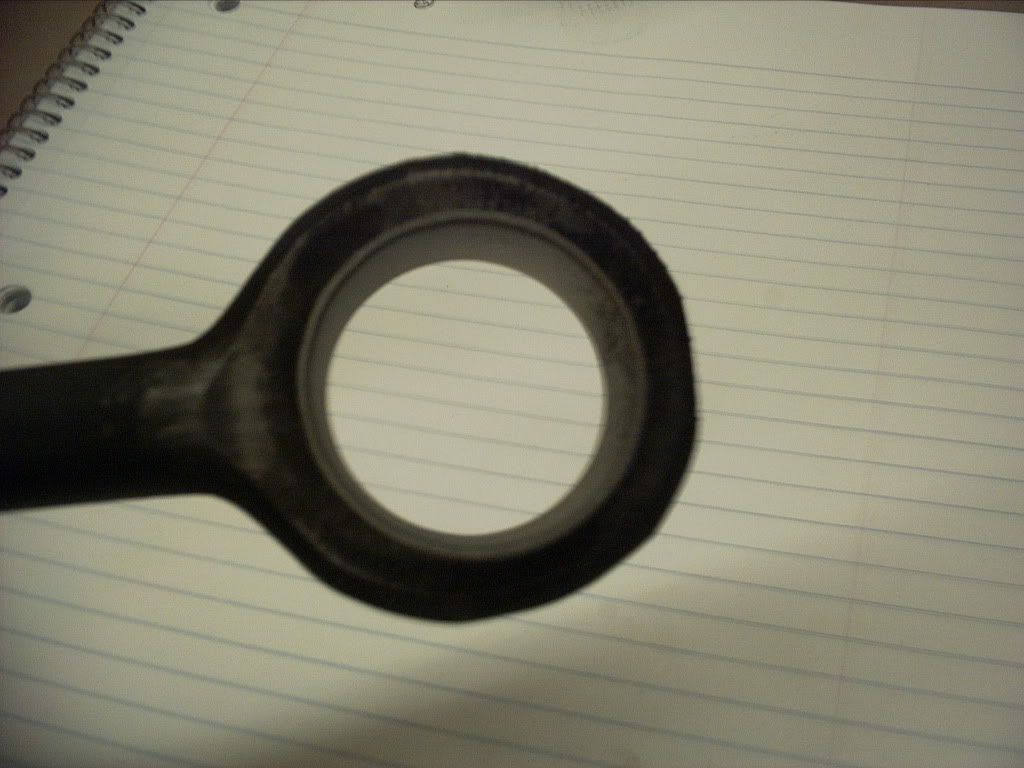
4) Using your propane torch you need to burn the original bushings out of the arms, DO NOT do this indoors, orient the arms as pictured below. Light both sides top and bottom. The center portion and most of the rubber will eventually fall through the arm opening, after this has happened it���?�s necessary to remove the remaining rubber, I do this with a sandblaster, but a drill mounted flap wheel should also work well, sandblasting while the part is hot works best, don���?�t burn yourself

.
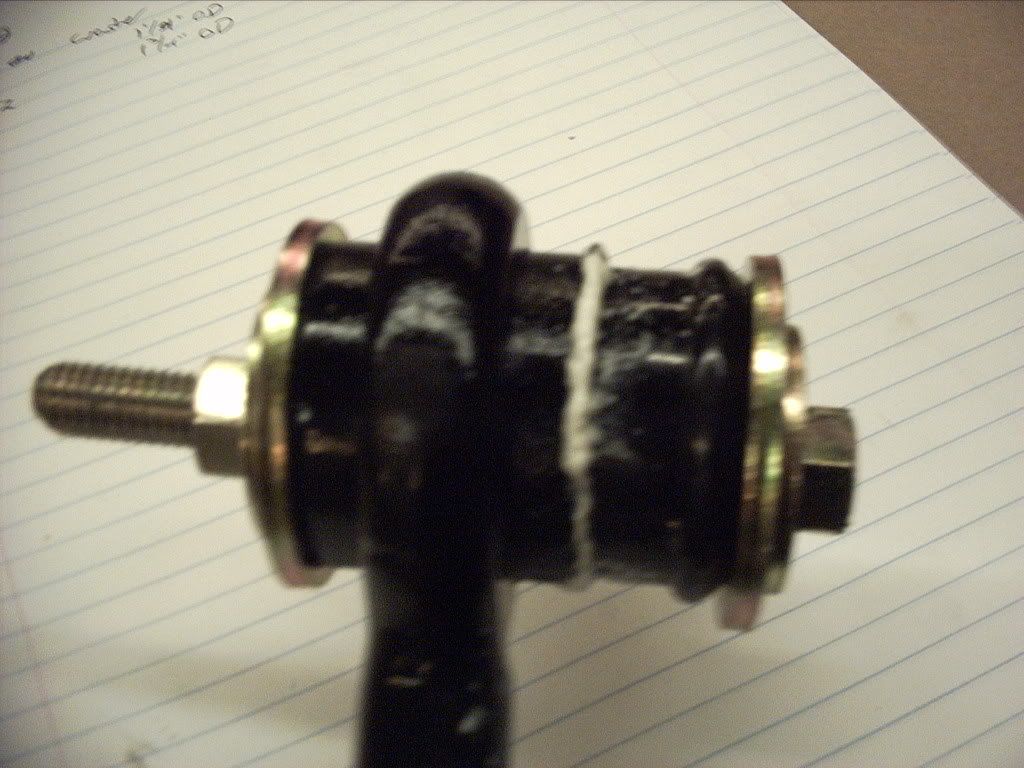
5) Remove metal sleeve from ES bushing and insert bolt and two washers as shown.
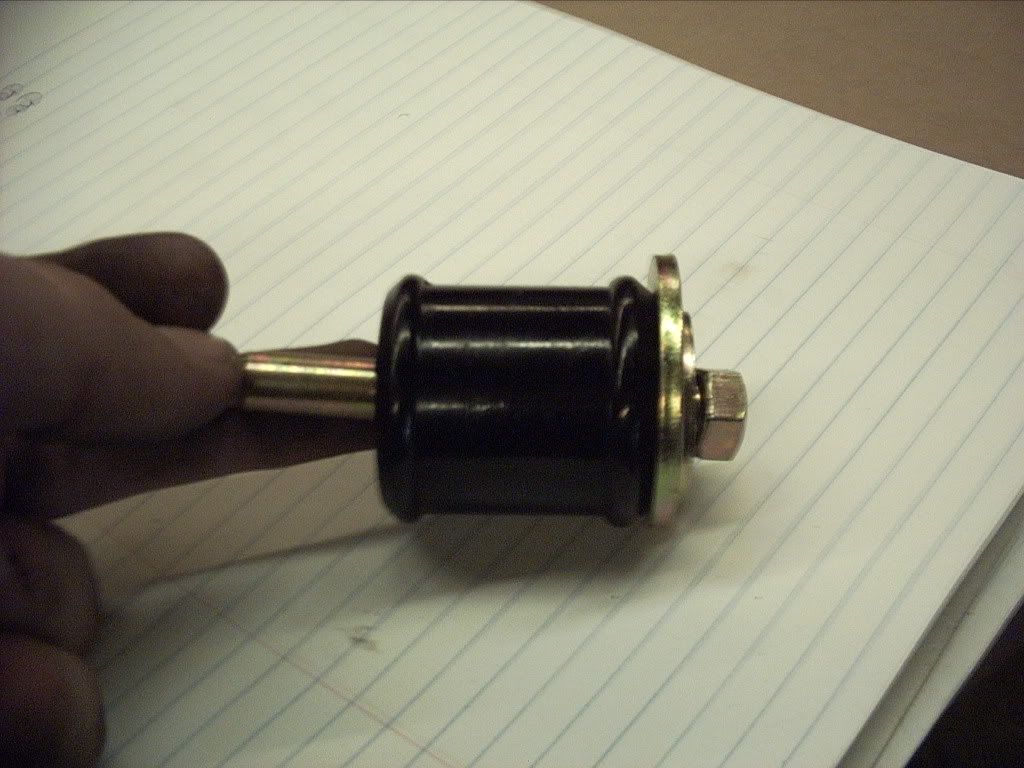
6) Apply liberal amount of lithium grease to bushing and locate in arm sleeve as shown, add remaining washers and nut as shown.
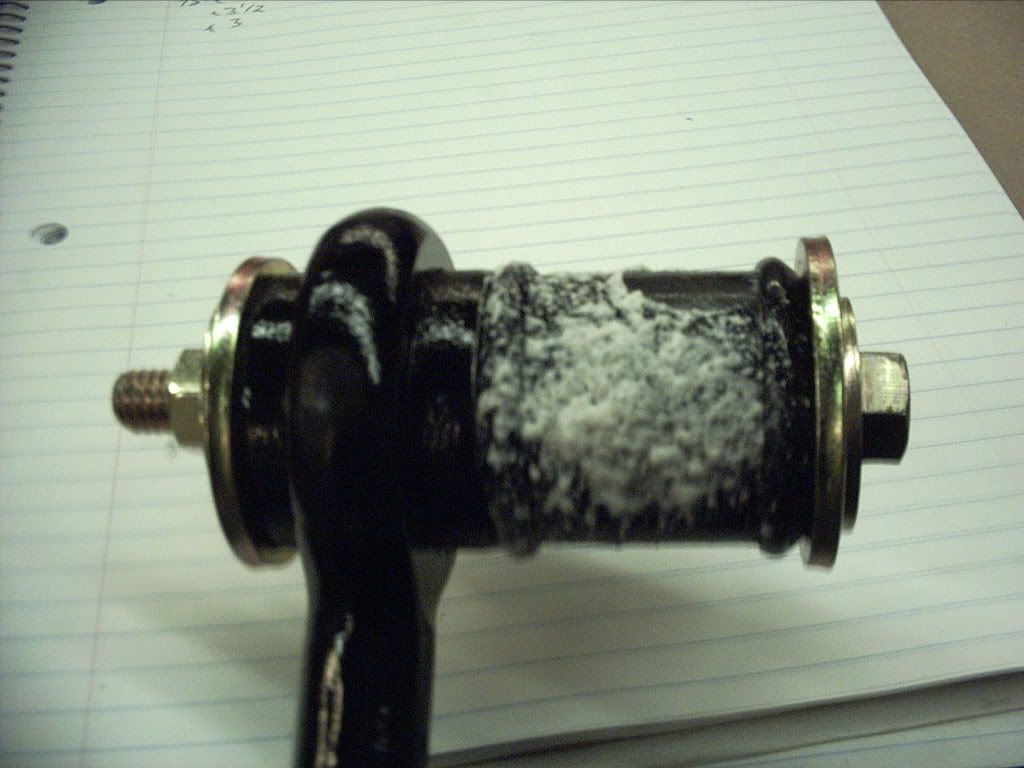
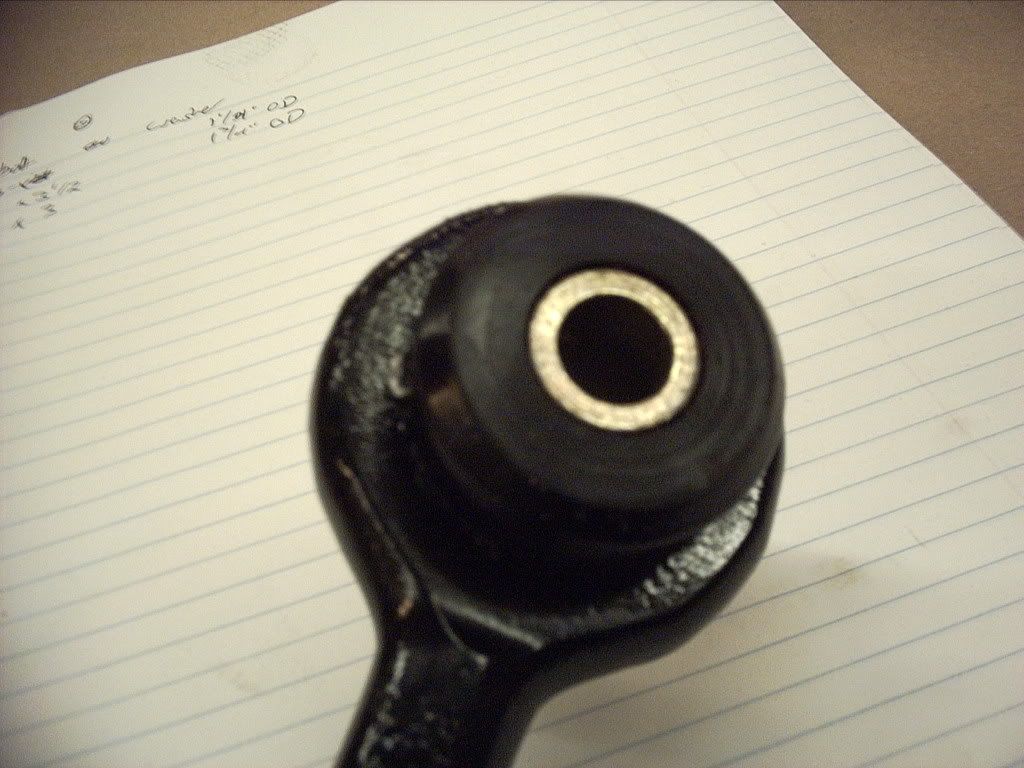
7) Begin tightening; the bushing will be pulled into the sleeve. Once the bushing lip is completely within the sleeve as shown it���?�s possible to simply push it the rest of the way in by hand, it should look like this when done. Lube and re-insert sleeve into bushing.

 Knuckle Bushings
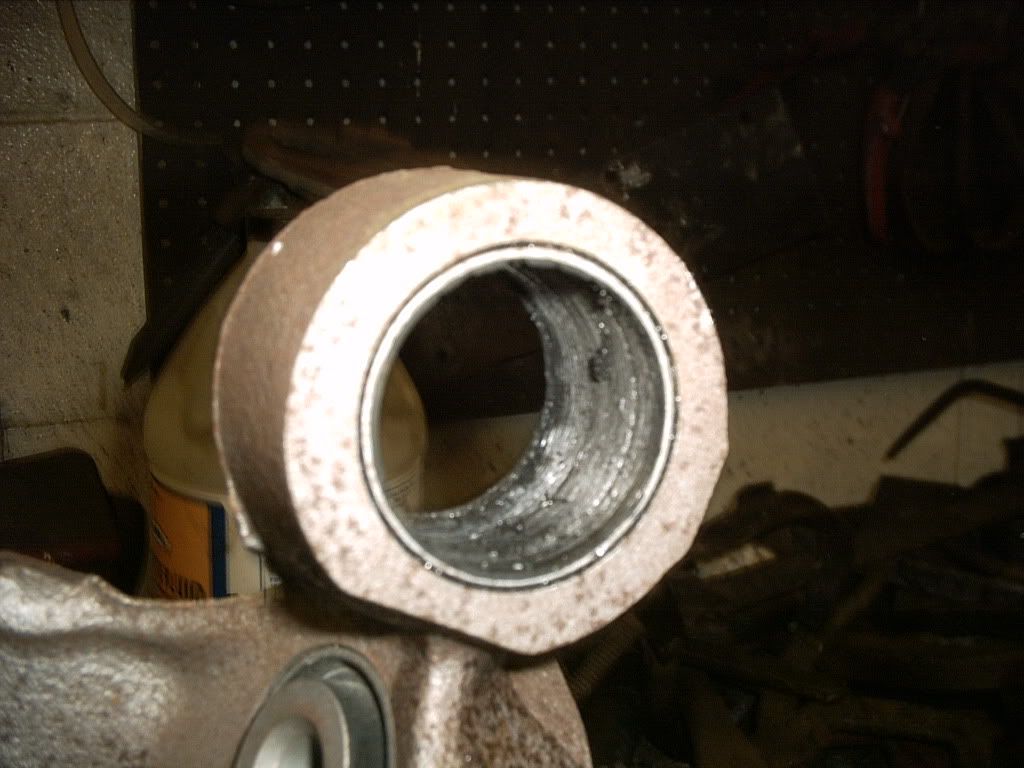
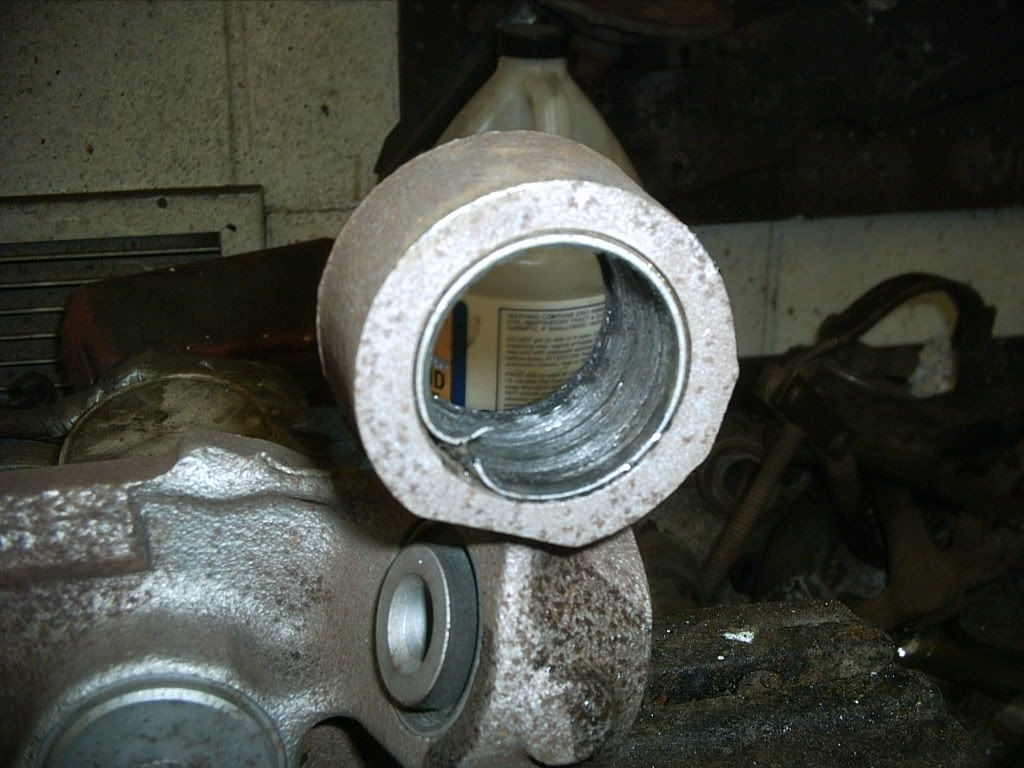
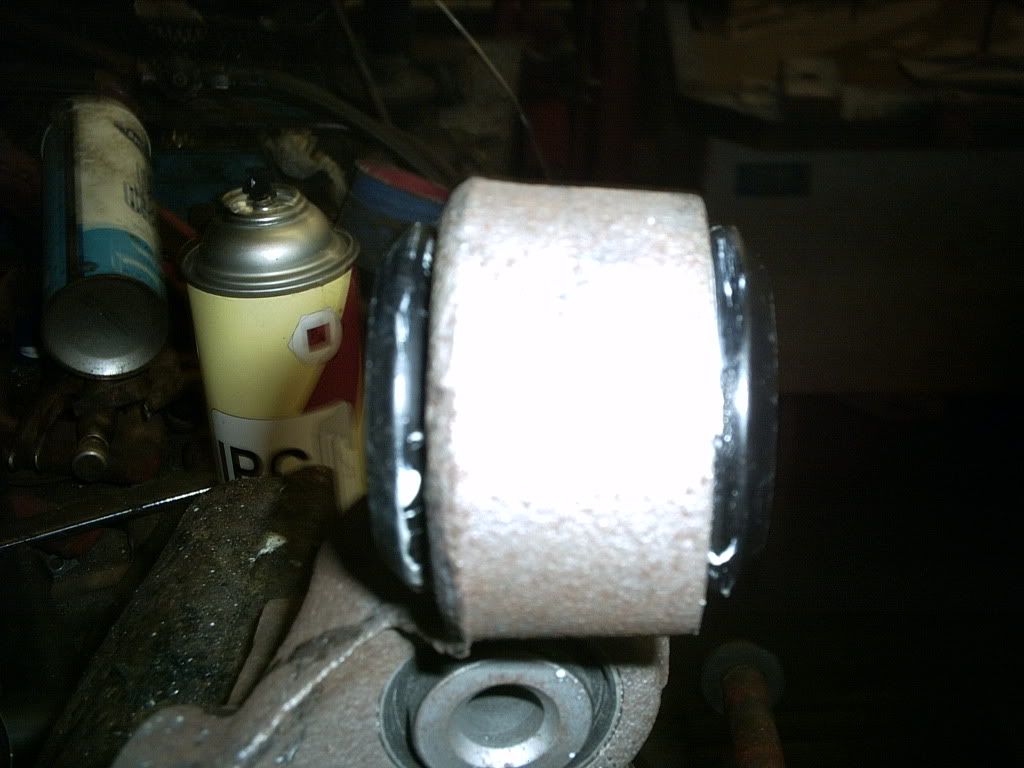
1) This is the Bushing you���?�ll be replacing.
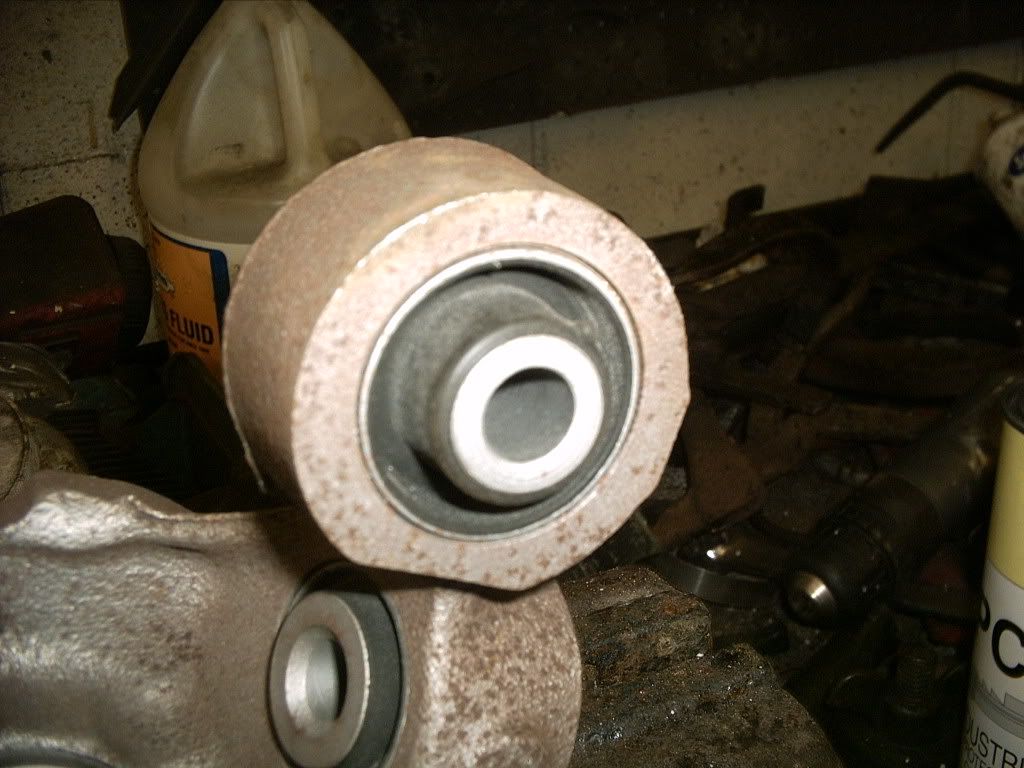
2) As you did insure you have the proper bushing for the Knuckle, center width should match the thickness of the knuckle as shown.
3) Using the hole saw, cut out the center of the bushing.
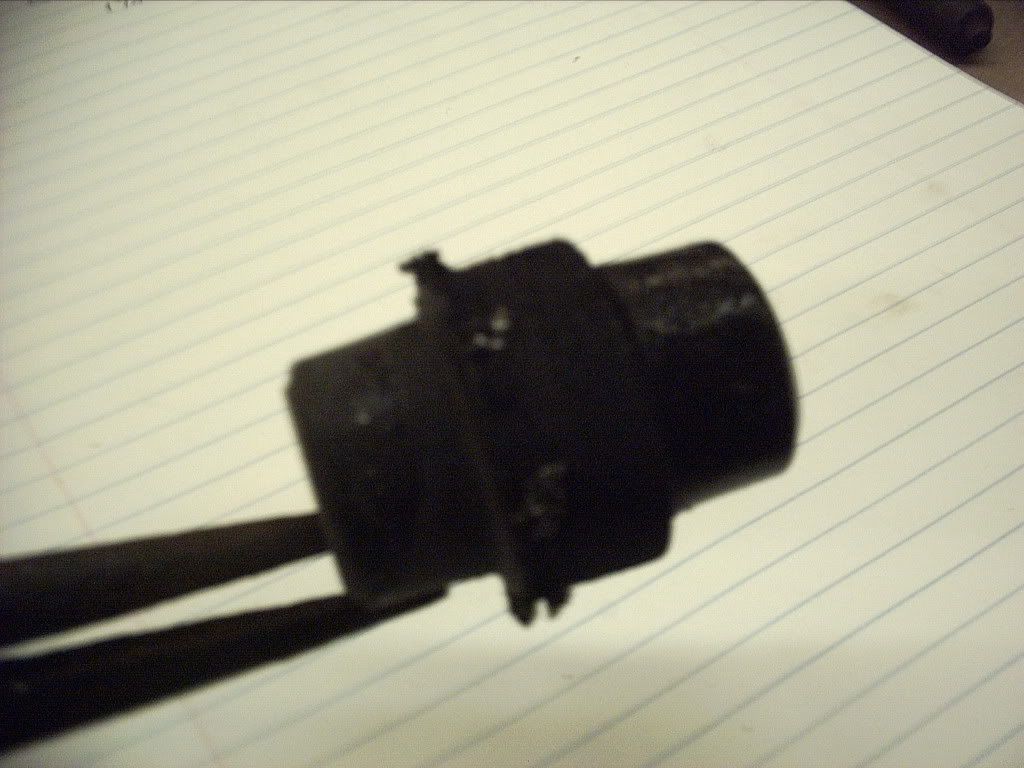
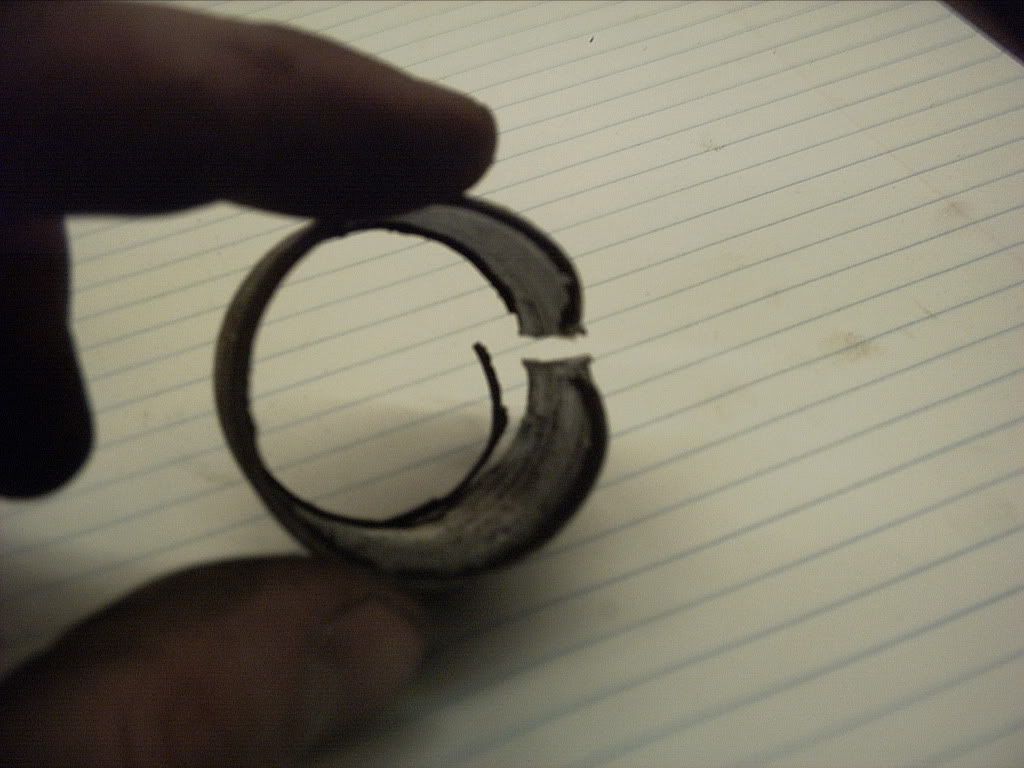
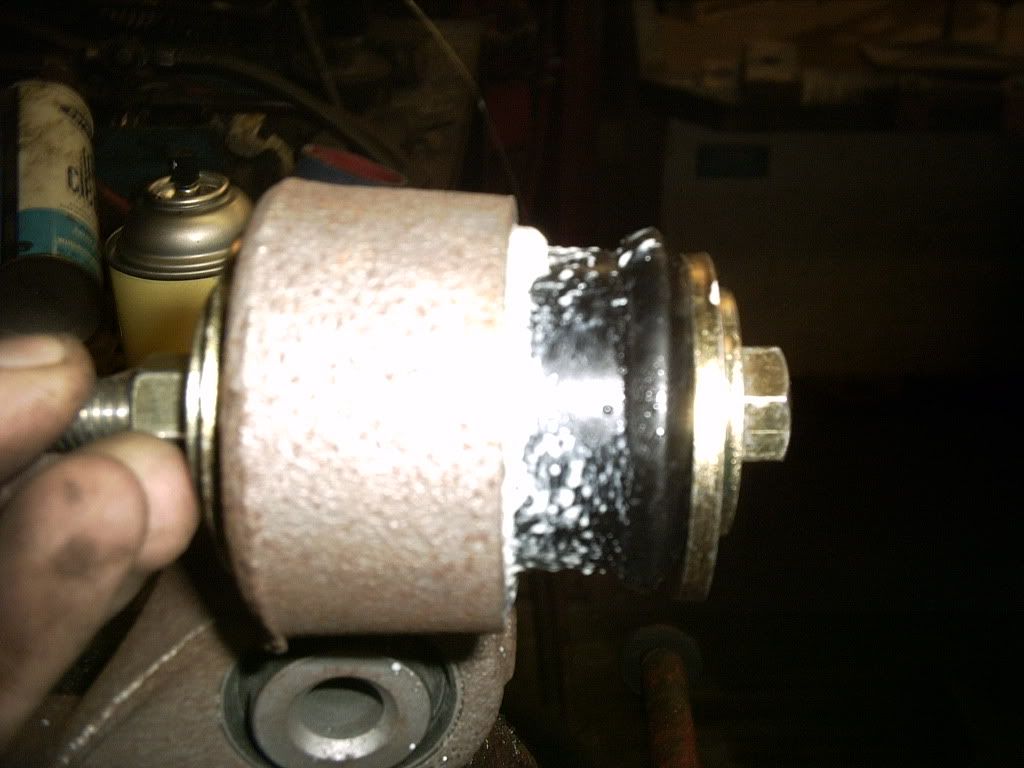
4) This is the tricky part, removing the metal sleeve from the knuckle, this can be done several ways, my preferred method is to use an air hammer with a chisel attachment.
Getting started with the chisel
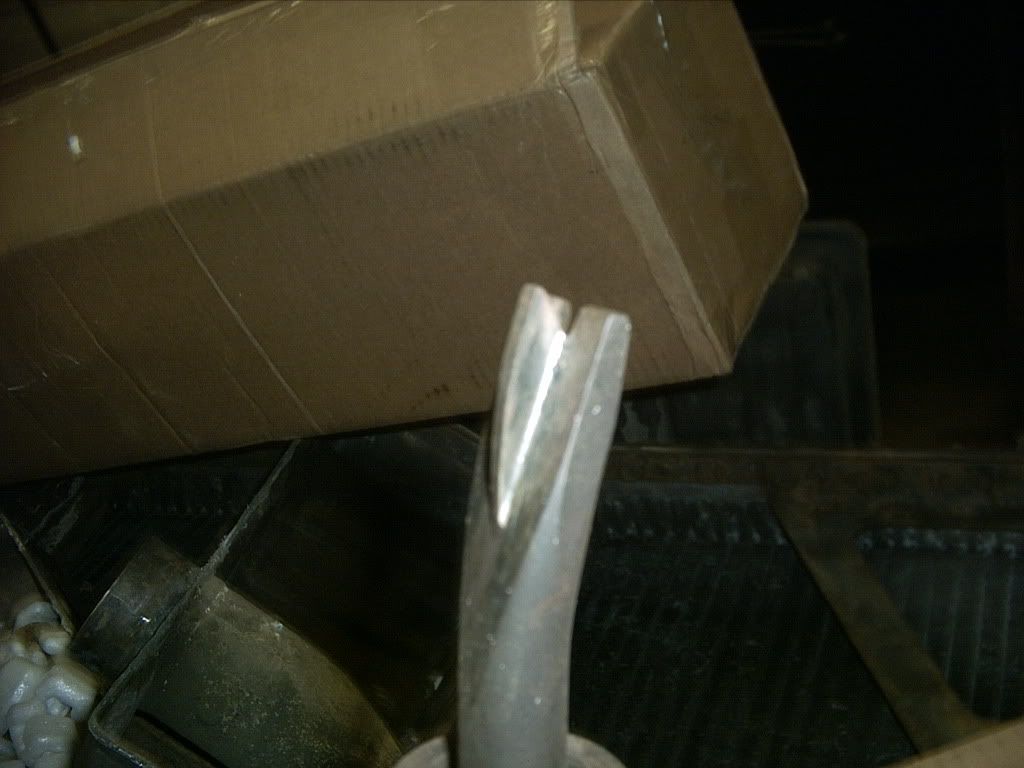
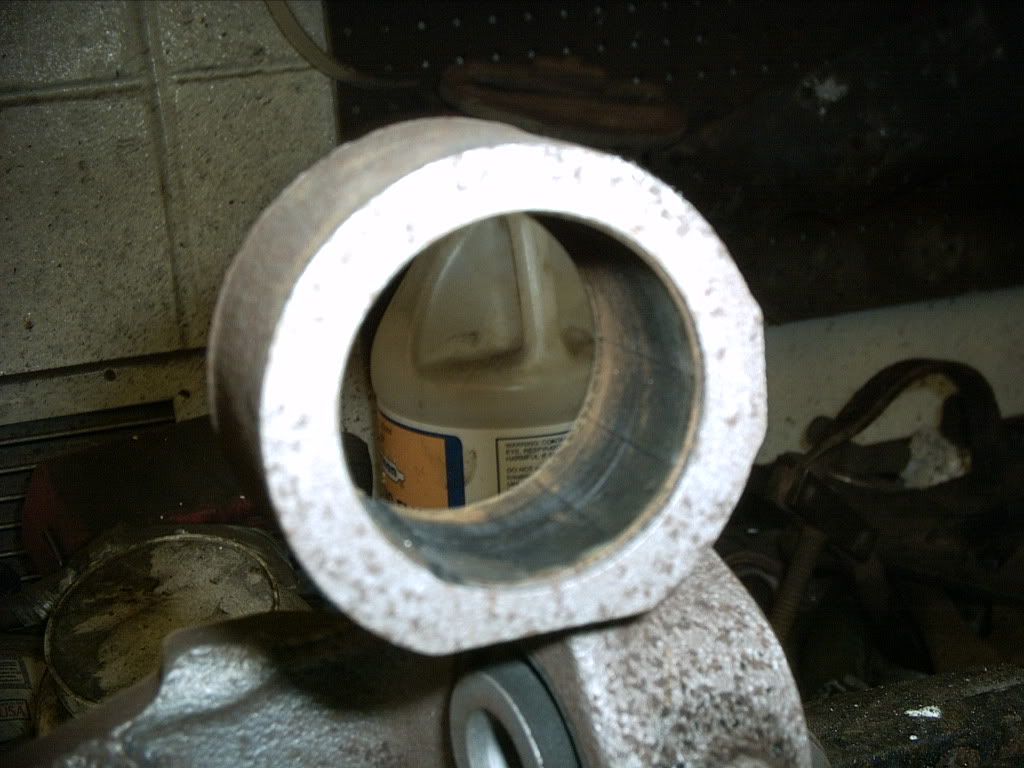
Finished product
5) Repeat steps 5-7 of the Arm bushing install
6) Re-install on car.
Hope this is helpful, if anyone has any questions, feel free to ask. I know I���?�m not the best at giving directions, but hopefully the pictures get the point across...


