How-to Upper/Bank1 O2 Sesor Replacemernt W/Pics - 08/12/05 04:01 PM
Expanded upon from the original how-to, including pictures to follow along with the directions
(Original how-to located at: O2 How-to)
This is a How-to for replacing the Oxygen sensor (O2S) for the upstream bank number 1 (position 1). This applies to all Duratec 2.5 V6 vehicles. The location of this particular sensor is below a wiring harness below the coil pack. With the coil pack removed and the wiring harness out of the way, you can see this sensor on the exhaust manifold on the firewall side. You WILL be able to utilize a 02 socket for this job. This job took about an hour.
Bosch replacement part # 13115 (part # good as of 11-11-03)
Or you can order Motorcraft from Ford
Tools Needed:
1) 7mm Socket and 3/8� ratchet
2) 8mm Deep Well Socket
3) 22mm Long Handled Wrench (or equivalent as per job) or 7/8 Wrench
4) O2 Sensor Removal Socket (Lisle PN# 12100 approx. $10 Sears or PepBoys)
5) Back-up curse words for the Furd engine design team.
This replacement is moderately easy with some patience and skinny arms/hands. There isn�t much room to work and not much room to maneuver the wiring harness out of the way, but just enough to make this possible.
1) Remove spark plug wires (taking note of their original orientation or firing order).
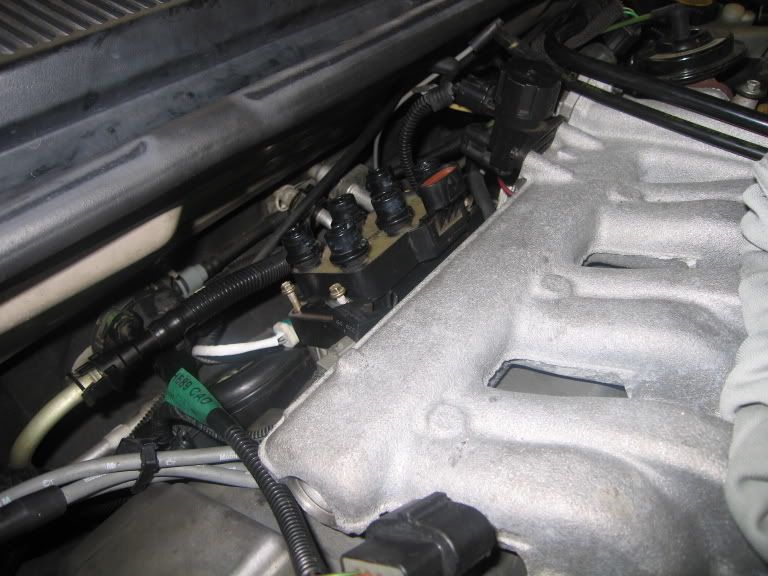
2) Remove coil pack and this connector coming up from the wiring harness (four bolts) (also take note of the two ground wires connected to the front two bolts)

3) With the spark plug wires off, and coil pack removed, you can see a black molded wiring harness secured by two nuts. Remove these two nuts, and wiggle the wiring harness out of the way. (This harness will not move too far, but enough to maneuver your hands in there).
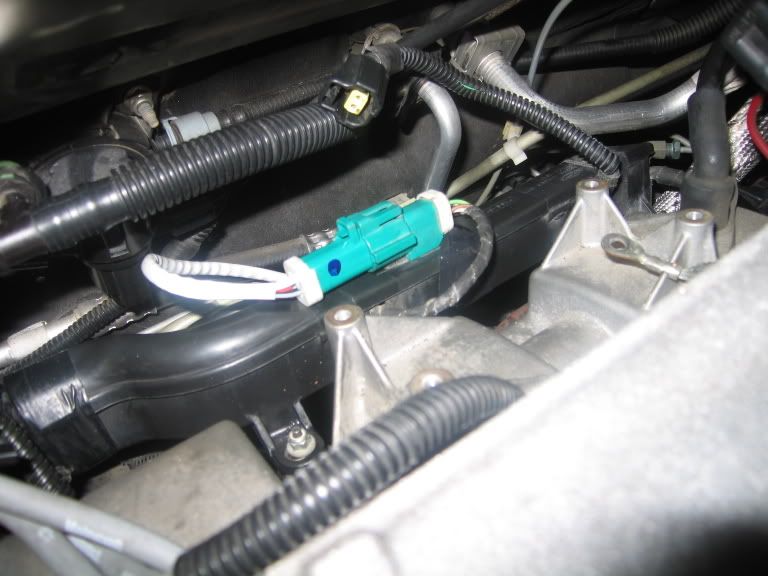
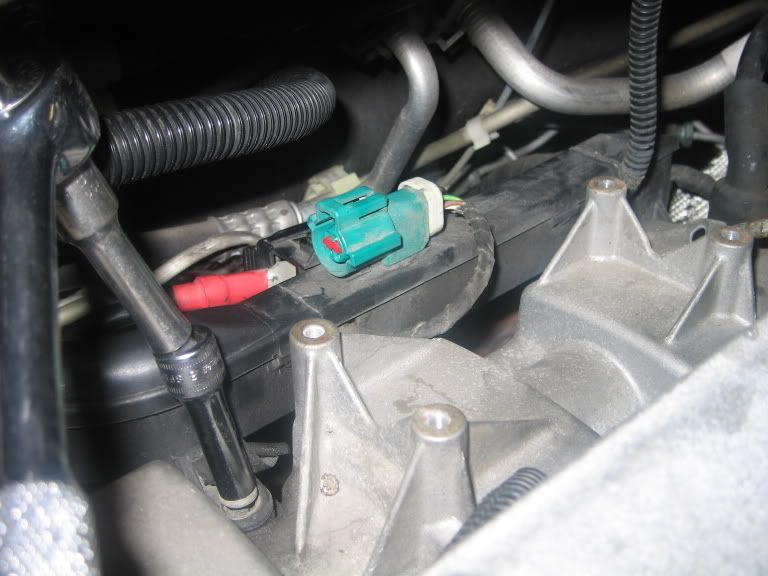
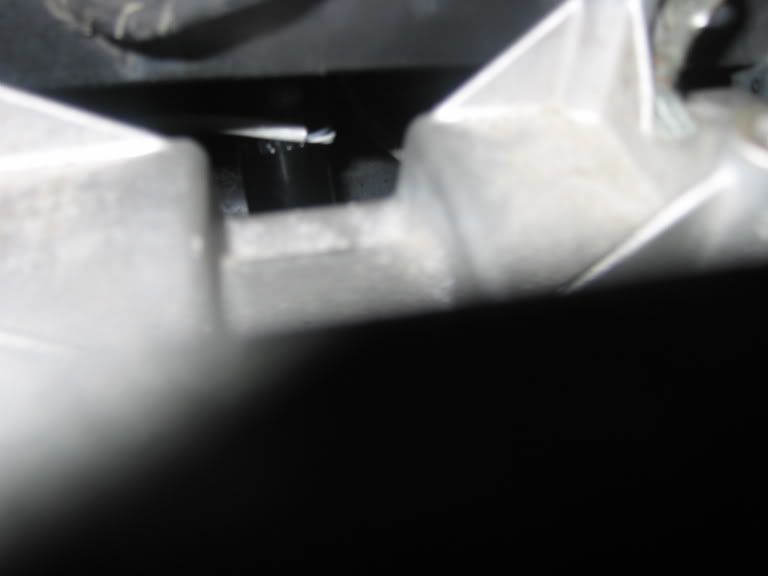
4) From here you can see the 02 sensor below the harness. Unplug the connector for the 02 at the top of the harness. You can also unclip the O2 sensor mating end from the harness by pressing down on the locking clip just under the connector.
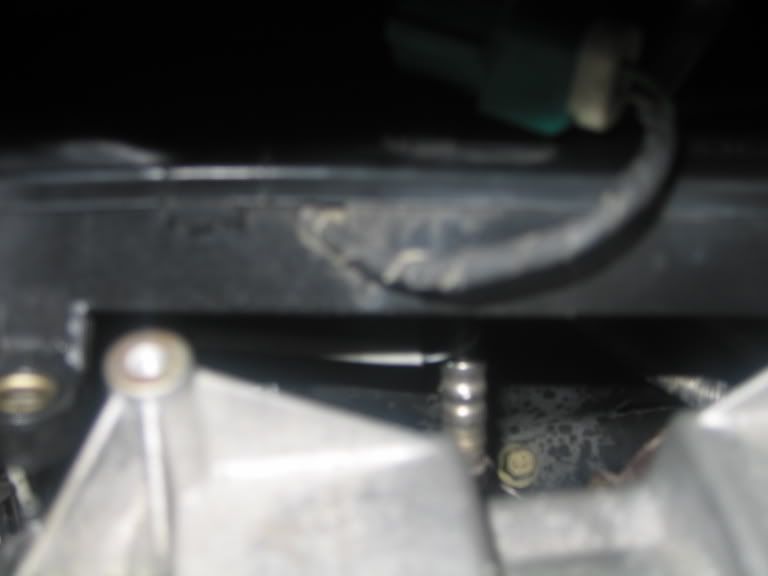
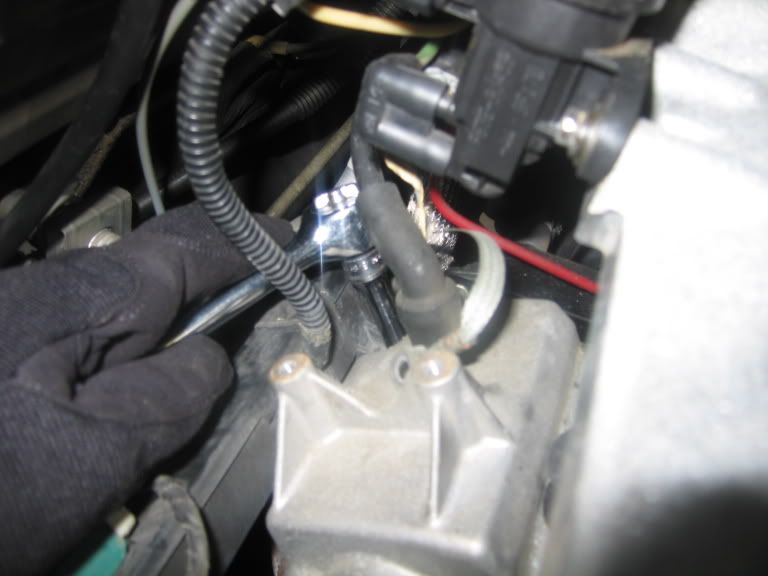
5) Place O2 Socket over O2 sensor then wiggle harness towards firewall
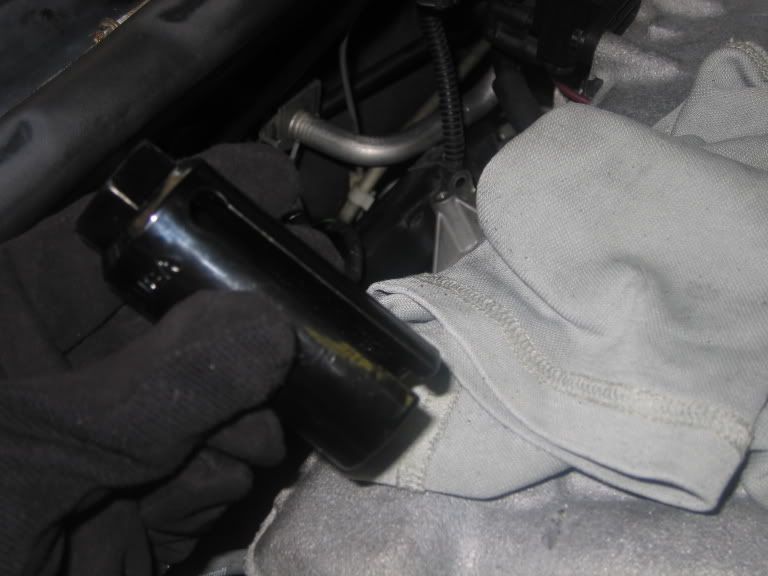
6) Using the 22mm wrench loosen and remove the 02 sensor and replace. (Similar to the pictures below). Since the harness is now closer to the firewall, you can insert the wrench between the harness and the engine.

7) After tightening sensor and connecting to the wiring harness; place the harness back to original position and tighten nuts. (Just a suggestion while having the coil pack removed, it�s not a bad idea to clean the coil pack and plug wires before putting everything back toghter).
8)Clear Codes/Reset PCM by removing Fuses 4 and 11 for 10 minutes.
Some CEL codes that may give you the impression that this particular sensor needs to be replaced:
P0133-ââ?¬Ĺ?Heated upstream 02 sensor circuit slow response (bank 1)ââ?¬Âť
P0171-ââ?¬Ĺ?ââ?¬ÂťSystem too Leanââ?¬Âť (bank 1)
P0172-�System to Rich� (bank 1)
P1131-ââ?¬Ĺ?Lack of upstream heated oxygen sensor switch-Sensor indicates Lean (bank 1)ââ?¬Âť
P1132-ââ?¬Ĺ?Lack of upstream heated oxygen sensor switch- Sensor indicates Rich (bank 1)ââ?¬Âť
**Would like to thank ââ?¬Ĺ?Williamââ?¬Âť and ââ?¬Ĺ?annakobyââ?¬Âť for past threads that made some of this information possible, written by ââ?¬Ĺ?mycainsbrokenââ?¬Âť**
**Pictures and Updates by Crystian C. (Golden Tour) 8/11/05**
(Original how-to located at: O2 How-to)
This is a How-to for replacing the Oxygen sensor (O2S) for the upstream bank number 1 (position 1). This applies to all Duratec 2.5 V6 vehicles. The location of this particular sensor is below a wiring harness below the coil pack. With the coil pack removed and the wiring harness out of the way, you can see this sensor on the exhaust manifold on the firewall side. You WILL be able to utilize a 02 socket for this job. This job took about an hour.
Bosch replacement part # 13115 (part # good as of 11-11-03)
Or you can order Motorcraft from Ford
Tools Needed:
1) 7mm Socket and 3/8� ratchet
2) 8mm Deep Well Socket
3) 22mm Long Handled Wrench (or equivalent as per job) or 7/8 Wrench
4) O2 Sensor Removal Socket (Lisle PN# 12100 approx. $10 Sears or PepBoys)
5) Back-up curse words for the Furd engine design team.
This replacement is moderately easy with some patience and skinny arms/hands. There isn�t much room to work and not much room to maneuver the wiring harness out of the way, but just enough to make this possible.
1) Remove spark plug wires (taking note of their original orientation or firing order).
2) Remove coil pack and this connector coming up from the wiring harness (four bolts) (also take note of the two ground wires connected to the front two bolts)
3) With the spark plug wires off, and coil pack removed, you can see a black molded wiring harness secured by two nuts. Remove these two nuts, and wiggle the wiring harness out of the way. (This harness will not move too far, but enough to maneuver your hands in there).
4) From here you can see the 02 sensor below the harness. Unplug the connector for the 02 at the top of the harness. You can also unclip the O2 sensor mating end from the harness by pressing down on the locking clip just under the connector.
5) Place O2 Socket over O2 sensor then wiggle harness towards firewall
6) Using the 22mm wrench loosen and remove the 02 sensor and replace. (Similar to the pictures below). Since the harness is now closer to the firewall, you can insert the wrench between the harness and the engine.
7) After tightening sensor and connecting to the wiring harness; place the harness back to original position and tighten nuts. (Just a suggestion while having the coil pack removed, it�s not a bad idea to clean the coil pack and plug wires before putting everything back toghter).
8)Clear Codes/Reset PCM by removing Fuses 4 and 11 for 10 minutes.
Some CEL codes that may give you the impression that this particular sensor needs to be replaced:
P0133-ââ?¬Ĺ?Heated upstream 02 sensor circuit slow response (bank 1)ââ?¬Âť
P0171-ââ?¬Ĺ?ââ?¬ÂťSystem too Leanââ?¬Âť (bank 1)
P0172-�System to Rich� (bank 1)
P1131-ââ?¬Ĺ?Lack of upstream heated oxygen sensor switch-Sensor indicates Lean (bank 1)ââ?¬Âť
P1132-ââ?¬Ĺ?Lack of upstream heated oxygen sensor switch- Sensor indicates Rich (bank 1)ââ?¬Âť
**Would like to thank ââ?¬Ĺ?Williamââ?¬Âť and ââ?¬Ĺ?annakobyââ?¬Âť for past threads that made some of this information possible, written by ââ?¬Ĺ?mycainsbrokenââ?¬Âť**
**Pictures and Updates by Crystian C. (Golden Tour) 8/11/05**


