Contour Enthusiasts Group Archives
I found this, and I think the concept is pretty much the same,

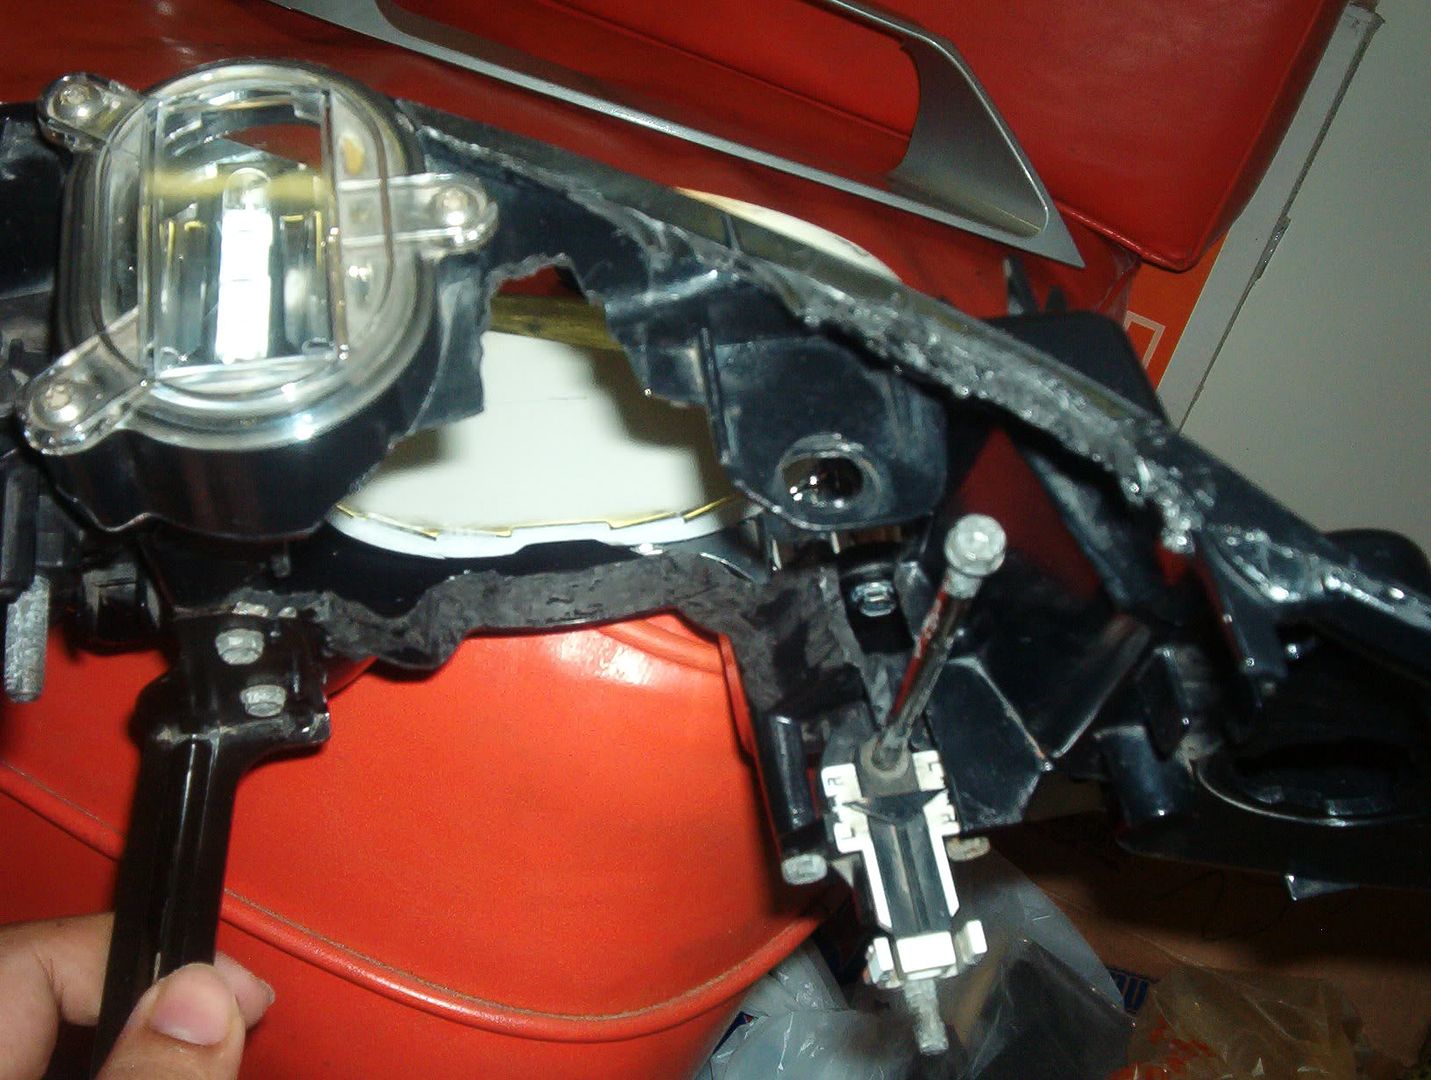
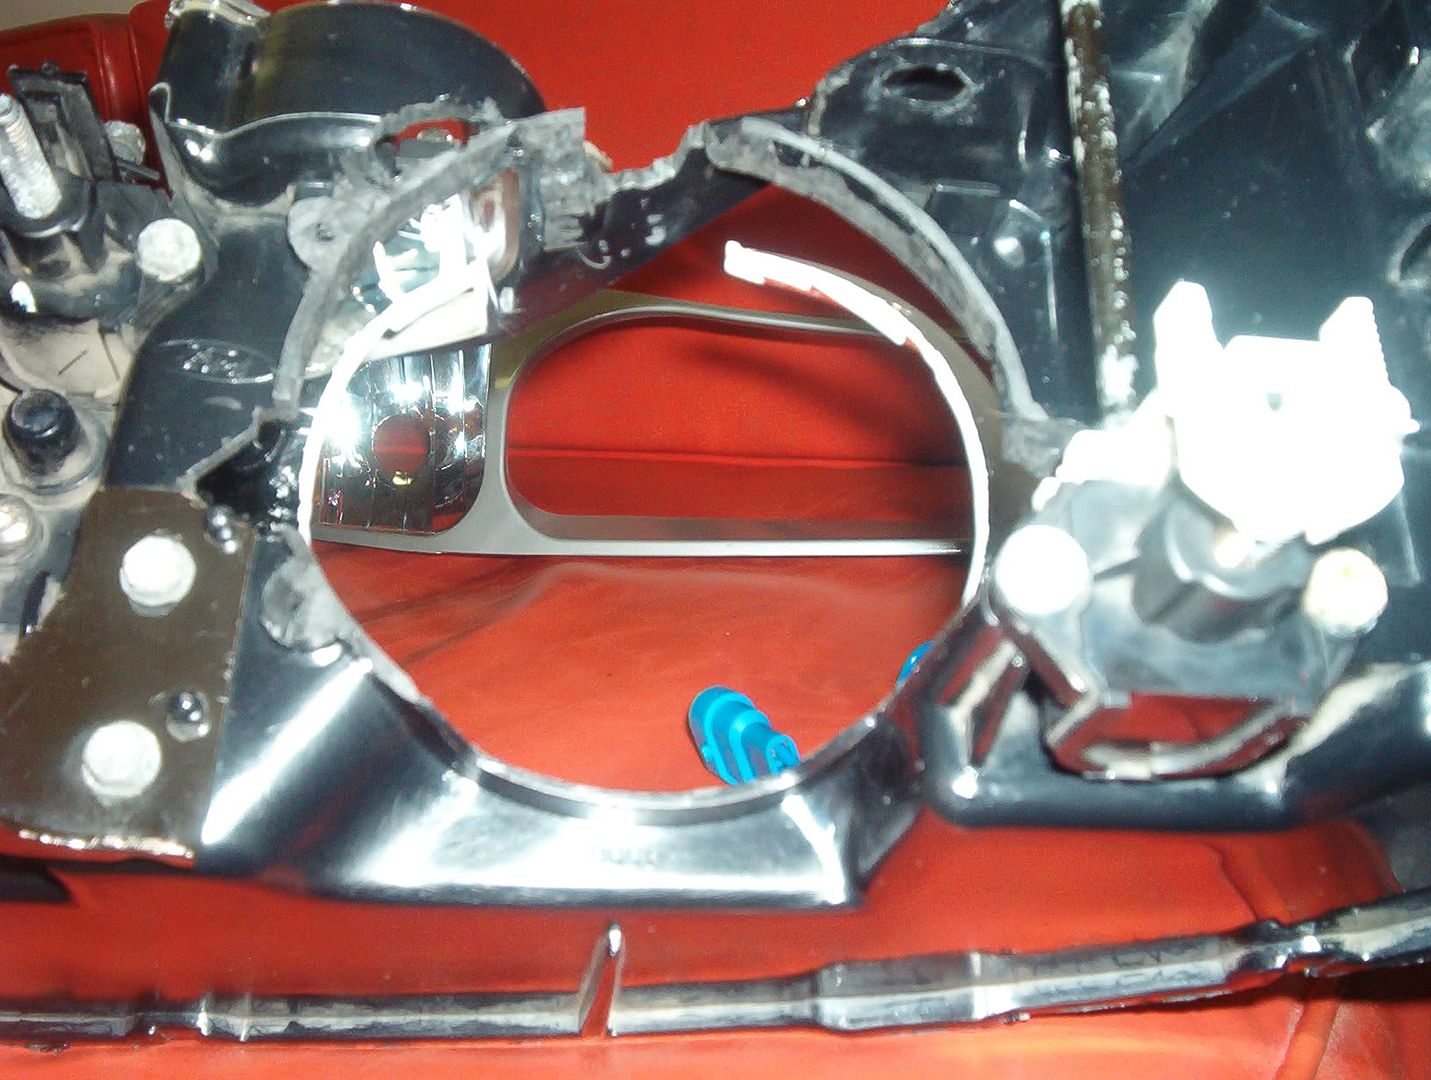
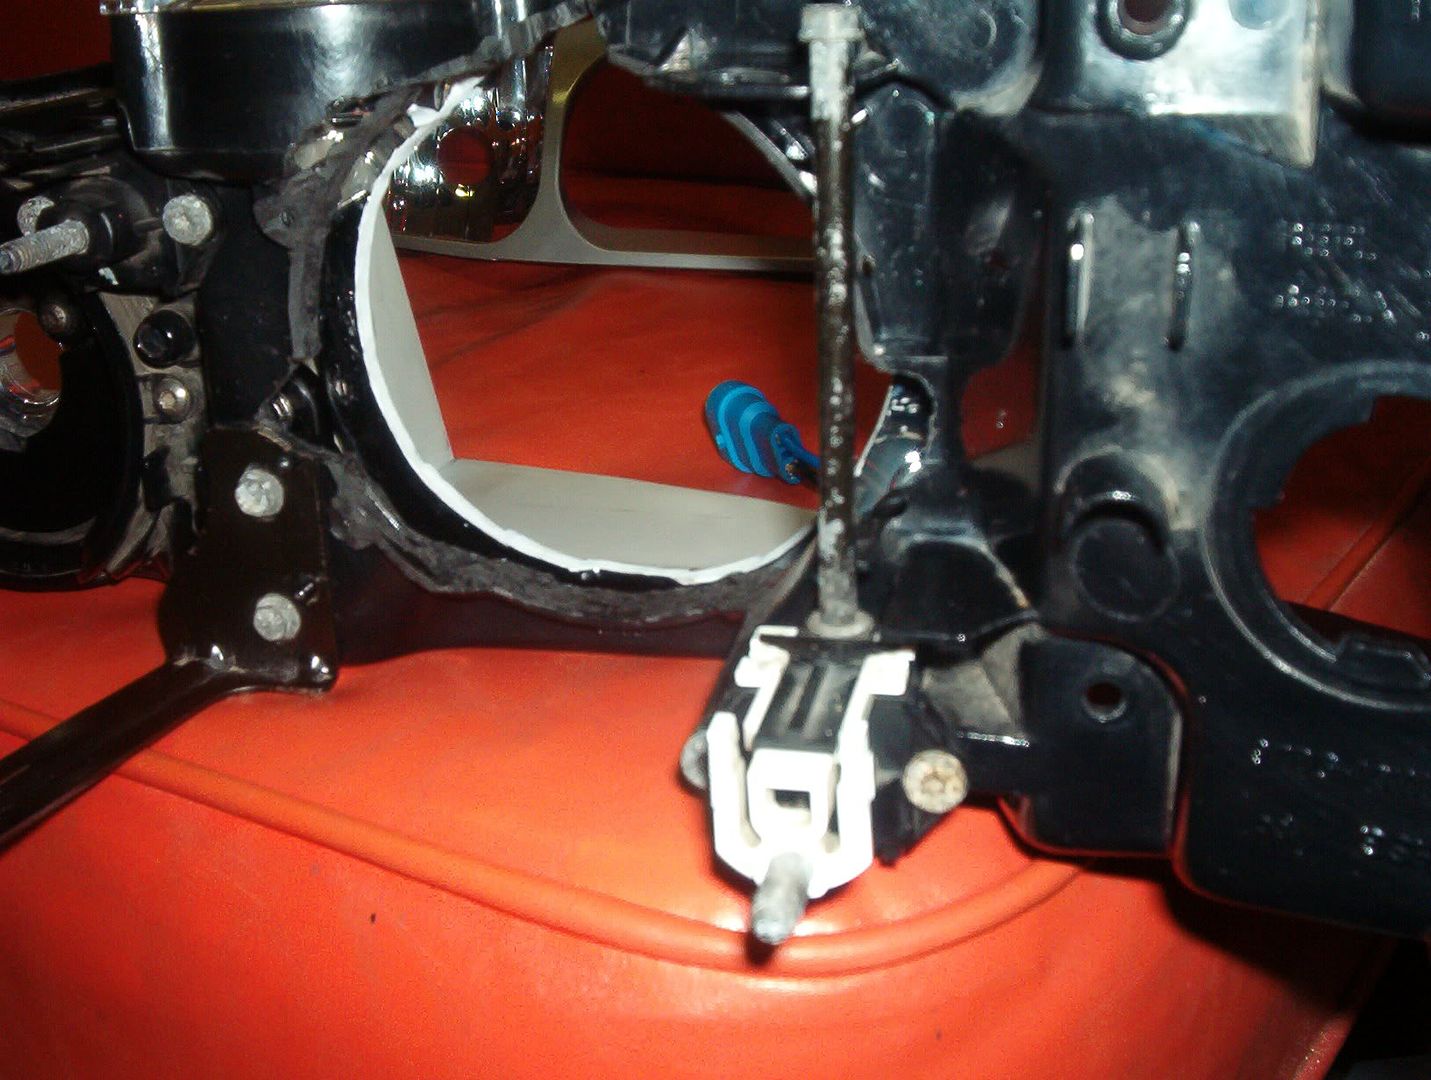
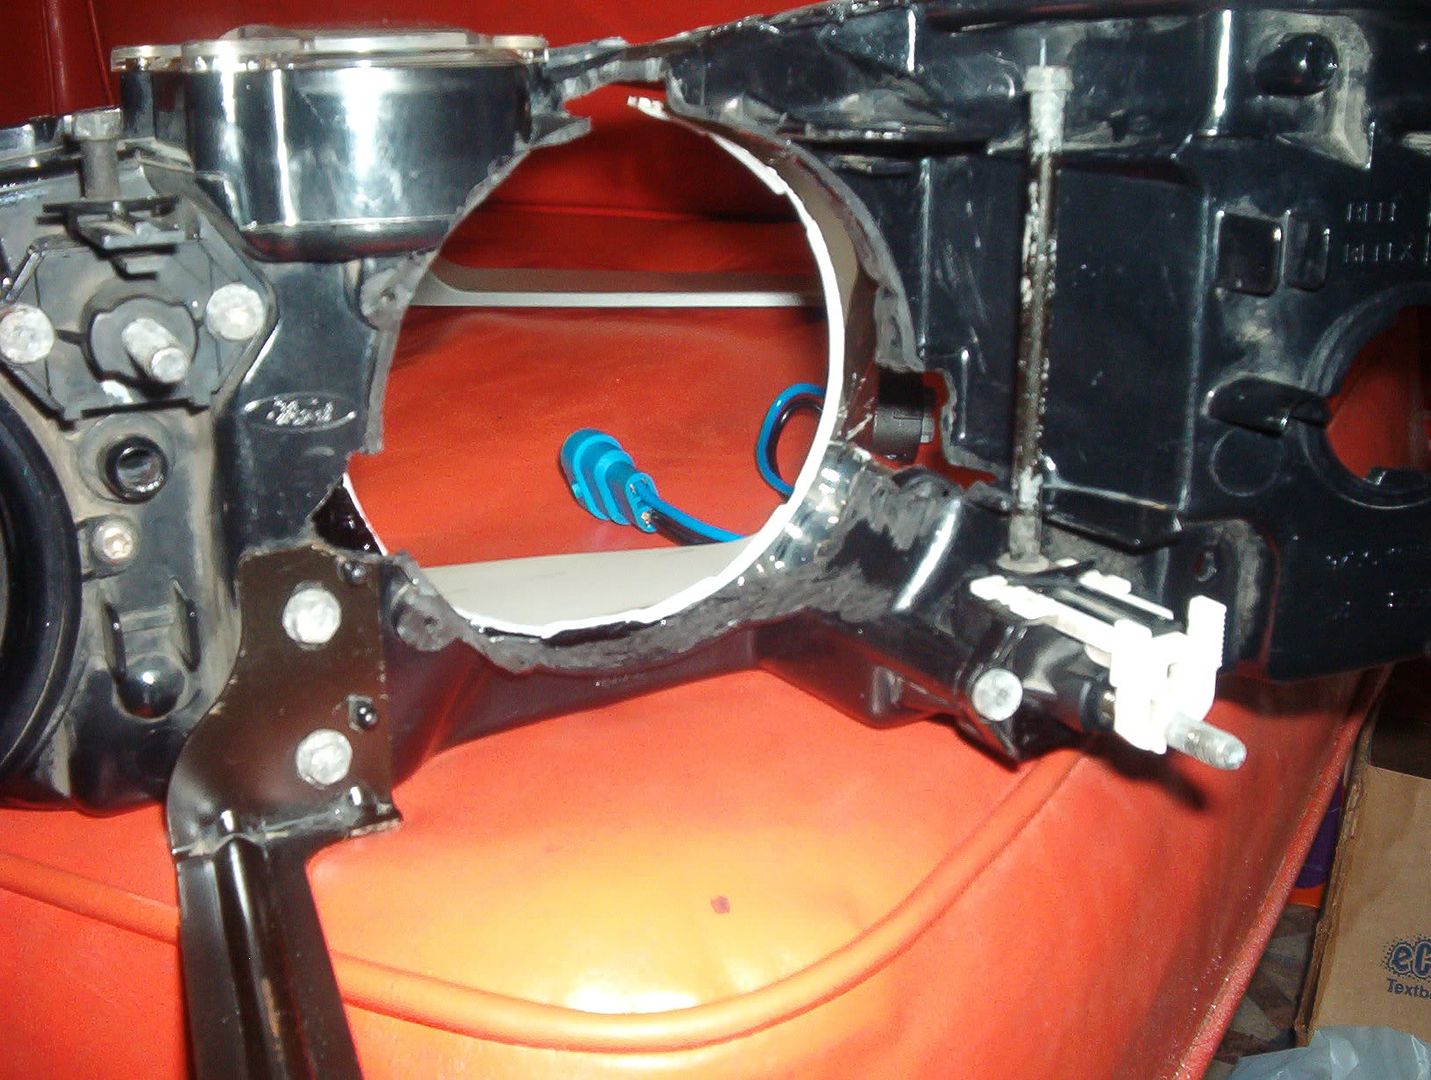
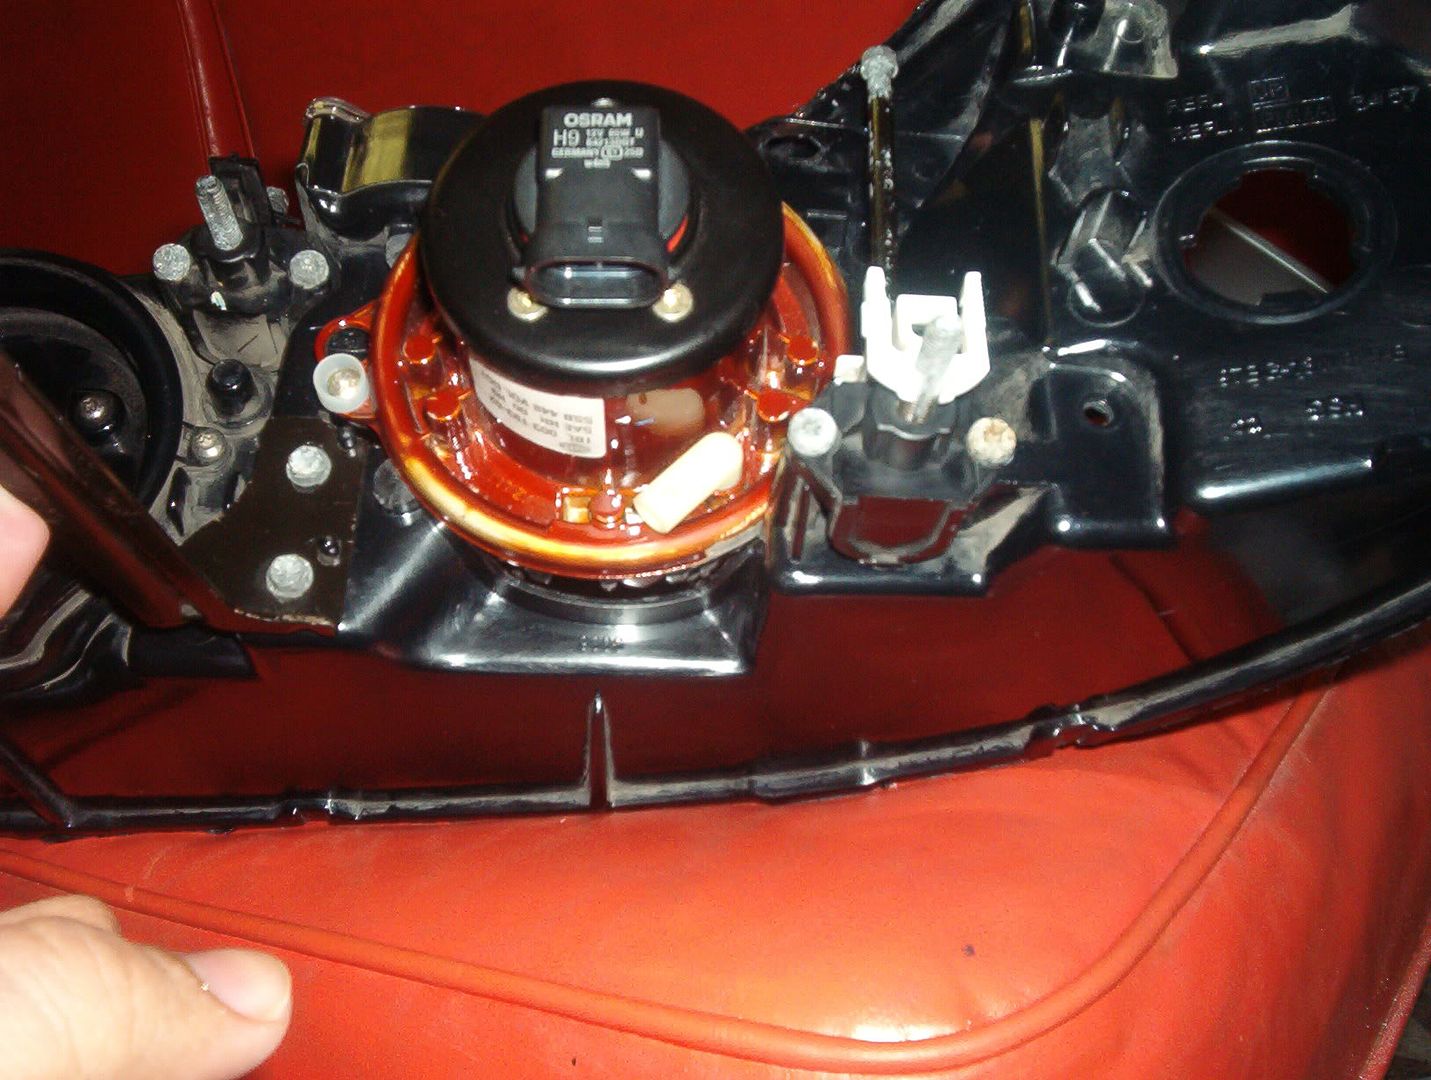
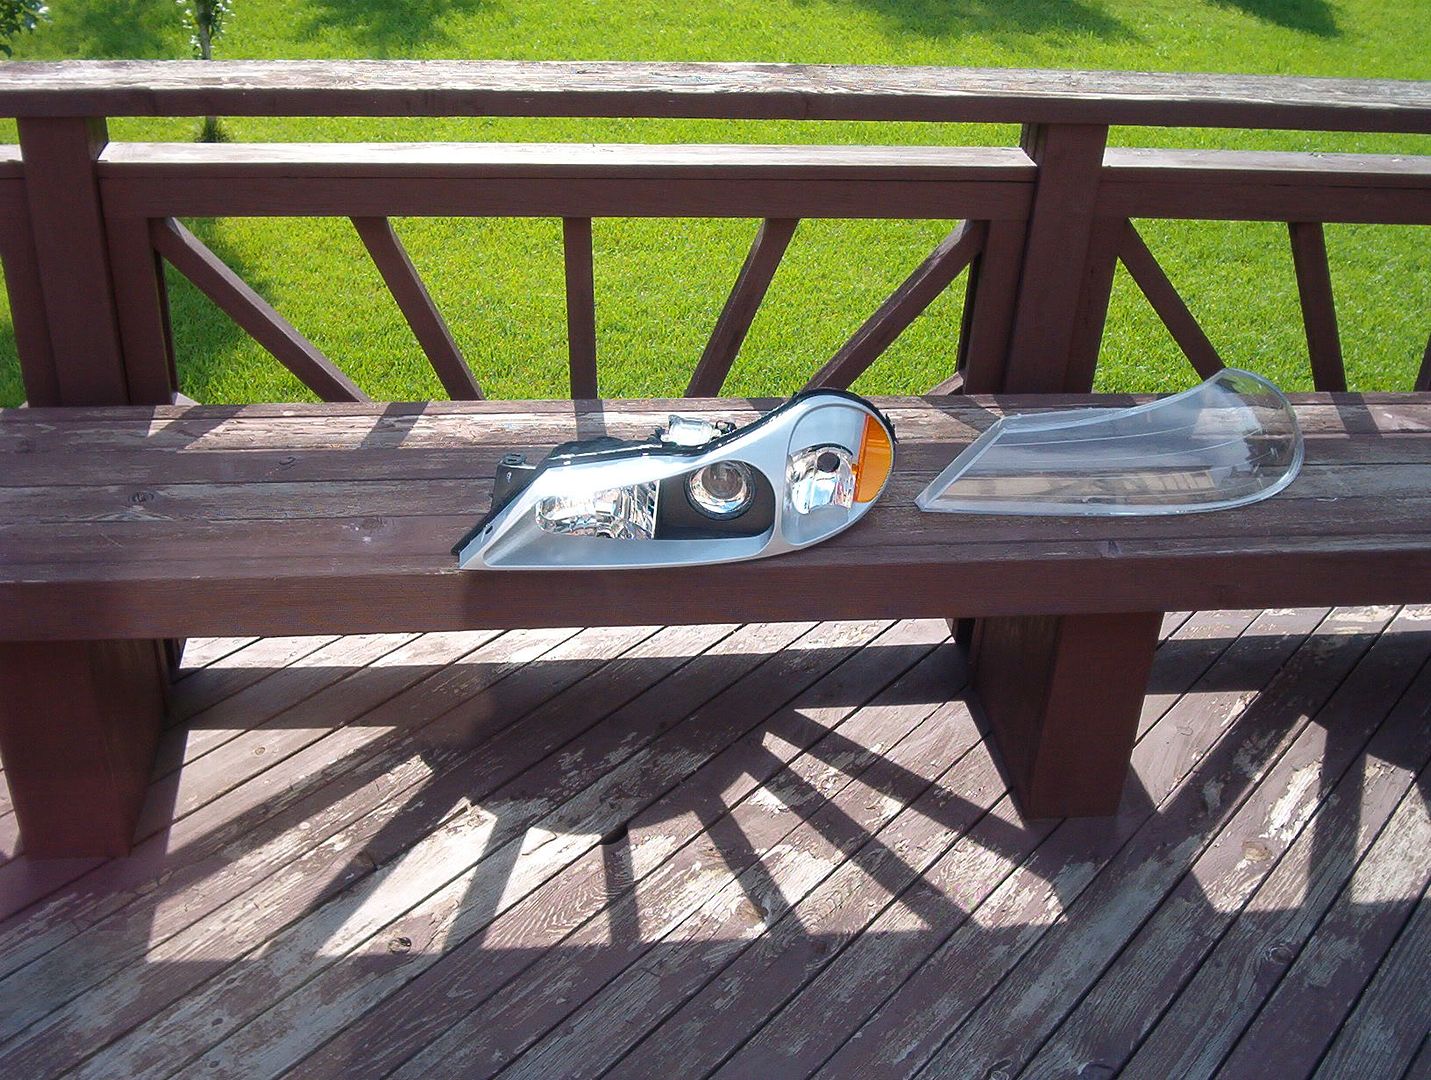
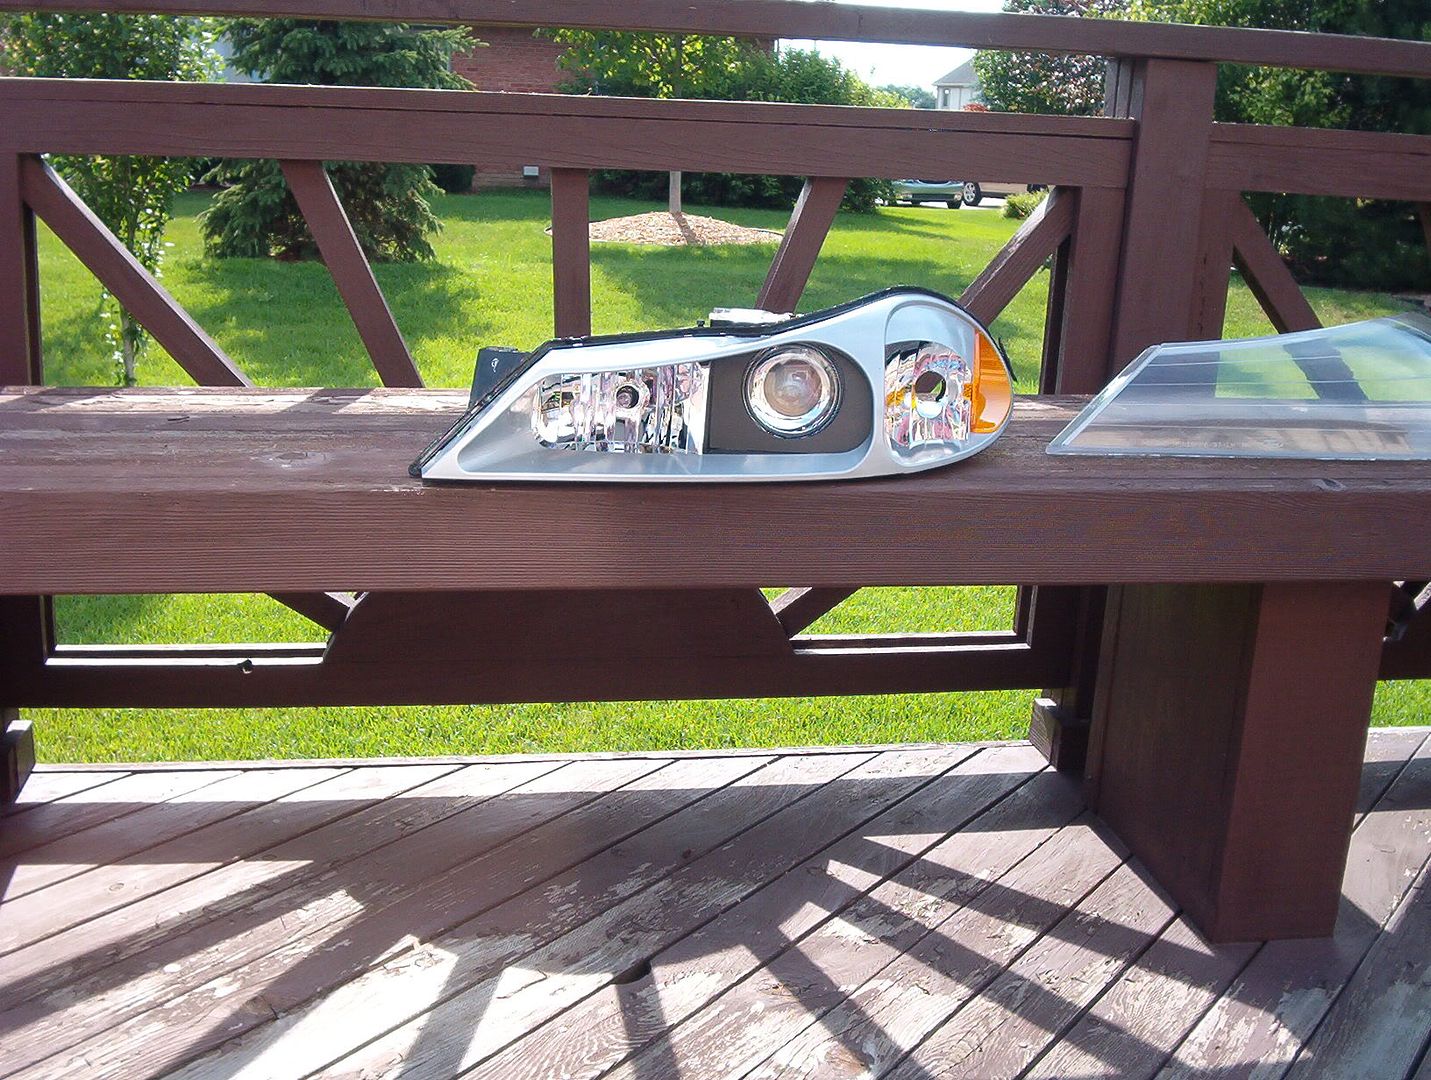
Bake open the headlamps,
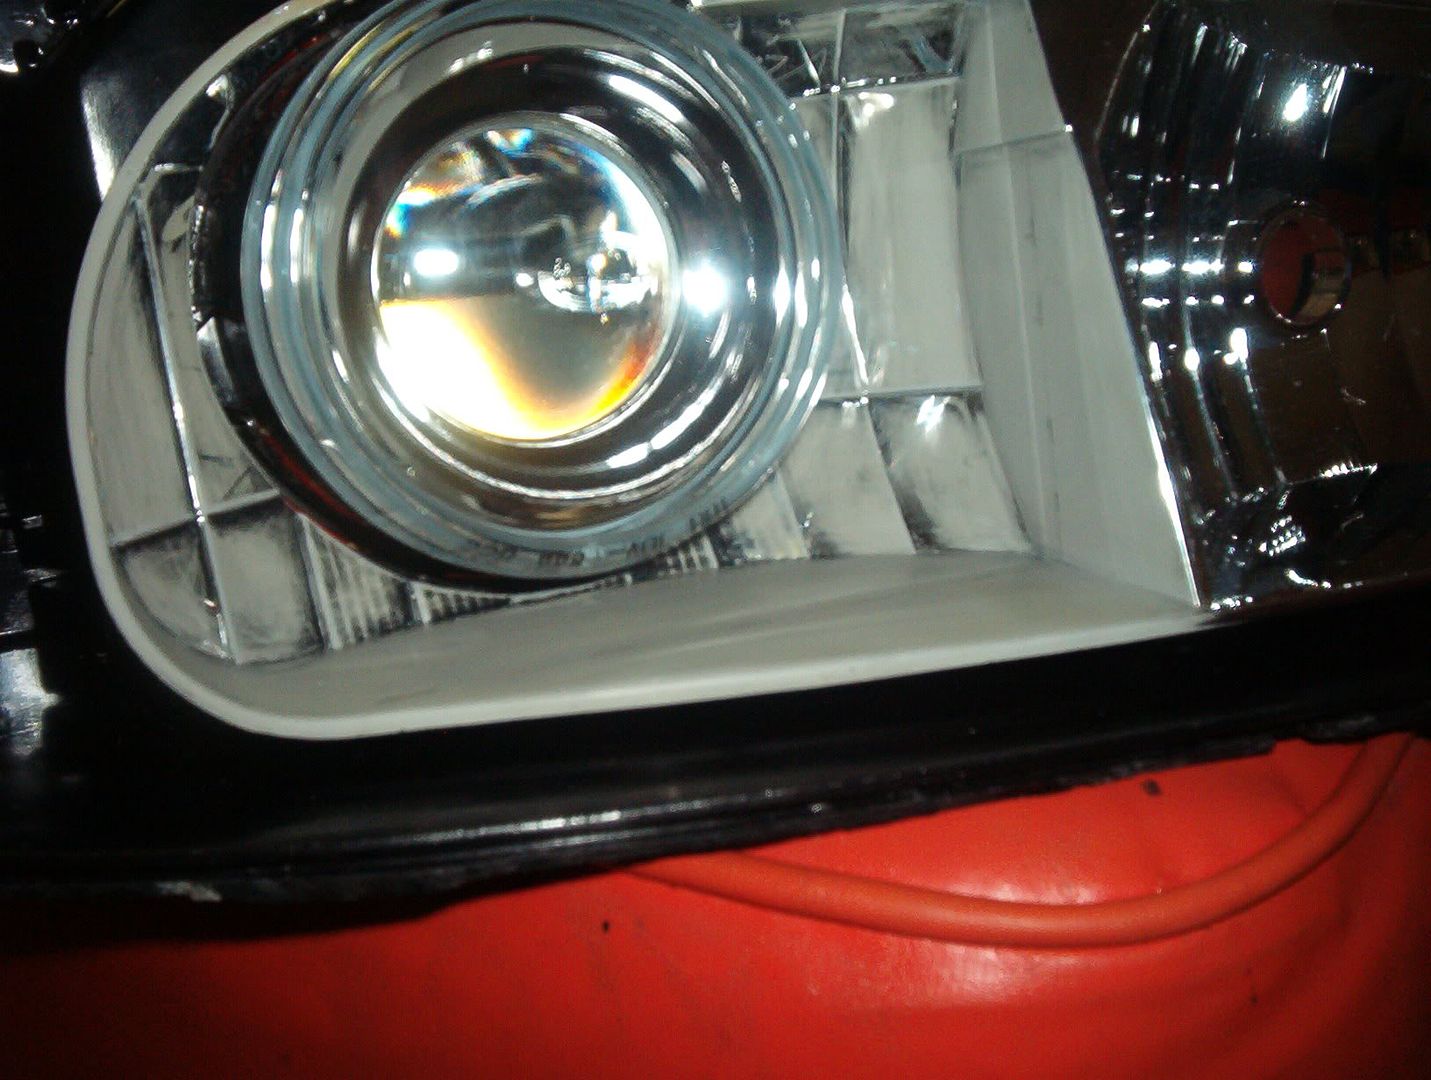
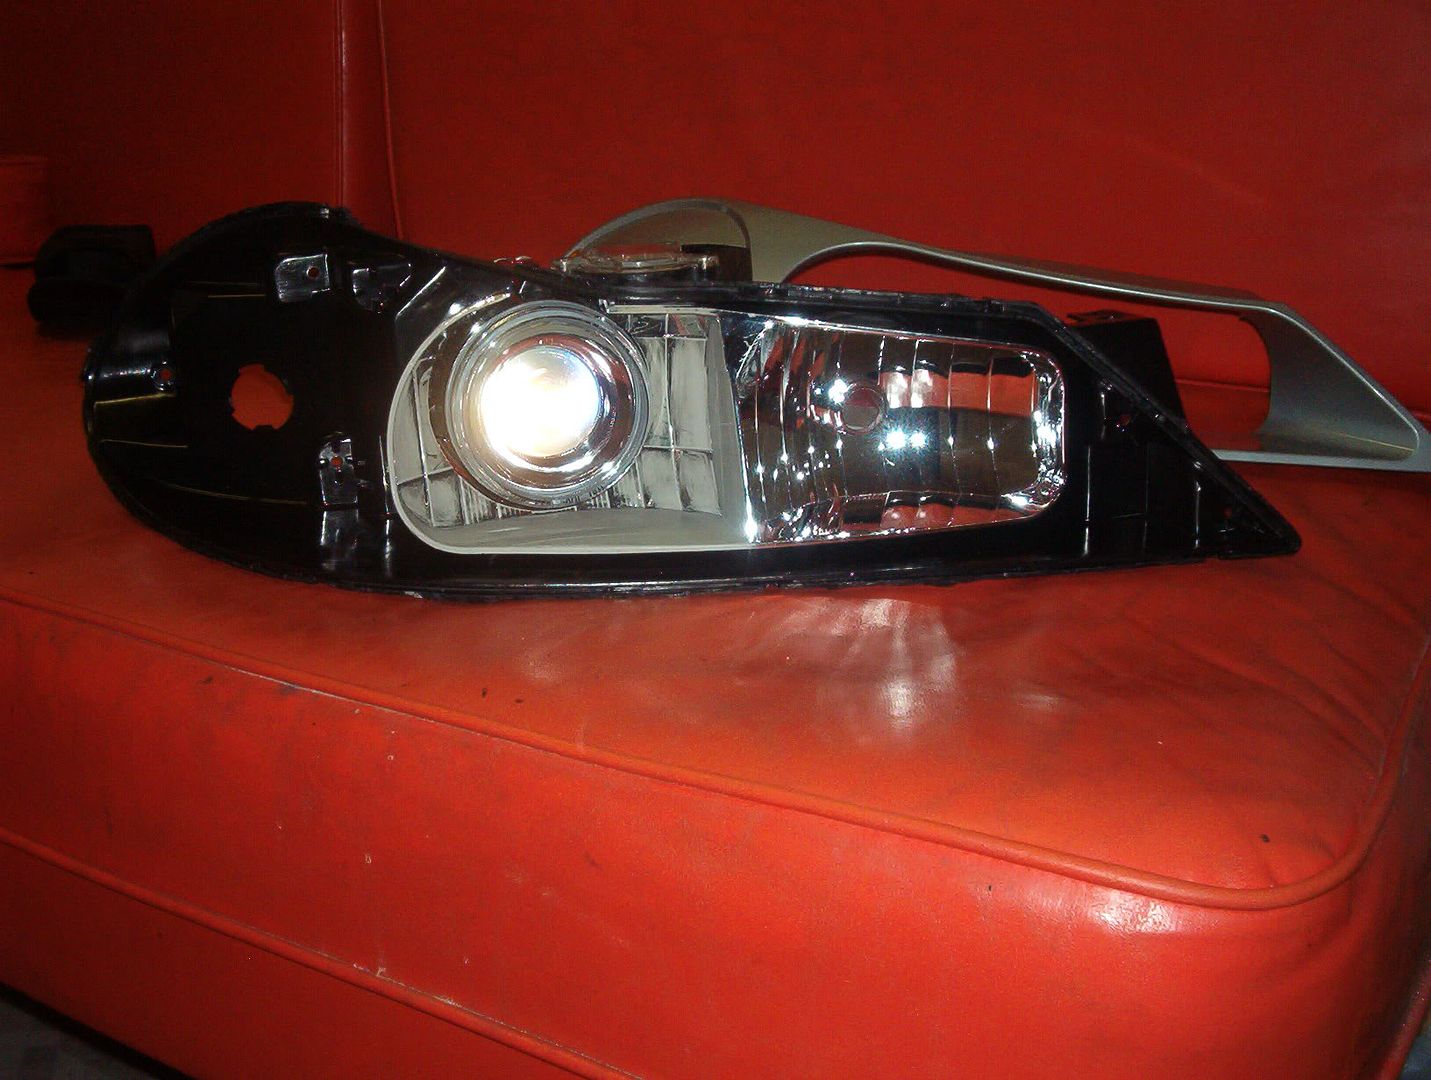
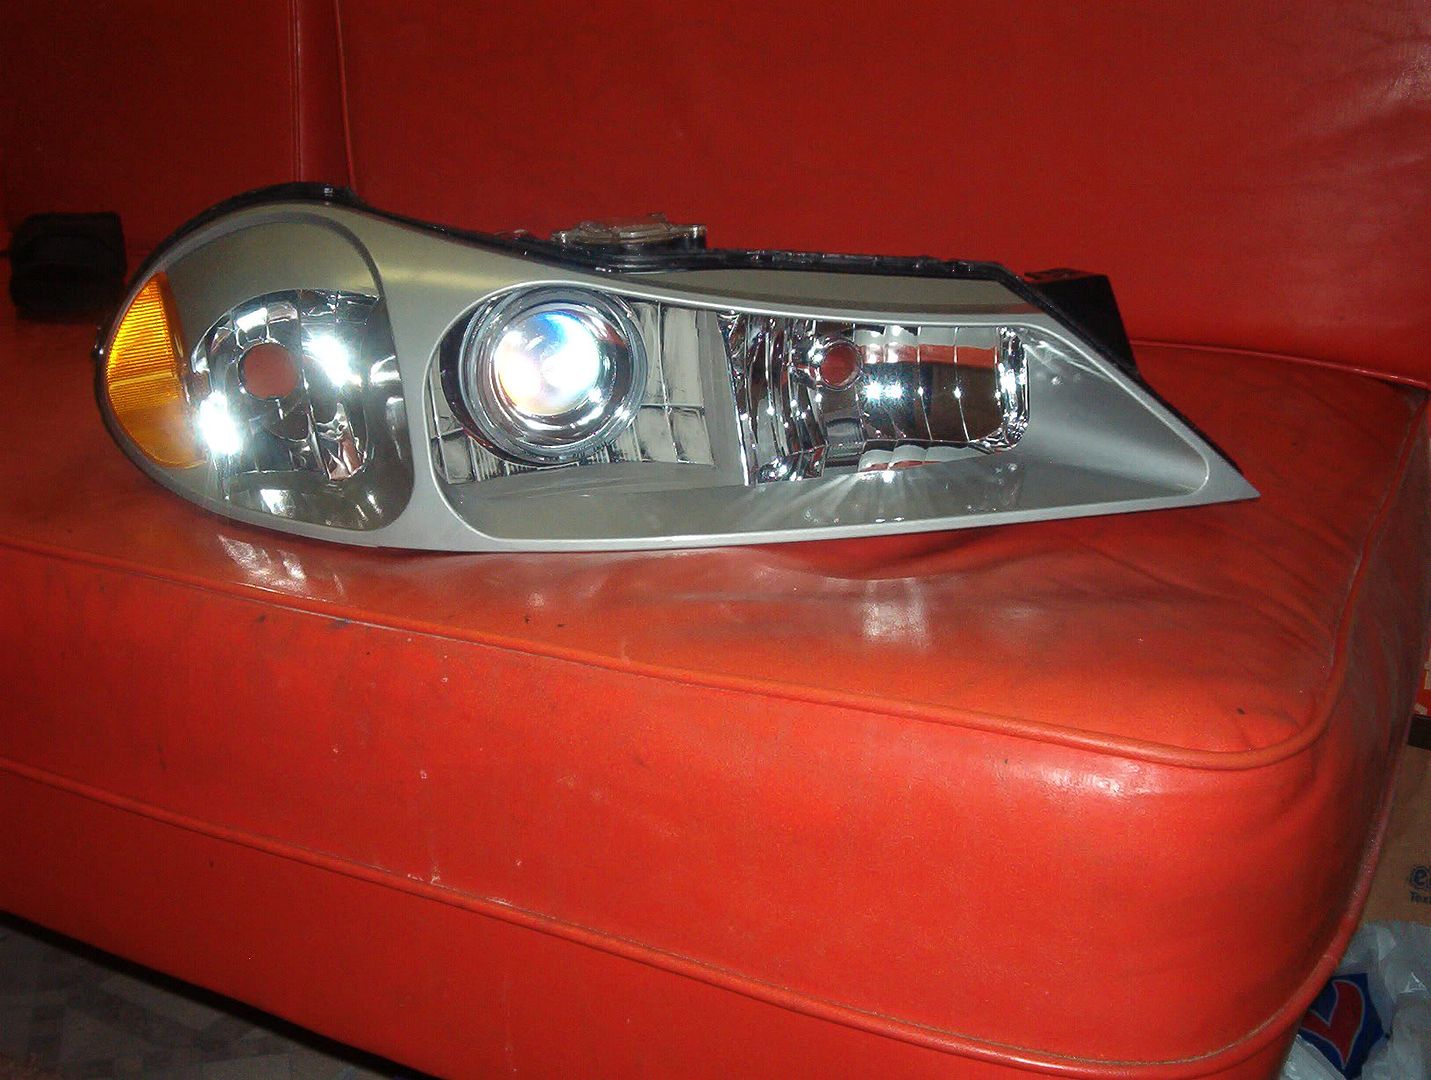
test fit the projectors,
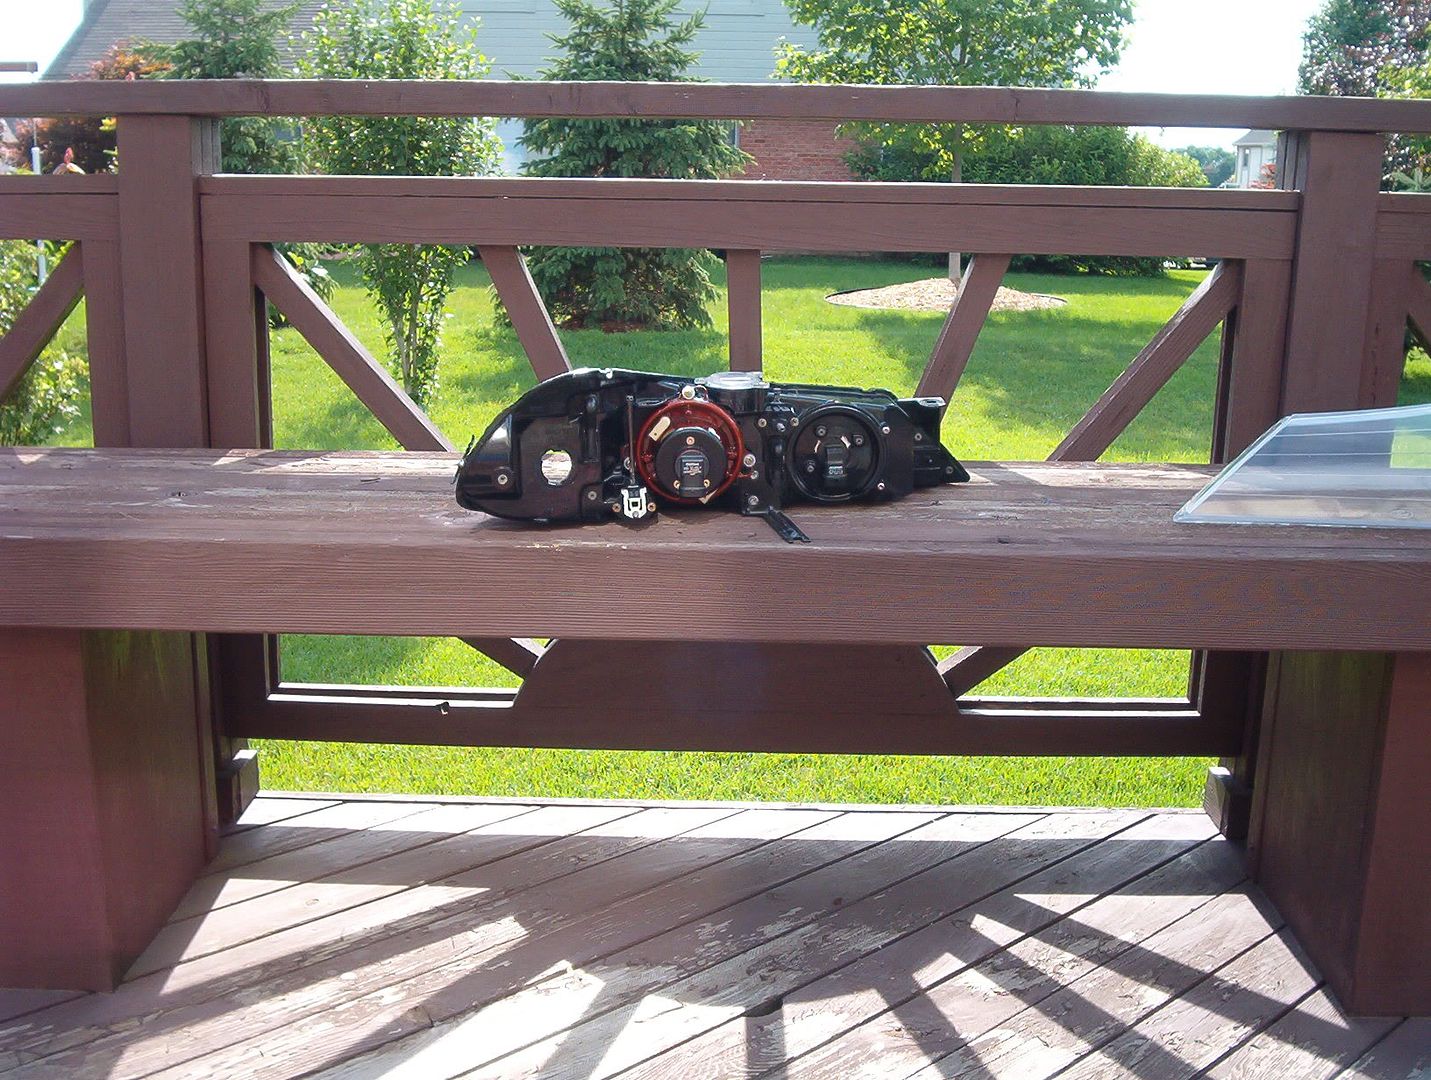
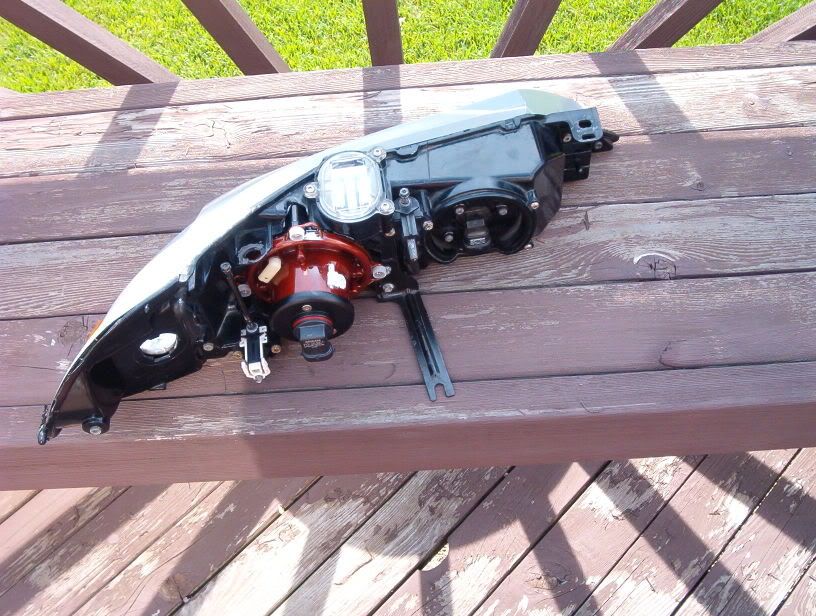
Custom make a bracket,
Custom make some bezel/shrouds.

You also need to mount them ABSOLUTELY perfect to mount them perfectly so that the AIMING is dead on.

http://www.scionlife.com/forums/viewtopic.php?t=75144

Here's the link, I know Goonz is going to yell at me for this, but if and when I attempt doing these, I will put up a HOW-TO w/ pics. Okay guys? Uh... if someone has taken pics of their projector mounting, please chime in and POST THE BLOODY PICTURES... TIA CEG.
also found this which is very useful for those ready to invest in this project...

http://faqlight.carpassion.info/car-with-conv-oem-halo-projectors.htm

you guys probably already know, but I want to attempt this soon .
honestly you can use all those as reference but none of them will apply to the contour headlight, its just a very complex pita headlight to work with..

and honestly, I saw that site a whiiiile back, he got lucky with everything falling into place like his shroud pretty much taking up the whole lows area, thats lucky and good for him..

ahh TSX projector


oo and also btw, thats MILAN who use to retrofitt, he's long since gone and wants to have nothing to do with projectors..
I didn't take a ton of pics eary on into the retrofit, but i'll post what i've got.

And ya, if you do it like me, permanently mount the projectors, make sure the aim is perfect.... left to right, up and down, and rotationally (the automotive lighting faq and daniel stern's website both describe the procedure well). I found a loading dock about .5 miles from my house that was pretty even and flat, used it to prefect my aim over several nights...probably made 10 trips there and back per projector.


Obviously details will be different based on which projector you use, and it's dimensions, as well as wether or not you keep the stock high beam...if not, you can just pull the whole reflector bowl assembly.


Pics of how i cut the housing:


Pics of the lamp seated in there:


Some pics before i sealed up the front or back:


And Dion put a bunch of pics of his set up in the old how to thread.
^^
very nicely done! clean as hell. 100% leak free?
So far no leaks...but i didn't use silicone, i used liquid epoxy to seal the front lense to housing, and this kick ass putty epoxy to seal the projector housing to the lamp housing. I'll see if i can find the data sheets.
excellent
nice job, does your orange reflector conform to the side of the housing?
or is that an illusion?
my reflector is a flat piece of orange reflector material.


also, i thik you should have painted the area around the projector to match the silver of the rest of the head light, it kinda looks like a black eye.
Originally posted by ElKy:


also, i thik you should have painted the area around the projector to match the silver of the rest of the head light, it kinda looks like a black eye.


yea, i was gonna say that
Originally posted by ElKy:
nice job, does your orange reflector conform to the side of the housing?

also, i thik you should have painted the area around the projector to match the silver of the rest of the head light, it kinda looks like a black eye.


Yes, it does go up the side, that's how the mystique lamps are...just a styling change i guess since both contour and mystique conform to DOT regs.

Originally posted by ElKy:


also, i thik you should have painted the area around the projector to match the silver of the rest of the head light, it kinda looks like a black eye.


Whatever, I like how it looks.

This is the data sheet for the epoxy i used on the lense:

http://tds.loctite.com/tds5/docs/HYSAE-120HP-EN.PDF

Can't find data sheets for the stuff i used on the back, it was made by permatex, no longer made i believe. It was this awesome putty epoxy, used it on the headlamps and the clear tails i made. One of the listed substrates was ABS, but through testing i found that it had a good bond between ABS and magnesium (hella housing is made of magnesium).
hey amar, I noticed your before and after pics of the projector being in there, and noticed how well rough it looked when you cut up the housing. Now my question is, when you put the projector lens in, how did you get what appears to be bolts in there to secure them? Did you custom fabricate a bracket out of steel or something? Also do the hellas not require an HID kit with ballast and all that? Sorry to ask that because I know the Hellas come with H9s already and how would those be wired exactly?
Originally posted by m4gician:
hey amar, I noticed your before and after pics of the projector being in there, and noticed how well rough it looked when you cut up the housing. Now my question is, when you put the projector lens in, how did you get what appears to be bolts in there to secure them? Did you custom fabricate a bracket out of steel or something?


The screws that you see there hold the back of the projector housing to the front cover(of the projector)....they dont attach the projector to the headlight housing. What i did was grind away at the headlight housing and the projector housing little by little until it was a tight fit...then i went out and perfected the aim...luckily it was fairly good to begin with...then finally i scuffed up all the plastic surfaces and used the putty epoxy that i mentioned earlier. It worked very well. So i guess to sum it up...the projector was first secured to the lamp by friction...then i sealed it up and attached "permanently" with epoxy putty.

Originally posted by m4gician:
Also do the hellas not require an HID kit with ballast and all that? Sorry to ask that because I know the Hellas come with H9s already and how would those be wired exactly?


The H9 is an incandescent lamp...same as what your car has right now...the only difference is that these are slightly higher wattage (65 watts) than the stockers...but it should be fine to use original wiring...all you have to do is figure out a way to work out the connector difference...you can either chop off the stock connector and put a H9 connector in its place or make a small harness that has 9006 on one end and H9 on the other. The second way makes it easier to return ot stock if needed.

So anyway...no, no ignitor or ballast or hid capsule...


Are you using used lamps to do the retrofit or new lamps?

That's the one thing i regret...i wish i would've done the retrofit on new lamps...the retrofit itself turned out great imo, looks good and the performance of the projectors is very good, but still its a pita to keep waxing the lenses every month and you can see the development of all these little internal cracks in the lense from 8 years of use....wish i would've bought new lamps...live and learn i guess.
used lamps, though I found some ones at the yard that have 'potential' to be wet sanded and polished to better than the ones I have. Well I'll get me a 5000k HID kit to wire to them.
Originally posted by amarv12:
..Whatever, I like how it looks.


Said it before and I'll say it again.
It looks good.
it looks nice...great work!
© CEG Archives