Hi there, I found the old link for the walkthrough to do the headers, but it doesnt work for me, only a blank white page come up. It seems a like all the info has been moved or deleted. Can someone either show me a working link or copy and paste the info in this thread or something? I'm pulling the gun on the headers tomorrow, so I'd really appreciate having a clear step by step description to get it done as quickly and efficiently as possible. MSDS + full trubenz y and catback should make some noticible gains in sound and power. I'm stoked. Thanks for the help.

-
Welcome to the Contour Enthusiasts Group, the best resource for the Ford Contour and Mercury Mystique.
You can register to join the community.
You are using an out of date browser. It may not display this or other websites correctly.
You should upgrade or use an alternative browser.
You should upgrade or use an alternative browser.
MSDS Header install walkthrough
- Thread starter 99SFSVT
- Start date
imnotacop420
Squire of Awesome
Good luck!!
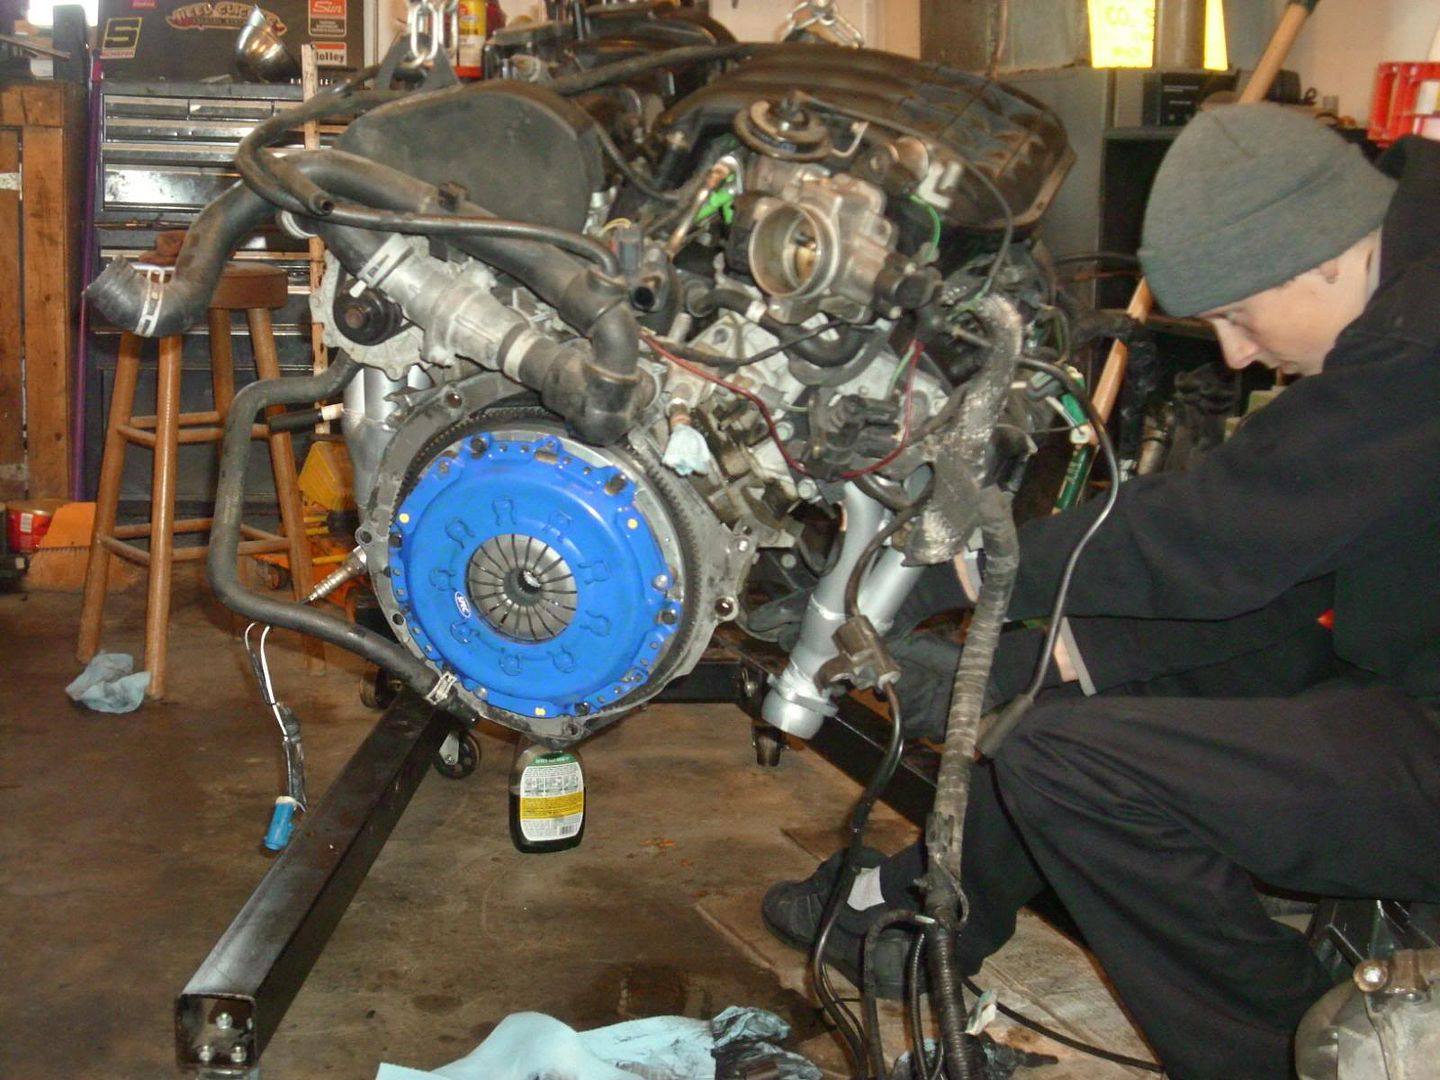
The how to is not working at the moment. All I can suggest is make sure have plenty of extensions, swivels, wobbles and patience. Personally I would set aside the whole weekend for a project like that. I just did mine, by far the most difficult mod I have done! I had to step away a few times due to frustration.
The how to is not working at the moment. All I can suggest is make sure have plenty of extensions, swivels, wobbles and patience. Personally I would set aside the whole weekend for a project like that. I just did mine, by far the most difficult mod I have done! I had to step away a few times due to frustration.
FIND
Addicted CEG'er
lemme see if I can help you. You will need a 3/8 drive ratchet and I recommend 1 short extension 3" two long extensions, IDK what I used, I think they are 9" and 12"(they could probably both be the same size) you need one u-joint and a deep socket. You need a 1 1/16th wrench to remove the EGR tube, catch the nut with the open end of the wrench and start loosening it up.
For most of the bolts, you have to go over the top of the back of the subframe. The one all the way to the left, you can get at the top left bolt (viewed from the back of the back header) using just extensions. It is a straight shot. The top middle one, if you are taking off the factory manifold you reach using your longest extension first, then u joint, then medium extension then socket. For the top right you need both your long extensions, then a u-joint, then the short extension then the socket. Thats how to reach past the alternator. The same combination you used to reach the top middle one can be used to reach the bottom right and bottom middle. You can reach up in there with a ratchet and a short extension and socket to go straight on the last one.
TRY to get all the studs out too, the factory manifold barely fits out if you leave any in. I got the factory manifold out without removing the two bottom studs right and middle. but it was really tight.
To put the header in its pretty much reverse of taking the manifold out, but the top center stud you will need to put on using a wrench. good luck with that one, your arm will be sore when you are done.
The front header I cant be as helpful with, cause I had my radiator out when I put my header on since I was putting in an SVT radiator. I can guarantee you some skinned knuckles on that one.
Also, use OEM exhaust gaskets, dont use the ones that come with the headers, they will blow out real quick.
Also when you are installing the rear header, unbolt the EGR from the uim and pop it off, then start the bolts back into it so that the bolts hold it up there, but you can move the EGR tube around a bit and get some play when you are trying to get the tube onto the header. As far as the upper O2 sensor goes, it is really helpful if you have a friend to help you plug it back in so that one of you can push it up, and the other can grab it and shove it onto the plug. The plug is right behind the coil pack. you can remove the coil pack if you want to get at the plug easier, but its just not worth it.
Hope it helps
Last edited:
imnotacop420
Squire of Awesome
I used funinND's advice, helped me get to a few of those rear bolts!
A ratcheting 13mm wrench helped me out on the front as well.....
A ratcheting 13mm wrench helped me out on the front as well.....
96BlackSE
CEG'er
Bandaids are a must as well for all the scars after trying to squeeze your hands in awkward places to get the front exhaust manifold off!
KyleQ
Hard-core CEG'er
I don't know what you guys are talking about... took me about 10 minutes to remove the manifolds and install my headers :laugh:

getsum111
Yes I am a Pirate, 200 years too late.
For the rear header, I found it was helpful to remove the alternator, install the header, then re-install the alternator (which is easier as the header leaves more room than the old manifold did).
Soak everything in PB Blaster, then re-soak it. :laugh:
I found a helper is helpful rolleyes to keep the socket on the exhaust manifold nuts straight when using the extension/wobbly thing/ratchet combo. I was able to reach the nut, or see it, but had trouble doing both at once. Much of it is done by feel.
Hope that helps, post up if you're having trouble.
Soak everything in PB Blaster, then re-soak it. :laugh:
I found a helper is helpful
rolleyes to keep the socket on the exhaust manifold nuts straight when using the extension/wobbly thing/ratchet combo. I was able to reach the nut, or see it, but had trouble doing both at once. Much of it is done by feel.Hope that helps, post up if you're having trouble.
Well, I plugged away for 3 maybe 4 hours today, and made a little headway. I removed the entire exhaust from the manifolds back to make room for the new trubendz stuff. Some of the y-pipe to collector bolts were retarded stubborn, and I ended up breaking one and just cut another one.
Can somebody tell me what how they bolted the noew headers back to the stock y pipe? I ask because the stud are on the manifold side of the stockers. And help would be appreciated.
I only worked on the rear so far. All that is left is to remove an interfering stud, unscrew the EGR and I think it should slide out right? I left the front alone as I heard it was the easiest one to do, correct? I'm hoping to put in 8 solid hours tomorrow and get in done. What do you guys think? Any more tips?
imnotacop420
Squire of Awesome
I picked some new nuts and bolts to connect the header to the y-pipe. The back will drop down pretty easy once the EGR is off.
I also replaced my manifold studs with bolts, gives a little more room when installing since you don't have to use a deep socket
I also replaced my manifold studs with bolts, gives a little more room when installing since you don't have to use a deep socket
getsum111
Yes I am a Pirate, 200 years too late.
I did the same, new nuts/bolts w/ lockwashers to connect the headers to the y-pipe. Remember to take your time, the sound will be well worth the wait. Good luck 
I did the same, new nuts/bolts w/ lockwashers to connect the headers to the y-pipe. Remember to take your time, the sound will be well worth the wait. Good luck
Yes make sure to buy new blots. You will thank yourself later. Trust me.
FIND
Addicted CEG'er
I don't know what you guys are talking about... took me about 10 minutes to remove the manifolds and install my headers :laugh:
last time I did it I had the headers out then back in within 2 hours, with the engine in the car

including time to jack the car up. No more exhaust leaks for me
Last edited:
SHE'S DONE! After a total of about 8 hours, I've got new headers, and a new borla catback all installed. although it is a little louder than i would have prefered, I love how smooth is sounds after 3k rpm's. I have a Flex head 3/8 snap on ratchet, and I think that seriously falicitated things. What have people seen on dyno's for typical gains from these mod's? And i know, a trubenz y pipe is next to come.
ScottyDsntKnow
Veteran CEG'er
I'm kicking around the idea of getting some MSDS headers as well. Right now I have a BAT Y pipe and a TruBendz Borla exhaust so its really the only thing left for me to do bolt on wise... With the exhaust I have would MSDS headers really make that much of a difference over the stock manifolds?
Smalls
Addicted CEG'er
I'm kicking around the idea of getting some MSDS headers as well. Right now I have a BAT Y pipe and a TruBendz Borla exhaust so its really the only thing left for me to do bolt on wise... With the exhaust I have would MSDS headers really make that much of a difference over the stock manifolds?
yes yes yes! with the precats gone, it will really free up the exhaust flow. you'll see a noticeable difference
ScottyDsntKnow
Veteran CEG'er
Yeah I figured that. I'll have to put them on the list of things to do to the car this summer.