Beans
Addicted CEG'er
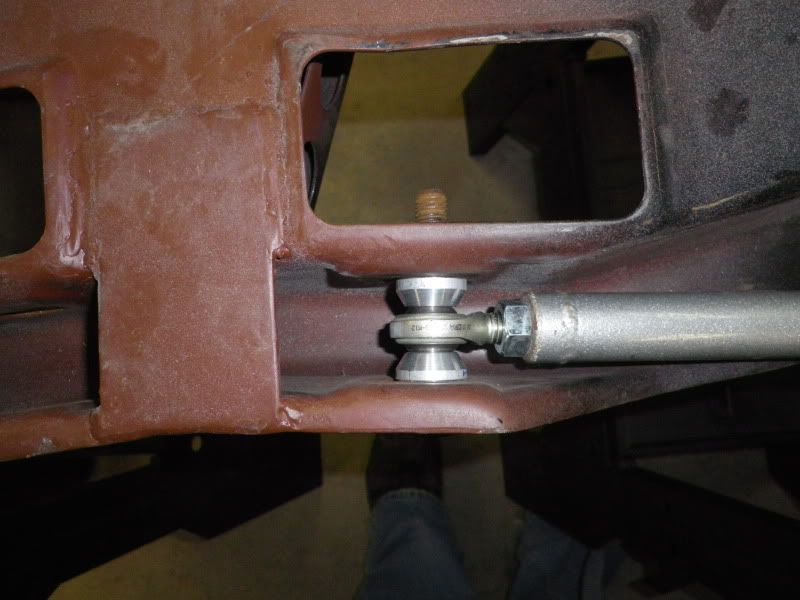
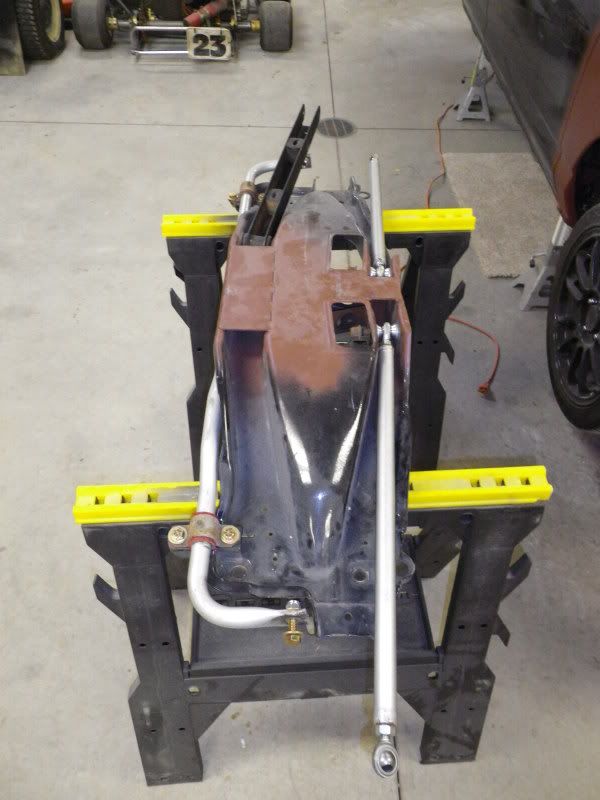
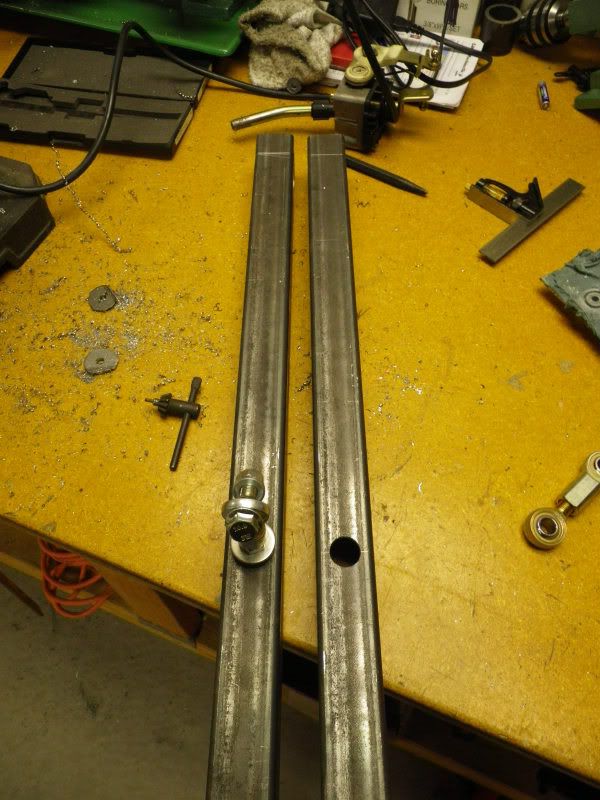
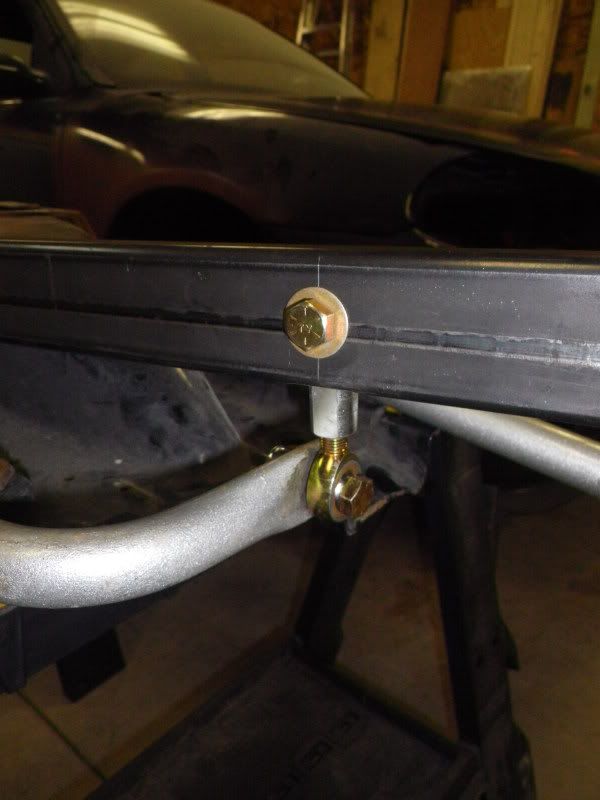
Wow those look super heavy duty

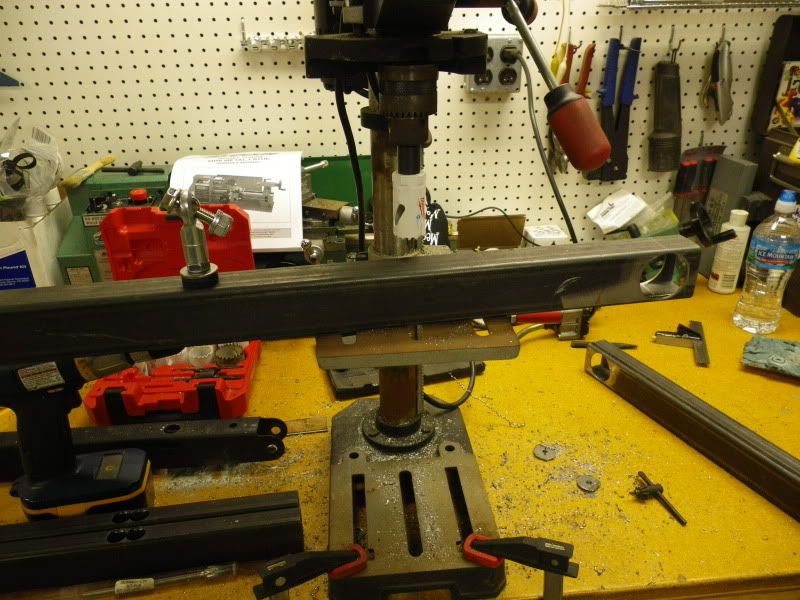
As for the clean garage.....I clean up everything every night unless I leave in the middle of a project. I hate having to search for tools for anything else when I'm trying to get things done. Added bonus, with it not being my personal garage, it shows a little respect that it's cleaned up every night, so should i ever need it again, they won't turn me down.
Build is coming alone nicely! I need to make it out there again soon, but my work sucks!!!
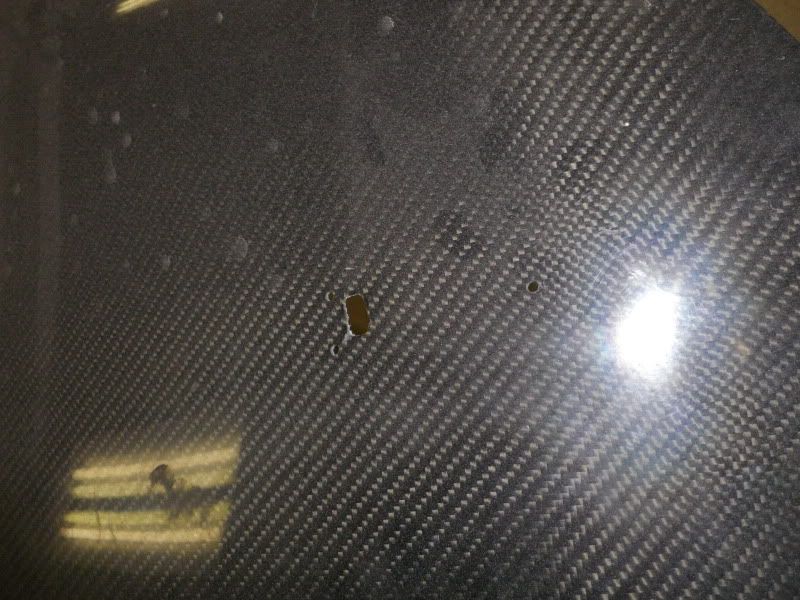
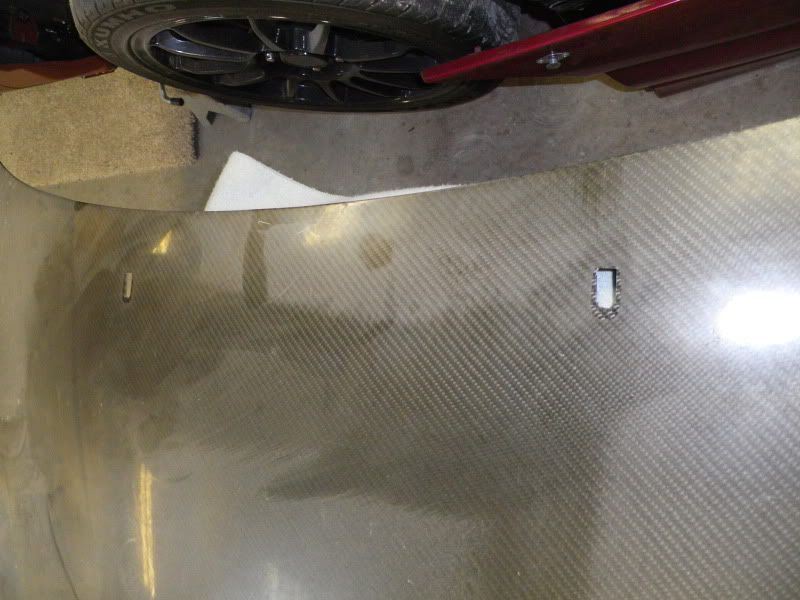
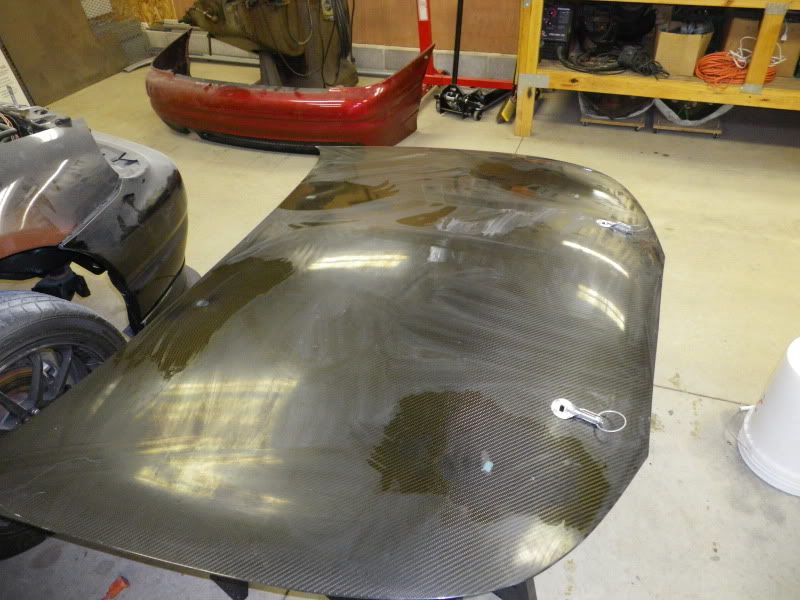
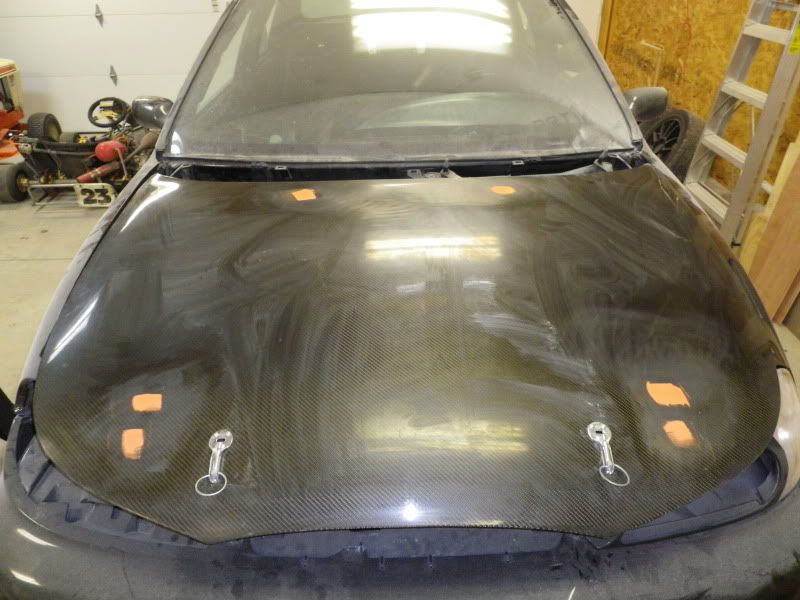

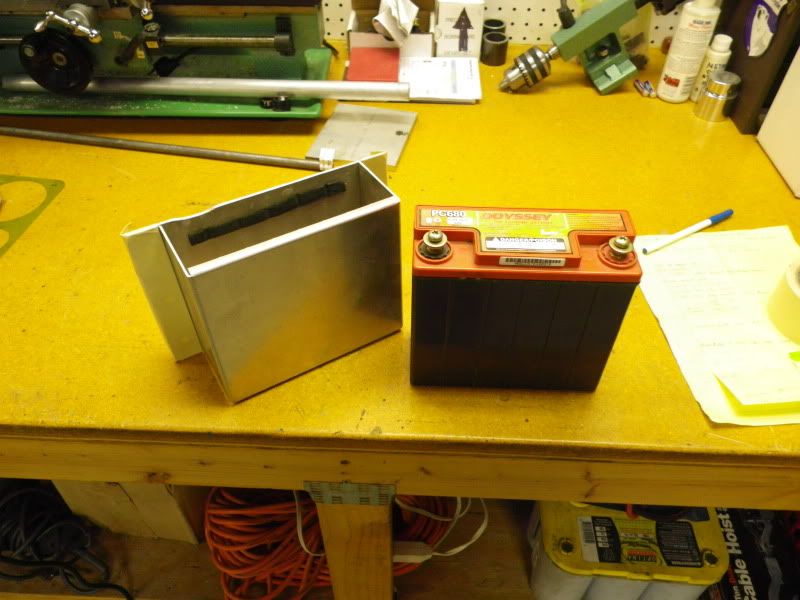


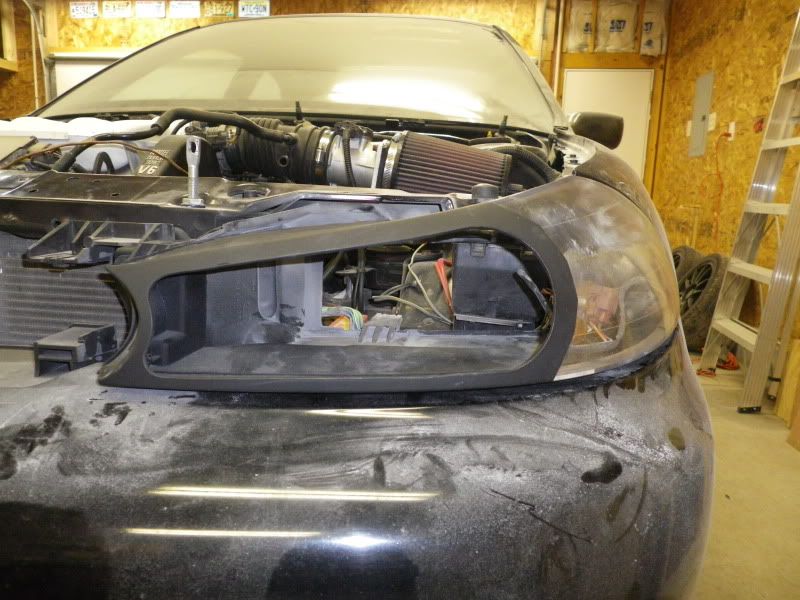
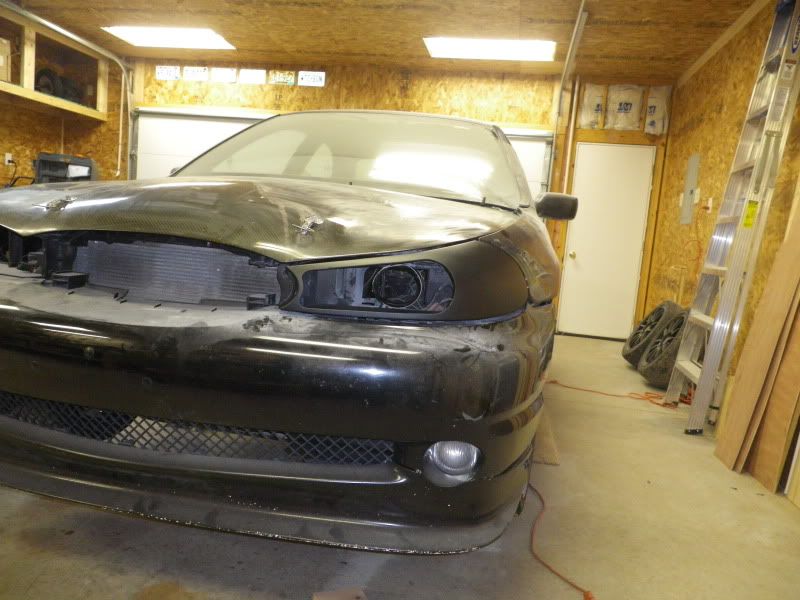
Pole120;902565}... you have to remember any CF hood you buy is justa fiberglass hood wtih a CF final layer. Doing the best with what I have. As for the battery said:lol, I've always thought thought that making a proper cf hood would actually be dangerous to the occupant in a collision... that extra 5 pounds is fine with me.
ya, its amazing how little of a battery you can do if your car is not running anything (and that in worst case need to jump if sitting in wisconsin winter if it sits too long).
awesome!

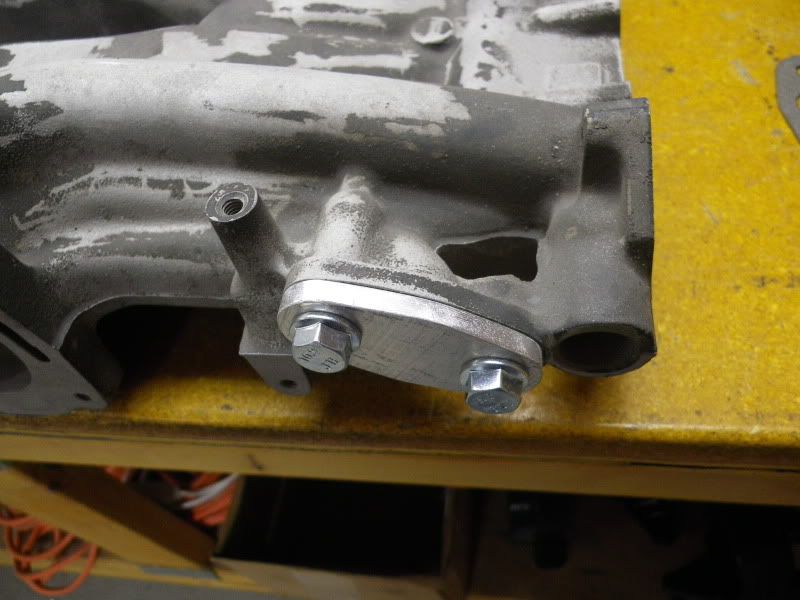

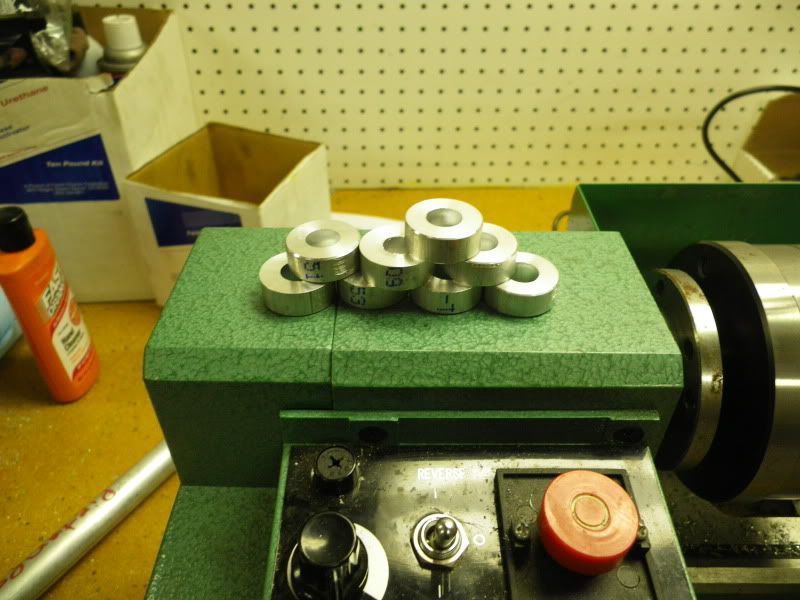
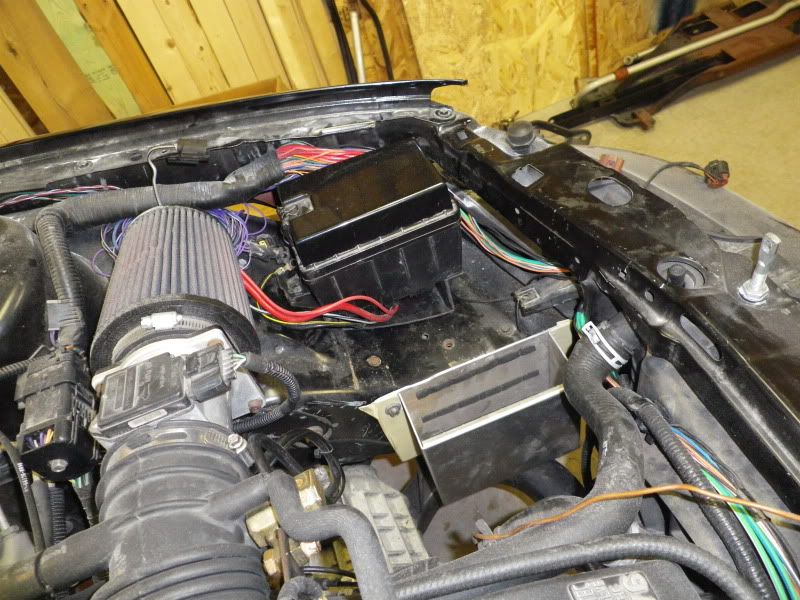
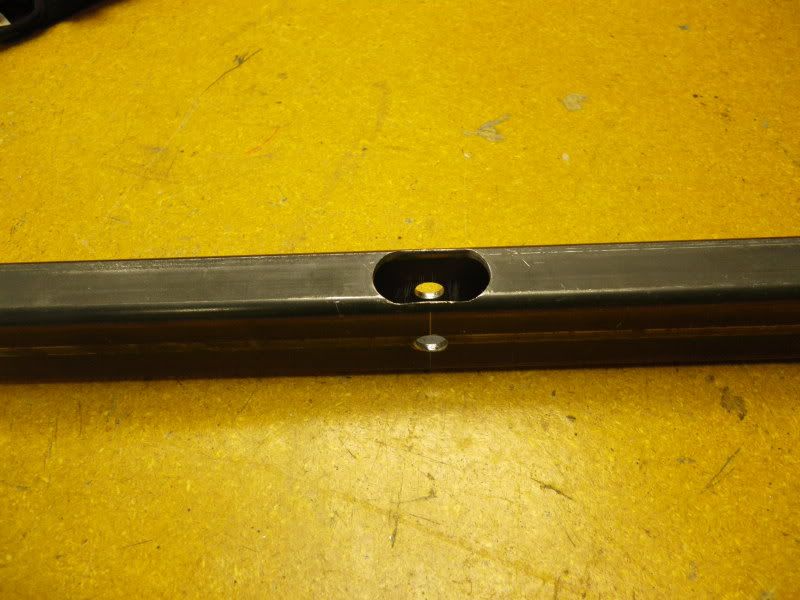
Anti-seize the bolts and aluminum spacers if you leave them raw AL.
