• Welcome to the Contour Enthusiasts Group, the best resource for the Ford Contour and Mercury Mystique.

    You can register to join the community.

No Charge... suspecting alternator... thoughts?

CSVT#49

Addicted CEG'er
Joined
May 28, 2004
Messages
6,768
Location
Andover, MN
Alright this is more of a check for me then anything else, but let me give you the background...

So to start things off as many of you know I powder coated my valve covers, UIM, throttle body, and throttle cable bracket. I removed all of these components from the engine which also involved disconnecting a lot of the upper engine electrical connections and pulling the harness back to gain access to remove the rear valve cover. I only disconnected what I needed to (fuel injectors, TPS, IAC, coil pack, coil pack ground strap, IMRC box) where I then pulled that section of the harness back over the passenger side engine mount. I then reassembled everything and fired up the car. Everything ran smooth.

Two days later (today). I started it up and noticed the battery light was on and that my volt gauge was reading 11.5V. So I charged the battery for a few hours (it was around 12.5V) started the car, same thing. I then pulled out my spare battery, which at the time I installed it was reading 12.63V. Again same story battery light on and volt gauge reading ~11.8V

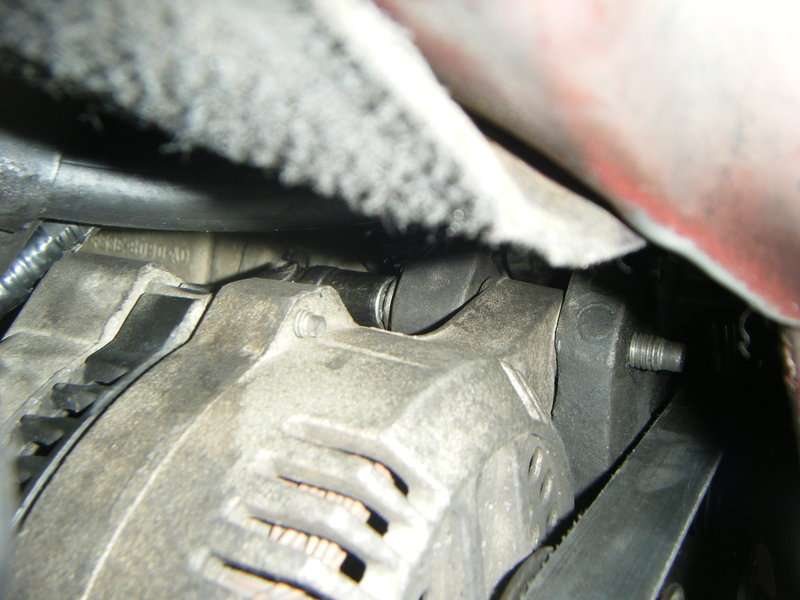
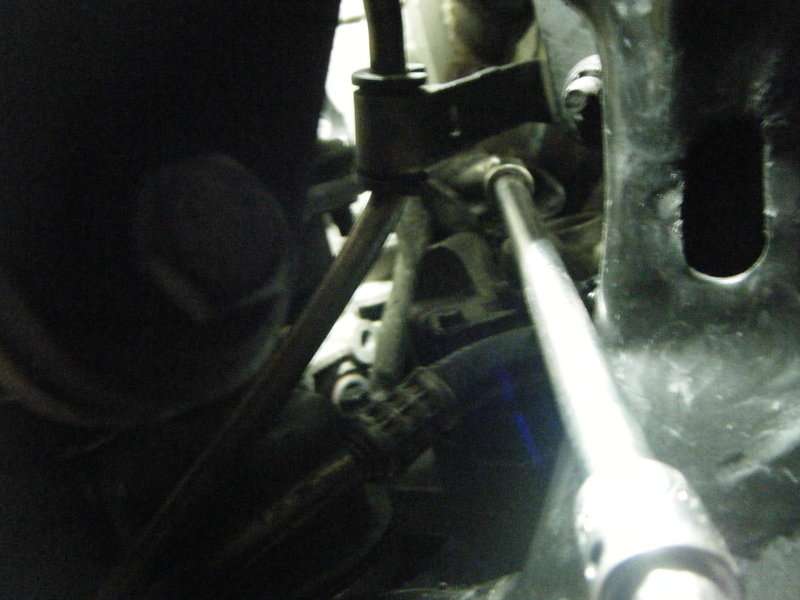
So I checked all my grounds, cleaned the battery connections in the trunk and in the engine bay. Restarted the car, again no change. I did the quick check to see if the fog lights were working and they definitely did. I then pulled out the coil pack and checked continuity from the mega fuse to my positive distribution block, good. Checked across the mega fuse, good. Then I pulled out the creeper and rolled under the car, disconnecting the alternator connections pulled the harness up top and checked continuity from the alternator post connection to the mega fuse, good. Since I had everything disconnected I went ahead and performed the alternator wiring fix and then reconnected everything back to the alternator. Restarted the car (battery had been charging the entire time I did all this) and same thing battery light and volt gauge reading around 12.2V

So with all this I'm guessing the alternator is toast. I just don't understand how it just all of a sudden crapped out. I have a spare alternator from when I replaced my 2.5L back when I bought the car figure I'll take it in and make sure it's in working order and swap out the alternator tomorrow.

However just want to check, with all that said is there anything I missed.
 
What about the cluster of wiring under the Power Distribution Box next to the battery and wiring on top of the fuse box (left of steering column)? Those wiring are prone to "flaking" off.
 
souds like it is the alternator. the regulator on the harness of the alt. side is where it is housed. when you remove it, take off the 2 torx screws and play around with the 3 metal springed tabs maybe one is stuck. these are the things most common to go bad in alternators. Most likely you can replace these parts with the other one you say you have...you seem mechanically inclined, choose whichever comes out easier for you.
 
What about the cluster of wiring under the Power Distribution Box next to the battery and wiring on top of the fuse box (left of steering column)? Those wiring are prone to "flaking" off.

Yes mine had flaking, but I replaced those wires in their entirety about a year ago. Rewired and soldered the connections at the distribution block as well as the wiring to the distribution plate on the battery (which I have since cut off since I relocated my battery to the trunk). Good idea though.

souds like it is the alternator. the regulator on the harness of the alt. side is where it is housed. when you remove it, take off the 2 torx screws and play around with the 3 metal springed tabs maybe one is stuck. these are the things most common to go bad in alternators. Most likely you can replace these parts with the other one you say you have...you seem mechanically inclined, choose whichever comes out easier for you.

Hmmm. Well looks like pulling the alternator is a good idea. I'm just going to take the other one I have up to the local parts store to check if it's good. If it is I'll just swap it in since I'd have to pull the alternator out to screw around with the regulator anyway. Good to know though. Might be worth my while to play with the alternator I take out and then take it up to the parts store to check out before and after I mess with the regulator.
 
Hmmm. Well looks like pulling the alternator is a good idea. I'm just going to take the other one I have up to the local parts store to check if it's good. If it is I'll just swap it in since I'd have to pull the alternator out to screw around with the regulator anyway. Good to know though. Might be worth my while to play with the alternator I take out and then take it up to the parts store to check out before and after I mess with the regulator.

Somebody a while back posted that they replaced their voltage regulator without removing the alternator. I questioned that being done in the car but they came back and swore they did it. Very tight squeeze but possible. Maybe worth a try?
 
Somebody a while back posted that they replaced their voltage regulator without removing the alternator. I questioned that being done in the car but they came back and swore they did it. Very tight squeeze but possible. Maybe worth a try?

already in process of removing it. Old one I had tested out ok... now I just need to install it.

Damn that top bolt is a major PITA! :mad:
 
Somebody a while back posted that they replaced their voltage regulator without removing the alternator. ..?

Can be easily done for a Zetec 2.0 L.

I would say near impossible for a Duratec 2.5 L unless you remove the exhaust. But if you are going to do that, you might as well take out the alternator and work on it in the comfort of a workbench.
 
phew. Well all work was not done in vain. Took the alternator from the car up to the O'Reillys and it did fail on their bench. Just finished installing the alternator I had sitting around and boda bing boda boom 13.9V, winner!

Oh by the way the alternator replacement how-to is no longer available in the general maintenance forum FYI. All three bolts can be accessed from the bottom easily once you find the sweet spots with a 13mm socket for the two flange bolts, 10mm for the bracket bolt, universal joint, and two long extensions (5" I believe). I wish I would have taken some pictures, but ugh I just wanted this crap finished. I was sweaten big time there with CarCraft Summer Nationals coming up this Friday.

Anyway thanks to all for the pointers guys, CEG rocks the house again. As it turns out my initial thought was correct. Just fricken weird that the alternator just went fubar while I had the car down for powder coating...

EDIT: I went back and took a bunch of pictures of the new installation basically, but it shows the tools I used and where I put them to get the bolts out. I'll post up an updated How-To in the general maintenance forum so that people can see pictures since Ray's old How-To is lost with the rest of the archives. Stay tuned...
 
If alternator is the 6G type, you can't pull regulator without pulling entire rear alternator cover. There is a plastic 'tolerance ring' that goes around rear bearing that usually destroys on removal, made to do that. Meaning changing regulator on car could become a real mess.
 
I remember reading about that top bolt being made easier. By drilling and tapping the bolt so it fixes from the timing cover side, there is no need to struggle with extensions and universal joints. I think it means that your alternator top mount is drilled out and can't be used on another car unless modified. I thought of something else.. is there anyone that can put an allen key socket in the end of that top bolt. You could keep everything stock but undo that bolt from the wheel arch ... G.
 
Found a .pdf copy of Ray's old how to post. Too late for CSVT#49 but might help others.


_
 

Attachments

  • Alternator Replacement.pdf
    1.8 MB · Views: 0
Found a .pdf copy of Ray's old how to post. Too late for CSVT#49 but might help others.


_

That's a good how-to, but it kinda lacks pictures of the bolt locations. Also there is no need to remove the coil pack and go in from the top. The top bolt on the alternator is easily accessible from the bottom as are the other two bolts. I'm going to submit my pictures and a small write up to the general maintenance how-to. However I'll post up the pictures here as well if someone searches here.
 
Here is a brief explanation through the use of photos of the removal of my alternator.

Tools:
15mm wrench (or 15mm deep well 6 point socket)
3/8” universal
3/8” 10mm 6 point socket
3/8” 13mm 6 point socket
3/8” ratchet
3/8” breaker bar
3/8” extentsions
1 – 8”
2 - 5”
Torque wrench capable of 25, 28, 45 and 128Nm
toolsy.jpg


Not shown is the removal of the wheel (reinstall lug nuts at 128Nm) and removal of the wheel well covers.

Drop light placement to fully light alternator removal (EGR recirculation pipe)
droplightplacement.jpg


Bolts on lower portion of alternator
lowermidboltcircled.jpg


Lower bolt extension placement (below steering rack hard line)
lowerboltextplacement.jpg


Lower bolt with socket on it with above extension placement (lower bolt removal uses 13mm socket and should be reinstalled at 45Nm)
lowerbolt.jpg


Upper bolt extension placement (above steering rack hard line)
upperboltextplacement.jpg


Upper bolt with socket on it shot from wheel well (Upper bolt removal uses 13mm socket and should be reinstalled at 45Nm)
upperbolt.jpg


Mid bolt extension placement and bolt (Mid bolt removal uses 10mm socket and should be reinstalled at 25Nm)
midboltextplacement.jpg


Tie rod removed using 15mm wrench after cotter pin is removed (reinstall at 28Nm with new cotter pin). This is required so that the alternator may be dropped down, tilted back and then pulled out through the opening created by the tie rod removal shown below.
alternatordrop.jpg
 
Back
Top