• Welcome to the Contour Enthusiasts Group, the best resource for the Ford Contour and Mercury Mystique.

    You can register to join the community.

Indepth How-To on Headlight Baking, improved Hightower mod

CSVT#49

Addicted CEG'er
Joined
May 28, 2004
Messages
6,768
Location
Andover, MN
Well way back when, when all of arguing was going around about whether this could be done I said I would do a how-to the next time I performed it. Now that I'm working on building an add on to allow installation of projectors into factory housing I've been taking apart a number of headlights. So here you are...
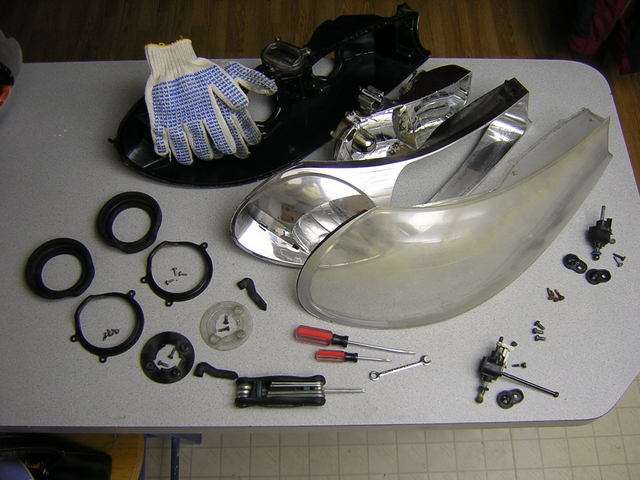
Tools Needed
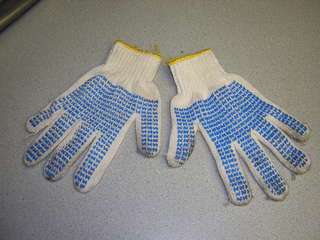
-Pair of gloves, mechanic gloves worked fine for me
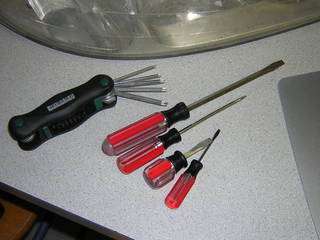
-T10 torx bit or torx screwdriver
-7mm wrench (if you plan to take entire headlight apart)
-Multiple flat head screwdrivers (I mainly used two a small length #1 head and a medium length #2 head)
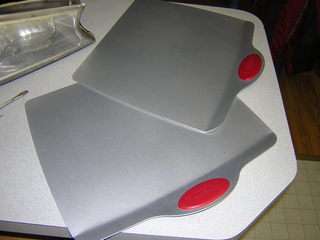
-2 flat cookie sheets or equivlent
-Standard kitchen oven
-High temp black silicone RTV
-4 wood clamps, 2 for each headlight

tools1dd8.jpg
tools2je0.jpg
tools3ad0.jpg


Procedure

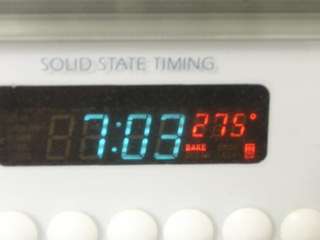
Step 1 - preheat oven to bake at 275 deg F

step1oz1.jpg


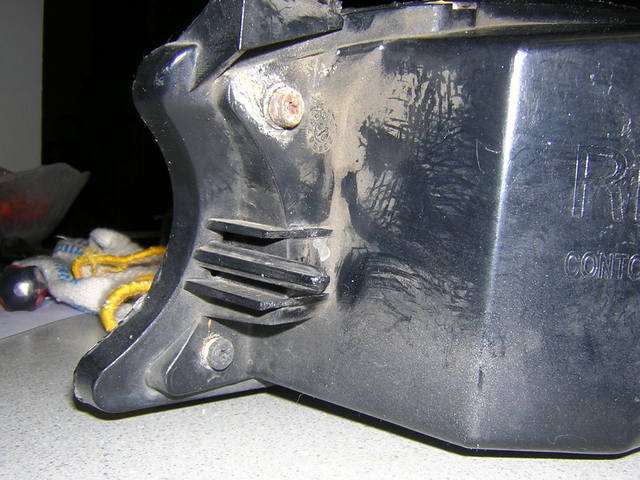
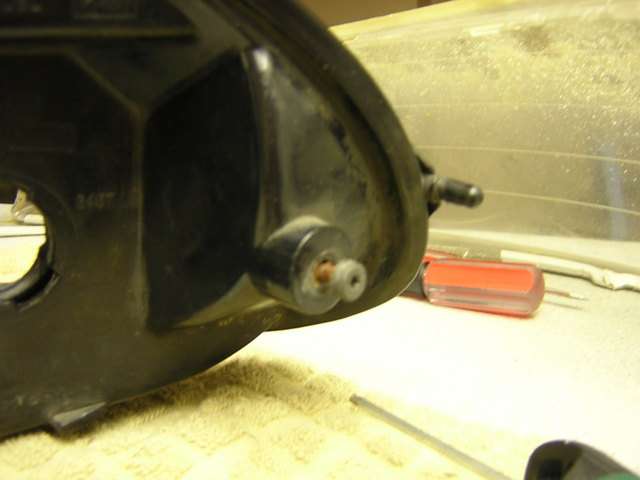
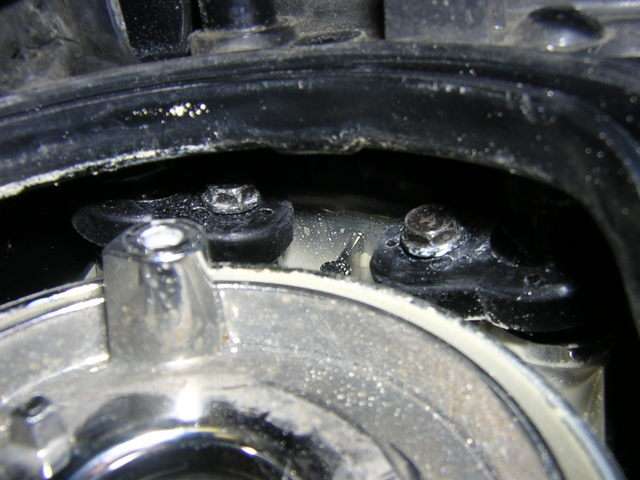
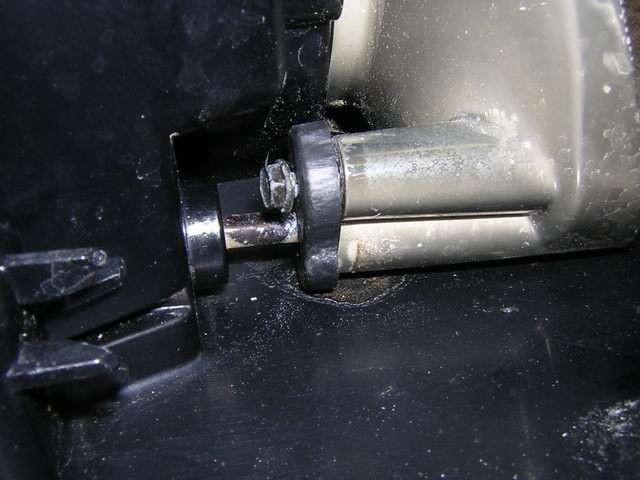
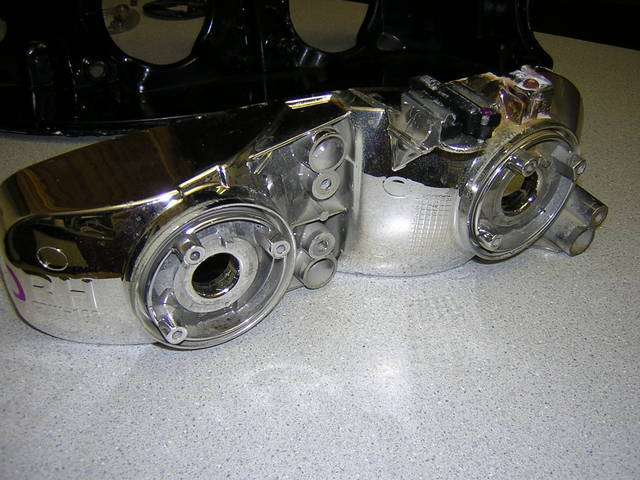
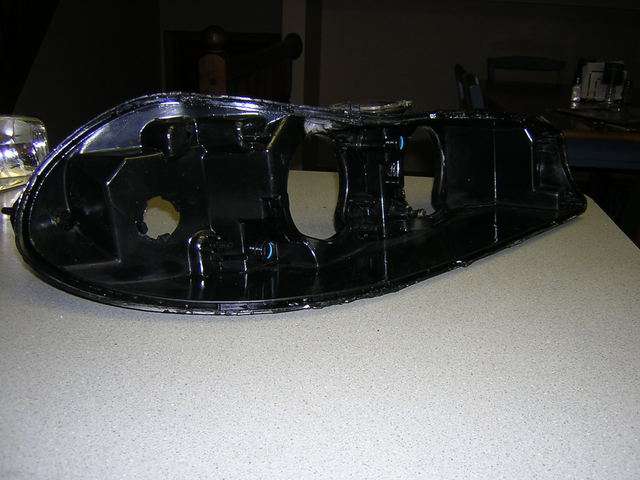
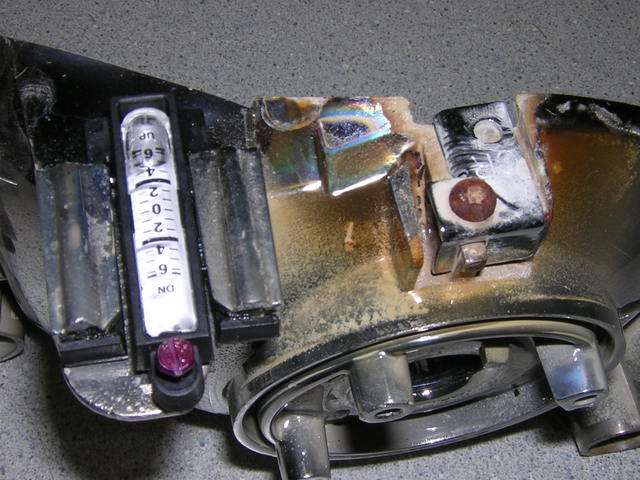
Step 2 - Remove all rubber, plastics and brackets as possible to prevent possibly melting and ease handling. This includes mounting brackets, weatherstripping across top, bulb retainers (T10 Torx), rubber seals and vent hoses.

step2sk0.jpg

step3wp0.jpg


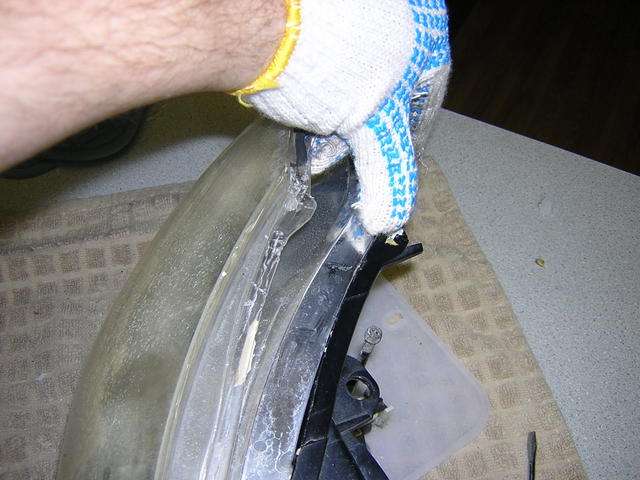
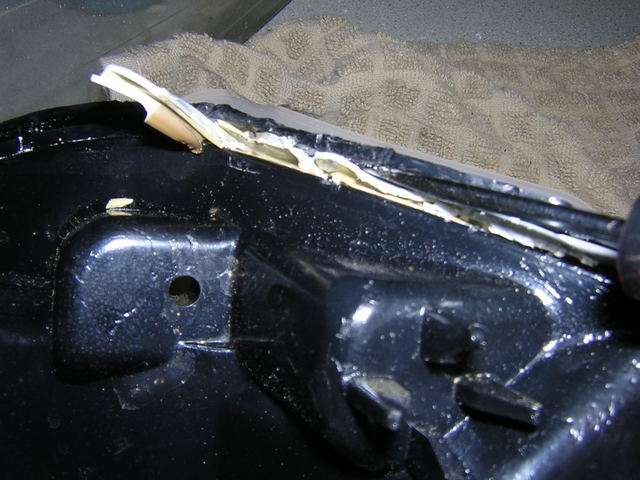
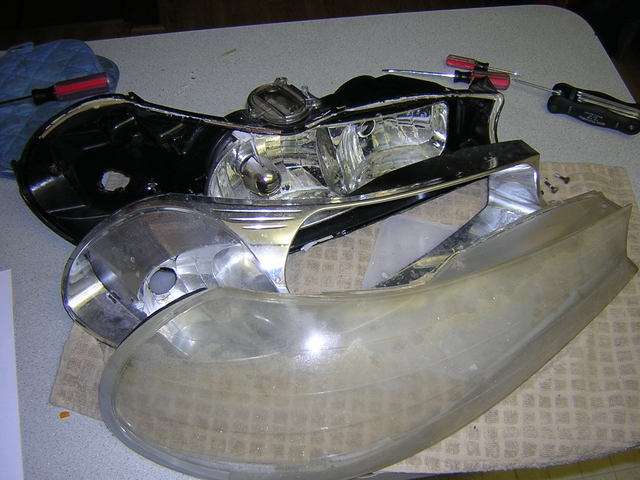
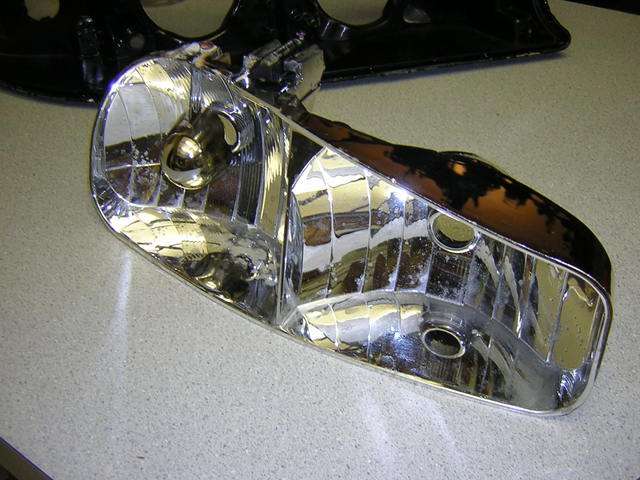
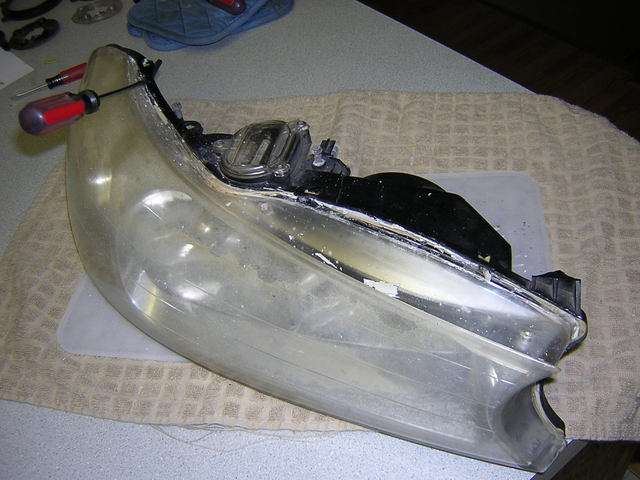
Step 3 - Place headlight in oven and set timer for 3-4min. Remove headlight promptly after this time and begin prying lense away from housing. You will need to repeat this step multiple times until the lense is comes free from the housing. This process for me was repeat 4 times. Here is the progress from each reheat...

Round 1 - I was able to loosen the top of the lense from the housing. (I apoligize for the blurryness of this one shot)
ovenrd1ab3.jpg


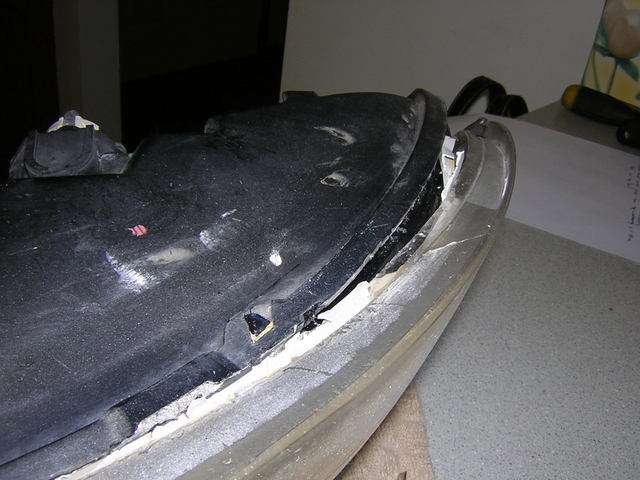
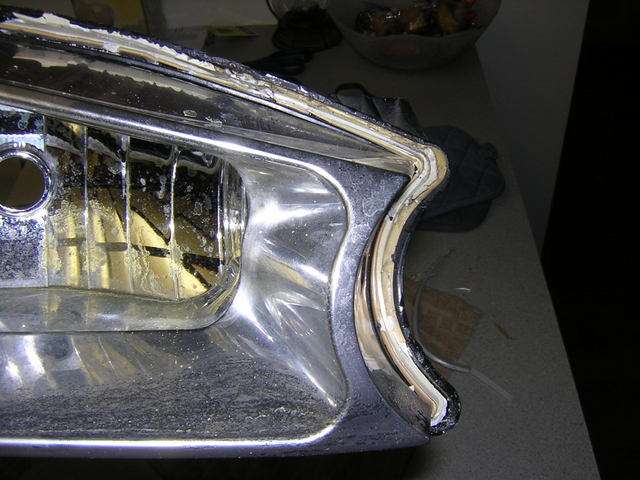
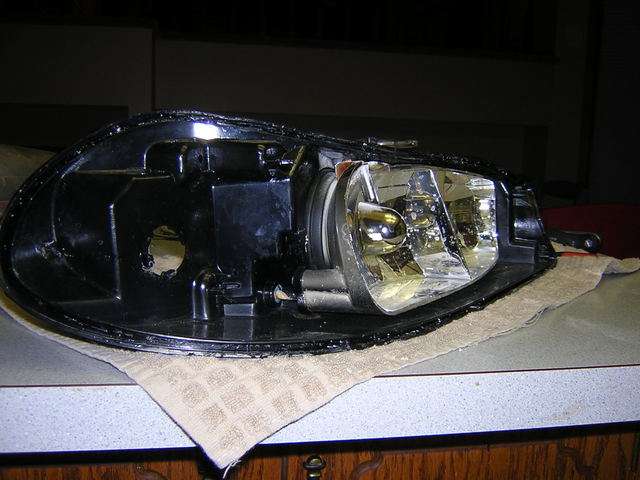
Round 2 - The lense was loosen completely on the top and I unlocked all three tabs across the top as well.

ovenrd2pp6.jpg

ovenrd22da1.jpg


stupid 10 image rule...
 
Last edited:
Round 3 - With the top loose I worked my way along each of the sides and loosen the first part of the bottom, unlocking one of the tabs.

ovenrd31uo6.jpg

ovenrd32th6.jpg


Round 4 - Finally the lense came free.

ovenrd4seperatedxk6.jpg

lensend1.jpg

afteroven1mu2.jpg

afteroven2yy4.jpg


Step 4 - Now that the lense is seperated you will need to remove the inner cover to paint it. The cover is held in by 3 T10 torx screws

innercoverbolts1aq0.jpg

innercoverbolts2wd7.jpg

seperatedmorefk9.jpg


... this may take a while
 
Step 5 - With everything seperated now is a good time to clean out all of the excess sealent on the lense/housing.

cleaned1ae0.jpg

cleaned2fr4.jpg

cleanuprg9.jpg


Now if you want to continue removing the rest of the housing parts follow along. However to finish off here you may paint the inner cover with whatever color you wish. Reinstall it using the three T10 torx screws. Take the hightemp silicone RTV and put a generous bead along the edges of the housing where the lense meets up to the housing. Make sure you fill the locking tab cavities with a enough RTV as to ensure a water tight seal. Once the lense has been snapped back into place use wood clamps with rubber ends to hold the headlight together and allow it to cure overnight. In the morning remove the wood clamps and install your spiffy new looking lights back on your car!
 
Last edited:
To disassemble further, like to install projectors possibly...

Step 6 - There are three bolts that hold the inner reflector housing in place. They are somewhat tough to get at. You will need a thin 7mm wrench to loosen these bolts, which can be accessed through the bulb openings on the back side of the housing and on the inside edge, which would be towards the side of the car.

innerbolts2sb3.jpg

innerbolts1va9.jpg


Step 7 - Pull the reflector cover up tilting it down and pull out as the level for the light is attached to this on the top.

innerseperatedpr7.jpg

innerbacksidefo1.jpg

emptyhousingsg0.jpg

backbs6.jpg


Step 8 - There are no more stinking steps your done!

alldonegk8.jpg
 
Last edited:
I suppose this works for both glue types (the old, yellowish glue) and the newer (crash test) lights that are using black sealant.

step3wp0.jpg


If you look at this picture, those rings in the middle are a rare item. One of my old headlight sets had them, two did not. None of the 3 crash test sets ive gone through have had them. The one Depot set I messed with did have them

They are not necessary, they just put pressure on the rubber seal.
 
So there were also a few suprises along the way.

I found a little guy that decided to make home the inside of the headlight housing. I guess he didn't survive the oven treatment...

supriseix1.jpg


Then also I believe someone tossed this headlight in some open flames, because I noticed before I started that the top of the lense above the low beam appeared to be scorched. When I disassembled everything I found bubbled up hardened plastic on the inside below the level and also the top near the level was brownish...

fireeo1.jpg
 
Last edited:
hmm, interesting really

However i think everyone will have different oppinions on baking (I think its FTW)

Did you experience any cracking on the chrome in the reflector from the heat?
 
hmm, interesting really

However i think everyone will have different oppinions on baking (I think its FTW)

Did you experience any cracking on the chrome in the reflector from the heat?

Nope. I also didn't see it on the other 4 sets I've done.
 
Im pretty new to the CEG world.. i cam from a slightly different breed. SHO-

But anyways, what exactly is the "Hightower Mod"? please enlighten my CSVT noob Arse...
thanks alot..

Bret J.
 
Im pretty new to the CEG world.. i cam from a slightly different breed. SHO-

But anyways, what exactly is the "Hightower Mod"? please enlighten my CSVT noob Arse...
thanks alot..

Bret J.

painting the inside black to make it look like this..

shot1uy5.jpg
 
Exactly as Goonz pointed out, simply taking the headlights apart, removing the chrome insert, painting it whatever color you choose and putting everything back together.

Thanks for whoring my car Goonz :D

painting the inside black to make it look like this..

shot1uy5.jpg
 
hmm, interesting really

However i think everyone will have different oppinions on baking (I think its FTW)

Did you experience any cracking on the chrome in the reflector from the heat?


That cracking is likley from having the heat too hot. Ive only had one set come out with what looked like grease spots on it that streaked when rubbed.

Also, those of you with non silverfrost cars, please paint the edge of the lense thats silver frost! scratch it off, and paint it black
 
mike, thats so hott!!!!

Thanks. Maybe that shot will make it into the CEG calendar too :D

Also, those of you with non silverfrost cars, please paint the edge of the lense thats silver frost! scratch it off, and paint it black

Haha. Sorry to bother you, but I guess I just liked it on there :shrug: Never really thought of scrapping it off or painting it another color. I guess it wouldn't look bad if it was color matched. Painting it might be difficult. I think I would ask Parkedcar if he could possibly match the color, but something tells me matching a paint color on our cars would be difficult for him to do.
 
Actually mike I think it might be pretty easy to do. Since you didnt body color the bezel on the inside, you just did black...

Try to scrape off the silverfrost and then just take some touch up paint (black) and paint it on there with the brush. Its on the underside of the lense, behind the foam trim peice. It should be pretty easy to do, and while subtle should do alot for the look because it takes out that one little peice of silver

Yea I'll probably look into that when I put finish up my projector project.
 
How about sealing the headlight again?

Now if you want to continue removing the rest of the housing parts follow along. However to finish off here you may paint the inner cover with whatever color you wish. Reinstall it using the three T10 torx screws. Take the hightemp silicone RTV and put a generous bead along the edges of the housing where the lense meets up to the housing. Make sure you fill the locking tab cavities with a enough RTV as to ensure a water tight seal. Once the lense has been snapped back into place use wood clamps with rubber ends to hold the headlight together and allow it to cure overnight. In the morning remove the wood clamps and install your spiffy new looking lights back on your car!

Since I'm taking these headlights apart for my projector project I have not resealed any of the lights yet. This is why I only put a worded description of how to seal the headlights back up again. However once I have completed my projector installation I will post again with a picture by picture step by step visual for you and everyone else.
 
Back
Top