blu_fuz
New Member Classroom vulture
*11-5-08
Car = 212,231 Miles
Motor = 19,151 Miles
Trans/clutch/torsen = 1,124 Miles*
*7-13-09
Car = 217,010 Miles
Motor = 23,930 Miles
Trans/clutch/torsen = 4,779 Miles*
*9-10-10
Car = 224,225 Miles
Motor = 31,145 Miles
Trans/clutch/torsen = 11,994 Miles*
*10-21-11
Car = 231,568 Miles
Motor = 38,488 Miles
Trans/clutch/torsen = 19,337 Miles*
*6-18-12
Car = 235,418 Miles
Motor = 42,338 Miles
Trans/clutch/torsen = 23,187 Miles*
*11-14-12 Clutch went out.
Car = 238,623 Miles
Motor = 45,543 Miles
Trans/clutch/torsen = 26,392 Miles*
*12-13-12
Car = 238,623 Miles
Motor = 45,543 Miles
Trans w/torsen = 26,392 Miles
Clutchnet w/ LUK TOB/PP = 0 Miles*
*5-20-13
Car = 240,023 Miles
Motor = 46,943 Miles
Trans w/torsen = 27,792 Miles
Clutchnet w/ LUK TOB/PP = 1,400 Miles*
*8-29-14 Trans went out.
Car = 244,295 Miles
Motor = 51,215 Miles
Stock Trans = 51,138Miles
FORD SVT OEM clutch kit = 1,382 Miles*
*7-8-15
Car = 255,855 Miles
Motor = 62,775 Miles
Stock Trans = 62,698Miles
FORD SVT OEM clutch kit = 12,942 Miles*
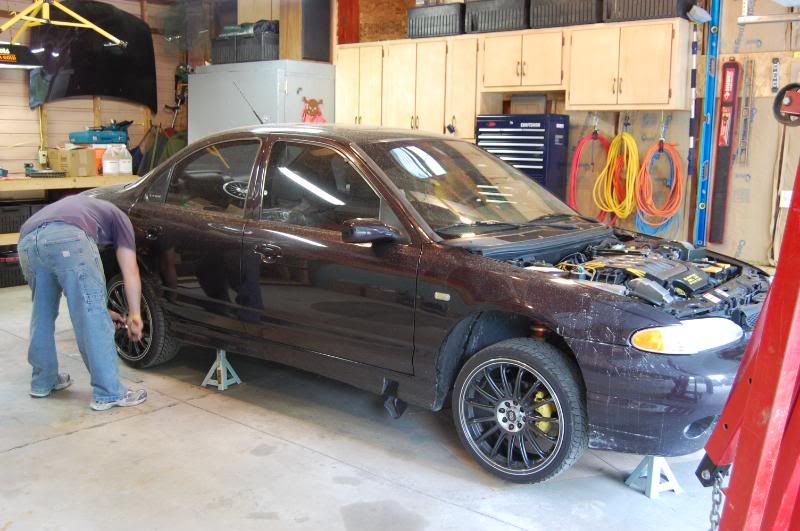
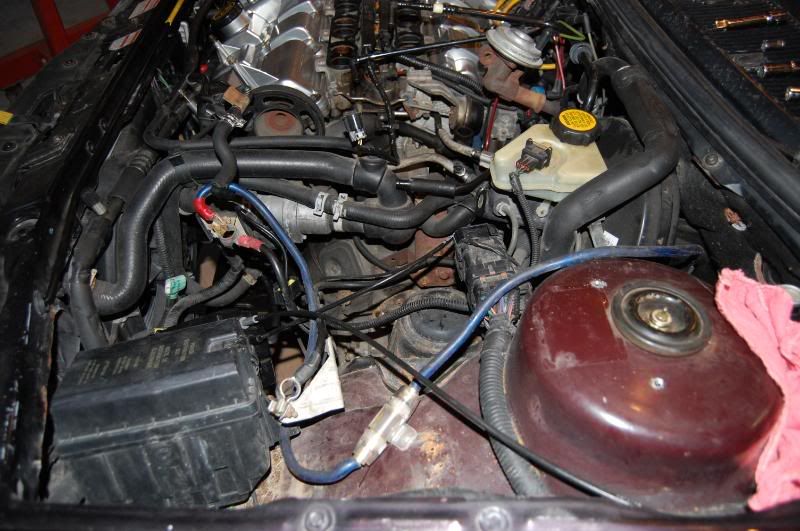
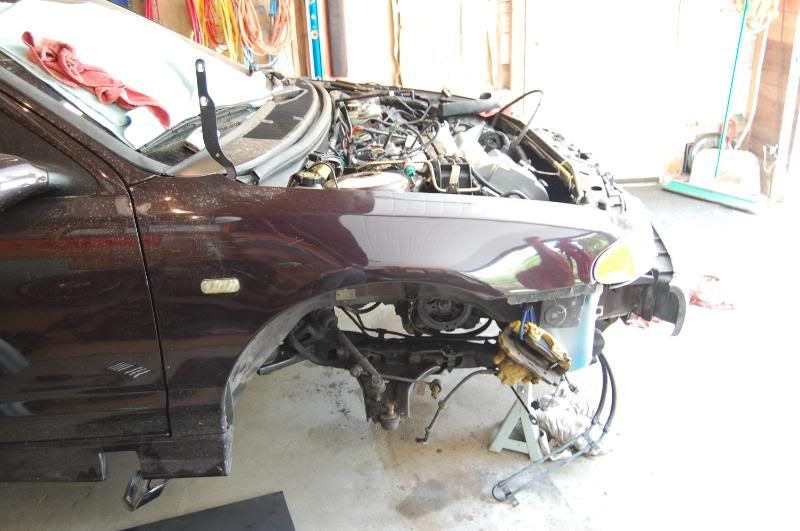
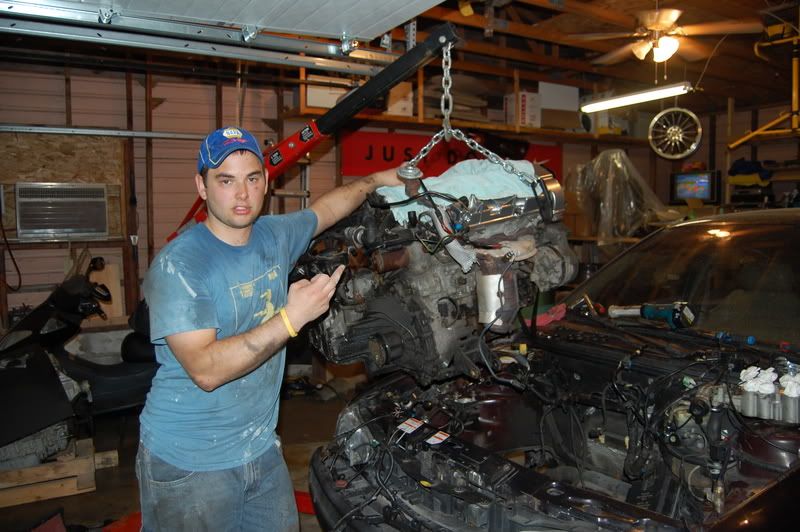
Time for me to take the plunge and attempt to put a 3L in my '95 SE. This will have start to finish pics that to some, will not look like much, but to others might inspire them to do the same. I hope this works. I believe it will be one of few '95 contour with a 3L that is currently on the road and driving.
Upgrade List
Motor
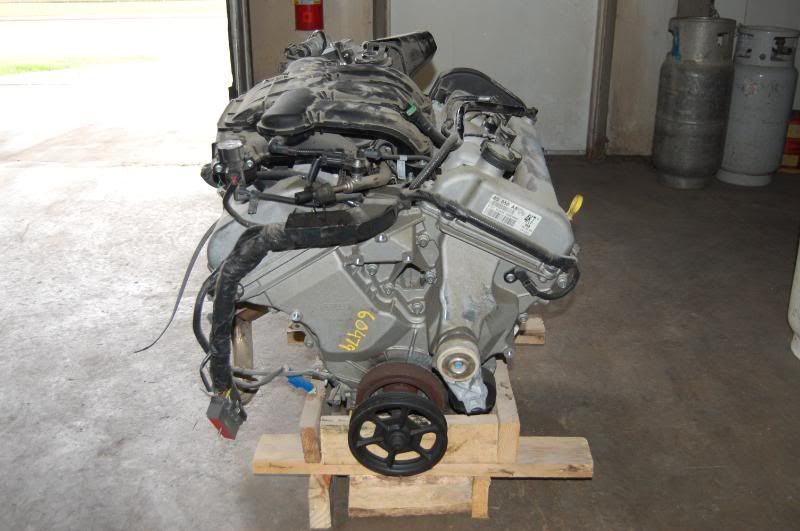
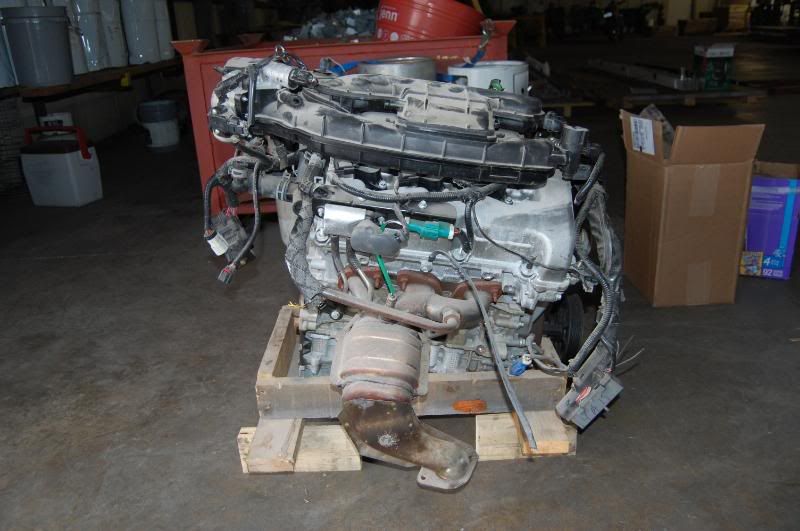
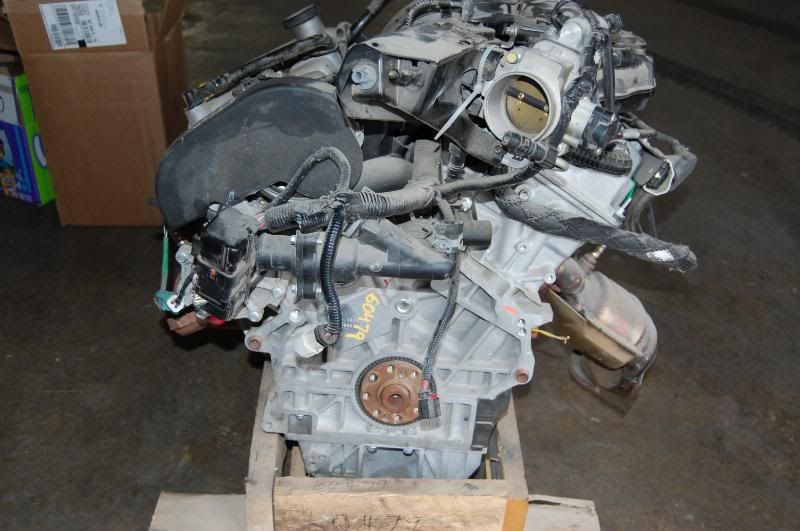
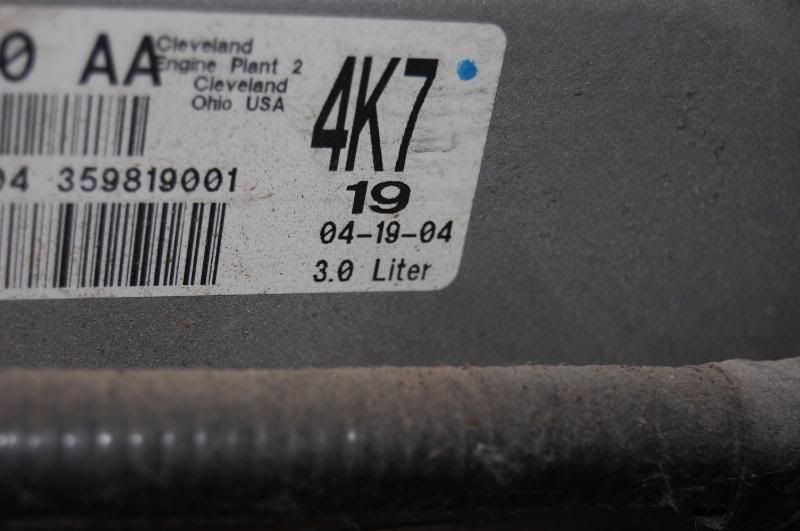
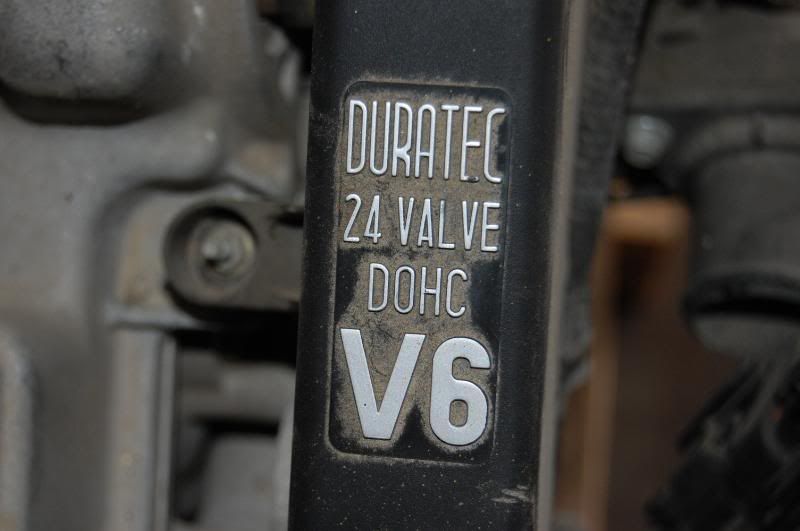
-2005 Taurus 3L DOHC (18,027 miles)
-bugzuki plates
-ported heads
-powder coat and paint just about every thing I can
-keep original secondaries
-2.5 pan/gasket and pickup tube
-SVT UIM
-MSDS headers & Y pipe
-DMD
-2.5 valve and timing covers
-new AC compressor and drier
-3L water pump
-new serp. and water pump belt
-finally connect my oil pressure sending unit
-'01 cougar mount
-new starter
-new alternator
Pre98 Rod-shift TRANS
-LSD torsen diff
-zetec final drive
-new seals
-new TOB
-SVT clutch & PP
-SVT resurfaced flywheel
BRAKES/SUSPENSION
-new ebrake cables
-SVT 11.75" front rotors on rear w/ stainless lines and warmonger brackets and hardware
-Baer 13" front brake kit, zinc coated rotors w/ stainless lines
-new sway bar end links and bushings
-new 4 bolt control arms with ball joints
TOTAL BUILD COSTS=
-almost new napa starter ($60)
-almost new motorcraft alternator ($90)
-New ford ac compressor(ebay $50) and almost new drier(free, parts car)
-New svt clutch, pp, and TOB ($220)
-resurfaced svt flywheel ($40)
-2005 18k mile 3L delivered ($360 bay auto parts)
-bugzukie plates ($35)
-Livin built pre98 trans delivered (bartered: cash $235 labor+shipped, used 13" wilwood kit, and powder coating)
-new gaskets ($100ish)
-newly rebuilt 13" baer front kit with rotors ($500)
-New NPG rear kit with new rotors (bartered for powder coating)
-almost new e-brake cables (free, parts car)
-New MSDS headers (bartered for a mirko that I got for free)
-used MSDS Y pipe coated ($70 shipped)
-'01 cougar mount ($23)
-New DMD ($20)
-New stainless brake lines ($80)
-New PRT front roll resistor ($40)
-New PRT rear roll resistor (had that already)
-New moog sway bar end links ($28)
-New 4 bolt control arms with ball joints ($130)
Total= $2,081
And I figured about $300 worth of powder coating.") So, about $2,381..... It is good to know such nice people here on CEG!
So, about $2,381..... It is good to know such nice people here on CEG!
I still have to subtract parts I have/am selling off the 3L that I won't be using. AND the recycling scrap price of the old motor and heads.
+$82 for scrap return
I will add more upgrades as they are purchased.
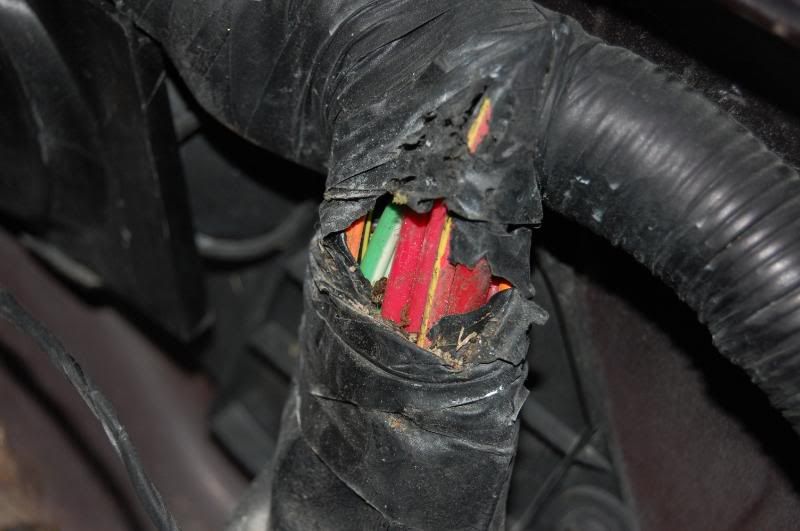
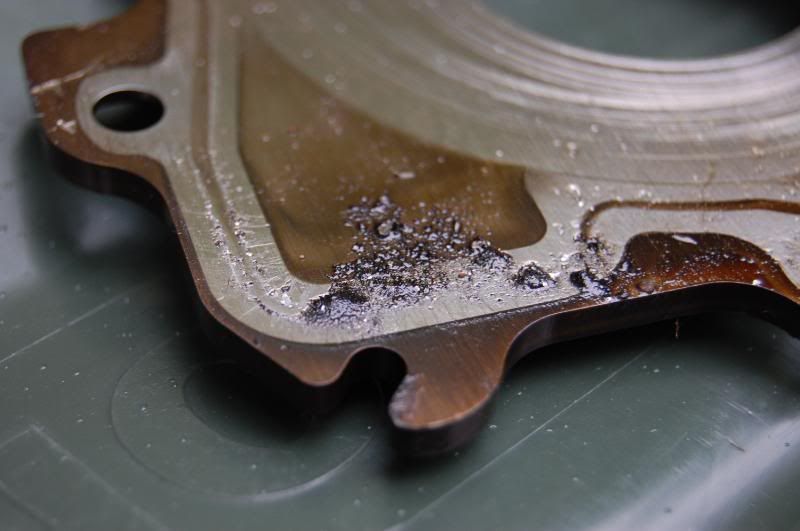
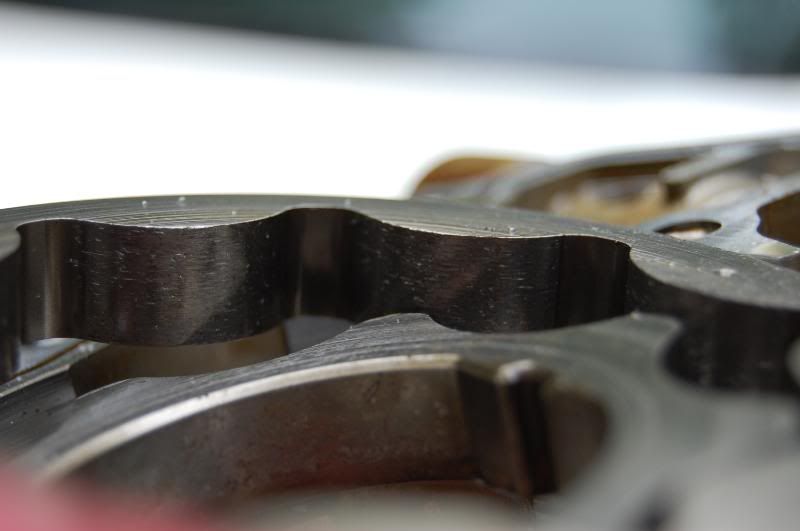
This build started because the pressure relief valve has failed in the oil pump. Most said you must pull the motor to change the pump. I have decided that since the motor will be pulled, why not upgrade?
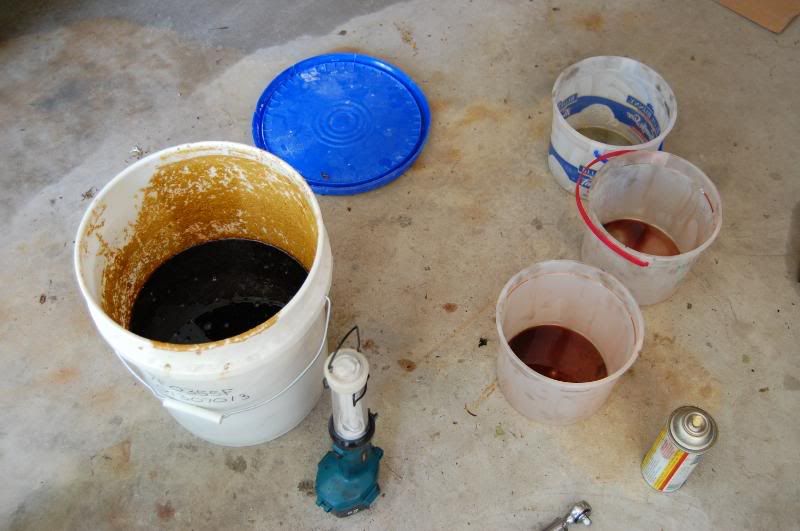
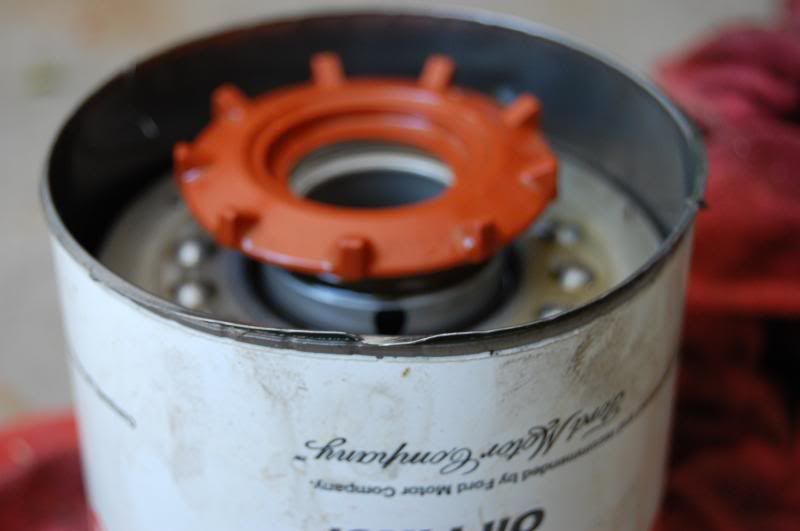
After going through 6 oil filter blow-outs, it is time!
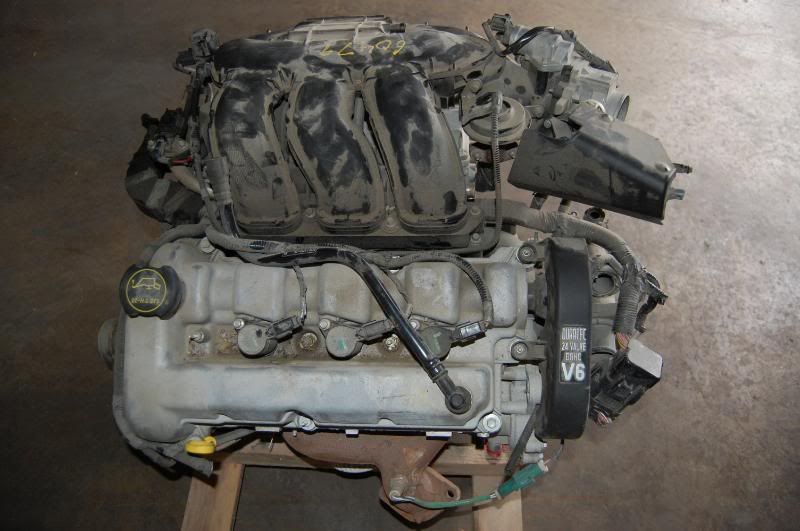
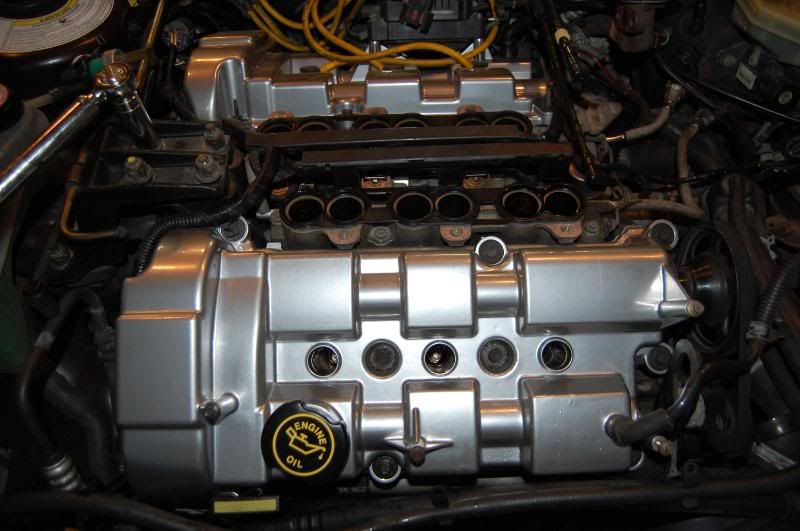
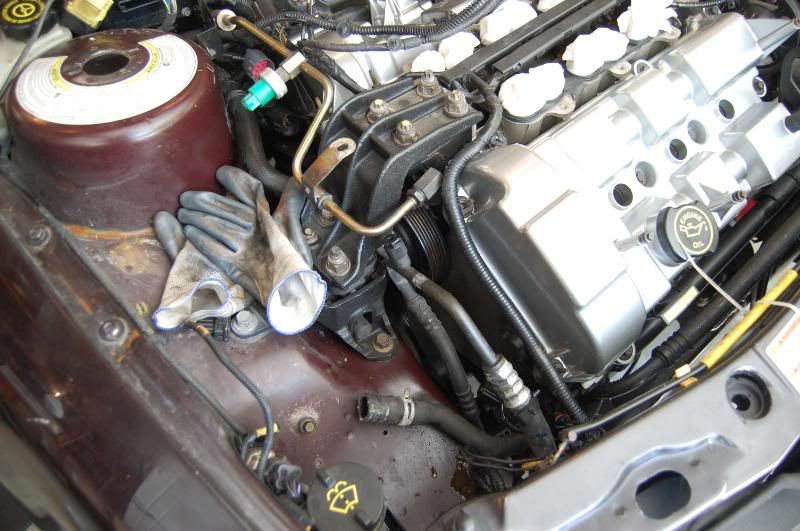
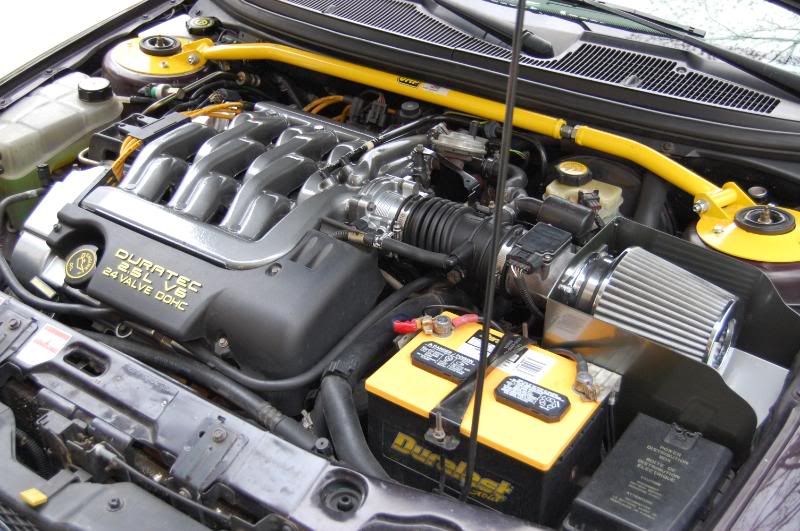
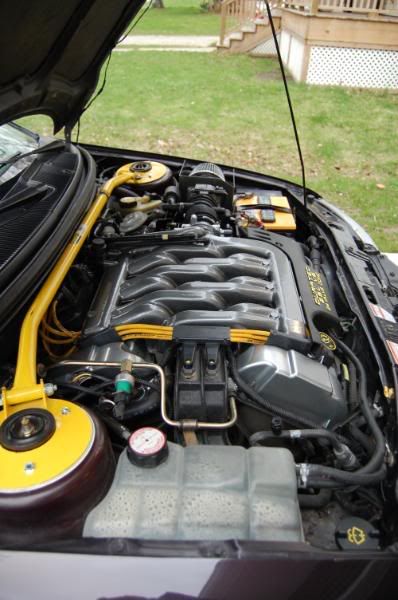
The day before all this started to happen, I posted pics of my newly powder coated SVT UIM, TB, pud heat shield, and valve covers. The original motor and trans just hit 212,000 miles.
The next morning was a different story........
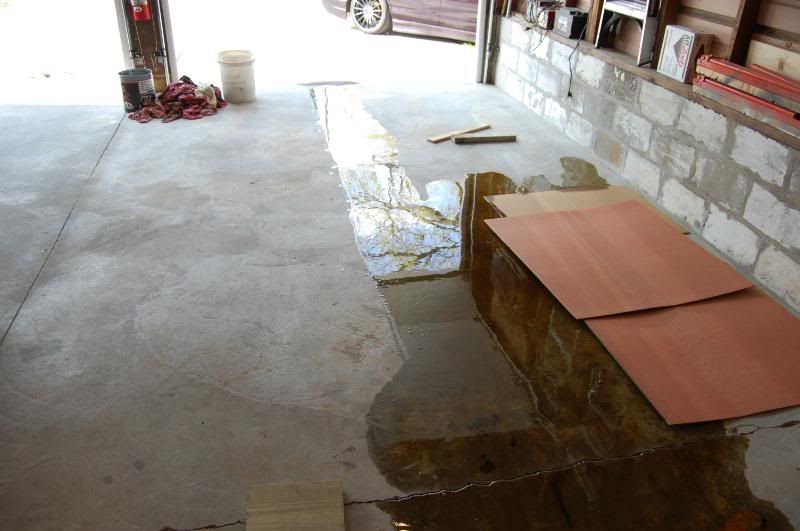
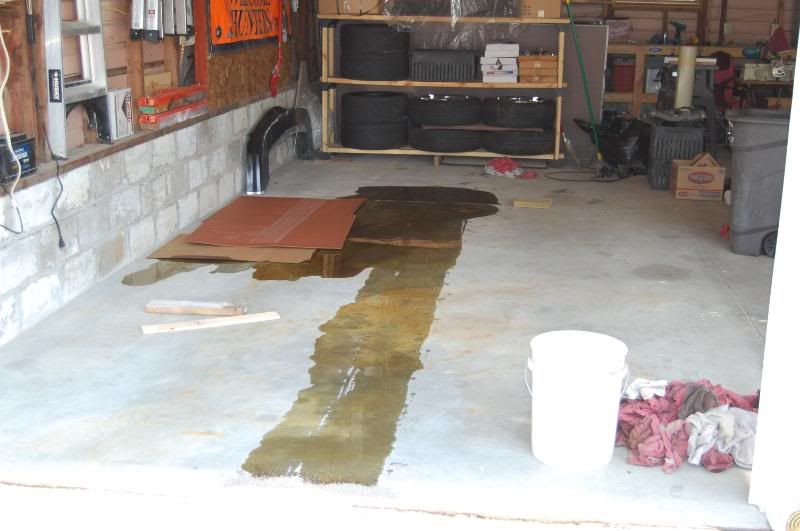
Pics of oil blow-outs in my garage and driveway :nonono:

I just took off the 6th filter and found that the housing has completely seperated from the threaded cap:
I have never done anything mechanical to the motor of this car and I am very motor "dumb" for lack of a better word. I have been around a long time, but that does not mean that I know what I am doing. All I can do is ask questions and read about what others have done in the past. If I incorrectly name a part or mis detail a process, please speak up! - I am learning as I go.
Car = 212,231 Miles
Motor = 19,151 Miles
Trans/clutch/torsen = 1,124 Miles*
*7-13-09
Car = 217,010 Miles
Motor = 23,930 Miles
Trans/clutch/torsen = 4,779 Miles*
*9-10-10
Car = 224,225 Miles
Motor = 31,145 Miles
Trans/clutch/torsen = 11,994 Miles*
*10-21-11
Car = 231,568 Miles
Motor = 38,488 Miles
Trans/clutch/torsen = 19,337 Miles*
*6-18-12
Car = 235,418 Miles
Motor = 42,338 Miles
Trans/clutch/torsen = 23,187 Miles*
*11-14-12 Clutch went out.
Car = 238,623 Miles
Motor = 45,543 Miles
Trans/clutch/torsen = 26,392 Miles*
*12-13-12
Car = 238,623 Miles
Motor = 45,543 Miles
Trans w/torsen = 26,392 Miles
Clutchnet w/ LUK TOB/PP = 0 Miles*
*5-20-13
Car = 240,023 Miles
Motor = 46,943 Miles
Trans w/torsen = 27,792 Miles
Clutchnet w/ LUK TOB/PP = 1,400 Miles*
*8-29-14 Trans went out.
Car = 244,295 Miles
Motor = 51,215 Miles
Stock Trans = 51,138Miles
FORD SVT OEM clutch kit = 1,382 Miles*
*7-8-15
Car = 255,855 Miles
Motor = 62,775 Miles
Stock Trans = 62,698Miles
FORD SVT OEM clutch kit = 12,942 Miles*
Time for me to take the plunge and attempt to put a 3L in my '95 SE. This will have start to finish pics that to some, will not look like much, but to others might inspire them to do the same. I hope this works. I believe it will be one of few '95 contour with a 3L that is currently on the road and driving.
Upgrade List
Motor
-2005 Taurus 3L DOHC (18,027 miles)
-bugzuki plates
-ported heads
-powder coat and paint just about every thing I can
-keep original secondaries
-2.5 pan/gasket and pickup tube
-SVT UIM
-MSDS headers & Y pipe
-DMD
-2.5 valve and timing covers
-new AC compressor and drier
-3L water pump
-new serp. and water pump belt
-finally connect my oil pressure sending unit
-'01 cougar mount
-new starter
-new alternator
Pre98 Rod-shift TRANS
-LSD torsen diff
-zetec final drive
-new seals
-new TOB
-SVT clutch & PP
-SVT resurfaced flywheel
BRAKES/SUSPENSION
-new ebrake cables
-SVT 11.75" front rotors on rear w/ stainless lines and warmonger brackets and hardware
-Baer 13" front brake kit, zinc coated rotors w/ stainless lines
-new sway bar end links and bushings
-new 4 bolt control arms with ball joints
TOTAL BUILD COSTS=
-almost new napa starter ($60)
-almost new motorcraft alternator ($90)
-New ford ac compressor(ebay $50) and almost new drier(free, parts car)
-New svt clutch, pp, and TOB ($220)
-resurfaced svt flywheel ($40)
-2005 18k mile 3L delivered ($360 bay auto parts)
-bugzukie plates ($35)
-Livin built pre98 trans delivered (bartered: cash $235 labor+shipped, used 13" wilwood kit, and powder coating)
-new gaskets ($100ish)
-newly rebuilt 13" baer front kit with rotors ($500)
-New NPG rear kit with new rotors (bartered for powder coating)
-almost new e-brake cables (free, parts car)
-New MSDS headers (bartered for a mirko that I got for free)
-used MSDS Y pipe coated ($70 shipped)
-'01 cougar mount ($23)
-New DMD ($20)
-New stainless brake lines ($80)
-New PRT front roll resistor ($40)
-New PRT rear roll resistor (had that already)
-New moog sway bar end links ($28)
-New 4 bolt control arms with ball joints ($130)
Total= $2,081
And I figured about $300 worth of powder coating.
So, about $2,381..... It is good to know such nice people here on CEG!I still have to subtract parts I have/am selling off the 3L that I won't be using. AND the recycling scrap price of the old motor and heads.
+$82 for scrap return
I will add more upgrades as they are purchased.
This build started because the pressure relief valve has failed in the oil pump. Most said you must pull the motor to change the pump. I have decided that since the motor will be pulled, why not upgrade?
After going through 6 oil filter blow-outs, it is time!
The day before all this started to happen, I posted pics of my newly powder coated SVT UIM, TB, pud heat shield, and valve covers. The original motor and trans just hit 212,000 miles.
The next morning was a different story........
Pics of oil blow-outs in my garage and driveway :nonono:
I just took off the 6th filter and found that the housing has completely seperated from the threaded cap:
I have never done anything mechanical to the motor of this car and I am very motor "dumb" for lack of a better word. I have been around a long time, but that does not mean that I know what I am doing. All I can do is ask questions and read about what others have done in the past. If I incorrectly name a part or mis detail a process, please speak up! - I am learning as I go.