• Welcome to the Contour Enthusiasts Group, the best resource for the Ford Contour and Mercury Mystique.

    You can register to join the community.

Blu's 1995 Contour SE 3L build thread

Yeah, the SVT is my other car also and although it's been down for almost a year now (its only been apart since April though) it's not a priority for me to rush the project to get it done. I do miss that car though :cry:
 
Alright here is a little taste of my 3L.... I might post in pics and vids too.
I think it is a nice mingle of chrome, gunmetal, eggplant, and yellow colors. Say what you wish bad or good. The only other parts that matter color wise is the UIM which is also gunmetal to match the timing cover and pud head shield. The trans is all yellow which was posted earlier. I didn't want too much yellow, but the trans really pushed it as far as "too much" goes but I wanted it to stand out a little because it is a big ticket item in this build because it is a built trans.

The only parts not painted were some misc bolt heads, items that I need a core for if I buy new later(alternator/starter/etc.), and the block. I didn't want to take a chance having the paint on the block come off due to oil/grease/gas/temp or whatever may happen so it was better just left alone.

Headers have high temp silver powder coat on them and I'll see how that holds up and give some feedback.

The DMD and trans are automotive spray because I couldn't powder coat those.

Also notice that I mounted the 3L water pump belt cover on the 2.5L head. I hadn't seen anyone do that yet, so I gave it a try. It allows you to see the entire valve cover but still cover up the WP belt, cam pully, and tensioner. Do you like it?

Here ya go:
3Lbuild086.jpg

3Lbuild079.jpg

3Lbuild080.jpg

3Lbuild081.jpg

3Lbuild082.jpg

3Lbuild083.jpg

3Lbuild084.jpg

3Lbuild085.jpg

3Lbuild087.jpg
 
beautiful. and... i switched to the 3L water pump cover too. lol! great minds think alike. too bad my engine is all stock looking.... as far as colors go.


don't forget to put rags around the hook points on the block when you hoist it in. actually, put rags across the valve covers too if possible. the back always hits the firewall at least once, and the front hook point always gets too close to the valve cover and manages to rub. lol
 
Nice Job!

BTW... I know of someone who might be getting rid of a Brand new YELLOW Samco Hose kit, if you are interested... PM me :)
 
Thanks guys :)

SLVRFRST, you will get to drive it, soon.

I will be overly cautious putting it back in the car and will be putting towels between the hoist points and valve covers and in the engine hooks as well. Plus, the powder coat is pretty tough and I have dropped a wrench or two on the valve covers and not even a scratch in the clear coat. That makes me happy!

pm'd about yellow samco kit ;)


I have eaten off the valve covers already, they taste DELICIOUS!
 
Wow, that looks just like my motor before it went in...all nice and clean :cool: 
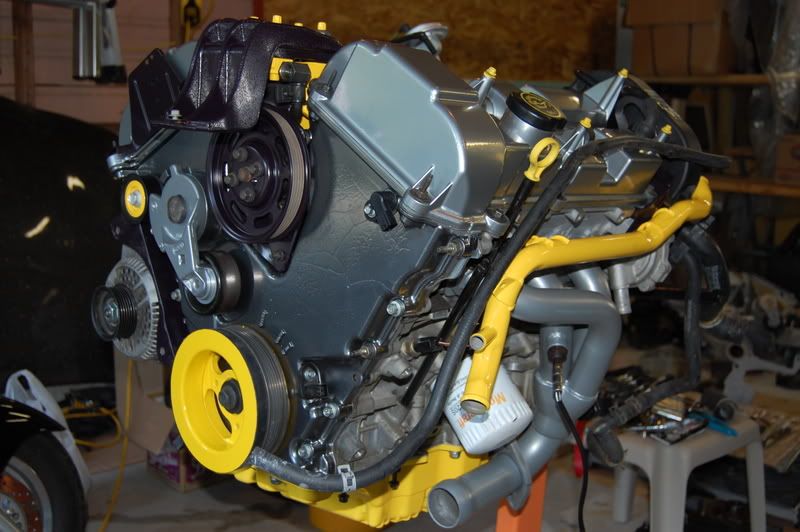
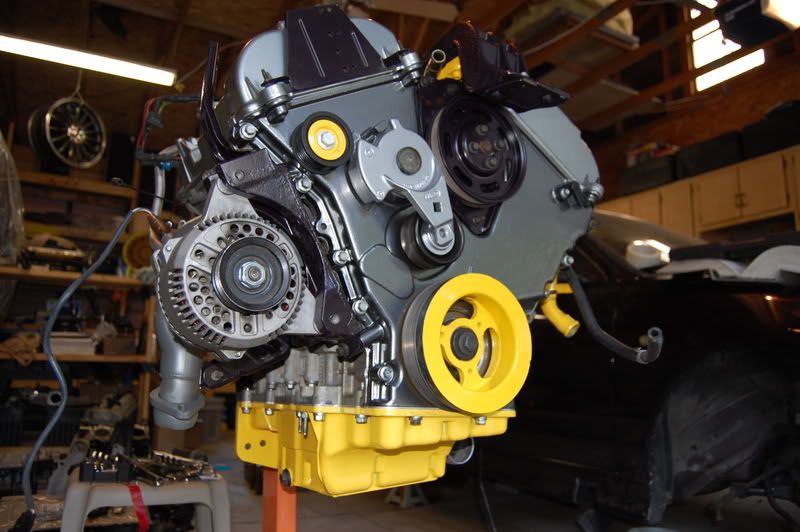
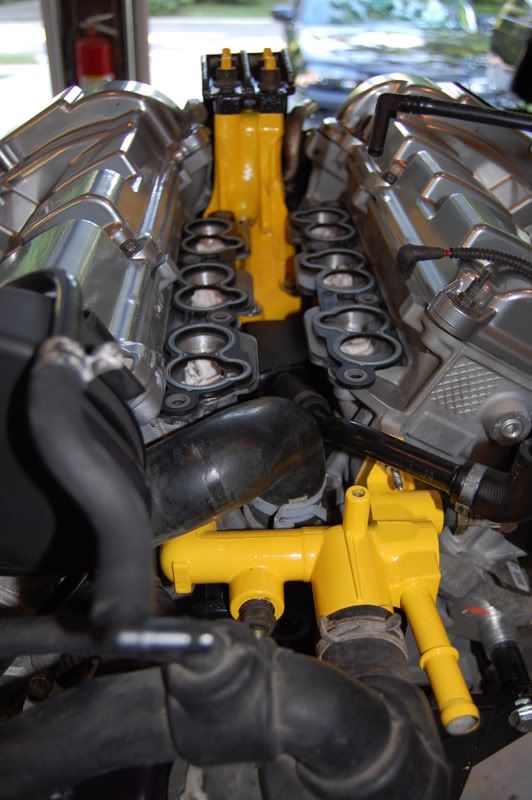
I'm not diggin the yellow, but otherwise, it looks pretty sweet! :cool: I like what you did with the wp cover too. I have a CF IMRC cover so I chose not to use the 3L wp cover. Looks great though. It should be all downhill from here!
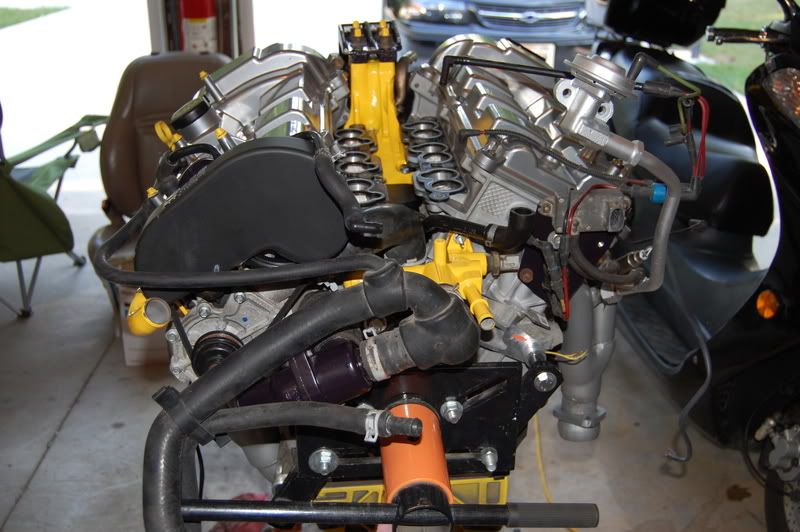
 
I was thinking most wouldn't like the yellow, but you have to remember what else is yellow that ties it all together:
Yellow Parts:
-front baer caliper brackets
-baer logo on calipers
-rear caliper brackets
-spark plug wires
-battery
-fluid tank caps
-konis(different yellow, but still yellow)
-"special something" on the rims that no one has seen yet

It will all be good together. You'll see ;)
 
I posted in NECO too with some more tips for cutting & grinding down the mount:

blu_fuz said:
I just wanted to comment on the grinding of the mount to fit between the mounted heads on the 3L. I didn't have to grind as much as shown earlier to get it to slide in with no problems.

I started with an '01 cougar mount and my motor is a '05.

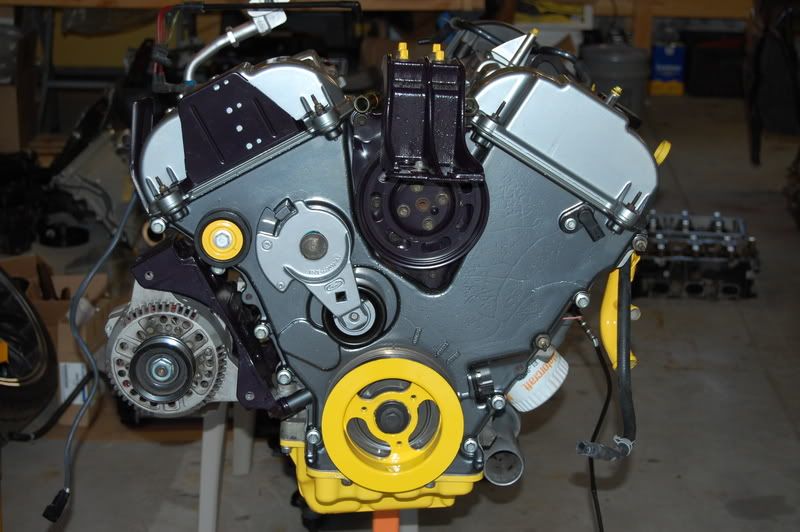
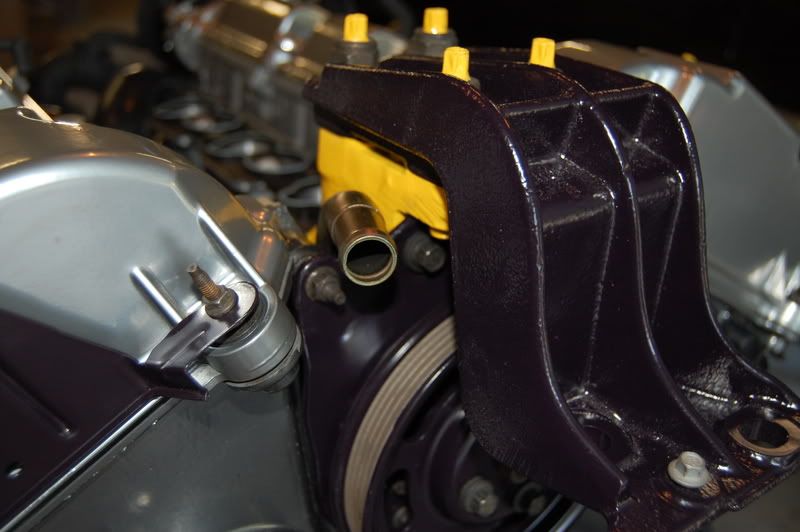
The big chunk out of the power steering pump side is necessary as well as the firewall side the PSP face of the mount being almost ground down to the hole where the bolt goes in. Also the "fin" that rides up the mount on the curve needs to be cut down flush to the mount but only like half way up the mount. The "fin" is all you can really see in the bottom pic :blackeye:

The other angled grinding marks on the bolt locations is not necessary, at least for my situation.
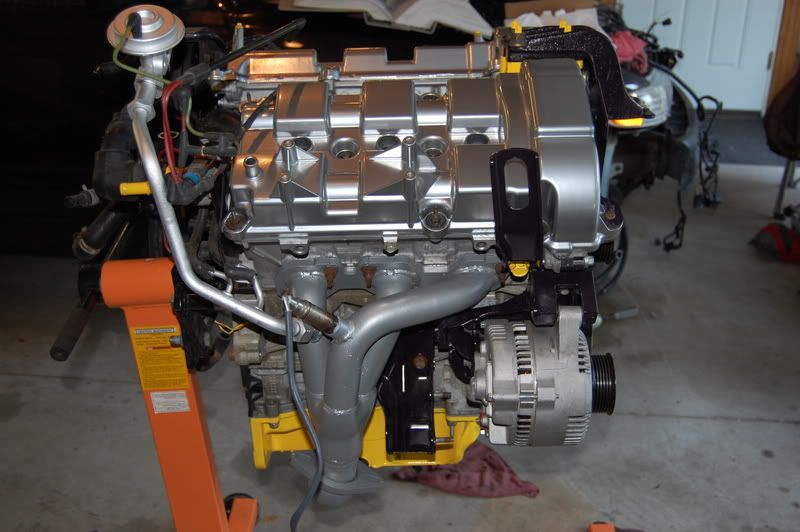
The two holes at the bottom of the first pic I didn't have to grind at all nor the side of the mount between the right bottom most hole and the right top hole.

All the bolt-head flush surfaces of the mount were complete and untouched accept the upper most right hole area that you have to almost cut in half.

I should have took pics of mine, but didn't.

****Also, don't try to slide the mount straight in from the timing cover side. Go a couple inches higher and tip the mount into postition at a little angle. I tried going straight in and there was just too much material to remove from the mount to be feasable.
34048d1214973203-3l-port-matching-mount-ground-5.jpg


I just want you all to save as much time as possible, so like aircougar stated, grind a little and check, grind some more and check again.
Hope this helps anyone

This is the only pic I have right now:
3Lbuild087.jpg
 
Looking good! I reaaally like your color scheme. the two tone left motor mount is what caught my eyes. :shocked::drool:
 
i know you did all powdercoating, but why not paint the block and heads? It looks amazing, but then you see the stock aluminum poking out from behind all that shine. Did you consider it at all? any reason why you didn't?

Don't get me wrong, though, it does look awesome
 
joe,how did you get the shift rod disconnected from the tranny or from the shifter? i remember in my 96 i couldnt get them undone,so i had to drope the whole thing out the bottom,shift rods and shfiter still attached.:blackeye:
 
Isn't there a bolt that goes through the rod right before it enters the trans that you can just undo?

IIRC I saw it when I had my 95 on jacks fixing the e-brake...
 
Back
Top