
-
Welcome to the Contour Enthusiasts Group, the best resource for the Ford Contour and Mercury Mystique.
You can register to join the community.
You are using an out of date browser. It may not display this or other websites correctly.
You should upgrade or use an alternative browser.
You should upgrade or use an alternative browser.
1995 Mondeo Si v6 saloon project
- Thread starter Chopper
- Start date
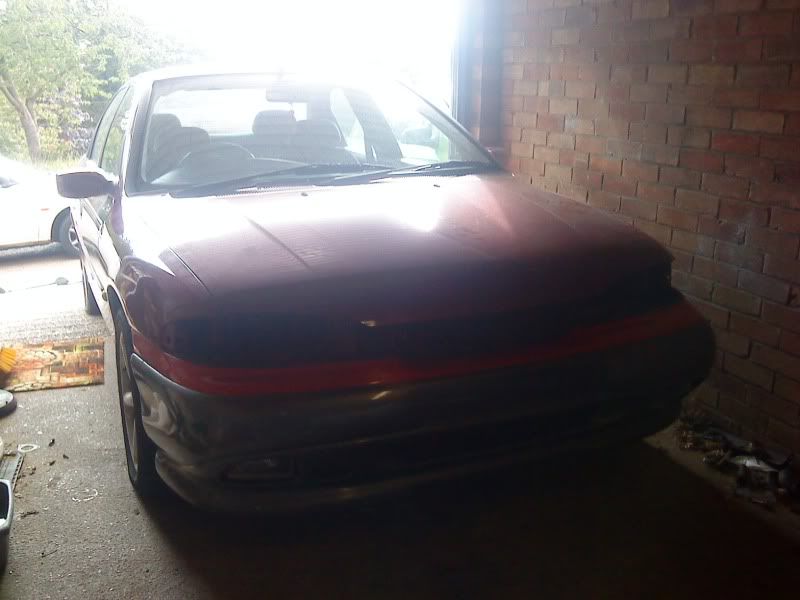
My new project!
1995 Ford Mondeo 24v V6 Si saloon
82,000 genuine miles
£350! 8)
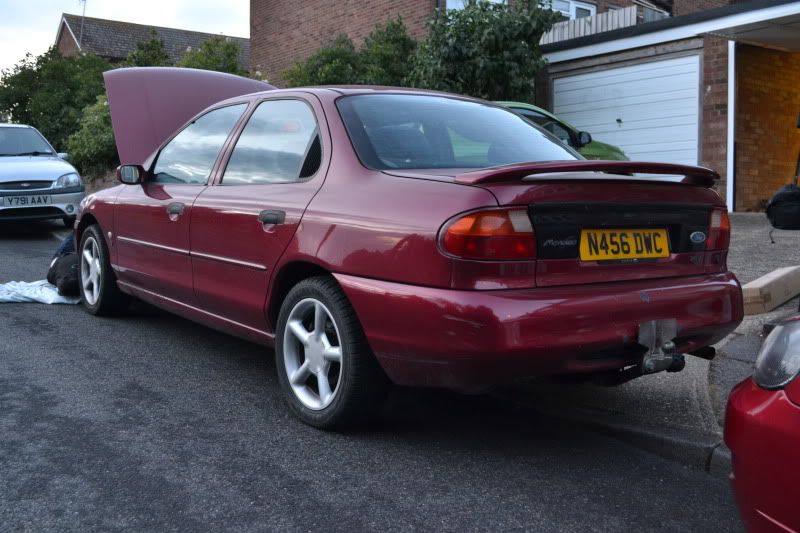
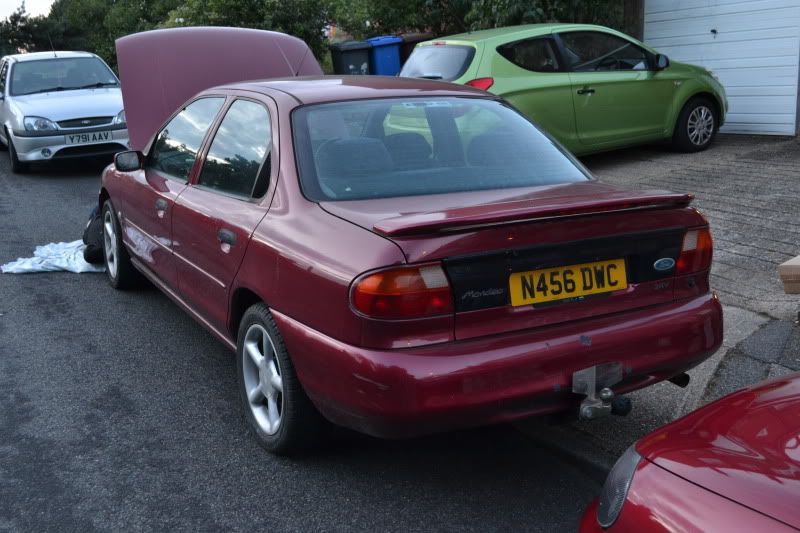
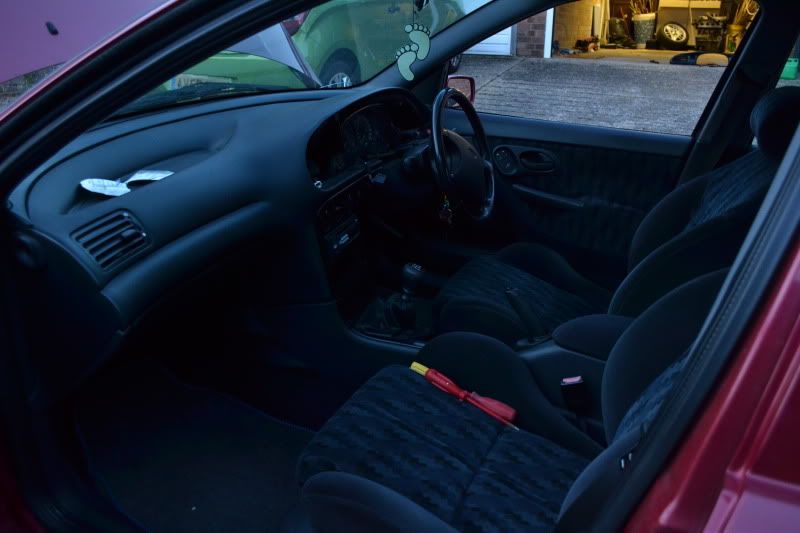
Ignore Nipsy under the front end... I told him to put the handbrake on
As soon as the civic is gone, which i hope will be sooner rather than later, i will really get going!
I was originally planning on buying a 4x4 Si and doing either a Zetec turbo or Focus RS conversion, but decided that these would both be way to pricey to consider, so decided to go for the 24v duratec power plant instead. Good figures out of the box, and tunable.
So far i have managed to source
Standard front bumper
Phase 1 RS front skirt, sides and fogs.
Mk2 dash with trip computer
The list of parts to purchase/source
Phase 1 RS rear skirt and bumper
Phase 1 RS spoiler
Mk2 Focus RS alloys in 4x10⁸
Suspension setup
Polybush everything
Exhaust system. Single or twin? Not decided yet
Induction kit
Morette Headlamps
Mk2 Recaro leather interior
And then it will be onto Ivan for the respray.. Havnt fully decided on a colour yet, but i was swaying towards a dark metallic graphite...?
I feel like a 5 year old at Christmas
1995 Ford Mondeo 24v V6 Si saloon
82,000 genuine miles
£350! 8)
Ignore Nipsy under the front end... I told him to put the handbrake on
As soon as the civic is gone, which i hope will be sooner rather than later, i will really get going!
I was originally planning on buying a 4x4 Si and doing either a Zetec turbo or Focus RS conversion, but decided that these would both be way to pricey to consider, so decided to go for the 24v duratec power plant instead. Good figures out of the box, and tunable.
So far i have managed to source
Standard front bumper
Phase 1 RS front skirt, sides and fogs.
Mk2 dash with trip computer
The list of parts to purchase/source
Phase 1 RS rear skirt and bumper
Phase 1 RS spoiler
Mk2 Focus RS alloys in 4x10⁸
Suspension setup
Polybush everything
Exhaust system. Single or twin? Not decided yet
Induction kit
Morette Headlamps
Mk2 Recaro leather interior
And then it will be onto Ivan for the respray.. Havnt fully decided on a colour yet, but i was swaying towards a dark metallic graphite...?
I feel like a 5 year old at Christmas
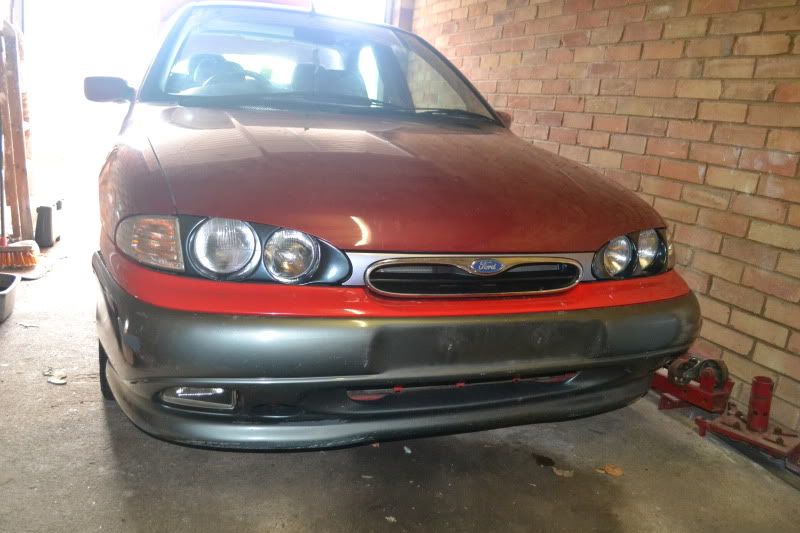
Tonights update
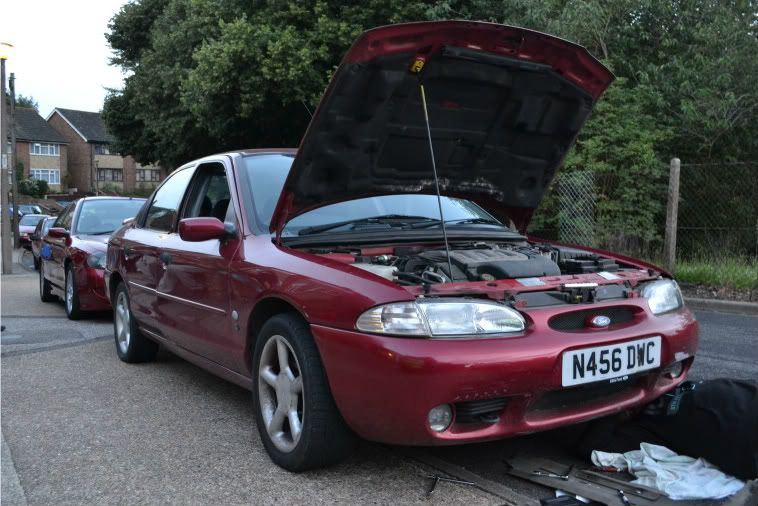
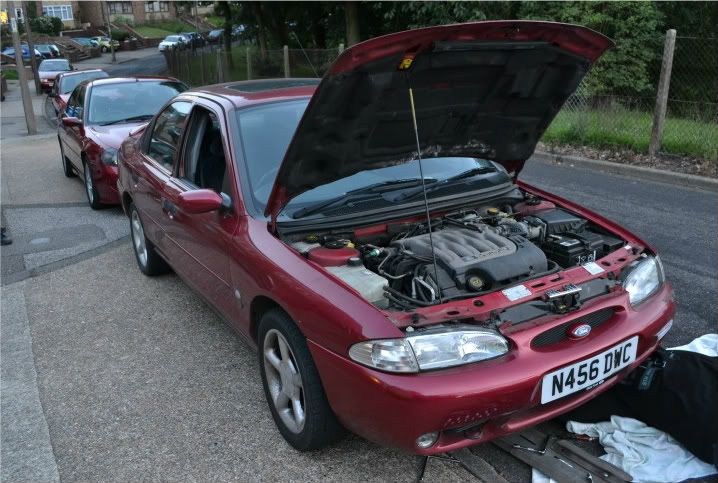
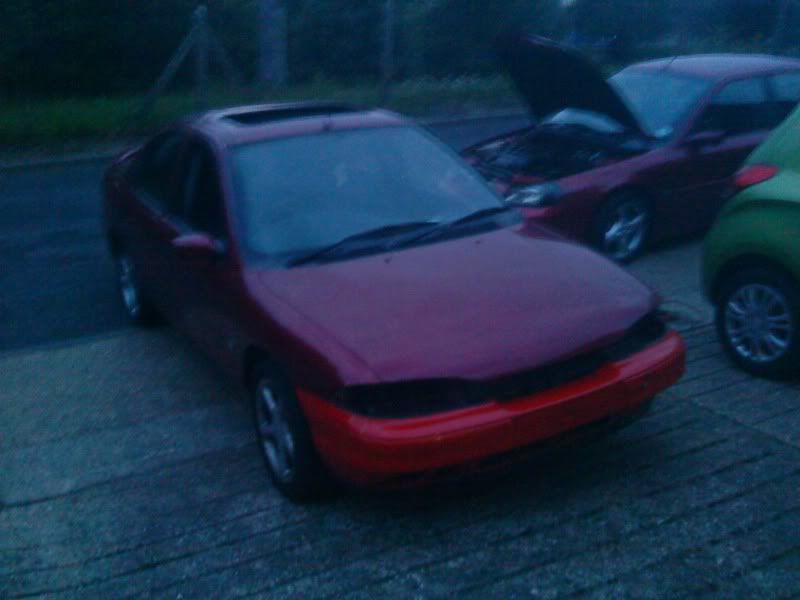
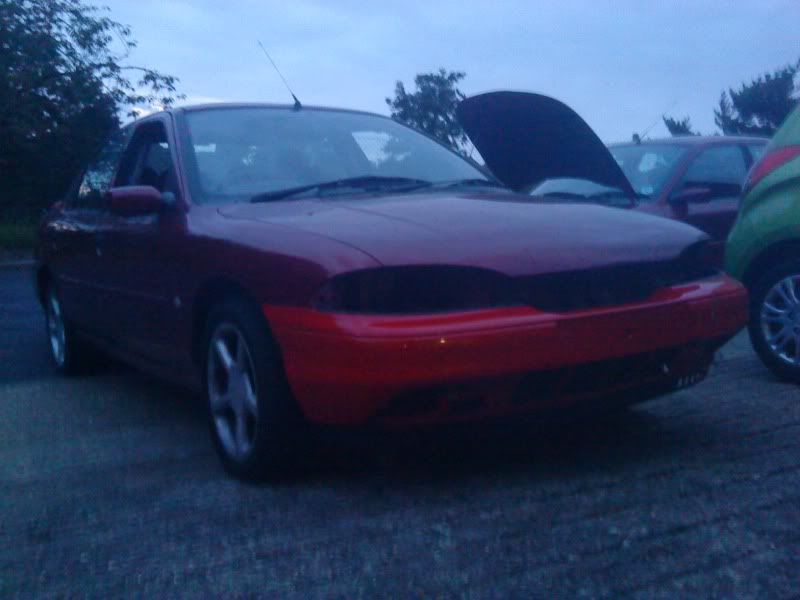
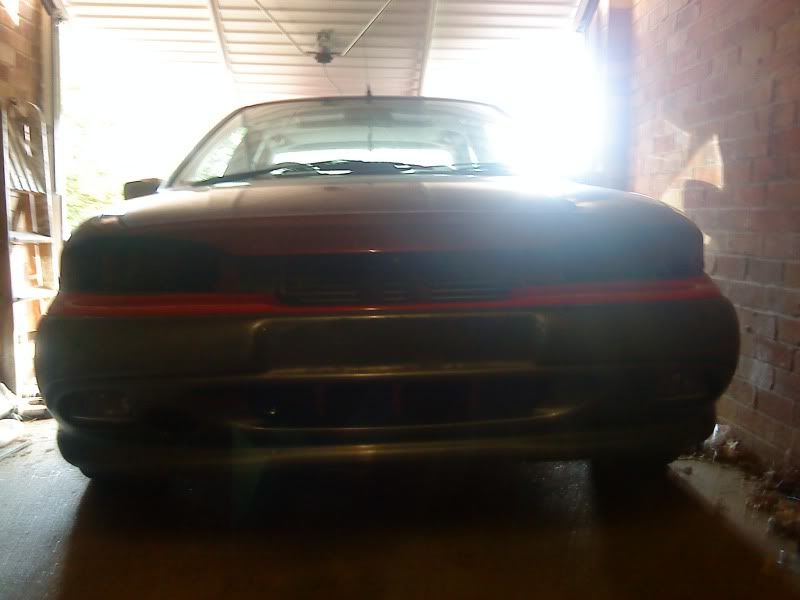
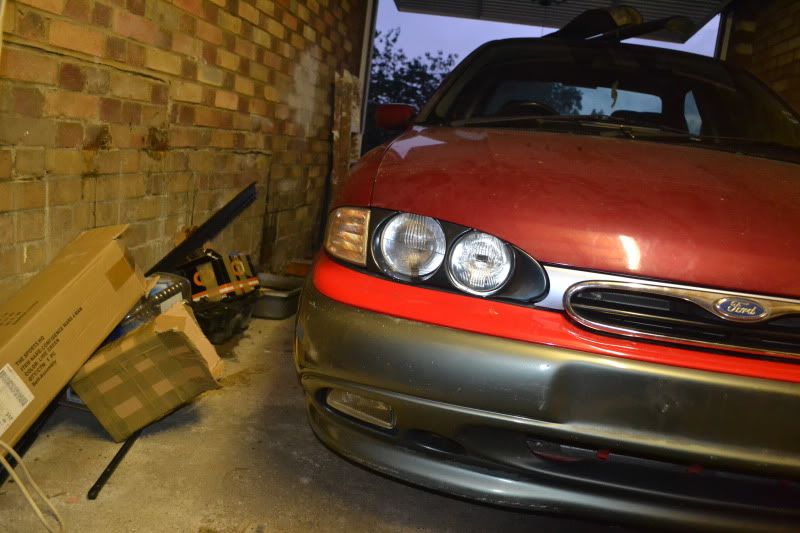
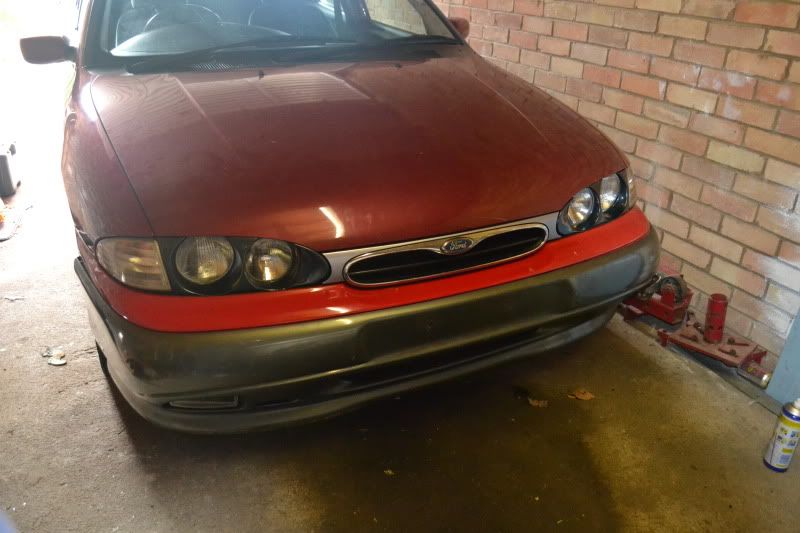
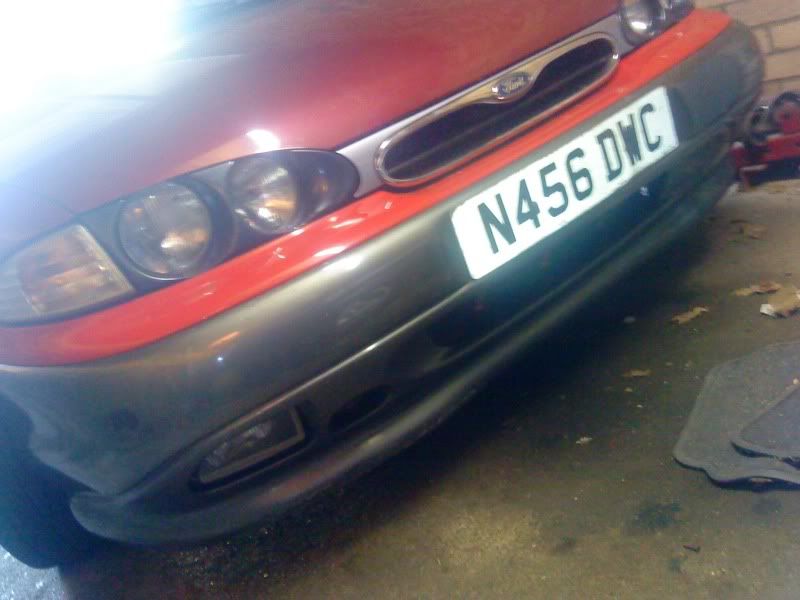
Phase 2 front bumper/grill off! ;D ;D huray!!
Standard front bumper on.. The only thing missing to make this look like most other mondeos is some duck tape

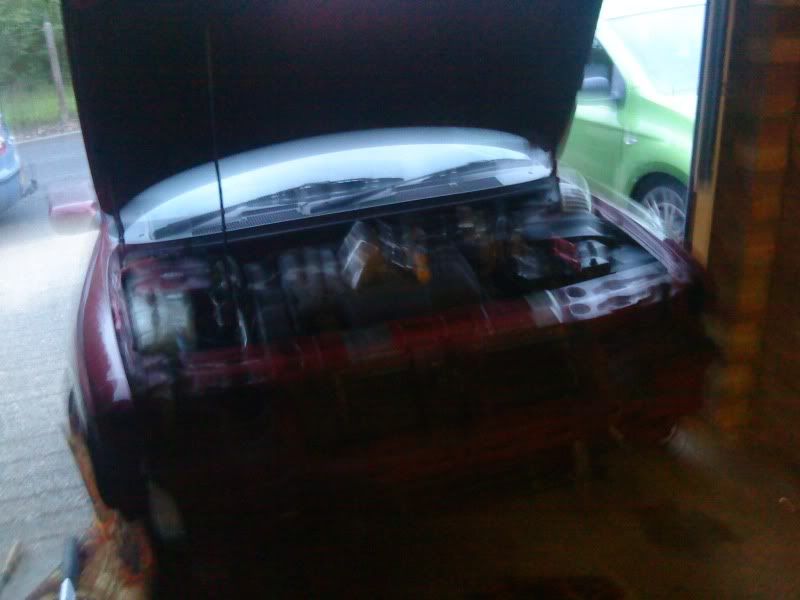
Sorry for the crap pics, but using a temporary phone, and no matter how still you hold it, they all come out sugar..
Picking up my rs bits on saturday hopefully..
Phase 2 front bumper/grill off! ;D ;D huray!!
Standard front bumper on.. The only thing missing to make this look like most other mondeos is some duck tape
Sorry for the crap pics, but using a temporary phone, and no matter how still you hold it, they all come out sugar..
Picking up my rs bits on saturday hopefully..


!~~_12.JPG)
rexxdoggy
Hard-core CEG'er
Hmmmm, the front bumper may not be doing it for me because of how incomplete it is.
Can't wait to see the front end together.
EDIT:
You just uploaded it lol
Can't wait to see the front end together.
EDIT:
You just uploaded it lol
Got a fair amount of work done today on the car
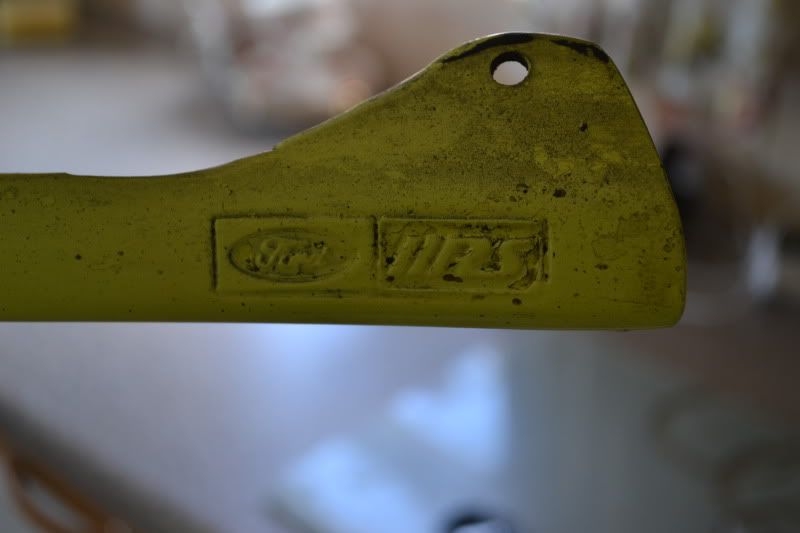
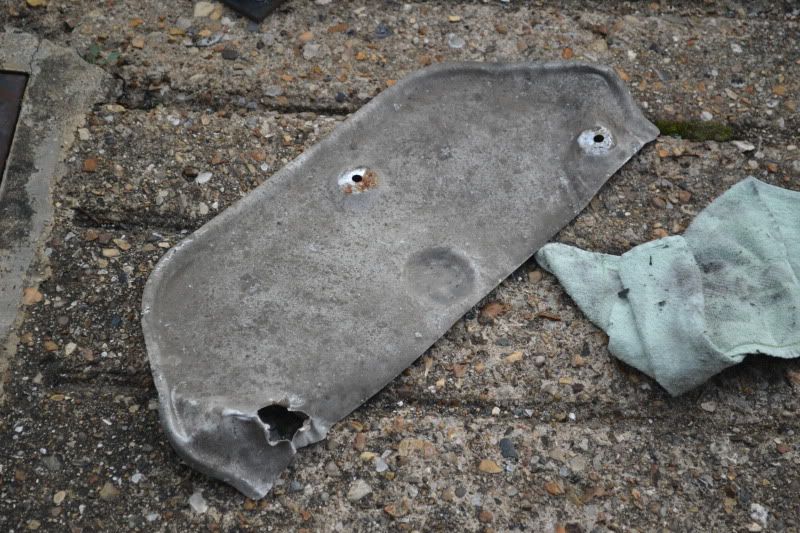
Flame Burnt tip??? lol
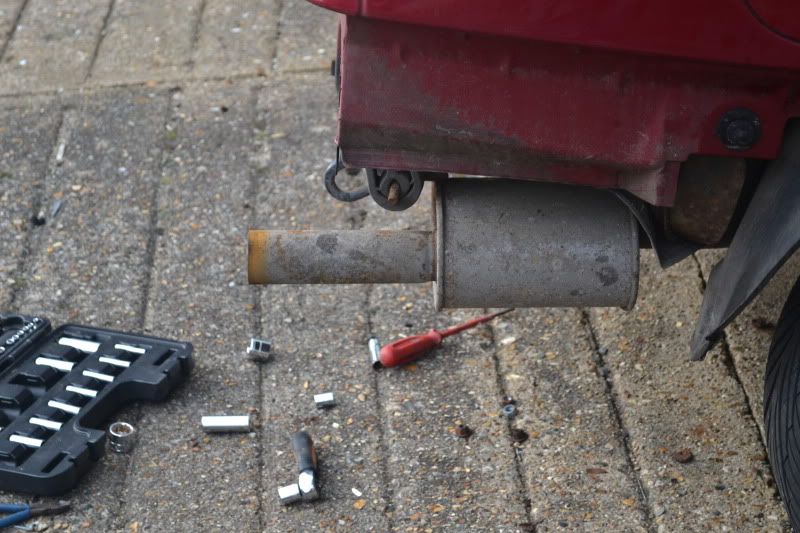
Pulled the heat shield off that was rattling everytime you closed a door... 2 bolts came off, one didnt so had to be pulled off.. Wont be needed as the new exhaust will be routed differently
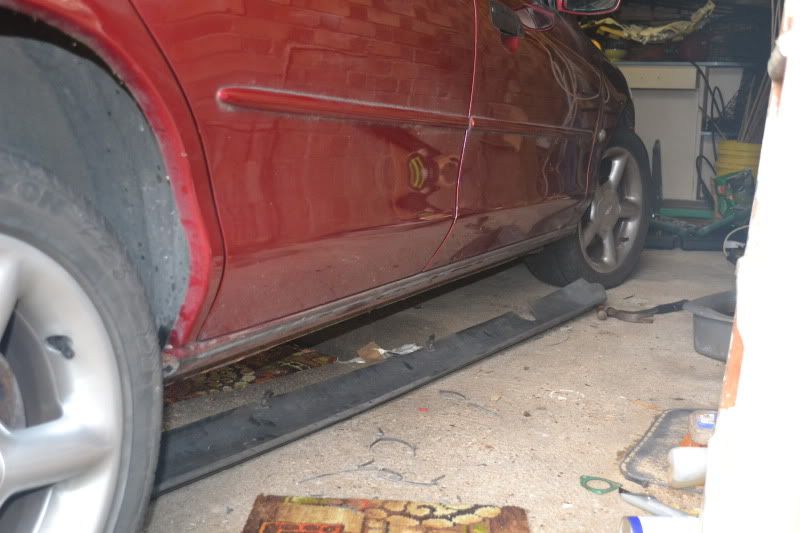
Got one side skirt off. These were obviously fitted from factory/dealership as they are bonded on with the stock bonding so was a ••••• to get off! But managed in the end
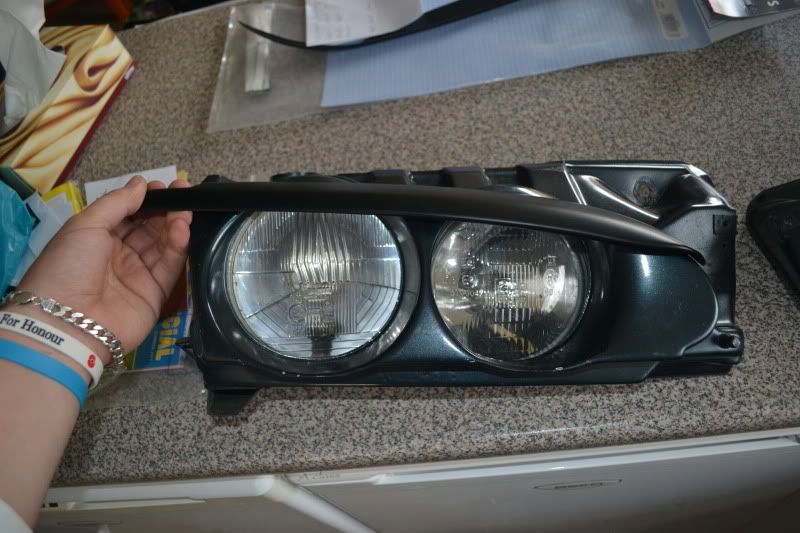
Old vs New

Flame Burnt tip???
lol
Pulled the heat shield off that was rattling everytime you closed a door... 2 bolts came off, one didnt so had to be pulled off.. Wont be needed as the new exhaust will be routed differently
Got one side skirt off. These were obviously fitted from factory/dealership as they are bonded on with the stock bonding so was a ••••• to get off! But managed in the end
Old vs New
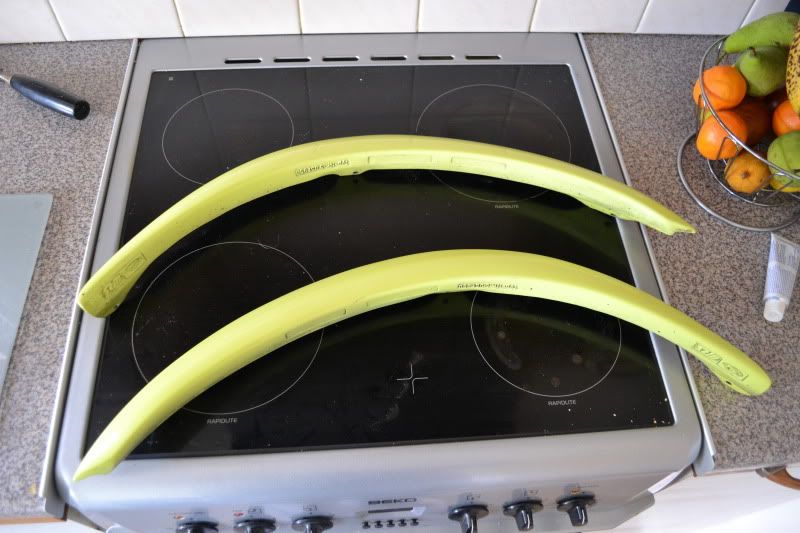
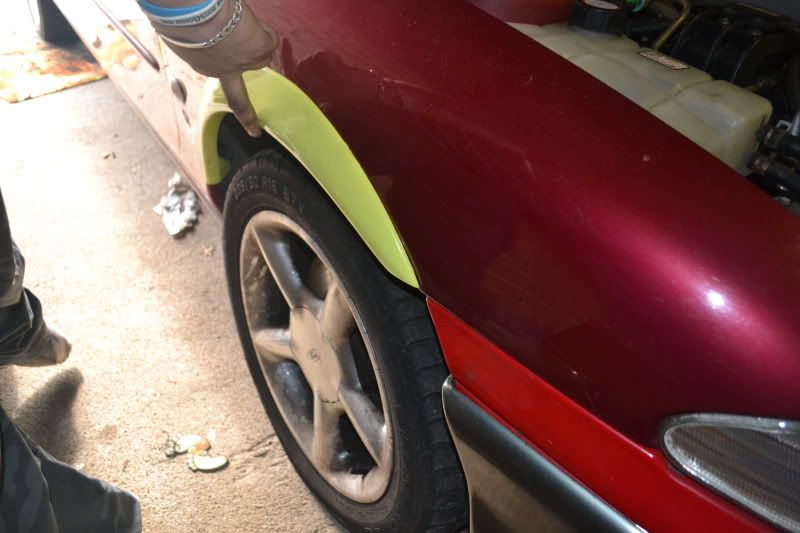
Here is one of the arches offered up to the wing. Fits like a dream
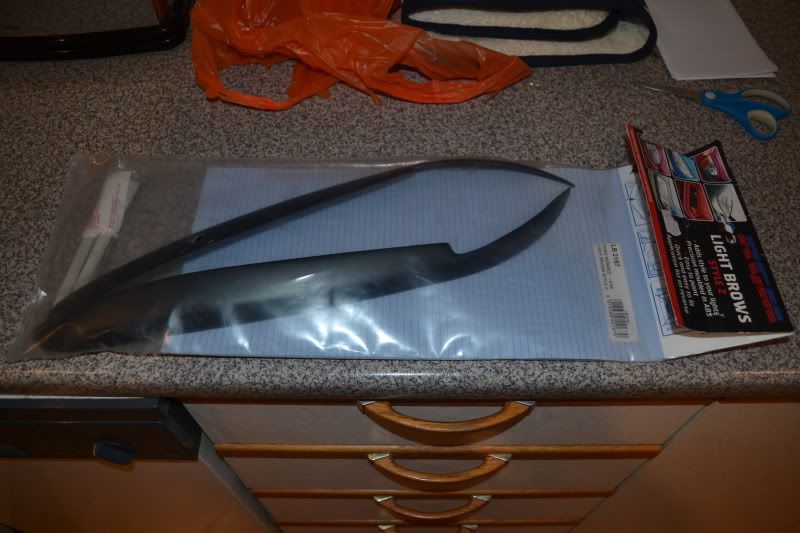
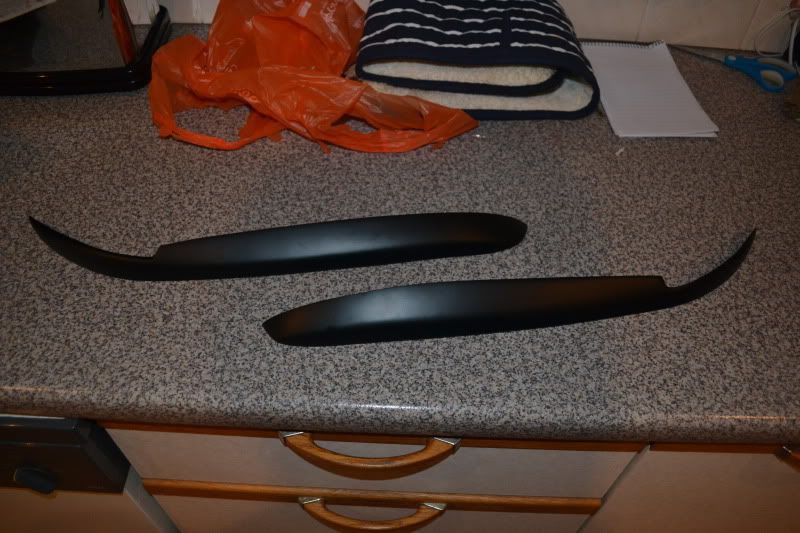
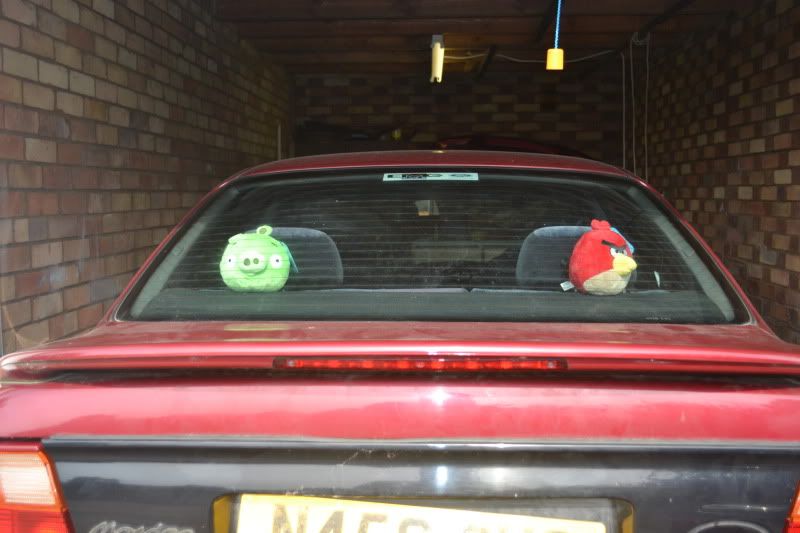
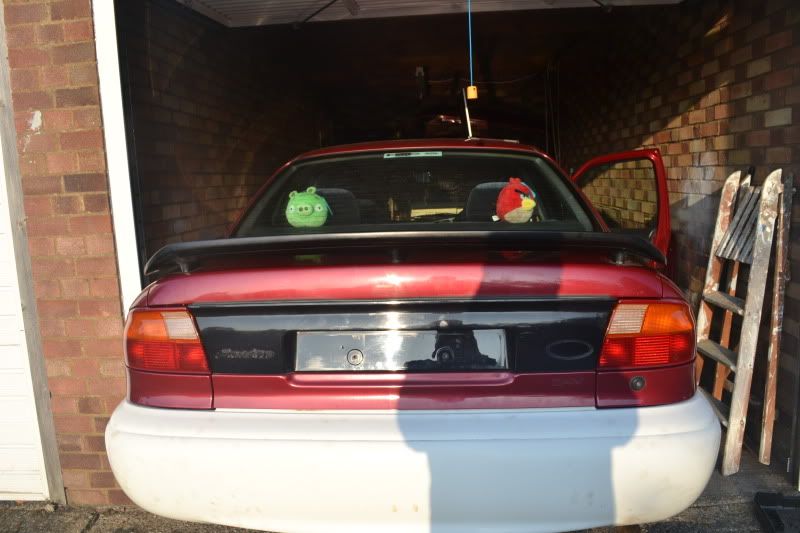
New toys for the parcel shelf! Curtosy of Tashs luck on the grab machines!
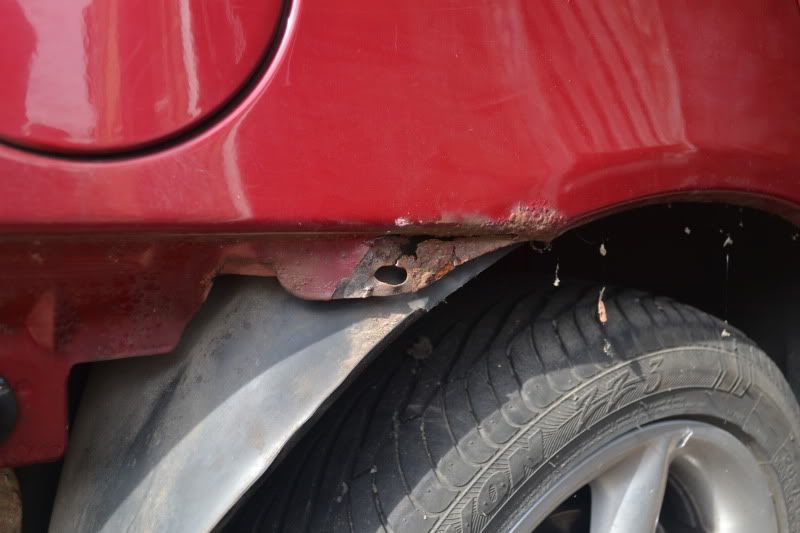
After removing the rear bumper inoticed that the arch rust had corroded the fixing hole so this will have to be welded
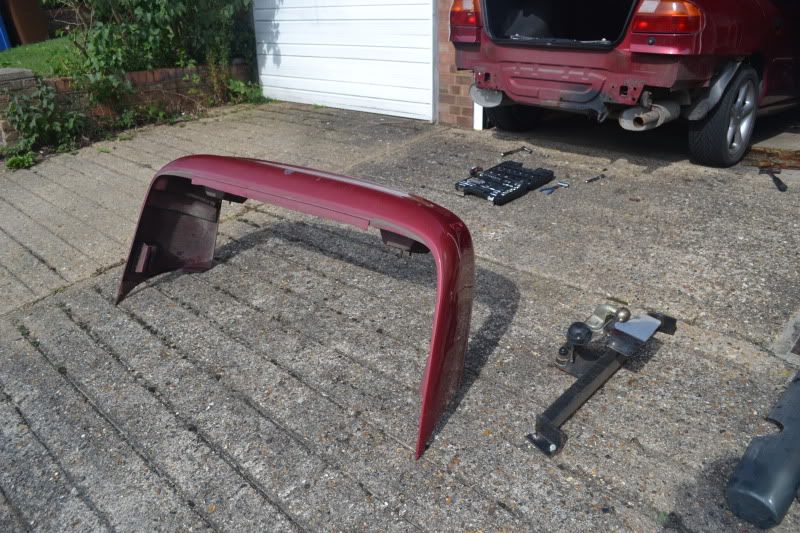
Towbar and rear bumper removed
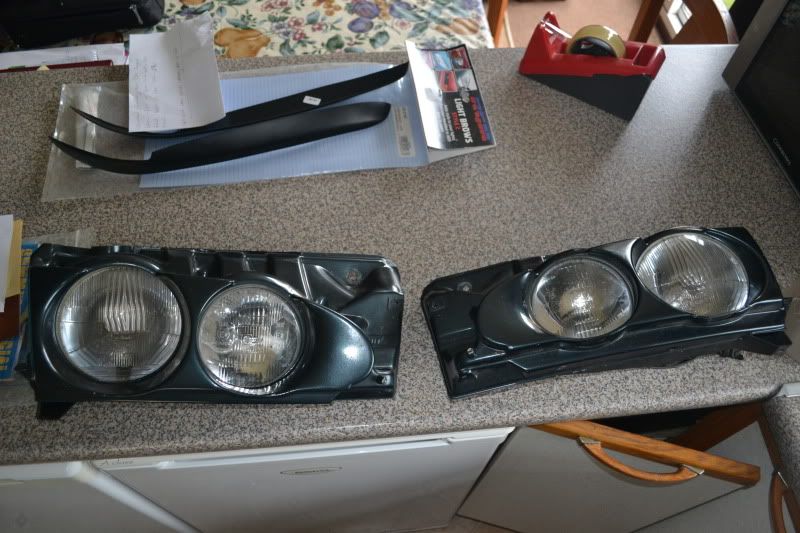
Morettes both fitted and wired up so all lamps work correctly! Just need to work out how to get the eye lids in as there is currently no room between the bonnet and the lights..But it is possible as iv seen it done
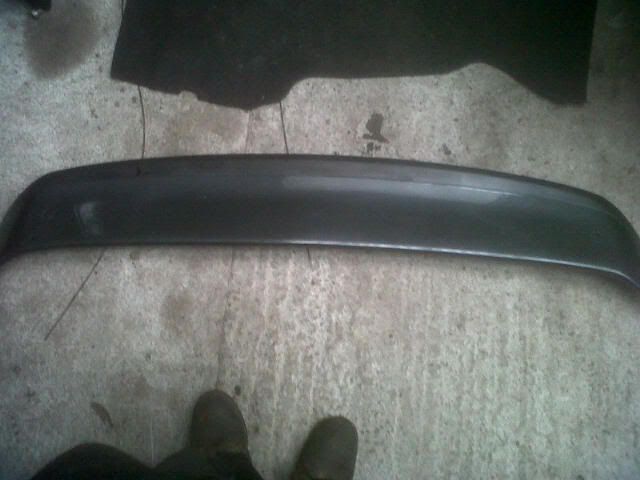
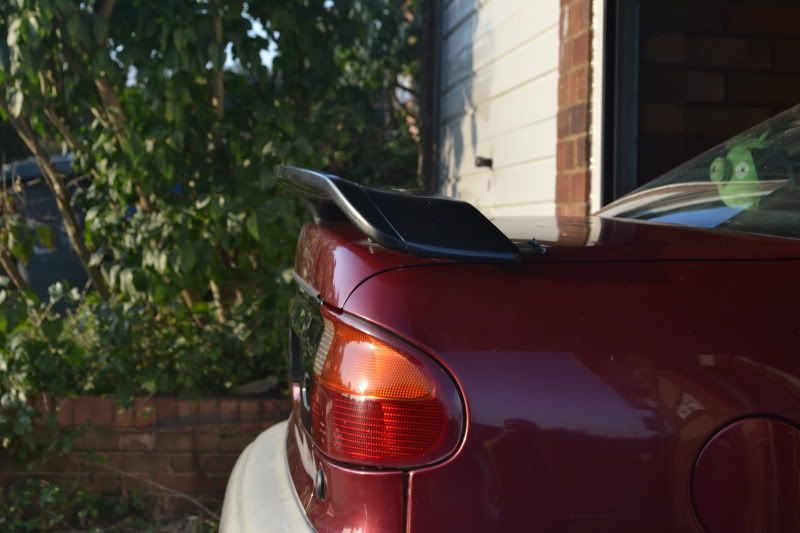
I am also going to have to get a new bootlid as the phase 2 spoiler will not come off the bootlid without me causing damage. Once i have a new lid, i have now decided to get a Sierra Saphire spoiler to fit as it will give me the exact look i want!
New toys for the parcel shelf!
Curtosy of Tashs luck on the grab machines!
After removing the rear bumper inoticed that the arch rust had corroded the fixing hole so this will have to be welded
Towbar and rear bumper removed
Morettes both fitted and wired up so all lamps work correctly!
Just need to work out how to get the eye lids in as there is currently no room between the bonnet and the lights..But it is possible as iv seen it done
I am also going to have to get a new bootlid as the phase 2 spoiler will not come off the bootlid without me causing damage. Once i have a new lid, i have now decided to get a Sierra Saphire spoiler to fit as it will give me the exact look i want!
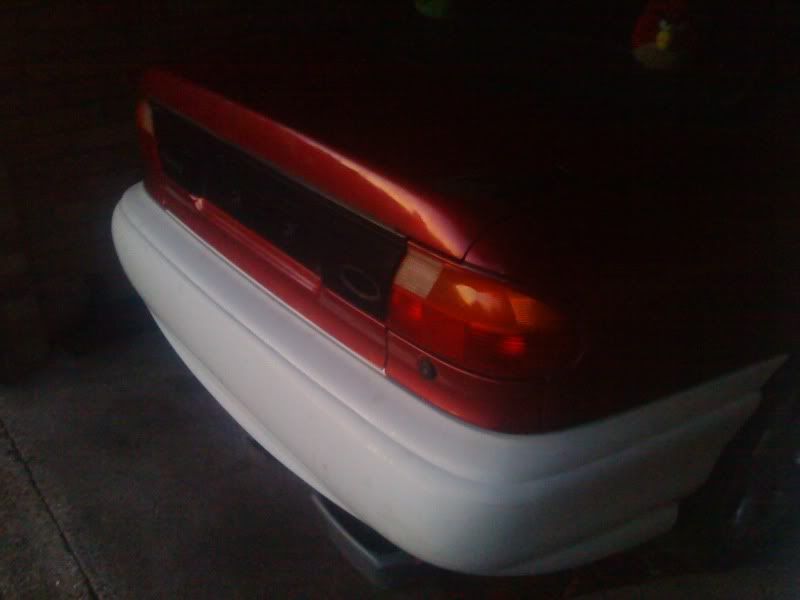
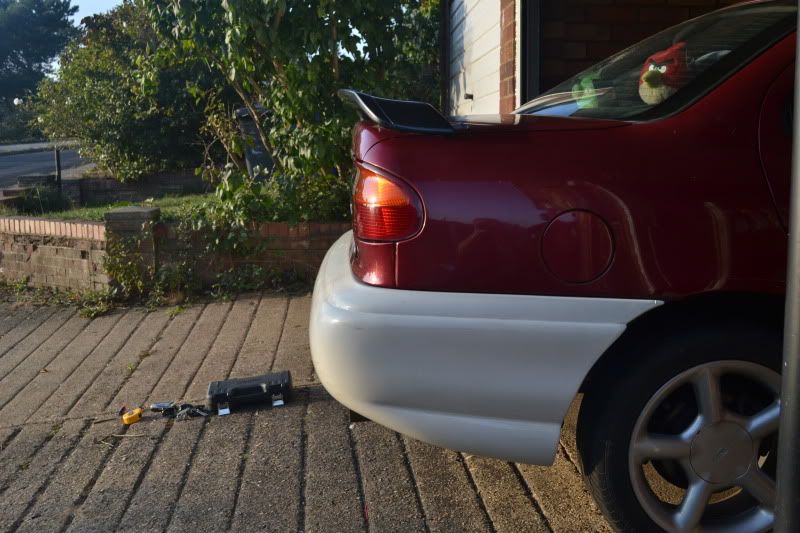
Rear bumper arrived, but has been damaged in the post! so im currently going through the insurance...
Got it bolted on with 2 bolts... not gonna put it on properly until its fixed
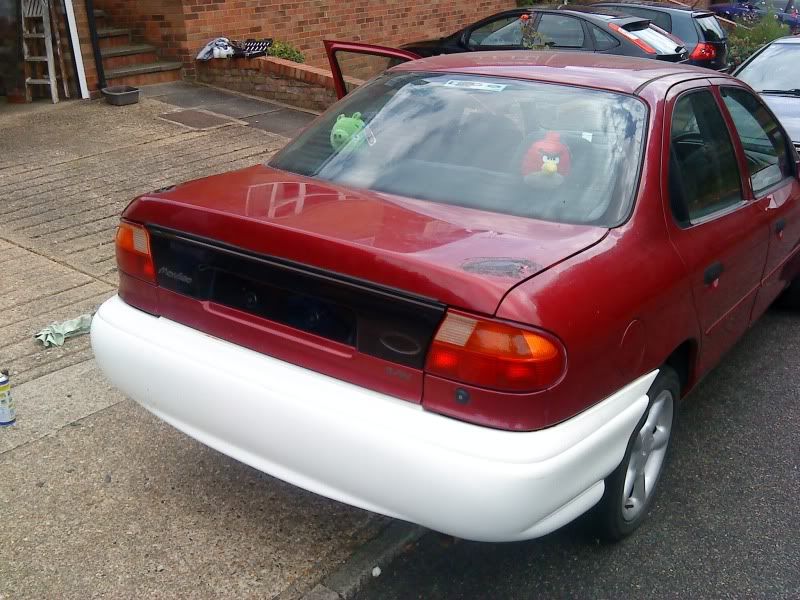
AND FINALLY!! The spoiler came off! Hurray!!
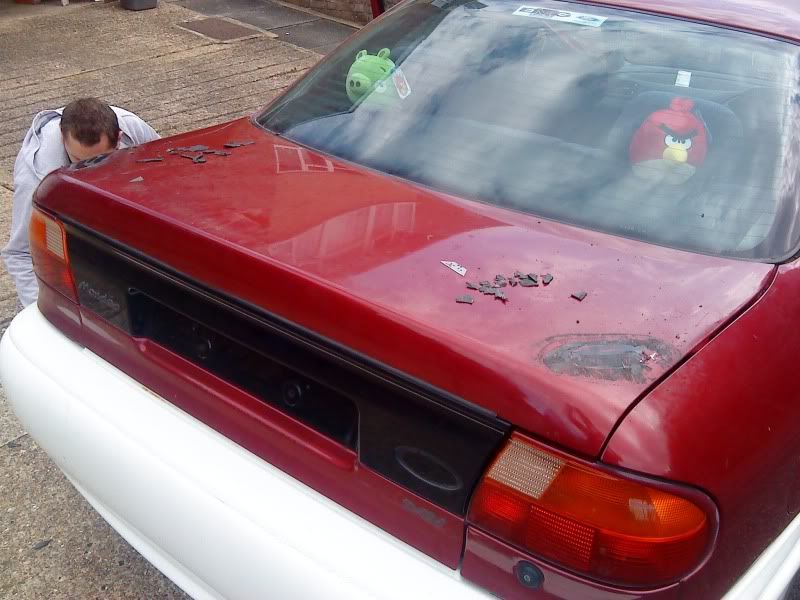
Few little dings and dents in it but that will al be sorted when it goes to the body shop so wont be a problem
Got it bolted on with 2 bolts... not gonna put it on properly until its fixed
AND FINALLY!! The spoiler came off! Hurray!!
Few little dings and dents in it but that will al be sorted when it goes to the body shop so wont be a problem
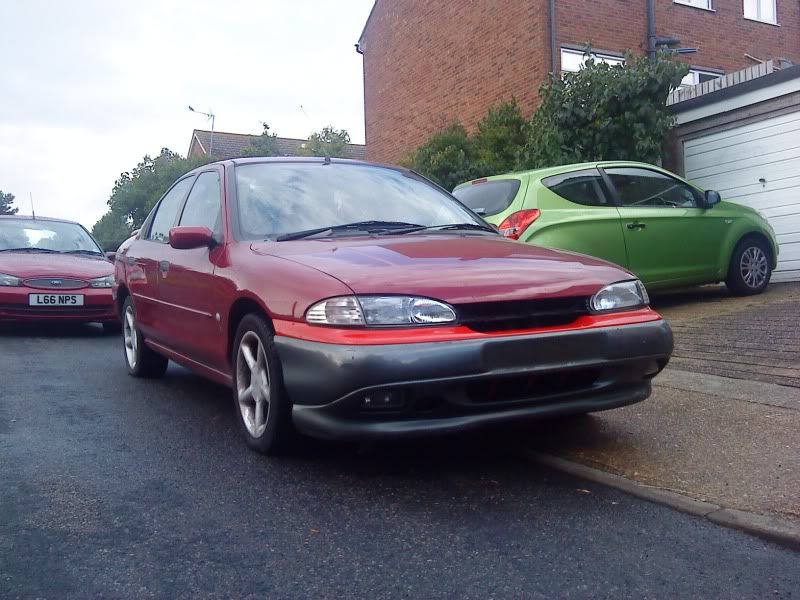
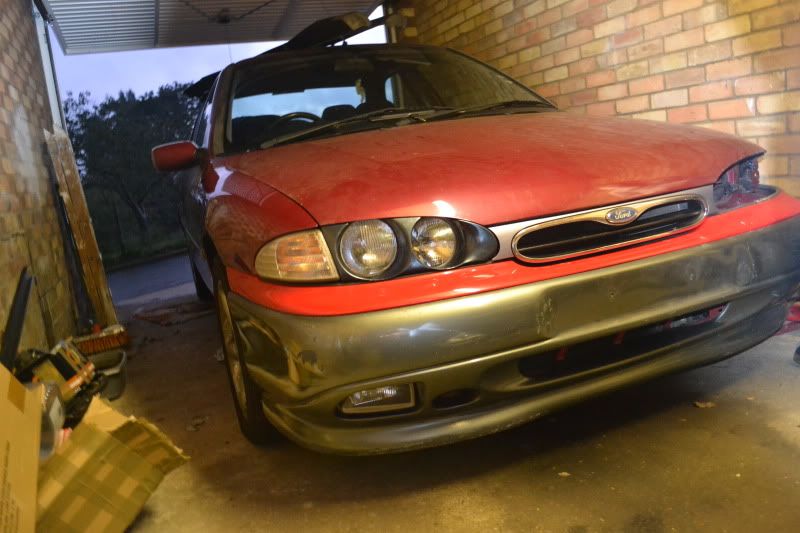
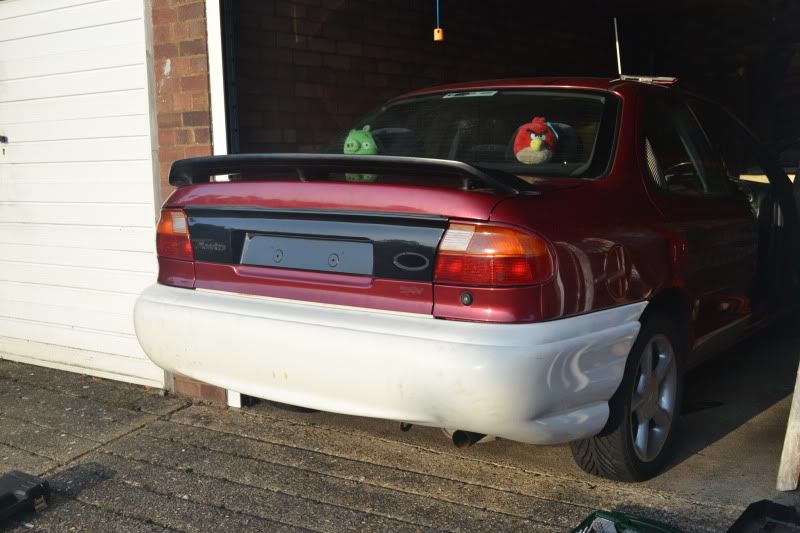
Well, heres some better pictures of the rear bumper fitted properly. Here you can see that it doesnt stick out as far as the first picture seemed...
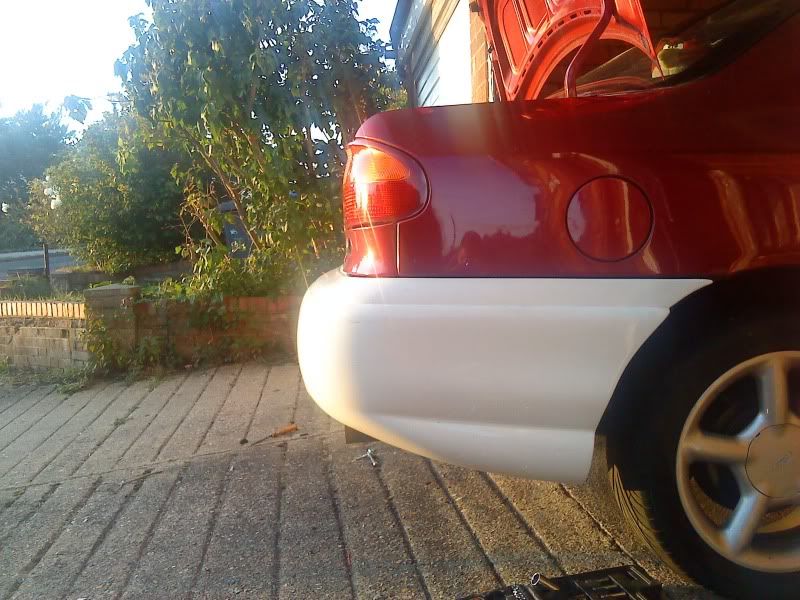
Also put some temp screws in the fixing holes on the front RS skirt to hold it in place. Not point putting everything on as it will only have to come off again when the car goes to paint.
This project may pick up a bit of pace over the next couple of month so ivan maybe seeing it sooner than he thought

rexxdoggy
Hard-core CEG'er
I cannot wait till it's painted.